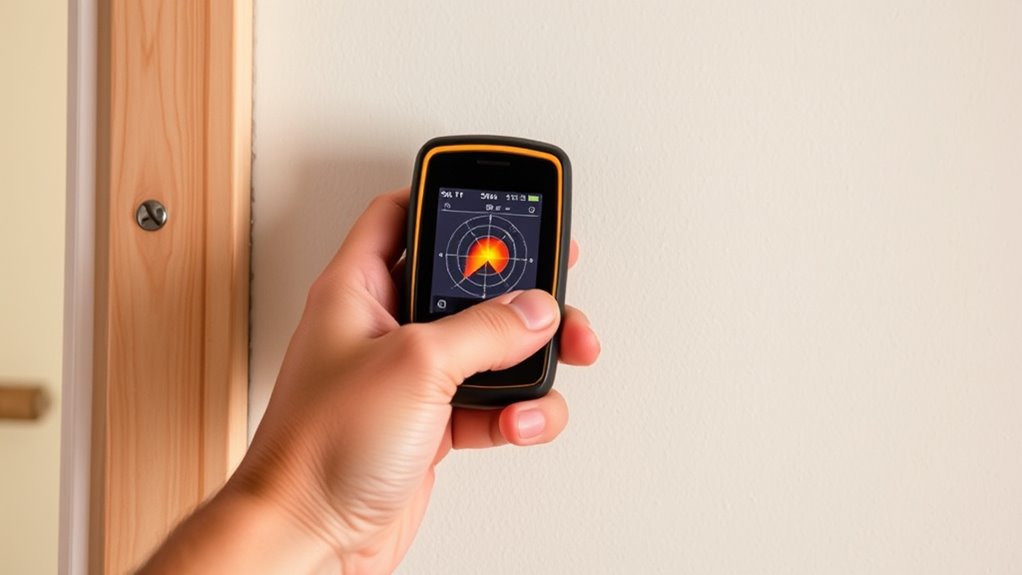
To use a stud finder, start by calibrating it on a clear, stud-free section of wall and guarantee the batteries are fresh. Hold it flat against the surface and slowly move horizontally, watching for beeps or signals that indicate a stud’s location. Mark the spots and verify by scanning nearby for edges. Proper use prevents damage to wires or pipes and ensures your objects stay secure. Keep going to discover more tips for perfect results.
Key Takeaways
- Properly calibrate and hold the stud finder flat against the wall for accurate detection.
- Move the device slowly in a straight line to identify studs reliably.
- Mark the edges and center of studs to ensure secure hanging and avoid damage.
- Use the stud finder to verify stud locations before drilling or nailing.
- Using a stud finder prevents accidental damage to electrical wires or pipes behind the wall.
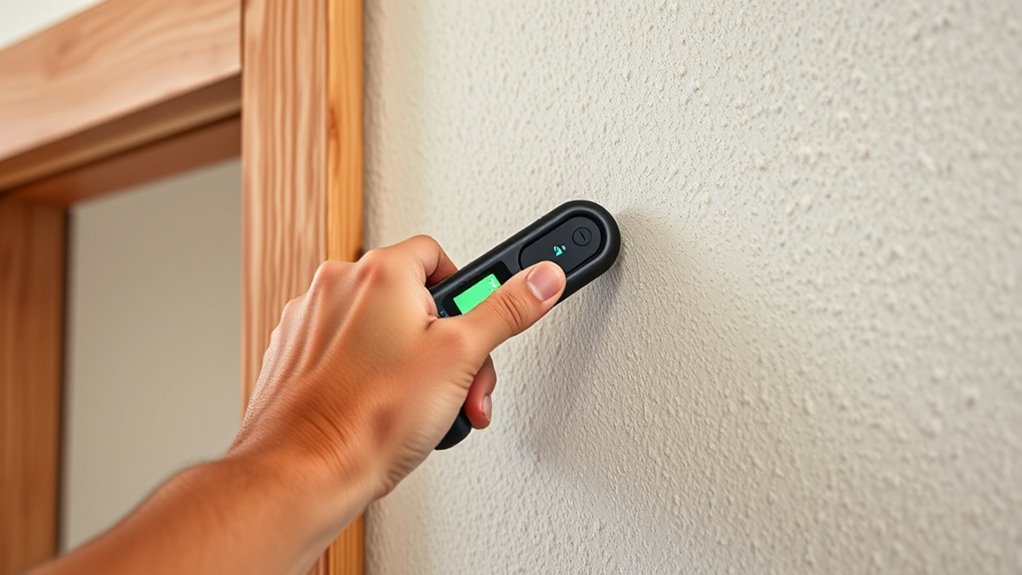
Finding the perfect spot to hang shelves, TVs, or picture frames starts with locating wall studs accurately. Without proper detection, your items might end up hanging on drywall alone, which can lead to damage or falling over time. To get it right, you need a reliable stud finder and a clear plan. First, clear the wall of any obstructions so you can move the device smoothly across the surface. This step ensures your readings are accurate and consistent. Remember, knowing exactly where your studs are helps you avoid damaging electrical wires or pipes hidden behind the wall, which could cause serious hazards.
Start by clearing obstructions to accurately locate wall studs and avoid damaging hidden wires or pipes.
Choosing the right stud finder is essential. Magnetic stud finders are simple and detect metal screws or nails, while electronic models sense changes in wall density to locate studs more precisely. Radar-based devices use advanced technology to scan deeper, especially useful in thicker walls. Before you start, make sure your stud finder is calibrated. To do this, place it on a section of wall with no studs, press the calibration button, and wait for it to signal that it’s ready. Check that the batteries are fresh and the contacts are clean. Select the appropriate mode based on your wall type—different settings optimize detection for drywall, plaster, or other materials.
Hold the stud finder flat against the wall and move it slowly in a straight, horizontal line. As you scan, listen for beeps or watch for visual signals indicating a stud’s presence. When the device signals a stud, mark the spot lightly with a pencil or painter’s tape. To locate the edges of the stud accurately, scan slightly to the left and right of your mark. Since studs are typically 1.5 inches wide and spaced about 16 inches apart, double-check by scanning around your mark to confirm the edges and ensure the stud’s center is correctly identified.
Verification is key. Scan around your initial mark to verify the stud’s width and position. Use light pencil marks or tape to highlight the edges, and double-check before drilling or nailing. This extra step prevents mistakes and ensures your hanging hardware is anchored securely into the stud. Safety should always come first; avoid drilling where electrical wires or pipes might run. Weak batteries, incorrect calibration, or improper technique are common pitfalls. For beginners, starting with simple projects and using a level for straightness helps build confidence. Different wall materials may require different types of stud finders for ideal results. With practice and attention, you’ll become proficient at accurately locating studs and hanging your items safely and securely. Additionally, practicing self-awareness can help you better understand your skills and improve your technique over time.
Frequently Asked Questions
Can Stud Finders Detect Pipes or Wires Behind Walls?
Yes, stud finders can detect pipes and wires behind walls. Many models use electronic sensors or radio frequency technology to locate these objects, but accuracy varies. Some devices even have specialized modes to differentiate between metal pipes, wires, and studs. Keep in mind, false positives happen, especially with metal conduits or pipes, so move slowly and verify detections by checking spacing and width for better accuracy.
What Types of Walls Work Best With Stud Finders?
Imagine you’re hanging a heavy mirror in your living room. Walls like drywall or paneling work best with a stud finder, especially electronic models that detect density changes. You’ll get accurate results and avoid drilling into electrical wires or pipes. Drywall, being common and accessible, provides the ideal surface for your tool to locate studs precisely. Use slow passes and calibration for the best results, making your project safer and easier.
How Often Should I Recalibrate My Stud Finder?
You should calibrate your stud finder before each use to guarantee accurate readings. Keep in mind that environmental factors like temperature, humidity, and physical impacts can affect calibration, so check the device if conditions change or if it’s been bumped. For electronic models, follow the manufacturer’s instructions closely. Regular pre-use calibration helps prevent false readings and guarantees your measurements stay precise, making your projects safer and more efficient.
Are Digital Stud Finders More Accurate Than Magnetic Ones?
Imagine you’re about to hang a heavy picture, but you’re unsure where the studs are. You wonder if digital stud finders are truly more accurate than magnetic ones. The answer is yes. Digital models detect wall changes and identify stud centers more reliably, with fewer false alarms. They’re generally better suited for precise tasks, especially where accuracy matters most. Magnetic finders are simpler and cheaper but might miss the mark.
Can a Stud Finder Detect Multiple Studs at Once?
You might wonder if a stud finder can detect multiple studs at once. Most electronic models scan a small section, highlighting one stud at a time, so you’ll need to move it across the wall to find each one. Advanced multifunction scanners can identify studs, wiring, and pipes nearby, but they still require you to scan multiple times. To map multiple studs, take your time and mark each location as you go.
Conclusion
Now that you know how to use a stud finder, you’re ready to tackle your next project with confidence. Remember, locating studs guarantees your anchors are secure and your walls stay intact. So, why settle for guesswork when a simple tool can make all the difference? With this knowledge, you’ll save time, avoid damage, and get the job done right. Are you ready to start your next home improvement adventure?

