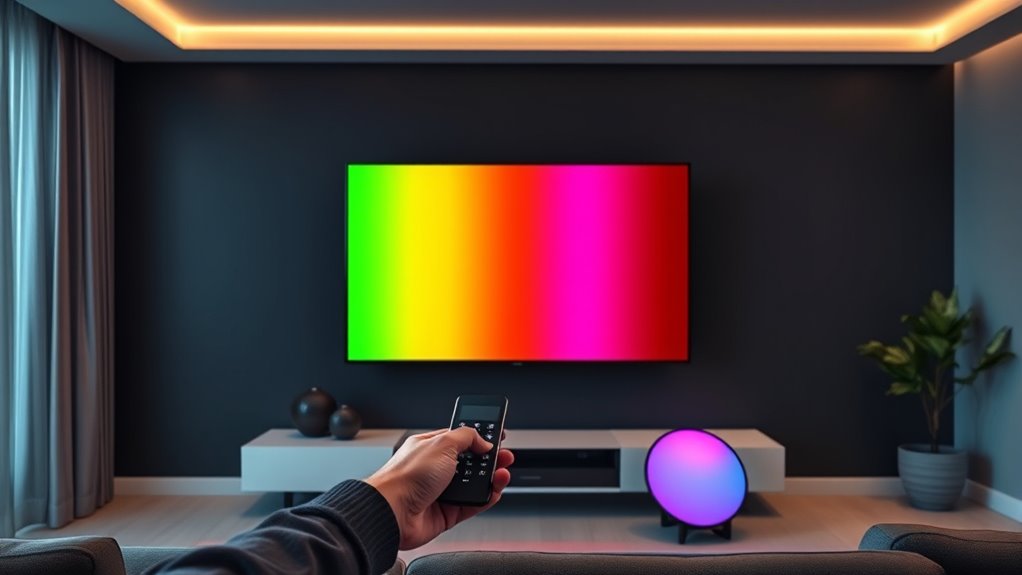
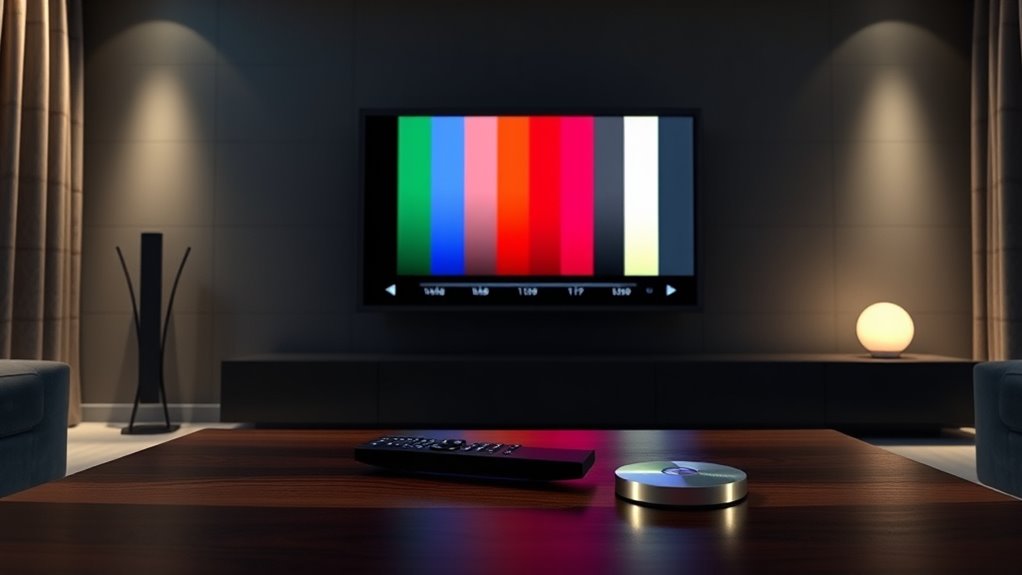
To calibrate your TV for the best picture, start by selecting a suitable preset mode like Cinema or Movie for accurate colors and balanced contrast. Adjust the brightness so blacks look truly black with shadow details, and set contrast to balance whites without losing highlight detail. Fine-tune color saturation and temperature for natural skin tones and whites. Keep sharpness low to avoid artificial edges. For more tips on mastering calibration, continue exploring the essential steps to achieve stunning picture quality.
Key Takeaways
- Select a neutral picture mode like Cinema or Movie for accurate colors and balanced contrast.
- Use calibration patterns to adjust brightness for true blacks and contrast for optimal highlight detail.
- Fine-tune color saturation and tint to achieve natural skin tones and realistic colors.
- Keep sharpness low and disable motion smoothing for a clearer, more authentic image.
- Set the color temperature to warm (D65) for natural whites and consider advanced calibration tools for precision.

Are you getting the best picture quality from your TV? Proper calibration can make a significant difference in how your content looks. Start by selecting a preset picture mode that matches your viewing environment. For most situations, modes like Cinema or Movie deliver accurate colors and balanced contrast, giving you a natural picture. Steer clear of overly bright modes like Vivid or Dynamic, which emphasize brightness and sharpness at the expense of color accuracy. Confirm that the chosen mode supports your TV’s native resolution and HDR capabilities if you watch HDR content. If precise calibration isn’t a priority, pick a mode that appears pleasing in your typical room lighting, but remember to revisit your settings after making other adjustments, as some calibrations might reset or alter the mode’s characteristics.
Next, focus on adjusting brightness and contrast. Use calibration patterns to set brightness so that black areas appear truly black but still retain shadow details. If brightness is too high, black levels will seem washed out, reducing contrast. Conversely, setting it too low can crush shadow details, making dark scenes look flat. Adjust contrast after brightness because these settings influence each other’s appearance. Contrast should be high enough to make whites bright without losing highlight details or causing clipping. Regularly recheck both during calibration to maintain an ideal balance. Additionally, understanding how contrast ratio impacts picture depth can help you optimize black levels and overall image clarity.
When calibrating colors, use test patterns to set saturation, aiming for natural skin tones without oversaturation. Avoid overly vibrant colors that can look unnatural. Adjust the tint (hue) to eliminate any green or magenta cast, ensuring balanced color reproduction. Use a warm color temperature preset, such as Warm or Warm2, to produce a more natural look and reduce blue tinting. Accurate colors enhance realism and lessen eye strain during long viewing periods. After setting brightness and contrast, revisit color and tint adjustments, as these influence overall color perception.
For sharpness, keep it low or at zero. Excessive sharpness introduces artificial edges and halo effects, especially on 4K HDR content, degrading picture quality. Use test patterns to find the right balance where details appear clear without over-processing. If your TV has a separate detail enhancement feature, adjust it cautiously for the best results. Turn off motion smoothing and noise reduction features, which can blur or distort fine details and reduce image fidelity. This ensures your content remains as close to the original source as possible.
Finally, set the color temperature to a warm preset, approximating the D65 white point, for the most natural whites. For more precise white balance, advanced calibration with RGB gain and bias adjustments can help, but these are best left to professional tools if possible. Using free downloadable test patterns like AVS HD 709 can guide your calibration process, helping you achieve the best possible picture quality. Properly calibrated TVs provide richer colors, better contrast, and a more immersive viewing experience.
Frequently Asked Questions
How Often Should I Recalibrate My TV?
You might wonder how often to recalibrate your TV. Typically, you don’t need to do it often because components drift slowly over several months. Most people find that recalibrating every six months to a year is enough to keep picture quality consistent. Keep in mind, small shifts are often unnoticed, and your eyes adapt over time. Regularly adjusting your settings ensures your viewing experience remains ideal without unnecessary effort.
Can I Use a Smartphone App for Calibration?
Yes, you can use a smartphone app for calibration. These apps provide test patterns and adjustments for brightness, contrast, and color, making it easy for you to fine-tune your TV’s picture. They’re convenient, cost-effective, and accessible, especially for casual users. However, keep in mind that they might not be as precise as professional calibration tools. For better results, follow app instructions carefully or consider professional calibration for superior picture quality.
What’s the Difference Between Calibration and Picture Settings?
They say “a little knowledge is a dangerous thing,” but understanding the difference helps you get the best picture. Calibration involves professional equipment and fine-tunes your TV’s color and brightness for accuracy, matching the creator’s intent. Picture settings, on the other hand, are user adjustments like brightness and contrast, which improve image quality but don’t achieve the same precision. Calibration offers a more lifelike, true-to-original display.
Do Different Content Types Require Different Calibrations?
You might wonder if different content types need different calibrations. The answer is yes. For example, movies often look best with warmer colors and softer contrast, while sports or gaming demand brighter settings and faster response times. HDR content may need specific adjustments for color and brightness, whereas SDR might require different calibration. Tailoring your settings based on content ensures ideal picture quality and a more immersive viewing experience.
Is Professional Calibration Worth the Cost?
Considering whether professional calibration is worth the cost depends on your needs. If you have a high-end TV, advanced features, or a dedicated home theater, investing in professional calibration can substantially improve picture quality, color accuracy, and overall experience. However, if you’re budget-conscious or content with decent picture settings, DIY methods like setup discs and presets may suffice. Weigh the benefits against the cost to decide what’s best for you.
Conclusion
By taking the time to calibrate your TV, you guarantee every scene looks its best, whether you’re watching movies or gaming. For example, imagine adjusting your settings and suddenly noticing richer colors and sharper contrast, making your favorite film feel more immersive. Just like a professional, you can fine-tune your display for ideal viewing. So, don’t skip this step—your eyes will thank you for the enhanced picture quality and a more enjoyable viewing experience.


