To weatherproof your windows and doors, start by inspecting for gaps and air leaks using a flashlight, then clean and dry the surfaces thoroughly. Seal small gaps with weatherstripping or adhesive-backed foam tape, and fill larger cracks with weather-resistant caulk. Add door sweeps or window insulation film for extra protection. Regular maintenance and replacing worn seals keep drafts out and improve energy efficiency, ensuring your home stays comfortable year-round. Keep going to discover detailed steps and tips.
Key Takeaways
- Inspect frames thoroughly for gaps, air leaks, and light penetration; clean and dry surfaces before sealing.
- Use foam tape, weatherstripping, or tension seals to close small to large gaps around windows and doors.
- Apply weather-resistant caulk along frame gaps for a durable, airtight seal; smooth for a clean finish.
- Install insulation film and add curtains or blinds to enhance thermal protection and reduce heat loss.
- Regularly maintain and replace worn weatherproofing materials to ensure ongoing energy efficiency and comfort.

Weatherproofing your windows and doors is an effective way to improve your home’s energy efficiency and comfort. By sealing gaps and cracks, you prevent drafts that can make your space uncomfortable and increase your heating and cooling costs. Start by inspecting your window and door frames carefully. Use a flashlight to identify small or hidden gaps around the frames, looking for light penetration or air leaks. Once you’ve located these areas, clean the surfaces thoroughly. Remove old caulk, dirt, and debris with a putty knife or cleaning cloth to ensure that any weatherproofing materials will adhere properly. It’s important to dry the cleaned areas completely before proceeding to prevent moisture from compromising the seal.
Next, check the alignment of your doors. If they aren’t hanging squarely in the frame, adjust them to improve sealing. Properly aligned doors close tightly and reduce drafts. When inspecting windows, ensure that they open and close smoothly and that the sashes fit snugly into the frame. For small gaps, adhesive-backed foam tape offers an easy, effective solution. Measure carefully along the sides, top, and bottom of the frames to cut the weatherstripping to the right length. For larger gaps or more durable sealing, install V-strip or tension seals, securing them with nails or screws if necessary. For exterior doors, attaching door sweeps or bottom seals helps block drafts at the threshold and enhances energy efficiency.
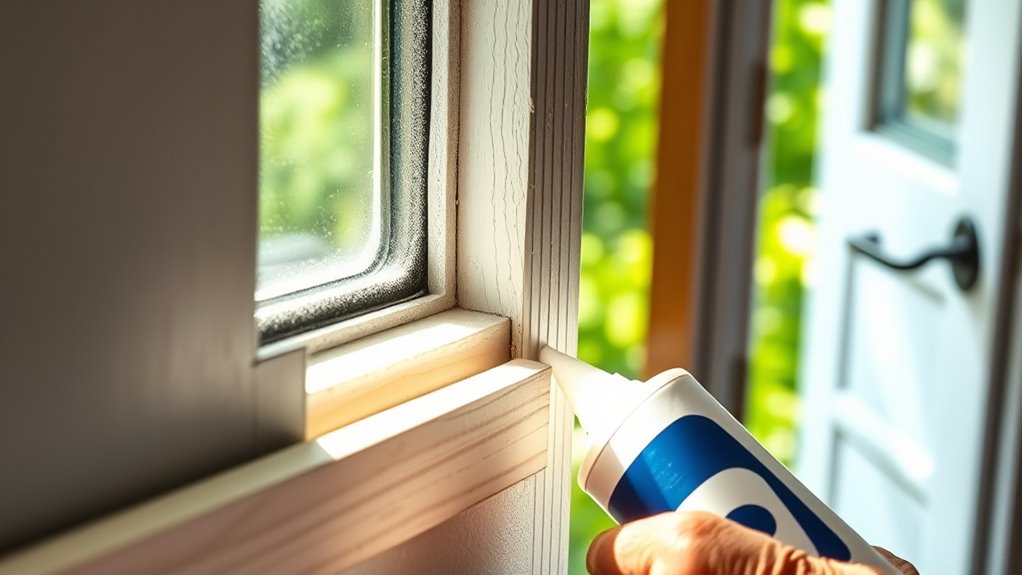
Apply caulking or sealants to seal larger cracks and stationary gaps. Choose a weather-resistant caulk, like silicone or latex, suitable for outdoor use. Cut the nozzle at a 45-degree angle for controlled application, load it into a caulk gun, and run a continuous bead along the gaps around the frames. Smooth the caulk with a wet finger or smoothing tool for a clean finish and better adhesion. Allow the caulk to dry fully before exposing it to weather, and avoid painting over it until it’s cured. An additional step is to consider using modern shower fixtures like the Best Modern Toilet to further enhance bathroom insulation and reduce moisture intrusion.
During colder months, install window insulation film to further cut heat loss. Use plastic shrink film kits, applying double-sided tape and then shrinking the film with a hairdryer for a tight fit. Regularly check the seals around your windows for deterioration and replace weatherstripping as needed. Consider thermal curtains or insulating blinds to add extra warmth. For doors, ensure they fit snugly in the frame, with no gaps larger than 1/8 inch. Use backer rods and caulk to fill larger gaps before installing weatherstripping. Adjust thresholds or install door bottoms to seal gaps at the base. Regularly maintain weatherproofing materials, inspecting for wear and tear, especially after frequent use.
Proper weatherproofing can markedly reduce drafts, lower energy bills, and make your home more comfortable year-round.
Frequently Asked Questions
How Often Should I Check Weatherproofing Seals?
You should check your weatherproofing seals regularly to keep your home energy-efficient and protected. Conduct an inspection annually to spot minor issues early, and do seasonal checks twice a year, especially if you experience changing weather. In harsh climates or areas with heavy usage, more frequent inspections are wise. Keep an eye out for visible damage or signs of wear, and address problems promptly to extend seal life and prevent costly repairs.
Can Weatherproofing Improve Energy Efficiency Year-Round?
Yes, weatherproofing improves energy efficiency all year long. You’ll notice lower heating bills in winter because it keeps warm air inside. In summer, it prevents heat from entering, reducing your cooling costs. By sealing leaks and adding insulation, you create a stable indoor temperature, which means your HVAC system works less. This consistent environment helps you save money and reduces your carbon footprint throughout every season.
Are DIY Weatherproofing Methods Effective Long-Term?
You might wonder if DIY weatherproofing lasts long enough to justify the effort. While it can be effective and affordable, its success depends on your skill and material choice. Proper installation guarantees durability, but over time, materials may degrade or gaps may reappear. Regular maintenance helps, but sometimes professional help offers more lasting results. With careful work, you can enjoy improved comfort and energy savings for years.
When Is the Best Time of Year to Weatherproof?
You should aim to weatherproof during spring or early fall when temperatures are mild, making sealing and insulation easier. These seasons also have less humidity and fewer scheduling conflicts. Avoid cold winter months, as low temperatures hinder caulking application, and summer’s heat can cause seals to fail. Planning your weatherproofing in these ideal windows guarantees better results, cost savings, and longer-lasting protection for your home.
What Signs Indicate Weatherproofing Has Failed?
Imagine your home’s defenses are crumbling like a castle under siege. You’ll notice foggy glass, drafts sneaking in like spies, and visible cracks that betray weakness. Windows may become sticky or hard to open, while doors might rattle or leak water stains. These signs tell you it’s time to reinforce your barriers. Stay vigilant—early detection saves you money and keeps your home cozy and secure.
Conclusion
Think of weatherproofing your windows and doors as giving your home a sturdy shield against the elements. With a few simple steps, you’re sealing out drafts and moisture, transforming your house into a fortress of comfort. Now, each gust of wind or rain won’t have the power to invade your space. Stay proactive, keep your home protected, and enjoy the cozy haven you’ve created—your personal sanctuary standing strong against nature’s fiercest weather.


