White balance controls how your camera interprets colors based on lighting conditions to produce natural-looking photos and videos. It adjusts for warm or cool light sources like daylight, tungsten, or fluorescent indoors. Using preset settings or manual adjustments guarantees consistency, especially when lighting changes. Automatic white balance can be quick but sometimes inaccurate, so understanding when to switch to manual helps achieve better results. If you keep exploring, you’ll discover even more tips for perfect color accuracy.
Key Takeaways
- Use presets like daylight, tungsten, or cloudy to quickly match common lighting conditions.
- Consider manual white balance for precise color control, especially in tricky or mixed lighting environments.
- Always double-check and adjust white balance settings before shooting to prevent unnatural color casts.
- Utilize a gray card or neutral target for custom white balance, ensuring accurate color reproduction.
- Shooting in RAW format allows fine-tuning white balance during post-processing for optimal results.
Understanding the Basics of White Balance
Have you ever noticed that photos taken indoors sometimes look too yellow or too blue? That’s because of white balance, which adjusts for color temperature—the warmth or coolness of the light source. When your camera’s sensor isn’t properly calibrated, it struggles to interpret the true color of the scene, causing color casts. Understanding white balance means recognizing that different light sources emit varying color temperatures, from warm tungsten bulbs to cool fluorescent lights. Proper sensor calibration guarantees your camera accurately captures these nuances, so your photos look natural. Adjusting white balance settings helps your camera interpret colors correctly, preventing unwanted color shifts. By mastering the basics of white balance, you’ll improve your photos’ overall color accuracy, no matter the lighting conditions. Being aware of lighting conditions can further enhance your ability to set the correct white balance for each shot.
How Different Lighting Conditions Affect Your Photos and Videos
Lighting conditions can substantially change how your photos and videos look. Natural light differs from artificial light in color and intensity, affecting your white balance choices. Additionally, indoor and outdoor settings each present unique lighting challenges you need to adjust for ideal results. For those using cameras, understanding how to manage Gold IRA rollovers can also help secure your financial future amidst changing economic conditions.
Natural vs. Artificial Light
Different lighting conditions can dramatically change the look and feel of your photos and videos. Natural light, like sunlight, tends to have a warmer color temperature during golden hour, creating soft, inviting tones. In contrast, artificial light sources, such as tungsten or fluorescent bulbs, often have a cooler or inconsistent color temperature, which can introduce unwanted color casts. These differences affect your white balance settings and overall image quality. Lighting contrast also varies; natural light usually offers a balanced contrast, while artificial lighting can create harsher shadows or uneven brightness. Understanding how natural versus artificial light influences color temperature and contrast helps you choose the right white balance setting and adapt your camera for consistent, true-to-life results. Additionally, knowing how lighting conditions impact your camera’s settings allows for better control over the final image quality.
Indoor vs. Outdoor Settings
Indoor and outdoor settings present distinct lighting challenges that directly impact your photos and videos. Indoor lighting often has a warmer or cooler color temperature, which affects the light spectrum and can cause color casts if not corrected. Outdoor lighting, especially during midday, offers a broader light spectrum with a higher color temperature, resulting in cooler tones. In shaded areas or during sunrise and sunset, the color temperature drops, creating warmer tones. These variations influence how your camera’s white balance interprets the scene. To get accurate colors, you need to adjust your white balance settings based on whether you’re indoors or outdoors. Understanding how different lighting conditions affect the light spectrum helps you make better white balance decisions and achieve natural-looking photos and videos. Additionally, recognizing signs of spoiled lemon juice can help you avoid using it in food or drinks, ensuring freshness in your culinary preparations.
Common White Balance Settings and When to Use Them
Understanding common white balance settings helps you capture accurate colors in different lighting conditions. When shooting outdoors in bright sunlight, the daylight or sunny setting is your best choice. For indoor scenes lit by incandescent bulbs, switching to tungsten or incandescent mode guarantees your photos look natural.
Daylight and Sunny
When shooting outdoors on a sunny day, setting your camera’s white balance to the “Daylight” or “Sunny” mode guarantees that colors appear natural and true to life. This setting adjusts for the typical color temperature of midday sunlight, which falls around 5500K to 6500K on the light spectrum. By matching your camera’s white balance to this range, you ensure that the color temperature aligns with the natural light, preventing color casts that can distort your images. Using the “Sunny” mode is ideal when shooting in bright, direct sunlight, as it preserves the vibrant colors and maintains accurate skin tones. This setting simplifies your workflow and guarantees consistent, true-to-life results in outdoor conditions. Additionally, understanding AI’s role in safety measures can help you stay informed about emerging technologies that ensure more reliable and secure imaging environments.
Tungsten and Incandescent
Ever wonder how to keep your indoor shots looking natural under artificial lighting? Tungsten lighting and incandescent bulbs emit warm, orange hues that can make your photos appear overly yellow or orange if not corrected. To counter this, set your camera’s white balance to the tungsten or incandescent setting. This adjusts the color temperature, neutralizing the warm glow and producing accurate skin tones and colors. Use this setting whenever you’re shooting indoors under traditional incandescent bulbs or tungsten lights. It’s especially helpful in environments with standard household lighting, ensuring your images don’t look too warm or unnatural. By selecting the tungsten or incandescent white balance, you easily capture true-to-life colors, making your indoor photos look natural and professional. Additionally, understanding color temperature can help you better anticipate how different light sources affect your images.
Manual vs. Automatic White Balance: Pros and Cons
Choosing between manual and automatic white balance depends on your priorities and shooting conditions. Automatic white balance adjusts instantly, making it convenient for quick shoots or changing lighting. However, it relies on the camera’s sensor calibration and may misjudge color temperature, resulting in inconsistent colors. Manual white balance offers precise control, allowing you to set the exact color temperature for consistent results, especially in mixed or tricky lighting. It’s ideal when you want to ensure accurate color reproduction. The downside is that manual adjustments can be time-consuming and require more effort, especially if lighting changes frequently. Ultimately, automatic white balance is great for simplicity, while manual is better when you need control over color accuracy and consistency. Understanding lighting conditions can help you decide which method best suits your needs.
Practical Tips for Correctly Setting White Balance in the Field
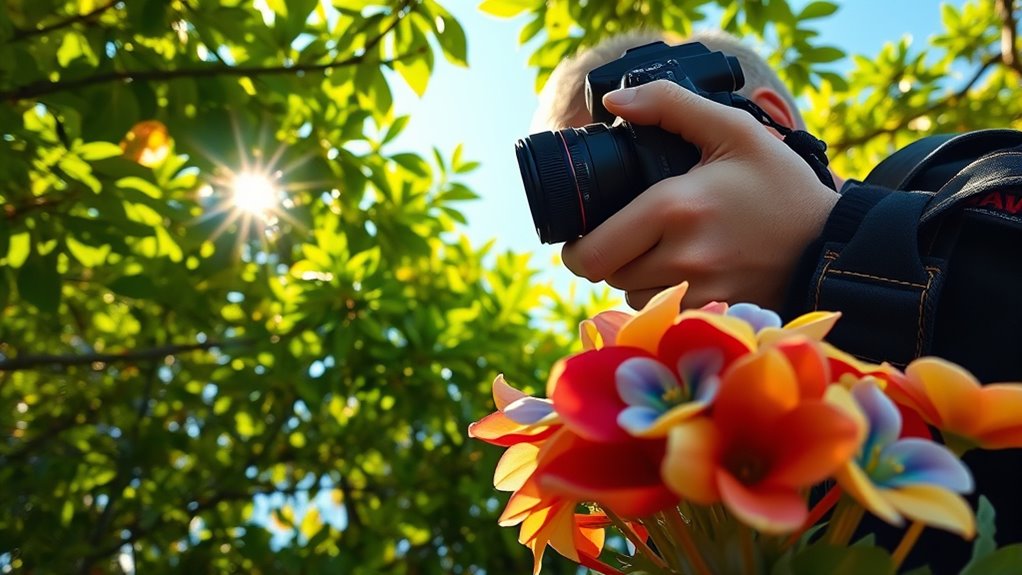
To guarantee your photos look natural and consistent, setting the white balance correctly in the field is key. Start by evaluating the lighting conditions and adjusting the camera’s color temperature accordingly. When possible, use a gray card to establish a neutral reference point; simply photograph the gray card in the current lighting. This helps you set a custom white balance that matches the environment perfectly. If your camera has a preset for daylight, cloudy, or tungsten, select the one that closely matches your scene. Always double-check your settings before shooting, especially if lighting changes. These practical tips ensure accurate color reproduction and avoid color casts, resulting in natural-looking photos whether you’re outdoors or indoors. Additionally, understanding how air quality can impact your environment helps in creating optimal conditions for capturing true-to-life images.
Troubleshooting White Balance Issues and Achieving Consistent Results
When you notice that your photos have an unnatural color cast or look inconsistent across different shots, troubleshooting your white balance settings becomes essential. Check your camera’s color temperature setting to match your environment—whether daylight or tungsten. If issues persist, consider sensor calibration, which ensures your camera’s sensor accurately captures colors. Sometimes, shooting in RAW allows you to fine-tune white balance later for consistency. Use a grey card or neutral target to set a custom white balance precisely. Keep a record of your settings for different lighting conditions to maintain uniformity. Regular performance upgrades can also help your camera perform optimally in various lighting environments.
Frequently Asked Questions
How Does White Balance Impact Color Accuracy in Professional Video Production?
White balance directly impacts color accuracy in professional video production by adjusting for color temperature, ensuring your footage looks natural. When you set the correct white balance, you maintain color consistency across shots, avoiding unwanted color shifts. Proper white balance helps your camera interpret the scene’s lighting conditions accurately, resulting in true-to-life colors. This consistency is essential for seamless editing and professional-quality videos, making your visuals appear polished and cohesive.
Can White Balance Settings Influence the Mood or Tone of a Photograph?
Yes, white balance settings can influence the lighting mood and emotional tone of your photograph. By adjusting white balance, you control whether the image feels warm and inviting or cool and distant. For example, a warmer setting creates a cozy, intimate mood, while cooler tones evoke calmness or detachment. You can use this tool creatively to reinforce the story or feeling you want your photo to convey.
Are There Specific White Balance Tips for Shooting in Mixed Lighting Environments?
In mixed lighting environments, you should prioritize matching your camera’s white balance to the dominant light source’s color temperature. Think of it as blending warm sunset tones with cool fluorescent hues. Use presets like “Auto” or set custom white balance if possible. Adjust accordingly to prevent color casts, allowing your images to have natural tones that reflect the true mood regardless of the variety of light sources around you.
How Do Different Camera Brands and Models Handle White Balance Differently?
You’ll find that different camera brands and models handle white balance uniquely, affecting your color accuracy. Some brands offer more consistent camera brand consistency, making it easier to match settings across devices. Others require model specific adjustments, especially in tricky lighting. To get the best results, learn your camera’s white balance features, experiment with custom settings, and note how each model reacts to various lighting conditions for ideal color accuracy.
What Are the Best Practices for Adjusting White Balance During Post-Processing?
Did you know that 70% of professional photographers rely on post-processing for perfect white balance? To adjust white balance during post-processing, use color correction tools in software like Adobe Lightroom or Photoshop. Start by selecting a neutral area, then fine-tune the temperature and tint sliders until colors look natural. This approach guarantees accurate colors and a consistent look across your images, giving you complete control over your final results.
Conclusion
Now that you understand white balance, you’re ready to take control of your photos and videos. But the real challenge begins when lighting suddenly changes, and your shot looks off. Will you adjust on the fly or let your camera decide? Mastering white balance isn’t just about settings; it’s about creating images that tell your story perfectly. Stay sharp, stay curious—your next stunning shot is just a tweak away.


