To expose for log video, use a flat or log profile to maximize dynamic range. Keep an eye on histogram, waveform, or false color tools to prevent overexposure and crushed shadows. Adjust your ISO, shutter speed, and aperture for proper balancing, aiming to expose slightly to the right without clipping highlights. Regularly monitor your footage and practice with different lighting conditions; a few tips can lead to better results if you keep exploring what’s involved.
Key Takeaways
- Use flat or log profiles to maximize dynamic range and prevent highlight blowout.
- Monitor exposure with histograms, zebras, or false color to avoid clipping highlights or crushing shadows.
- Expose to the right (ETTR) without overexposing to retain highlight detail while maintaining image quality.
- Adjust ISO, aperture, and shutter speed carefully, ensuring proper calibration for accurate exposure.
- Regularly review footage on set to confirm balanced exposure before critical shots.
Understanding Log Video and Its Benefits
Understanding log video is essential because it captures a wider dynamic range, allowing you to preserve detail in both shadows and highlights. This expanded range ensures your footage maintains rich detail even in challenging lighting conditions. Log profiles are designed to maximize highlight retention, preventing bright areas from blowing out while still revealing shadow detail. By recording in log, you give yourself more flexibility during post-production, making color grading smoother and more nuanced. This approach is especially useful when shooting scenes with high contrast, where standard profiles might lose critical details. Additionally, understanding how high dynamic range impacts exposure decisions helps you capture footage with maximum tonal information, resulting in images that look natural and professional, with maximum detail preserved across the entire tonal spectrum.
Choosing the Right Camera Profile and Settings
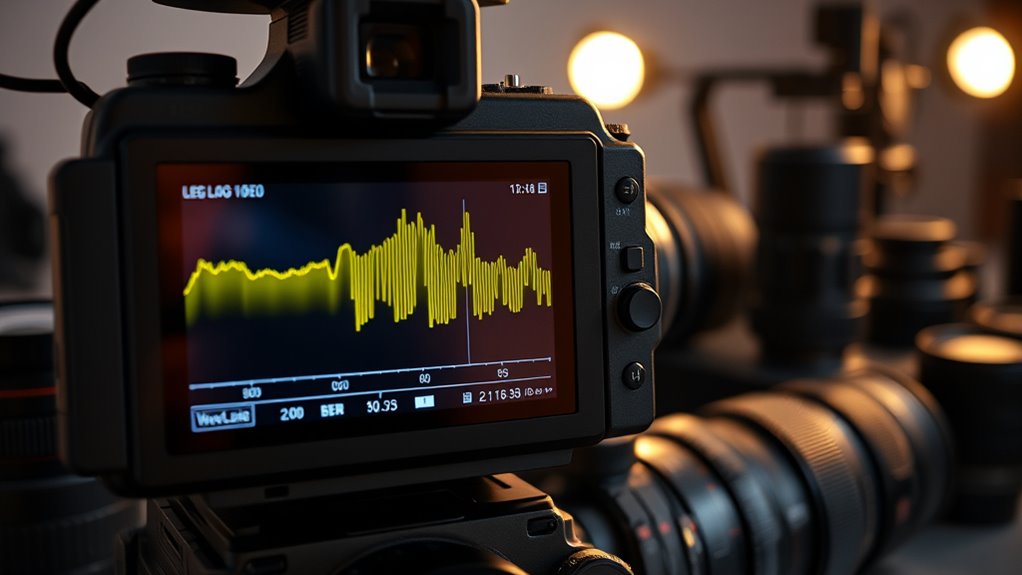
Selecting the appropriate camera profile and settings is essential for capturing high-quality log footage. Your choice affects image flexibility and color accuracy later. Focus on these key aspects:
- Use a flat or log profile to maximize dynamic range.
- Verify proper camera calibration to match your workflow.
- Choose lenses with minimal distortion for cleaner images.
- Adjust ISO and shutter speed to optimize exposure without compromising image quality.
- Be aware of Forsale 100 availability when planning your camera equipment and accessories.
Recognizing the Challenges of Exposing for Log Footage

While choosing the right camera profile sets the foundation for capturing log footage, exposing it correctly presents unique challenges. Log footage has a wide dynamic range, which means you need to find a balance between preserving highlights and capturing shadows without losing detail. This can be tricky because the image often looks flat and desaturated, making it hard to judge exposure accurately. Additionally, different cameras have distinct color science, affecting how log data translates into final colors. Misjudging exposure can lead to blown-out highlights or crushed shadows, reducing the footage’s flexibility in post-production. You have to develop an eye for subtle tonal differences and understand your camera’s response to light. Recognizing these challenges helps you make better exposure decisions, ensuring your log footage retains maximum detail and color fidelity. Understanding camera calibration is essential for translating log footage into accurate and vibrant images.
The Importance of Proper Metering Techniques
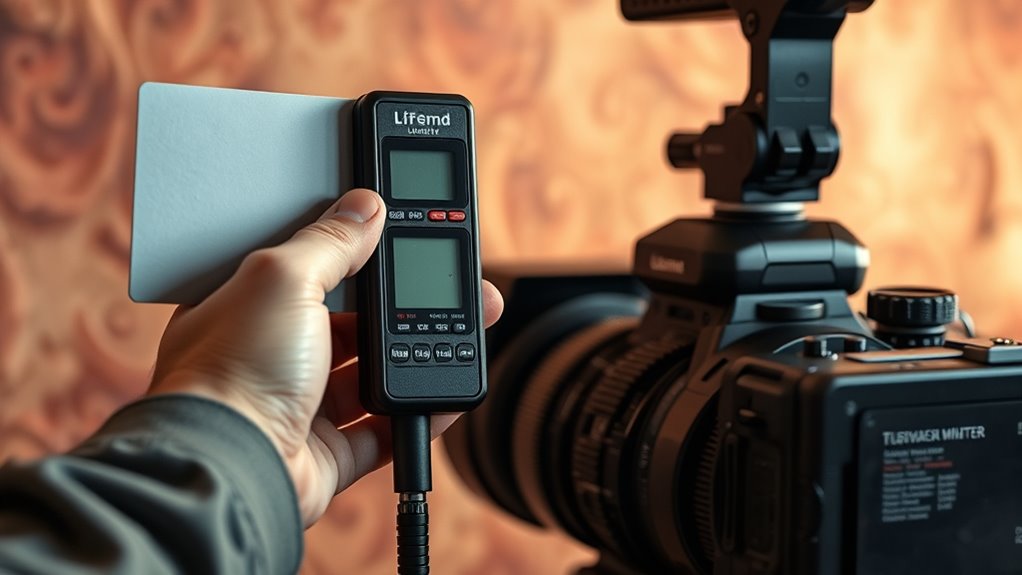
Using proper metering techniques guarantees your log footage maintains consistent exposure and detail. You need to understand how different metering modes work to make accurate adjustments. Balancing scene brightness is key to capturing the dynamic range that log video demands.
Consistent Exposure Settings
Achieving consistent exposure settings is essential for capturing log video with the desired quality and detail. Your camera sensor responds best when exposure is stable, allowing for accurate color grading later. To maintain this consistency, focus on these key points:
- Adjust your exposure triangle components—aperture, shutter speed, and ISO—carefully to keep exposure steady.
- Use manual mode to prevent automatic adjustments that can vary between shots.
- Lock exposure settings once you’ve achieved the right balance, avoiding fluctuations during recording.
- Rely on your camera’s zebras or waveform monitors to verify consistent exposure levels.
- Additionally, understanding light exposure and how it affects image quality can help you fine-tune your settings for log video.
Understanding Metering Modes
Proper metering modes determine how your camera measures the scene’s brightness, directly impacting your log video’s exposure consistency. Choosing the right metering mode is essential for applying effective exposure techniques, especially in challenging lighting conditions. Spot metering lets you measure a small area, ideal for high-contrast scenes or when you want precise control over specific subjects. Evaluative or matrix metering analyzes the entire scene to produce a balanced exposure, useful for general shooting. Center-weighted metering prioritizes the middle of the frame, helping when your subject is centered but lighting is uneven. Understanding these metering modes helps you adapt your exposure techniques to different scenarios, ensuring your log footage maintains the desired brightness and contrast levels. Mastering metering modes empowers you to achieve consistent, professional-quality results. Additionally, knowing how different butter making techniques influence the final product can improve your understanding of exposure and lighting, leading to better video results.
Balancing Scene Brightness
Balancing scene brightness is essential for capturing log video that retains detail in both shadows and highlights. Proper metering guarantees you maximize your camera’s dynamic range and optimize highlight retention. To achieve this:
- Use spot metering on the brightest part of the scene to prevent overexposure.
- Adjust exposure settings so that midtones are correctly exposed, preserving detail.
- Monitor the histogram to ensure highlights aren’t clipping and shadows aren’t crushed.
- Consider using zebras or false color to visualize highlight retention and fine-tune your exposure.
How to Use Histogram and Waveform Monitors Effectively
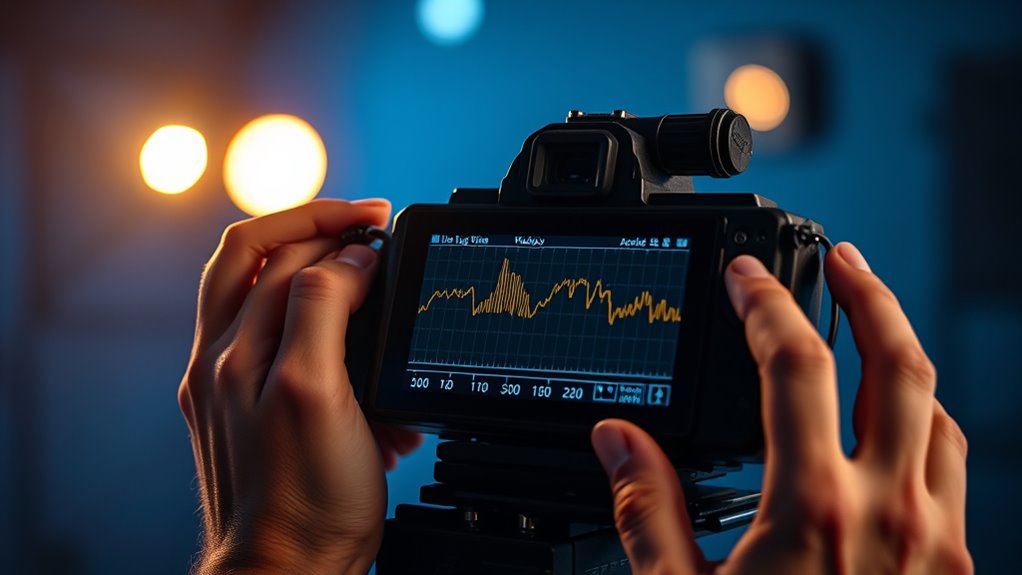
Understanding how to read your histogram helps you spot exposure issues quickly. Use the trends to adjust your settings so highlights stay within the safe zone and shadows aren’t crushed. The waveform monitor then guides you in balancing your image for consistent, professional results. Additionally, employing data-driven strategies can help you analyze your footage more effectively and make precise adjustments.
Reading Histogram Trends
Reading histogram trends effectively requires you to interpret the data it presents about your image’s exposure. A well-understood histogram helps you maintain ideal dynamic range and avoid highlight clipping. Focus on these key points:
- Watch for peaks at the far right; they indicate potential highlight clipping, risking loss of detail.
- Ensure the histogram isn’t bunched on the far left, which suggests underexposure.
- Balance the midtones to preserve detail across shadows and highlights.
- Use the histogram as a guide to adjust exposure, keeping important elements within the safe range for log footage.
- Keep an eye on the histogram’s shape to understand the image’s tonal distribution and make more precise exposure adjustments.
Adjusting Exposure Properly
Once you’ve interpreted your histogram to assess exposure, the next step is to make precise adjustments using your monitor tools. Use your waveform monitor to verify highlights and shadows, making certain details aren’t lost or clipped. Apply metering techniques like spot or center-weighted metering to maintain exposure consistency across different scenes. Adjust your camera’s ISO, shutter speed, or aperture as needed to fine-tune exposure. Keep an eye on your histogram, aiming for a balanced distribution without spikes at the extremes. Consistent exposure is vital, especially with log footage, so regularly check your tools during shooting. This approach helps you achieve even, controlled exposure, providing a solid foundation for post-production grading. Proper adjustment ensures your log video maintains detail and dynamic range. Additionally, understanding exposure control techniques can greatly enhance your ability to capture high-quality log footage.
Using Waveform for Balance
To achieve balanced exposure, you need to interpret your waveform and histogram monitors effectively during filming. These tools help you gauge your camera’s dynamic range and prevent clipping highlights or losing shadow detail. Use the waveform to:
- Identify areas near the top of the scale to avoid highlight overexposure and enable highlight recovery.
- Check the shadows and midtones, ensuring no loss of detail in darker regions.
- Monitor the overall distribution to maximize dynamic range without crushing highlights or crushing blacks.
- Adjust exposure accordingly to keep critical details within the safe zone, allowing for highlight recovery if needed. Remember, a well-balanced waveform ensures you capture the full dynamic range of log footage, giving you flexibility in post-production and preventing blown-out highlights.
Additionally, understanding how Kia Tuning can optimize engine performance and visual modifications can help you perfect your footage, especially when capturing vehicles in motion or showcasing aesthetic details.
Exposing for Log: Avoiding Common Pitfalls

When exposing for log footage, it’s easy to make mistakes that can compromise your image quality later in color grading. One common pitfall is overexposing, which can lead to lost highlight details and reduced highlight retention. Conversely, underexposing can crush shadows, limiting your dynamic range. To avoid these issues, pay close attention to your camera’s exposure settings and avoid the temptation to push the image too far in either direction. Here’s a quick guide:
| Tip | Why it matters |
|---|---|
| Use the histogram | Prevents highlight clipping |
| Expose to the right | Maximizes dynamic range without overexposing |
| Monitor highlight clipping | Ensures highlight retention |
| Avoid overexposure | Preserves highlight details |
| Keep shadows liftable | Maintains shadow detail |
Staying mindful of these pitfalls helps you capture a balanced log image ready for grading.
Practical Tips for Balancing Shadows and Highlights
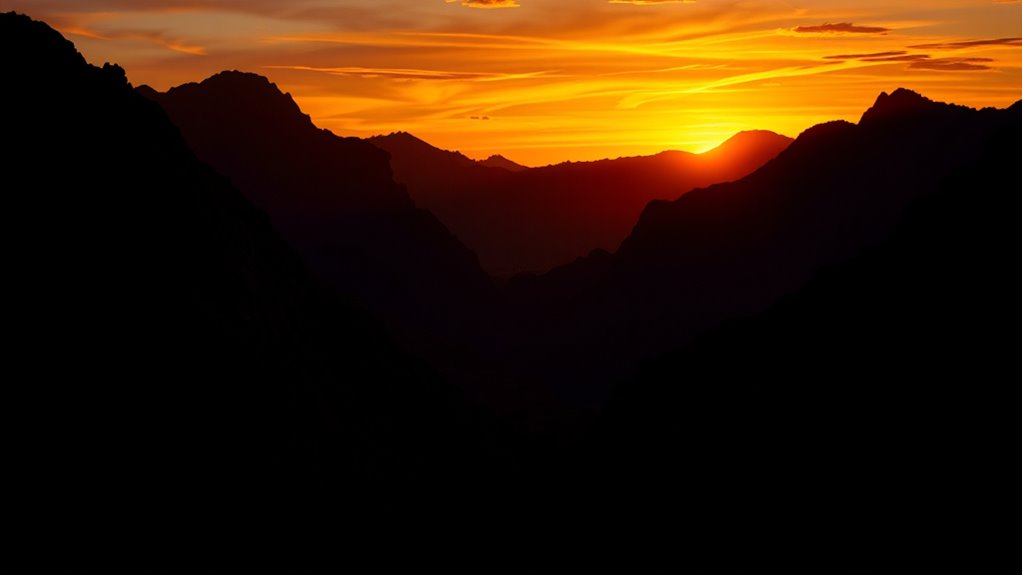
Balancing shadows and highlights in log footage requires a careful approach to guarantee neither is overly dominant or lost. To maximize dynamic range and color accuracy, focus on these practical tips:
- Use a waveform monitor to identify true shadow and highlight details without clipping.
- Set your exposure so the highlights are just below the maximum brightness, preserving detail.
- Adjust your camera’s native ISO for ideal sensor performance, ensuring accurate colors.
- Keep in mind that a slight underexposure can protect highlights and improve overall dynamic range, making post-production adjustments easier.
- Incorporate AI-powered tools to analyze your footage and suggest optimal exposure settings for balanced shadows and highlights.
Adjusting Exposure During and After Shooting

Adjusting exposure during and after shooting is crucial for capturing log footage with maximum detail and flexibility. During filming, use aperture control to fine-tune exposure in real-time, ensuring your sensor calibration is accurate to avoid over- or underexposure. Proper sensor calibration helps your camera interpret light correctly, providing a reliable baseline for adjustments. If you notice your footage is too bright or dark, you can make slight tweaks to the aperture or shutter speed while shooting. After recording, software tools allow you to fine-tune exposure further without degrading image quality. This flexibility is essential for log footage, where preserving shadow and highlight detail is critical. Remember, consistent aperture control and understanding your sensor’s calibration ensure your adjustments remain precise and effective.
Post-Production Considerations for Log Footage

When working with log footage, you’ll find that it offers great flexibility for color grading, allowing you to achieve your desired look. However, you also need to contemplate noise reduction strategies, especially if your exposure wasn’t perfect. Addressing these post-production aspects ensures your final video looks professional and polished. Additionally, understanding AI’s role in cybersecurity can help you implement smarter noise reduction tools that adapt to your footage.
Color Grading Flexibility
Log footage offers exceptional color grading flexibility because of its wide dynamic range and flattened image profile. This allows you to push colors and contrast without losing detail. To maximize this potential, consider these key points:
- Use camera filters carefully to control highlights and preserve image quality during grading.
- Guarantee proper lens calibration to maintain accurate color and exposure consistency across shots.
- Maintain a consistent color science profile to streamline your workflow.
- Plan your grading approach early, knowing you can recover shadows and highlights more easily.
- Pay attention to essential oil properties during post-production to understand how different enhancements can influence mood and tone in your footage.
Noise Reduction Strategies
Effective noise reduction is vital for maintaining the quality of log footage, especially since its flat image profile can accentuate grain in low-light or high-ISO shots. Sensor noise and image noise become more apparent after grading, making it imperative to apply targeted noise reduction techniques in post-production. Start by using noise reduction plugins or software that allow you to selectively reduce grain without sacrificing detail. Be cautious not to overdo it, as excessive noise reduction can result in a plasticky or smoothed appearance. Focus on areas with the most noise, often shadows and dark regions, while preserving sharpness in important details. Fine-tuning these settings ensures your log footage retains clarity and depth, even after reducing unwanted sensor and image noise. Additionally, understanding how quality assessment impacts noise reduction choices can help optimize the final image.
Practice Exercises to Improve Your Log Exposure Skills
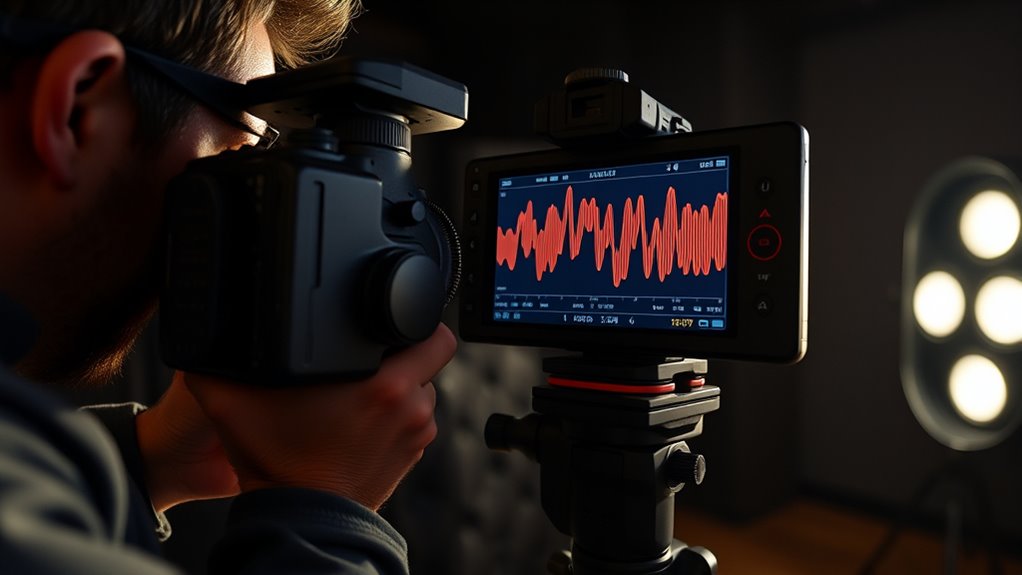
Practicing specific exercises can considerably enhance your ability to nail log exposure. Focus on mastering lighting techniques and gear selection to achieve better results. To sharpen your skills, try these exercises:
- Capture scenes at different lighting conditions to learn how exposure changes with ambient light.
- Experiment with adjusting your camera’s ISO, shutter speed, and aperture for ideal log footage.
- Use a neutral gray card to practice consistent exposure and understand how your gear responds.
- Test various filters and accessories to see their impact on your exposure and image quality.
- Pay attention to how light levels influence exposure settings to better anticipate adjustments in various shooting environments.
These exercises help you develop intuition for lighting and gear choices, ultimately improving your log video skills and confidence in challenging situations.
Frequently Asked Questions
How Does Lighting Quality Impact Log Exposure Accuracy?
Lighting quality greatly impacts log exposure accuracy because better lighting enhances your camera’s dynamic range and contrast optimization. When you have consistent, well-balanced light, it’s easier to judge proper exposure levels, capturing more detail in shadows and highlights. Poor lighting, on the other hand, can cause you to misjudge exposure, resulting in clipped highlights or crushed shadows. High-quality lighting guarantees you get the most precise log footage, making post-processing smoother.
Can Smartphone Cameras Effectively Shoot Log Footage?
Smartphone cameras can shoot log footage, but their effectiveness depends on sensor calibration and image stabilization. You need a device with well-calibrated sensors to accurately capture the wide dynamic range log offers. Good image stabilization helps prevent motion blur, especially in handheld shots. While smartphones have limitations, using models with advanced stabilization and calibration can yield surprisingly good log footage, provided you understand their capabilities and limitations.
What Accessories Help Improve Log Exposure Precision?
You can improve log exposure precision by using accessories like exposure tools and sensor calibration devices. A calibrated external light meter helps you measure light accurately, ensuring proper exposure. Additionally, using exposure tools like histogram displays, zebras, or false color monitors guides you to set correct exposure levels. These accessories allow you to fine-tune your camera’s sensor, giving you consistent, professional results when shooting log footage.
How Does Color Grading Influence Initial Exposure Decisions?
While your camera’s initial exposure might seem set in stone, color grading subtly guides your choices, influencing how you approach exposure. Dynamic color grading relies on consistent exposure to make certain adjustments later. If you plan on heavy grading, you’ll want to expose carefully now, maintaining exposure consistency to prevent surprises. This foresight helps your footage look polished, giving you more creative freedom in post-production without compromising image quality.
Are There Specific Weather Conditions That Affect Log Video Exposure?
Certain weather conditions, like bright sunlight or overcast skies, can impact your log video exposure. When shooting in varying weather, make sure your camera’s sensor calibration is precise for consistent results. Using weather-resistant gear helps protect your equipment from elements like rain or snow, maintaining ideal exposure. Adjust your exposure settings accordingly, especially in extreme conditions, to avoid clipping highlights or losing detail in shadows.
Conclusion
Mastering log exposure might seem tricky, but it’s all about practice and patience. As you refine your techniques, you’ll notice how each shot reveals more depth and nuance—almost like the camera’s waiting to tell its story. Remember, the right exposure isn’t just technical; it’s where your vision and the camera’s potential align. Keep experimenting, and you’ll find that sometimes, the most unexpected adjustments lead to the most stunning results.

