To achieve cinematic slow motion, focus on shooting at high frame rates like 120 fps or more, with shutter speeds around 1/2 to 1/3 of your frame rate for smooth motion. Use proper lighting, sturdy equipment, and filters to enhance clarity. Fine-tune your camera’s settings, and don’t forget the importance of post-processing for color and noise. If you want to access the secrets, there’s more behind the techniques that make footage truly cinematic.
Key Takeaways
- Set your camera to at least 120 fps for smooth cinematic slow motion, adjusting shutter speed to double your frame rate.
- Use wide apertures and ND filters to ensure proper exposure and depth of field in high frame rate shooting.
- Maintain consistent lighting and avoid sudden changes to prevent flickering and color inconsistencies in slow motion footage.
- Synchronize audio separately or disable it during recording to prevent sync issues with high frame rate footage.
- Post-process with color grading, noise reduction, and stabilization to enhance cinematic quality and polish your slow motion videos.
Understanding Frame Rates and Shutter Speed for Slow Motion

When shooting slow motion, understanding how frame rates and shutter speed work together is essential. Your choice of frame rate considerations directly impacts the smoothness of your footage; higher frame rates, like 120 fps or more, allow for more detailed slow motion. However, to maintain natural motion, you need a proper shutter speed balance—generally double your frame rate, such as 1/240s for 120 fps. This ensures your footage isn’t too blurry or overly sharp, preserving cinematic quality. If your shutter speed is too slow, motion becomes smeared, losing clarity. Conversely, too fast a shutter speed can make footage appear choppy. Mastering the relationship between frame rate considerations and shutter speed balance lets you craft seamless, professional slow motion shots. Using the right video settings and understanding their impact helps achieve a more polished final product.
Selecting the Right Camera Settings for Smooth Playback

Choosing the right camera settings is essential for achieving smooth slow motion playback. To avoid issues like choppy footage caused by inconsistent frame interpolation, set your camera to a high frame rate, typically double or more your intended playback speed. This ensures fluid motion and reduces artifacts. Additionally, guarantee your shutter speed aligns with your frame rate; a good rule is to use a shutter speed around 1/2 to 1/3 of your frame rate. Pay attention to audio synchronization—shooting in high frame rates can make audio sync tricky if you’re recording sound simultaneously. To prevent desynchronization, either record audio separately or disable audio recording during slow-motion captures. Properly balancing these settings guarantees seamless, professional-looking slow motion footage. Understanding your camera’s frame rate capabilities is crucial for optimizing your slow motion videos.
Essential Equipment and Accessories for High-Quality Slow Motion
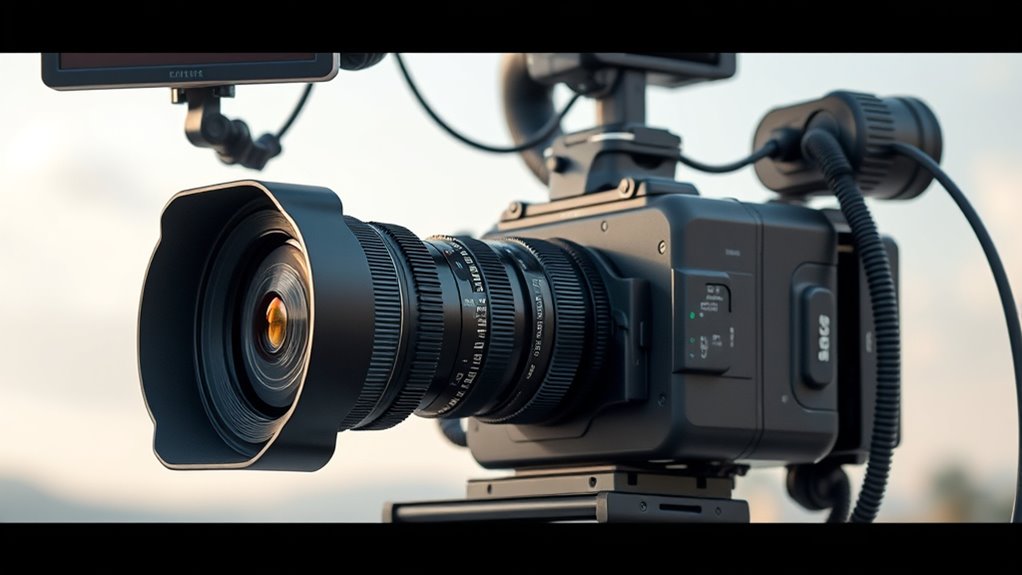
To capture smooth, high-quality slow motion footage, having the right equipment and accessories is essential. First, guarantee tripod stability; a sturdy tripod minimizes camera shake, keeping your shots steady during high-speed recording. Look for tripods with fluid heads for smooth panning and precise control. Equally important is lens selection—choose lenses with wide apertures to achieve sharper focus and better background blur, enhancing the cinematic feel. A fast lens with a wide aperture also allows more light, which helps when working in variable lighting conditions. Additionally, consider accessories like ND filters to manage exposure and prevent overexposure during bright scenes. For those aiming for cinematic results, using Kia Tuning techniques can inspire creative camera movements and stylistic choices that elevate your slow motion footage. Combining a stable tripod with the right lens options ensures your slow motion captures are crisp, professional, and visually compelling.
Optimal Lighting Techniques to Enhance Slow-Mo Footage
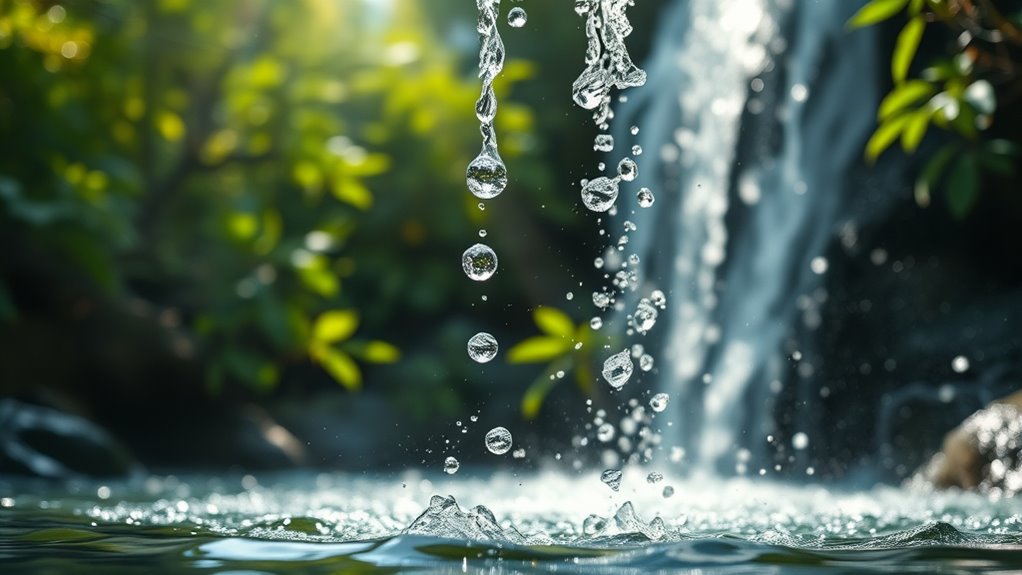
Great lighting can make or break your slow-motion footage. To get the best results, focus on effective lighting techniques that highlight movement and detail. Use soft, diffused light to minimize harsh shadows and guarantee even exposure, which is vital when shooting at high frame rates. Position lights to create depth and dimension, emphasizing textures and shapes. Consistent lighting helps maintain color accuracy, simplifying color grading later. Additionally, consider the color temperature—warmer tones evoke intimacy, while cooler tones add a modern feel. Proper lighting not only enhances the visual clarity but also gives you more flexibility during post-production, making color grading smoother. Mastering these lighting techniques ensures your slow-motion footage is vibrant, crisp, and ready for stunning cinematic presentation. Exploring Mazda Tuning techniques can also inspire creative lighting setups that complement your footage style.
Techniques for Capturing Dynamic and Cinematic Shots
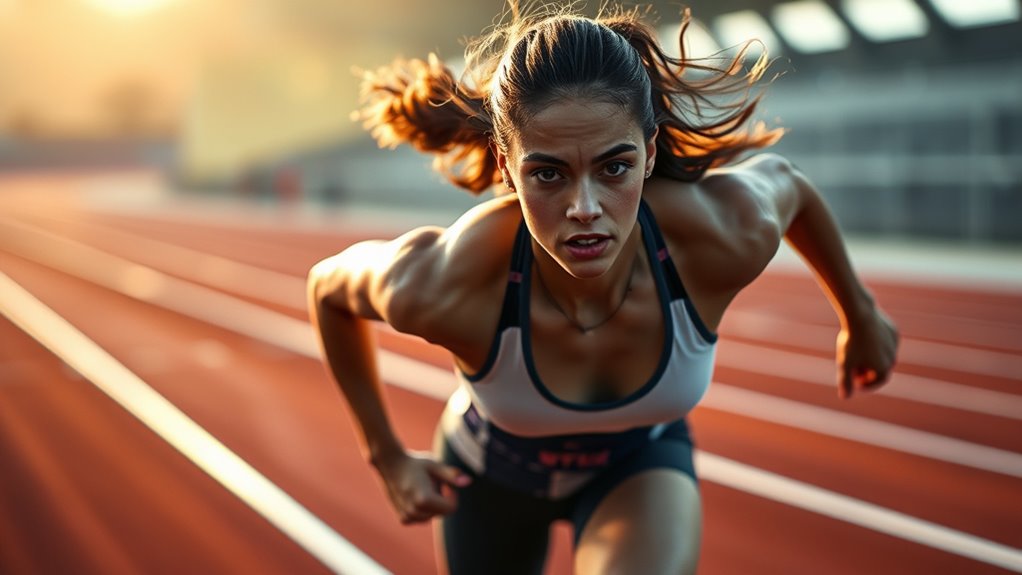
Capturing dynamic and cinematic shots requires intentional camera movements and framing that add energy and storytelling depth. To achieve this, select the right camera lenses that enhance focus and depth, creating a more immersive experience. Use stabilization gear like gimbals or steadicams to keep your shots smooth, even during rapid movements. Consider these techniques:
- Dramatic Push or Pull: Move the camera closer or farther to emphasize action or emotion.
- Tracking Shots: Follow subjects smoothly to add momentum and continuity.
- Tilt and Pan: Shift your camera vertically or horizontally to reveal details or establish context.
Additionally, understanding how juice cleansing and detox can influence overall wellness can inspire creative storytelling during filming, as vibrant health visuals often enhance cinematic appeal.
Post-Processing Tips to Perfect Your Slow Motion Videos

Once you’ve recorded your slow motion footage, the real work begins in post-processing to enhance its cinematic impact. Start with color grading to improve mood and consistency; subtle adjustments can make your footage look more polished and vibrant. Pay attention to contrast, saturation, and color tones to match the desired aesthetic. Noise reduction is also essential, especially if your footage has grain or digital noise from low-light conditions. Use noise reduction tools carefully to smooth out imperfections without losing detail. Fine-tuning these elements helps your slow motion videos appear crisp, professional, and visually engaging. Remember, small adjustments in post-processing can elevate your footage from good to cinematic, making your slow motion shots truly stand out. Additionally, understanding basic video editing techniques can further refine your final product and ensure your footage achieves a truly cinematic quality.
Common Mistakes to Avoid When Shooting Slow Motion

Shooting slow motion footage can be tricky, and avoiding common mistakes is key to achieving smooth, professional results. One mistake is neglecting audio synchronization; slow motion often requires separate audio or no audio at all, so plan accordingly. Second, don’t overlook storage capacity—high frame rates generate large files, risking space shortages mid-shoot. Always check your storage before recording. Third, avoid shooting at inconsistent shutter speeds; a stable shutter speed ensures natural motion. Also, be mindful of lighting, as insufficient light can cause graininess. Properly understanding divorce laws and their impact can influence your planning and post-production decisions. By paying attention to these details, you’ll prevent issues like choppy footage or data loss, ensuring your slow motion shots are clean and seamless from start to finish.
Frequently Asked Questions
How Do Different Frame Rates Affect Slow Motion Quality?
Different frame rate choices markedly impact slow motion quality; higher frame rates like 120fps or 240fps capture more detail, ensuring better motion clarity. When you shoot at a higher frame rate, the footage appears smoother and more natural during slow motion, reducing blurriness. Conversely, lower frame rates may result in choppier footage, making fast movements less fluid. So, choosing the right frame rate helps you achieve crisp, professional-looking slow motion shots.
What Are the Best Camera Settings for Extreme Slow Motion?
Think of your camera as a painter’s brush for extreme slow motion—you need precision. Set your frame rate high, like 240fps or more, to capture crisp detail. Use a shutter speed double your frame rate for sharpness. Turn off frame interpolation to avoid artifacts, and shoot in RAW for better color grading. These settings give you the control and clarity to craft stunning cinematic slow-mo sequences.
Which Accessories Can Improve Stability During Slow Motion Shooting?
To improve stability during slow motion shooting, you should invest in a sturdy tripod to enhance tripod stability, preventing unwanted camera shake. Additionally, a gimbal can considerably boost performance, offering smooth, fluid movements even at high frame rates. Using these accessories helps you capture crisp, professional slow motion footage, reducing jitters and ensuring your shots stay steady, no matter how intricate your scene gets.
How Does Shutter Angle Influence Motion Blur in Slow Motion?
Shutter angle directly influences motion blur in slow motion because a larger angle increases the exposure time, creating more motion blur, while a smaller angle reduces it. When shooting slow motion, you want to adjust the shutter angle based on the desired look. Typically, a 180-degree shutter angle balances sharpness and natural motion blur, but tweaking it allows you to control how much motion blur appears, enhancing cinematic effect.
What Are Common Editing Software Options for Slow Motion Footage?
Think of editing software options as your toolbox for slow motion footage. Popular choices like Adobe Premiere Pro, Final Cut Pro, and DaVinci Resolve excel in software compatibility and enhance your editing workflow. They let you fine-tune slow motion effects, color grade, and add progressions seamlessly. You’ll find these programs user-friendly, making your editing process smooth as silk while maximizing your footage’s cinematic quality.
Conclusion
Mastering slow motion is like tuning a fine instrument—you’ll open a world of cinematic magic. By understanding your camera settings, choosing the right equipment, and paying attention to lighting, you’ll turn everyday moments into breathtaking stories. Remember, every detail counts, and with practice, your footage will flow seamlessly like a well-conducted symphony. So, explore, experiment, and let your creativity slow down time itself. The magic is in your hands.

