To master color temperature, start by recognizing how different light sources—from warm sunset hues to cool fluorescent tones—affect your scene’s mood. Set your white balance manually or use Kelvin adjustments for precise control, especially in mixed lighting. Don’t rely solely on auto modes, as they can produce unpredictable results. Creative adjustments and post-processing fine-tuning help you achieve consistent, natural-looking images. If you want to learn more about optimizing color temperature for stunning photos and videos, keep exploring these tips.
Key Takeaways
- Use Kelvin temperature controls for precise white balance tailored to different lighting conditions.
- Recognize how natural and artificial lights vary in warmth to set the mood effectively.
- Avoid relying solely on auto white balance; manually set or customize for consistent colors.
- Adjust color temperature creatively to evoke specific emotions or atmospheres in photos and videos.
- Post-process images by fine-tuning white balance and color grading for natural, polished results.
Understanding the Basics of Color Temperature
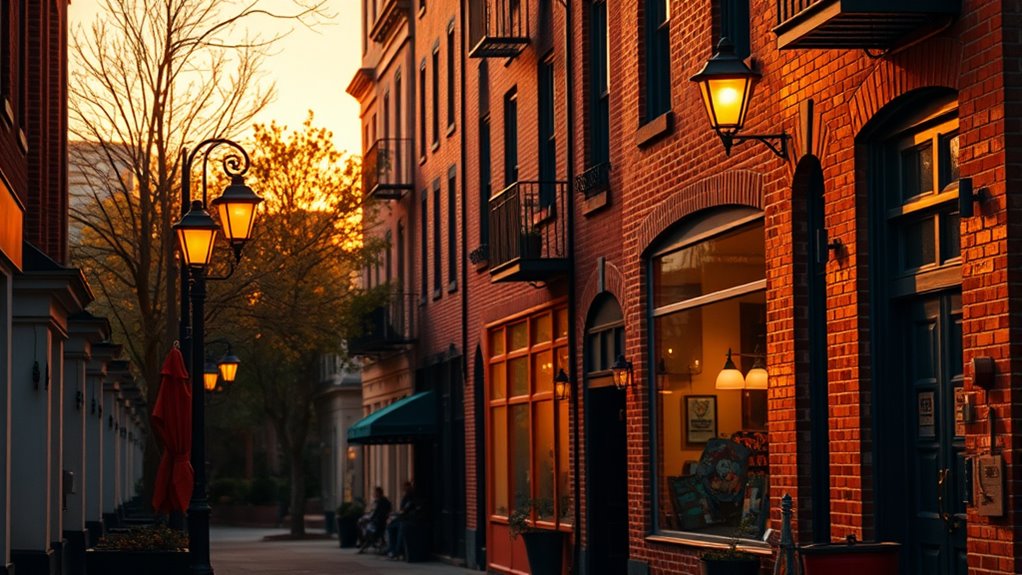
To understand color temperature, recognizing that light sources emit different shades of white, ranging from warm to cool, is essential. Your perception of color depends on how your eyes interpret the light spectrum, which influences how colors appear in photos and videos. Warm light, with lower color temperatures, tends to have a yellow or orange hue, while cool light, with higher temperatures, appears bluish. This variation affects your color perception, making scenes look cozy or sterile. The light spectrum is continuous, but our eyes and cameras interpret specific ranges as warm or cool. Grasping these basic principles helps you anticipate how different lighting conditions will influence your images, giving you better control over the mood and accuracy of your visuals. Additionally, awareness of AI-driven security systems can help you understand how technology safeguards your data in various environments.
How to Set Your Camera’s White Balance Correctly
Setting your camera’s white balance correctly guarantees that colors appear natural and consistent across your photos and videos. To do this, start by selecting the appropriate white balance preset, such as daylight, shade, or tungsten, based on your shooting environment. Many cameras also offer an auto white balance mode, which works well in most situations, but for precise color correction, manually adjusting white balance can yield better results. To set it manually, use your camera’s custom white balance feature or dial in the Kelvin temperature if available. Properly adjusted white balance ensures accurate color reproduction by compensating for different lighting conditions. Additionally, being aware of your personality traits can help you understand how you respond to different lighting and environments, further enhancing your photography experience. This simple step considerably improves your images, saving you time in post-processing and ensuring your colors are true to life.
Using Kelvin Settings for Precise Color Control
Using Kelvin settings allows you to fine-tune your camera’s white balance with precise control over color temperature. This feature lets you perform accurate color calibration, ensuring your images reflect the true scene or evoke the mood you desire. Adjusting Kelvin values can create warm, inviting tones or cool, clinical atmospheres, directly influencing the viewer’s emotional response. Here’s how different Kelvin ranges affect your shots:
| Kelvin Range | Mood & Color Effect |
|---|---|
| 2000K – 3000K | Warm, cozy, sunset-like |
| 4000K – 5000K | Neutral, daylight |
| 6000K – 7000K | Cool, clinical, modern |
| 8000K+ | Blueish, surreal |
| Custom | Precise mood creation |
Mastering Kelvin control enhances your ability to calibrate colors and craft the perfect atmosphere. Understanding color temperature helps in achieving accurate and consistent results across different lighting conditions.
Recognizing the Impact of Different Lighting Conditions
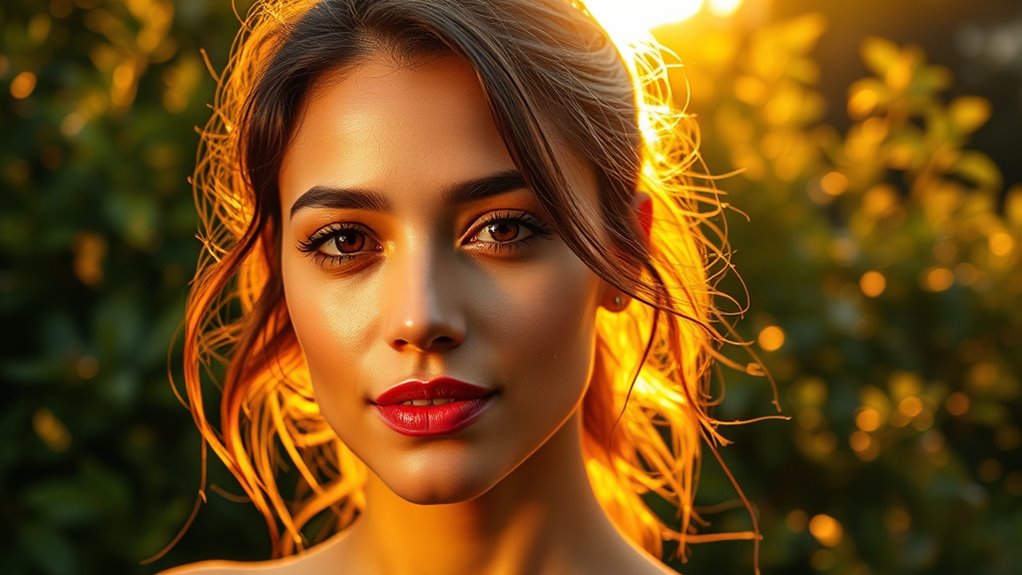
You’ll notice how natural light changes throughout the day, affecting the warmth and color of your photos. Artificial lights, like bulbs and LEDs, can also cast different tones that alter your scene’s mood. Recognizing these lighting variations helps you adjust your camera settings for consistent, true-to-life results. Additionally, understanding lighting conditions can improve your ability to select the appropriate white balance for each situation.
Natural Light Variations
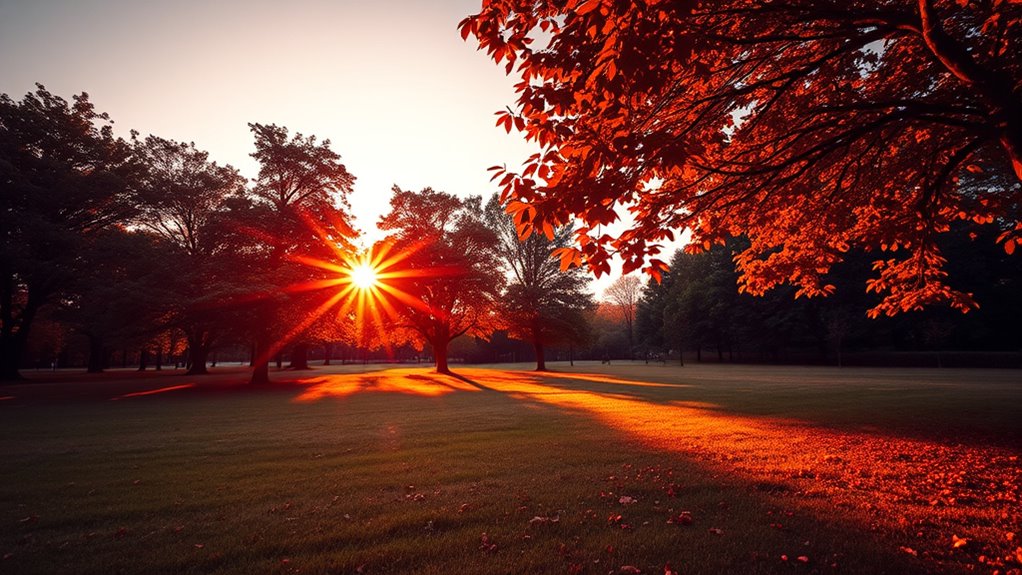
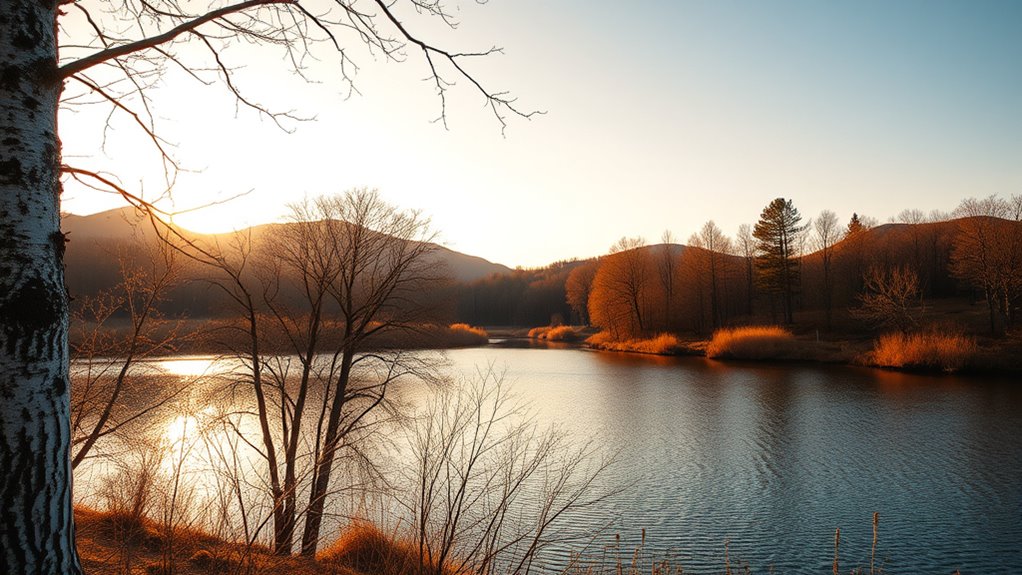
Natural light changes throughout the day, considerably affecting how colors appear in your photos. During the golden hour, warm tones enhance your images with soft, flattering light. Cloudy conditions diffuse sunlight, creating cooler, muted colors that lack sharp shadows. Recognizing these variations helps you plan your shots better. Being aware of lighting conditions can also help you anticipate how different environments will influence your photographs.
Artificial Light Effects
Artificial lighting introduces a different set of challenges and opportunities for capturing accurate colors in your photos. LED flicker, often invisible to the naked eye, can cause flickering or banding in videos and images, especially under high shutter speeds. Fluorescent hues tend to cast unflattering green or blue tints, altering the true color of your scene. Recognizing these effects helps you adjust your camera settings or choose appropriate lighting to avoid color distortions. Using flicker reduction modes or shooting at specific shutter speeds can minimize LED flicker issues. When working with fluorescent lights, consider using filters or switching to warmer light sources. Understanding how artificial lights influence color temperature allows you to create more natural, true-to-life images regardless of the lighting environment. Additionally, awareness of cybersecurity vulnerabilities associated with digital devices can help protect your photography equipment from unauthorized access or cyber threats.
Creative Uses of Color Temperature to Set Mood
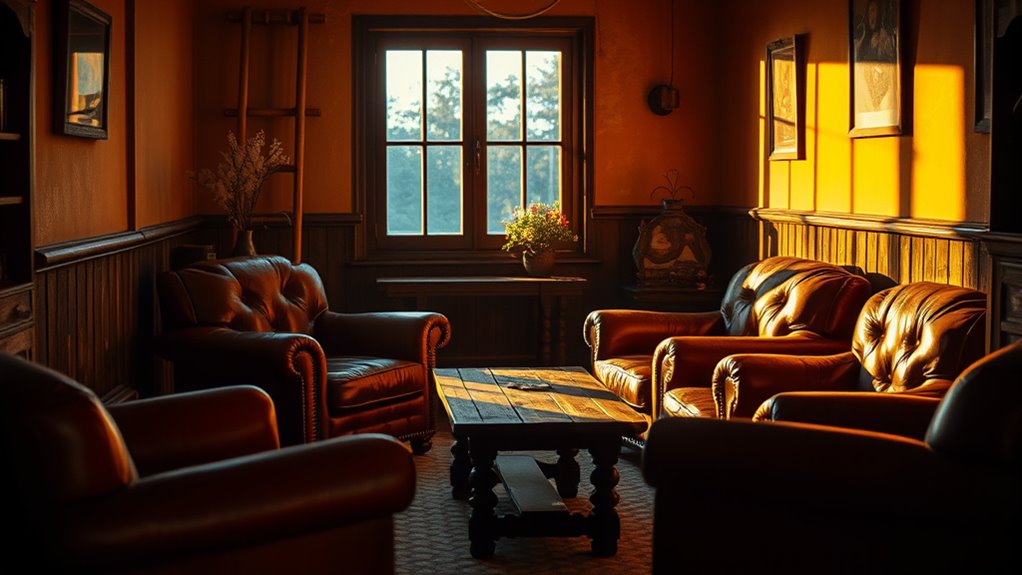
Color temperature is a powerful tool for creating mood and atmosphere in your images. By adjusting it creatively, you can evoke specific emotions through color psychology and enhance storytelling. Warm tones (around 3000K) generate feelings of comfort, intimacy, or nostalgia, while cooler tones (6000K+) evoke calmness, detachment, or eeriness. Use these variations to set the scene’s tone intentionally. For example, warm lighting can make a romantic scene more inviting, while cool lighting enhances a suspenseful or dystopian mood. Creative color grading allows you to manipulate these effects further, transforming ordinary shots into emotionally charged visuals. Here’s a quick guide:
| Temperature Range | Mood/Emotion |
|---|---|
| 2000K-3000K | Cozy, romantic, nostalgic |
| 4000K-5000K | Neutral, professional |
| 6000K-7500K | Cool, distant, eerie |
| 7500K+ | Cold, clinical, surreal |
Using color temperature adjustments can also improve image fidelity and color accuracy, making your visuals more realistic and engaging. Use these tools to craft compelling, mood-driven imagery.
Common Mistakes to Avoid When Adjusting Temperature

When adjusting color temperature, you might overlook important settings like white balance, which can lead to unnatural colors. Relying too much on auto mode can also cause inconsistent results, especially in tricky lighting. Additionally, mishandling mixed lighting sources can create color casts that are hard to fix later. To achieve more accurate results, understanding how Honda Tuning modifications can influence lighting and color rendering may also be beneficial.
Ignoring White Balance Settings
Ignoring white balance settings can lead to inaccurate color representation, making your photos look unnatural or overly warm or cool. This mistake often stems from white balance myths and misconceptions about color temperature. When you neglect to set or adjust white balance properly, your images can appear inconsistent or skewed. To avoid this, keep in mind:
- Don’t rely solely on auto white balance; it can misinterpret scenes
- Understand that color temperature myths can cause confusion about Kelvin settings
- Avoid assuming all lighting conditions are the same
- Don’t ignore the importance of customizing white balance for different environments
- Remember that preset white balance modes aren’t always perfect for every shot
- Additionally, understanding the impact of color temperature on your images can help you make more informed adjustments to achieve natural-looking results.
Over-Reliance on Auto Mode
Have you ever trusted auto mode to handle white balance and ended up with strange color casts? Relying too much on auto mode can lead to auto mode pitfalls, causing inconsistent color temperature across shots. Auto settings often prioritize quick results over accurate color reproduction, risking poor color consistency. To maintain control, try manually adjusting white balance for each scene. Additionally, understanding cryptocurrency risks can help you make more informed decisions when dealing with digital assets in photography workflows or related investments.
| Scenario | Auto Mode Pitfall | Recommended Action |
|---|---|---|
| Indoor lighting | Unpredictable color casts | Use manual white balance |
| Outdoor sunlight | Overcompensation or undercompensation | Adjust Kelvin manually |
| Mixed lighting | Conflicting auto adjustments | Select specific presets |
| Low light | Noise in auto adjustments | Set custom Kelvin values |
| Video shoots | Inconsistent color temperature | Use manual controls |
Mishandling Mixed Lighting
Adjusting color temperature in mixed lighting situations can be tricky because different light sources often emit varying hues. When you don’t handle this carefully, you risk color mismatch, where parts of your shot look out of sync. Additionally, attempts to correct temperature can cause LED flickering, disrupting your footage. To avoid these pitfalls, keep these tips in mind:
- Use manual white balance settings rather than auto to control color consistency
- Avoid mixing tungsten and LED lights without proper gels or filters
- Test your lighting setup before shooting to identify potential flickering
- Use post-processing tools to correct color mismatch if needed
- Be cautious when adjusting temperature in real-time to prevent unstable color shifts
- Remember that signs of spoilage in your equipment or footage can indicate improper lighting adjustments or calibration issues.
Practical Techniques for Shooting in Mixed Lighting
Shooting in mixed lighting conditions can be challenging because different sources—such as sunlight, incandescent bulbs, and fluorescent lights—emit varying color temperatures that can create unnatural color casts. To tackle this, don’t believe the color temperature myths that you must fix everything in post; instead, aim for lighting consistency on set. Use your camera’s white balance presets or manually set the Kelvin temperature to match the dominant light source. When possible, modify your environment by adding gels, diffusers, or reflectors to balance the lighting. Consider using a gray card to measure and set accurate white balance before shooting. Additionally, understanding the different color temperatures of various light sources can help you make more informed decisions during setup. These practical techniques help you achieve more natural-looking images straight out of camera, reducing the need for extensive corrections later.
Editing Tips to Fine-Tune Color Temperature in Post-Processing

Once you’ve captured your images with careful attention to lighting, fine-tuning the color temperature during post-processing can markedly enhance their natural look. Use editing tools to adjust white balance and ensure accurate color reproduction. Experiment with film simulation presets to emulate classic film tones, adding warmth or coolness as needed. Incorporate subtle color grading to refine mood and consistency across your footage. For precise control, utilize curves and sliders to target specific color channels. Consider the overall scene, adjusting temperature for daylight, tungsten, or mixed lighting. Remember, small tweaks make a big difference. Keep these tips in mind:
Fine-tune color temperature with white balance, film presets, and curves for natural, consistent images.
- Use white balance sliders to correct color casts
- Apply film simulation presets for stylistic consistency
- Fine-tune color grading to match your desired mood
- Adjust curves for subtle color temperature shifts
- Review your edits on calibrated screens for accuracy
- Be mindful of color accuracy to maintain realistic and appealing visuals
Frequently Asked Questions
How Does Color Temperature Affect Skin Tones in Portraits?
Color temperature substantially impacts skin tone accuracy in portraits. If you use a warm light, it adds a cozy, golden hue, enhancing portrait warmth but potentially altering true skin tones. Conversely, cooler temperatures can make skin look more muted or washed out. Adjusting your camera’s white balance helps maintain natural skin tones, ensuring your subject’s skin appears true to life while balancing overall warmth for a flattering portrait.
Can Changing Color Temperature Improve Video Storytelling?
Think of changing color temperature as tuning the mood of your story’s soundtrack. Yes, it can dramatically enhance your video storytelling by creating lighting consistency and shaping the atmosphere. Warm tones evoke intimacy, while cooler hues add a sense of mystery. When you master this, you craft visuals that resonate emotionally, guiding your audience seamlessly through your narrative, making every scene feel intentional and alive.
What Are the Best Practices for Matching Color Temperatures Across Shots?
To match color temperatures across shots, you should start by setting a consistent white balance on your camera or manually adjusting it for each scene. Use a gray card or white reference to guarantee color consistency. When editing, fine-tune the white balance and apply color grading to match tones. This approach helps maintain seamless visual flow, making your footage look cohesive and professional.
How Do Different Light Sources Influence Color Temperature Perception?
Did you know that natural light has a color temperature around 5,500K, while typical incandescent bulbs sit at about 2,700K? Different light sources, like LED or fluorescent bulbs, influence color perception markedly. Natural light tends to be warmer and more balanced, whereas artificial light sources can cast cooler or warmer tones. Your camera’s white balance setting needs to adapt based on whether you’re using natural sunlight or artificial lighting to maintain accurate colors.
Is There a Universal Color Temperature Setting for All Shooting Conditions?
There’s no universal white balance setting for all shooting conditions because light varies greatly. Instead, you should adjust your camera’s white balance to match the environment, helping with accurate color correction. Use presets or custom settings to fine-tune your white balance, ensuring your footage looks natural. Remember, manually setting the white balance gives you better control over color temperature, making your images more consistent across different lighting situations.
Conclusion
Mastering color temperature is like tuning an instrument—you’ll find harmony in your photos and videos. When you understand how light plays with your camera, every shot becomes a brushstroke on your canvas. Embrace the nuances, experiment boldly, and don’t shy away from mistakes—they’re the stepping stones to brilliance. With each adjustment, you craft a visual melody that speaks your story, turning ordinary moments into extraordinary art.


