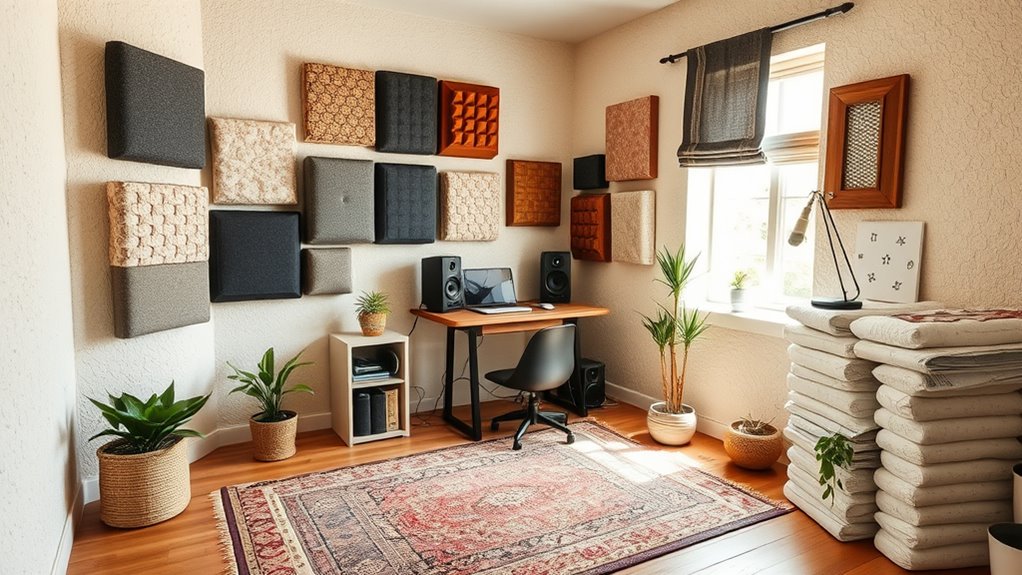
To improve your room’s sound on a budget under $200, focus on building DIY panels and bass traps using affordable materials like fiberglass, rockwool, or household items such as curtains and carpets. Place them strategically at reflection points, corners, and walls to absorb echoes and control low frequencies. Think creatively with repurposed materials to diffuse sound without overspending. Keep experimenting with placement for the best results—more tips are just a step away.
Key Takeaways
- Use affordable materials like fiberglass insulation, rockwool, or thick blankets to absorb mid-high frequencies cheaply.
- Build DIY bass traps with inexpensive wood frames and fiberglass, placing them in room corners to control low frequencies.
- Locate reflection points using the mirror trick and treat with budget-friendly foam panels or household items like curtains.
- Incorporate repurposed household items—rugs, bookshelves, curtains—for additional sound dampening at minimal cost.
- Measure room response and adjust placement for optimal acoustic balance without exceeding a $200 budget.
Understanding Acoustic Treatment Basics and Room Dynamics

Understanding the basics of acoustic treatment is essential for achieving clear and accurate sound in any room. You need to manage reflections, echoes, and resonances that distort audio quality. Absorption materials like acoustic foam and fiberglass panels soak up sound waves, reducing reverberation. Diffusers scatter sound to create a more even and spacious sound field, especially useful in small rooms. Bass traps target low-frequency buildup in corners, helping balance the sound. Reflection control involves absorbing or redirecting sound on reflective surfaces to improve clarity and minimize unwanted echoes. Remember, the goal isn’t to eliminate all reflections but to control problematic room modes and resonance. Implementing soundproofing techniques can further enhance the acoustic environment by reducing external noise interference and improving overall sound clarity. Understanding room dynamics helps you identify specific issues and tailor your solutions more effectively. Additionally, understanding spiritual energy concepts can inspire a mindful approach to creating a balanced and harmonious listening space. By understanding these fundamentals, you can effectively tune your space for better monitoring, mixing, or listening experience without overspending.
Essential Materials for Cost-Effective Soundproofing

When it comes to cost-effective soundproofing, selecting the right materials can make a significant difference without breaking the bank. You want affordable options that still improve sound control, so consider these essentials:
- Fiberglass insulation or rock wool for effective, budget-friendly sound absorption.
- Acoustic foam panels that are inexpensive and easy to install, primarily tackling mid to high frequencies.
- Dense fabrics like heavy curtains or moving blankets, which reduce reflections and dampen noise temporarily.
- Seal gaps with caulk, weatherstripping, or door draft stoppers to block sound leaks at entry points.
- Upgrading your vehicle’s soundproofing with materials like mass-loaded vinyl or specialized automotive sound deadening mats can significantly diminish road and engine noise.
- Additionally, room acoustics can be improved by strategically placing soft furnishings and DIY panels to diffuse sound waves effectively. Incorporating wall organization systems such as mounted shelves or hooks can also help break up sound reflections and improve overall sound quality.
- Using sound absorption techniques, like hanging soft materials at different heights, can further enhance the effectiveness of your soundproofing efforts. Combining these materials enhances your room’s soundproofing without exceeding your $200 budget. Reusing household items like carpets or bookshelves also provides additional dampening at minimal cost.
- Incorporating a variety of soundproofing methods tailored to your specific space can maximize results while staying within budget.
Building and Assembling DIY Acoustic Panels
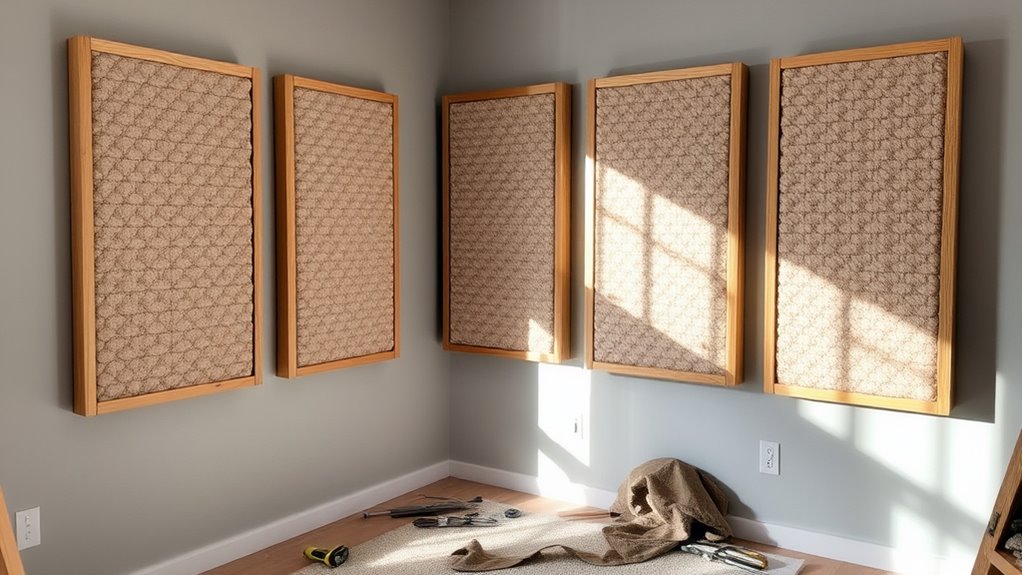
Building and assembling your DIY acoustic panels starts with selecting the right materials and tools to guarantee durability and effectiveness. Next, you’ll construct the frames, install insulation, and wrap them with breathable fabric for a professional finish. Once assembled, mounting your panels correctly will optimize your room’s acoustics and sound quality.
Selecting Materials and Tools
Selecting the right materials and tools is essential for creating effective DIY acoustic panels that are both functional and visually appealing. Your choice impacts the panel’s durability, ease of construction, and how well it absorbs sound. Focus on affordable yet quality options to stay within budget. Using vetted products ensures reliability and effectiveness in your acoustic treatments.
- Use 1×4 or 1×3 pine or poplar for lightweight, easy-to-cut frames.
- Opt for fiberglass insulation like Owens Corning 703 for effective sound absorption.
- Choose acoustically transparent fabrics such as burlap or polyester blends for covering.
- Gather basic tools like a saw, power drill, staple gun, and measuring tape for precise assembly.
These selections ensure your panels are sturdy, efficient, and visually appealing without overspending.
Assembling and Covering Panels
Constructing your acoustic panels begins with assembling a sturdy frame that fits your chosen insulation snugly. Use 1×4 or 1×3 lumber, cutting it to size, and join the pieces with wood glue and screws or nails for stability. Guarantee all joints are square and flush for a solid structure that can support the insulation’s weight. Sand edges and surfaces to prevent splinters and help the fabric adhere smoothly. Next, place the acoustic insulation tightly within the frame, avoiding compression to maintain sound absorption. Staple a breathable fabric over the front, pulling it taut and securing it with staples every 2-3 inches. Finish by adding optional trim or mounting hardware, then check all connections before hanging your panels for ideal sound treatment.
Strategically Placing Panels for Maximum Effectiveness
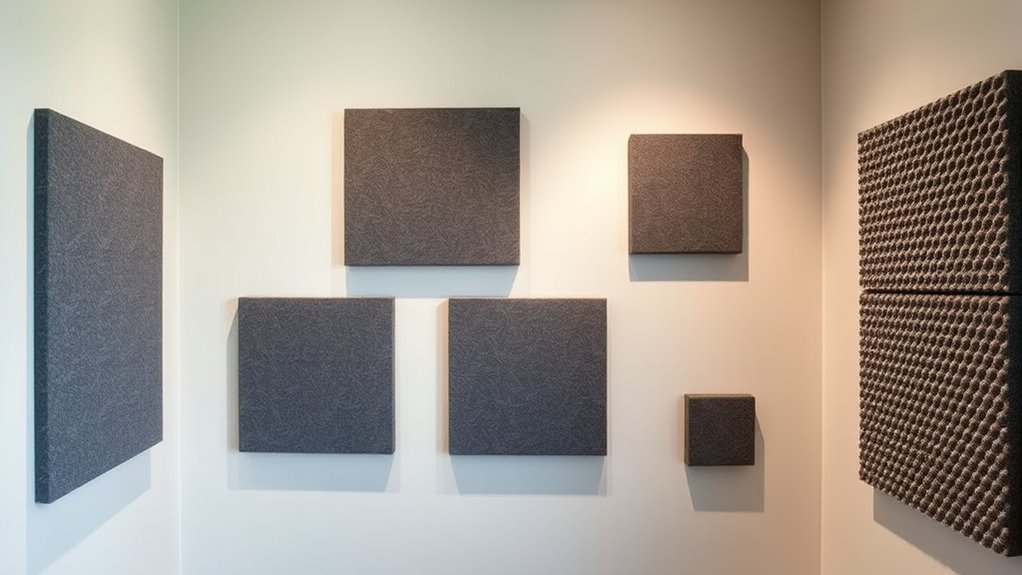
To get the most out of your panels, start by identifying your room’s reflection points using the mirror trick—place panels where you see the speakers in the mirror. Focus on treating these first reflection areas on side walls and ceilings to improve clarity and imaging. Don’t forget to target corners with bass traps to control low-frequency buildup and enhance overall sound quality. Incorporating acoustic treatment techniques practiced by professionals can further optimize your setup and achieve a more balanced sound environment. Additionally, understanding room acoustics can help you make informed decisions about panel placement and room layout for the best results. Recognizing the importance of emotional support in creating a comfortable space can also help you stay motivated during your DIY project. Considering entertainment venue hours can help you plan your setup during times when your space is less occupied, minimizing distractions. For a more comprehensive setup, consider decorating your space thoughtfully to improve both aesthetics and sound performance, especially in a rustic or farmhouse-style room.
Identify Reflection Points
How can you accurately identify reflection points in your room to make sure of effective acoustic treatment? Reflection points are where sound from your speakers first hits surfaces before reaching your ears. These are usually on side walls, ceilings, or near the floor, directly aligned with your listening position. To find them, start by measuring distances from your speakers to nearby surfaces and estimate where reflections occur. You can also listen while moving around—flutter echoes or sound coloration indicate reflection zones. Using a mirror, you can spot reflection points visually, but other methods include analyzing room response with measurement tools or observing sound behavior. Addressing these spots with panels markedly improves clarity and reduces sonic smearing.
- Measure speaker-to-wall distances and calculate reflection angles
- Use acoustic measurement tools or software for precise analysis
- Listen for echoes or sound coloration while moving around
- Position panels on walls aligned with speaker-ear paths
Use Mirror Method
Using the mirror method is an effective way to pinpoint the exact locations of reflection points on your walls and ceiling. You or a helper place a mirror flat against surfaces and move it until the reflector sees the speaker’s reflection. Mark these spots for targeted panel placement, optimizing sound absorption. Focus on side walls near the speakers and the ceiling above your listening position. Properly treating these points reduces early reflections that cause muddiness or phase issues. Additionally, understanding soundproofing techniques can help further improve your room acoustics by minimizing external noise interference. Using the mirror method can also reveal reflection zones that are often overlooked, ensuring comprehensive acoustic treatment. Use the table below to identify typical reflection zones and corresponding panel placements:
| Surface | Reflection Point Location |
|---|---|
| Side Walls | Adjacent to speakers, ear height |
| Ceiling | Above listening position, roughly at ear level |
| Front Wall | Behind speakers, if reflections are noticeable |
Treat Corners Effectively
Placing acoustic panels strategically in room corners maximizes their effectiveness by targeting areas where low-frequency energy naturally concentrates. Corners are low-pressure points where bass buildup and standing waves occur, making them ideal for bass traps. Using porous panels across corners enhances low-frequency absorption by leveraging the 1/4 wavelength effect, capturing deeper sounds efficiently. Angling panels relative to walls broadens their absorption range and improves overall performance. This placement also treats low frequencies without sacrificing valuable room space. To deepen the treatment, consider:
- Installing panels diagonally or wedge-shaped for better fit and coverage
- Using thicker or layered panels to boost low-frequency absorption
- Leaving an air gap behind panels to increase effectiveness
- Combining bass traps with reflective panels for full-spectrum sound control
- Consulting cultural heritage in Jakarta can inspire creative and authentic acoustic treatments that reflect local architectural styles. Additionally, understanding the acoustic properties of materials can help you select the most effective panels for your specific needs. Incorporating space maximization techniques can further enhance your room’s acoustic environment without cluttering the area. Exploring room design principles can also provide insights into optimizing overall sound quality and room functionality, especially when considering the compatibility of different materials and configurations for your space.
Creating and Installing Bass Traps for Low Frequencies
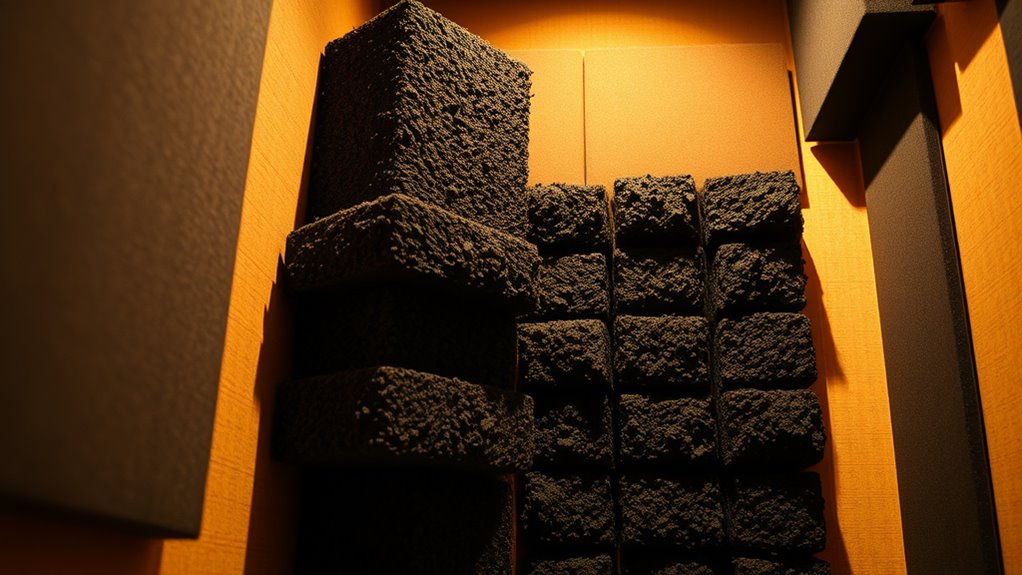
Creating and installing bass traps in your room can considerably improve low-frequency sound quality by reducing muddy or boomy bass. To start, gather materials like fiberglass or rockwool insulation, acoustic fabric or burlap, wooden frames, staple guns, scissors, measuring tape, and saws. Measure your corner space carefully, as corners are ideal spots where low-frequency waves gather. Proper placement of bass traps is crucial for maximum effectiveness, ensuring they are positioned where low frequencies build up. Cut the insulation to fit the frame, typically making thick panels for deeper bass absorption. Assemble the wooden frame, insert the insulation, then wrap it tightly with acoustic fabric, stapling it securely. For enhanced performance and a professional look, consider adding perforated front panels. Building four traps of about 2 feet by 4 feet should cost around $160 to $200, offering a budget-friendly way to tame low frequencies. Properly installed bass traps can significantly reduce sound distortion and improve your overall listening experience.
Incorporating Diffusers and Other Budget-Friendly Solutions

Incorporating diffusers into your home studio can substantially improve sound quality without making the space feel overly dead. DIY step-type “Depot” diffusers use simple wood panels arranged in stepped patterns, providing wideband diffusion from around 400Hz to 8kHz. Building one costs roughly $90–$100 in wood, and two can fit under $150, making it budget-friendly. Assembly is straightforward—cut plywood and nail wooden strips—requiring minimal tools. These diffusers perform comparably to pricier QRD units, helping break up sound reflections while maintaining room liveliness. Additionally, understanding the principles of creative practice overview can help you stay motivated and improve your skills in DIY projects over time.
Tips for Repurposing and Reusing Materials in Your Setup
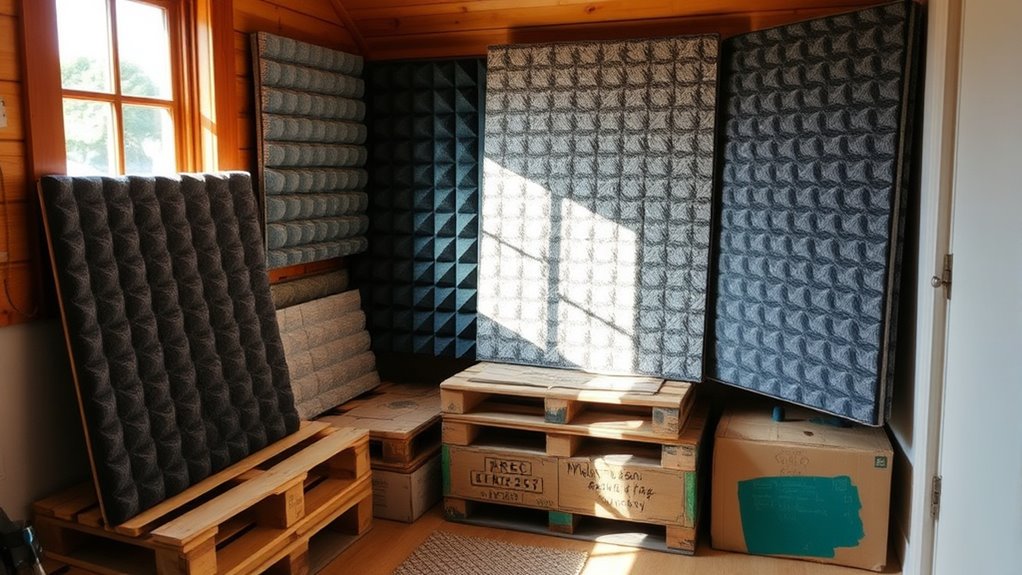
Repurposing household materials is an effective way to enhance your room’s acoustics without spending extra money. Use old blankets, curtains, or thick clothes as DIY absorption panels by stretching them over frames or mounting directly on walls. Upholstered furniture like sofas and chairs naturally absorb sound, reducing reflections. Place rugs or carpets on the floor to cut down on echoes and fluttering sounds. You can also stuff towels or bed sheets with lightweight insulation into removable panels for adjustable treatment. Repurpose scrap fabrics or upholstery to cover foam or insulation boards for a polished look. Wooden pallets or scrap wood can be reshaped into frames for panels or bass traps. Old cardboard boxes, egg cartons, and foam packaging add diffusive or absorptive elements, helping you optimize your space without extra costs.
Final Adjustments and Maintaining a Balanced Sound Environment
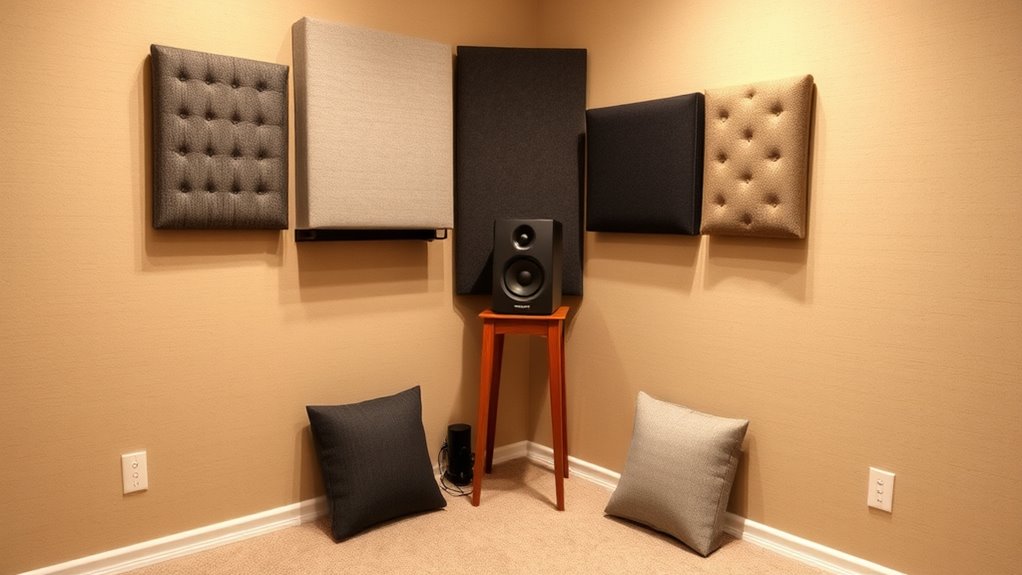
To achieve a balanced and effective sound environment, it’s essential to fine-tune your acoustic treatment through testing and careful listening. Perform continuous clap tests during installation to monitor changes and adjust panel placement. Aim for a “dry” sound without making the room overly dead by balancing absorption and diffusion. If the room sounds too dead or lively, remove or reposition panels gradually. Use close-miking techniques with a dynamic microphone during testing to minimize room ambience and evaluate treatment impact accurately. Employ measurement tools like Room EQ Wizard and microphone sweeps to identify problematic frequencies and optimize panel placement.
- Reassess reflection points after initial treatment to confirm improvements
- Adjust bass traps in corners for better low-frequency control
- Use diffusers strategically on rear walls and ceilings
- Maintain panels and diffusers regularly for consistent performance
Frequently Asked Questions
Can I Use Household Items Instead of Professional Insulation Materials?
You can use household items instead of professional insulation, but keep in mind they won’t be as effective. Items like blankets, pillows, and curtains can absorb some mid and high frequencies, helping reduce echoes temporarily. However, they lack the density needed for bass trapping and broadband absorption. For better results, consider layering household materials with DIY frames or adding small amounts of professional insulation within your budget.
How Do I Measure the Correct Placement for Acoustic Panels?
To gauge the proper placement for acoustic panels, start by identifying primary reflection points through the mirror trick, then mark these spots at ear height. Use a tape measure to guarantee panels are evenly spaced no more than two widths apart, and double-check with a level for accuracy. Measure and mark panels before mounting, aligning them horizontally or vertically to match the room’s layout, ensuring consistent coverage and maximum sound absorption.
Are There Effective DIY Diffusers Suitable for Small Budgets?
You’re wondering if effective DIY diffusers fit within a small budget. The good news is yes—you can build affordable diffusers like step-type 1D models using inexpensive wood from hardware stores, costing around $90 to $150 per panel. Polyfusers are also great, easy to make, and work well in small rooms. Focus on deeper wells of at least 4 inches and use diffusion simulation tools to optimize your design before building.
How Often Should I Replace or Adjust My Acoustic Treatments?
Imagine noticing your recordings sound increasingly dull or echoey. You should inspect your acoustic treatments every 1-2 years, looking for wear like discoloration or compressed panels. If you see damage or your room’s sound changes, it’s time to adjust or replace. Regular cleaning, controlling humidity, and avoiding sunlight help treatments last longer. Upgrading is also wise if your studio’s purpose or setup evolves markedly.
Can DIY Panels Improve Live Music Recording Quality at Home?
Yes, DIY panels can definitely improve your live music recording quality at home. By absorbing sound reflections, they reduce echoes and muddiness, making your recordings clearer. Properly placed bass traps control low-frequency buildup, and reflective points near speakers are minimized. These affordable, customized panels help create a more accurate sound environment, enabling you to capture cleaner recordings and make better mixing decisions, all without breaking the bank.
Conclusion
Think of your room as a musical instrument, and acoustic treatment as tuning it to perfection. With a few simple, budget-friendly tweaks, you’re crafting a space where sound flows seamlessly, like a finely tuned guitar. Your DIY efforts are the strings that bring clarity and harmony, proving that with ingenuity and care, even modest investments can transform your room into a professional-sounding sanctuary. The symphony of your space is now yours to command.

