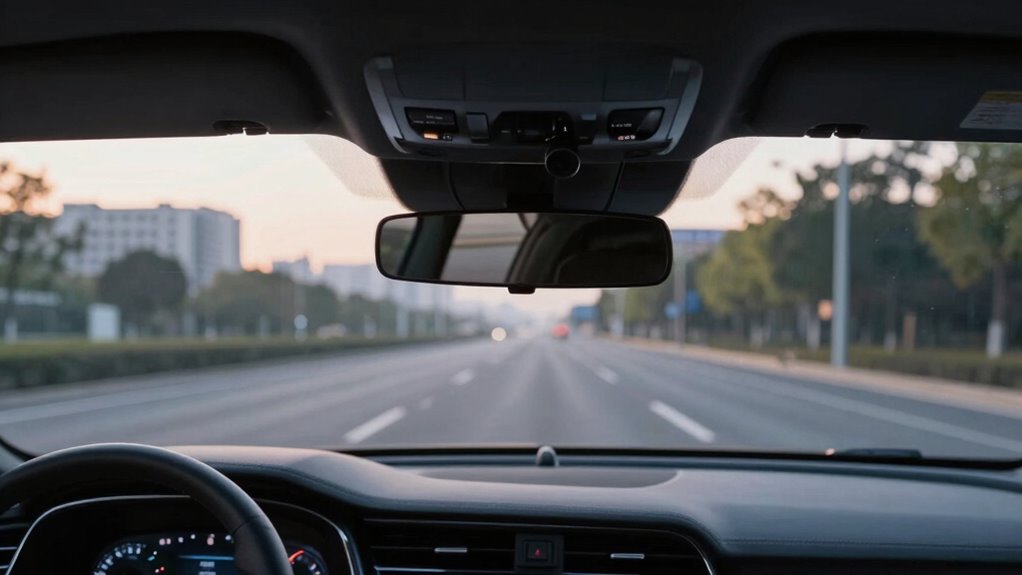

To improve real-world footage, position your dash cam just below or behind your rearview mirror, angled slightly downward to capture the entire road view without distortion. Make certain it’s stable, unobstructed, and aligned with your vehicle’s center. Avoid direct sunlight and glare, and maintain a clear lens by regular cleaning. Proper placement guarantees clear, reliable footage in various conditions. Keep exploring for tips on perfecting your dash cam setup for the best results.
Key Takeaways
- Mount the dash cam behind the rearview mirror for a clear, unobstructed view of the road ahead.
- Position the camera at a slight downward tilt to reduce glare and reflections from sunlight.
- Place the camera at eye level or slightly below to maximize the field of view and minimize distortion.
- Use sturdy mounts and secure cables to prevent vibrations and maintain stable footage over time.
- Regularly check and adjust the angle to ensure the lens remains unobstructed and captures the full scene.
As an affiliate, we earn on qualifying purchases.
Understanding the Dash Cam Position Rule and Why It Matters
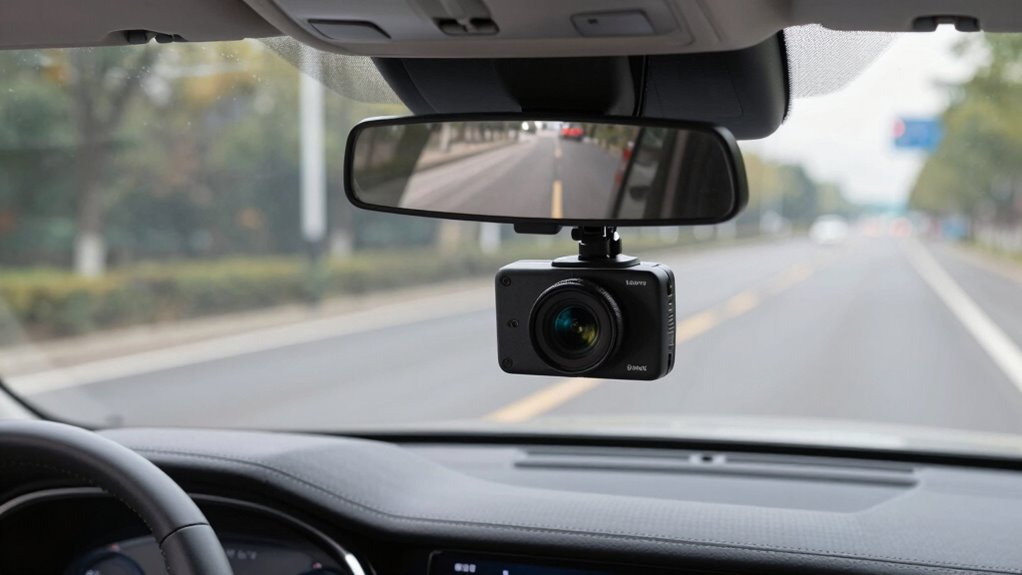
Understanding the dash cam position rule is essential because it directly affects your ability to record clear footage while driving. Proper camera angles ensure you capture the right view, whether it’s the road ahead or the interior of your vehicle. It’s important to mount your dash cam at an angle that offers a wide field of view without distortion. Additionally, consider your power sources; a stable power connection prevents interruptions and keeps your footage continuous. Securing the camera properly at the correct angle also minimizes vibrations and glare, which can blur footage. Keep in mind that the position should not obstruct your view or interfere with airbag deployment. Following these guidelines guarantees high-quality recordings and safe driving while assuring your dash cam functions reliably. Proper placement also enhances the digital concepts behind effective footage capture and storage.
How to Find the Best Spot to Mount Your Dash Cam
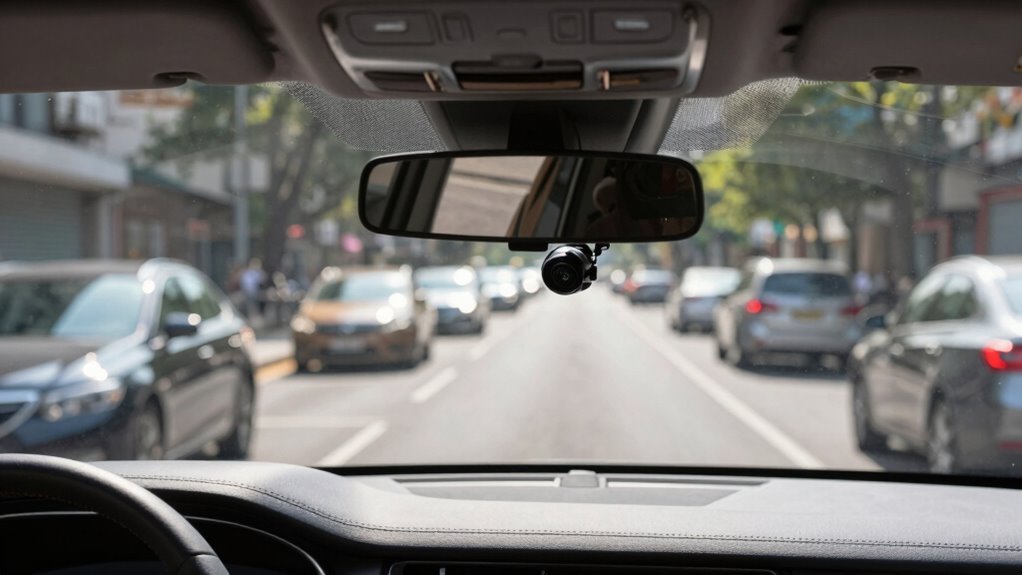
Finding the best spot to mount your dash cam involves considering both visibility and safety. You want a location that offers a clear view of the road ahead without obstructing your view or interfering with airbags. Interior customization options can help you position the camera discreetly, such as using a mount that attaches to the windshield or rearview mirror. Be aware of legal considerations in your area; some jurisdictions restrict camera placement to guarantee driver visibility. Aim for a mounting position that minimizes glare and reflections, which can compromise footage quality. Keep the camera stable and angled correctly to capture essential details like license plates and road signs. Prioritize a spot that balances a wide field of view with unobstructed access to the road.
Common Placement Mistakes and How to Avoid Them
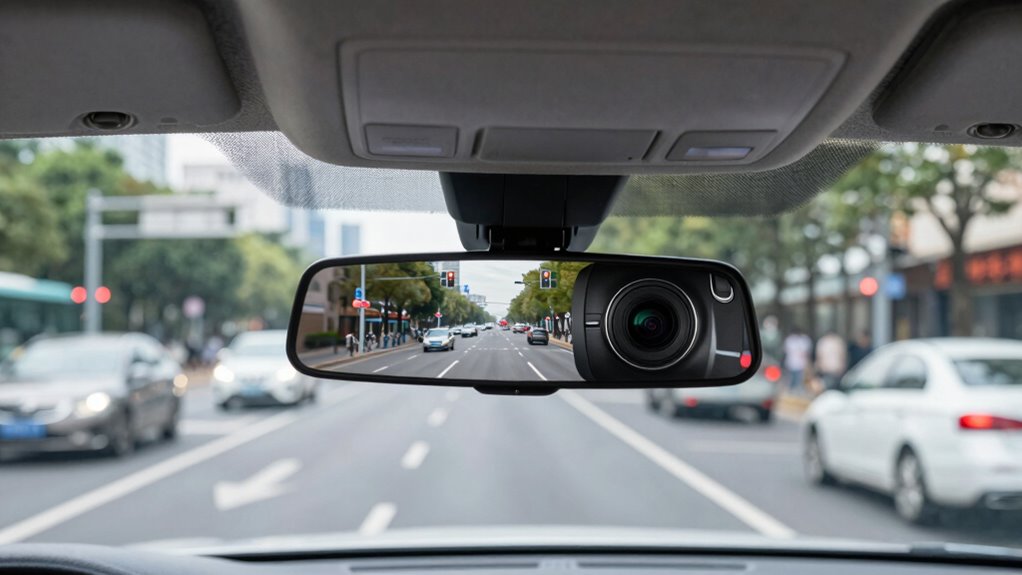
Even with a good mounting spot in mind, common placement mistakes can still undermine your dash cam’s effectiveness. One mistake is ignoring aesthetic considerations, which can lead to a cluttered or distracting setup. Keep the camera unobtrusive and avoid blocking essential views or dashboard controls. Another common error is neglecting legal requirements, such as mounting the device where it doesn’t obstruct your view or violate local laws. Make sure your dash cam is positioned to record the road clearly without infringing on privacy or safety regulations. Additionally, avoid placing the camera too high or too low, which can affect footage quality or cause glare. By paying attention to aesthetics and legal rules, you improve both the functionality and compliance of your dash cam. Incorporating environmentally conscious choices, like using energy-efficient mounts, can also contribute to a more sustainable setup.
Adjusting Your Dash Cam for Different Vehicle Types
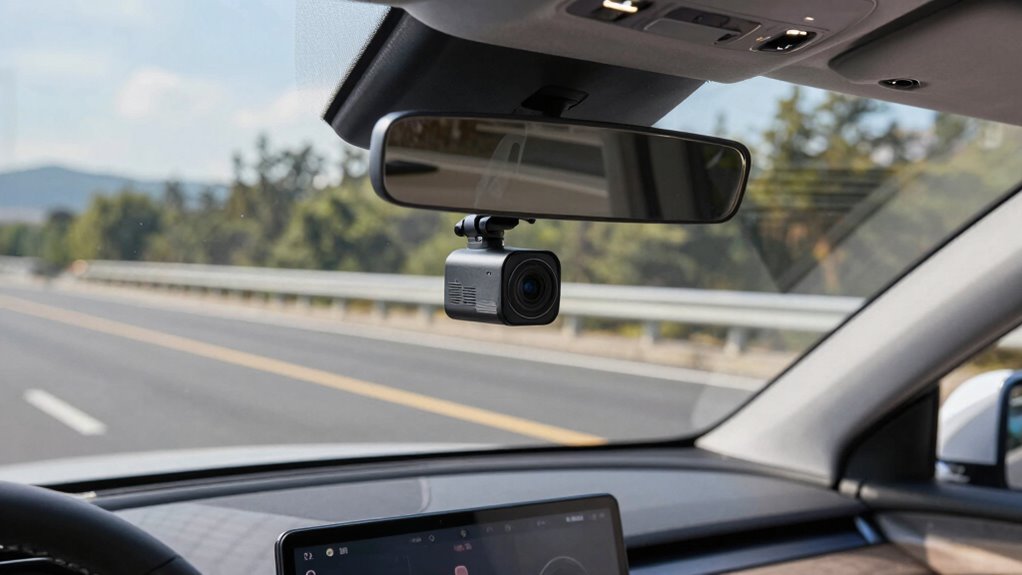
Your dash cam setup should change based on your vehicle type to guarantee clear footage and ideal coverage. Sedans often require a central mount, while SUVs and trucks might need adjustments to account for higher vantage points. Consider how the vehicle’s size and shape influence your positioning to get the best results.
Mounting Strategies for Sedans
Mounting a dash cam in a sedan requires careful positioning to guarantee clear footage and minimal glare. You should aim for the center of the windshield, slightly below the rearview mirror, to maximize visibility while avoiding obstructions. Adjusting for interior customization helps verify the camera doesn’t block vents or controls. Be mindful of legal considerations; avoid mounting the cam too low or in a way that could obstruct your view. Use a stable mount to prevent vibrations and glare. Proper placement also considers camera calibration to ensure accurate footage quality.
Adjusting for SUVs
Adjusting your dash cam for SUVs involves considering their larger size and unique cabin layout. Since SUVs have more interior space, you might need to reposition the camera to capture clear interior recordings, especially if you want to record passenger interactions or monitor driver behavior. Elevating the camera slightly higher can help offset the increased height of the windshield. Be mindful of privacy considerations; avoid angles that accidentally record private areas or other passengers without consent. Ensuring the camera is angled to focus primarily on the road while capturing necessary interior views balances safety and privacy. Be aware of potential side-channel vulnerabilities that could compromise your footage’s security. Make small adjustments and test recordings to find the most suitable position that provides clear footage without infringing on privacy or capturing unnecessary interior details.
Positioning in Trucks
Because trucks have larger cabins and different windshield angles, positioning your dash cam requires careful consideration to guarantee ideal coverage. You should adjust the camera angles to capture the road ahead clearly while minimizing blind spots caused by the truck’s size. Mount the dash cam higher to avoid obstructions from mirrors or dashboard clutter, ensuring an extensive view. Consider power sources—many trucks have multiple options like cigarette lighter sockets or auxiliary ports—so choose a reliable power connection that keeps your camera running smoothly. Secure the camera firmly to withstand vibrations from rough roads, and check the view regularly to ensure it remains aligned. Proper positioning in trucks helps improve footage quality and provides better evidence in case of incidents. Additionally, understanding how to properly install and position car accessories can help optimize your dash cam setup for different vehicle types.
How Proper Positioning Improves Footage Clarity

Positioning your dash cam at the right angle guarantees you capture clear, detailed footage. A proper mounting angle prevents glare and distortion, making your videos more useful. Maintaining a clear line of sight is essential for recording everything happening on the road. Incorporating visual clarity techniques can further enhance the quality of your footage, ensuring every detail is captured accurately. Additionally, selecting the appropriate camera placement according to your vehicle’s interior and exterior layout can significantly improve overall footage quality.
Optimal Mounting Angle
The ideal mounting angle is essential for capturing clear, detailed footage that can be useful in any situation. An ideal angle guarantees you record useful evidence without distortion or blind spots. Proper positioning enhances driver safety by minimizing distractions, keeps footage legal compliance, and clearly captures the road ahead.
Consider these tips:
- Mount the camera slightly tilted downward to avoid glare
- Position it at eye level for the best field of view
- Avoid mounting too high or too low to prevent distortion
- Guarantee the camera captures the entire windshield
- Check that the footage remains stable during vehicle movement
Clear Line of Sight
Proper positioning guarantees your dash cam maintains a clear line of sight, which is crucial for capturing sharp, detailed footage. When you position your camera correctly, it guarantees unobstructed views, especially during interior recording, where reflections or dashboard glare can interfere. Wireless mounting options make adjusting your dash cam easier, allowing you to find the ideal angle without cumbersome cables. This flexibility helps you avoid blind spots and guarantees the camera captures the full scene, whether you’re recording the road ahead or inside your vehicle. Keep in mind that a clear line of sight reduces the need for post-editing or footage analysis. Proper placement enhances clarity, making sure every detail, from license plates to traffic signs, is visible and legible. Additionally, household products such as anti-glare films or mats can help reduce reflections inside the vehicle, improving overall footage quality. Ensuring your dash cam’s positioning takes into account camera angle principles can further optimize footage clarity and coverage. Using installation tips that emphasize optimal placement can also contribute significantly to better footage.
Troubleshooting Poor Footage Despite Correct Mounting
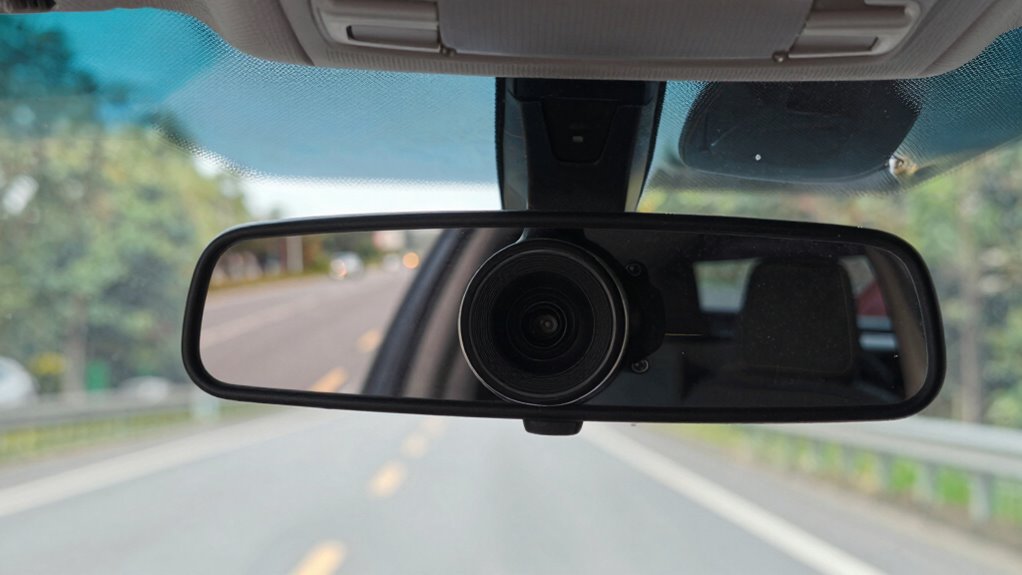
Even when your dash cam is mounted correctly, you might still face issues with poor footage. Sometimes, the interior camera or night visibility settings aren’t optimized, leading to unclear recordings. To troubleshoot, check these factors:
Proper mounting isn’t enough; optimize settings and maintenance for clearer dash cam footage.
- Clean the lens regularly to prevent smudges and dirt from affecting clarity
- Adjust the interior camera angle for better coverage and less glare
- Verify night visibility settings are enabled and properly configured
- Ensure your SD card has enough storage and isn’t corrupted
- Update your dash cam firmware for the latest improvements and fixes
- Consider free floating techniques to prevent vibrations and movement that can blur footage during driving. Additionally, understanding emotional skills can help you stay patient and methodical during troubleshooting, ensuring you don’t overlook simple fixes. Proper maintenance and configuration are essential, as they can significantly improve footage quality, especially in low-light conditions.
Lighting and Environmental Factors That Affect Footage Quality
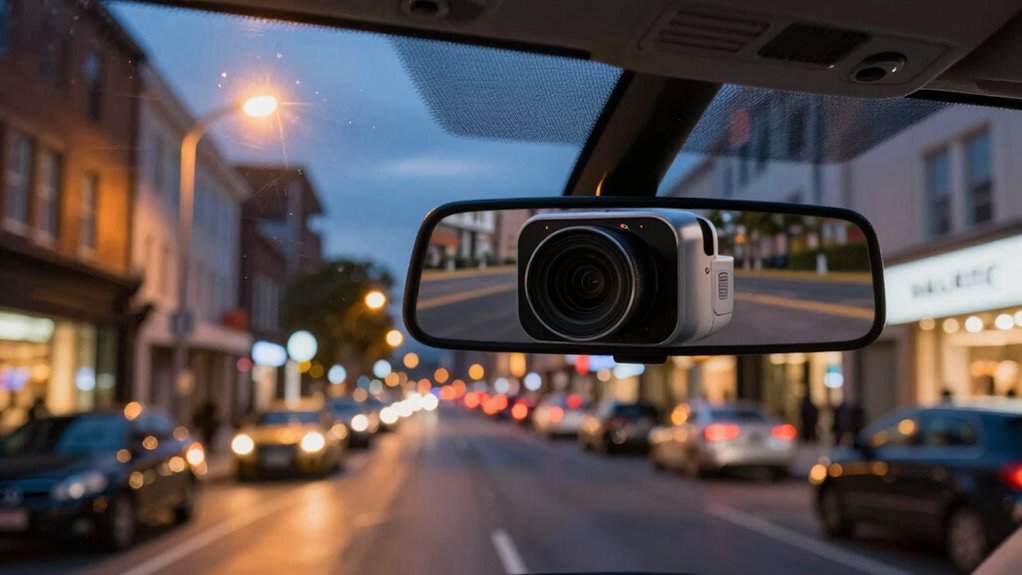
Lighting and environmental conditions play a crucial role in the quality of your dash cam footage. Poor lighting, such as glare from the sun or low-light conditions at night, can obscure details and reduce image clarity. Adjusting your camera angles to minimize direct sunlight or reflections helps improve visibility. Weather impacts like rain, fog, or snow can also degrade footage, creating blurriness or obscured views. Using a dash cam with good low-light performance and a wide dynamic range can mitigate some of these issues. Keep in mind that environmental factors are unpredictable, so positioning your camera to avoid excessive glare and considering weather-resistant equipment are essential for capturing clear, reliable footage regardless of conditions. Additionally, maintaining proper indoor air quality and humidity can help prevent fogging on your camera lens, ensuring clearer footage in various weather conditions. Proper camera placement can also help optimize footage quality by reducing the effects of environmental challenges. Being aware of lighting conditions and how they impact visibility allows you to make better adjustments for optimal recording. Ensuring your camera has weather resistance can further safeguard against environmental damage and performance issues.
Maintaining Your Dash Cam’s Position Over Time
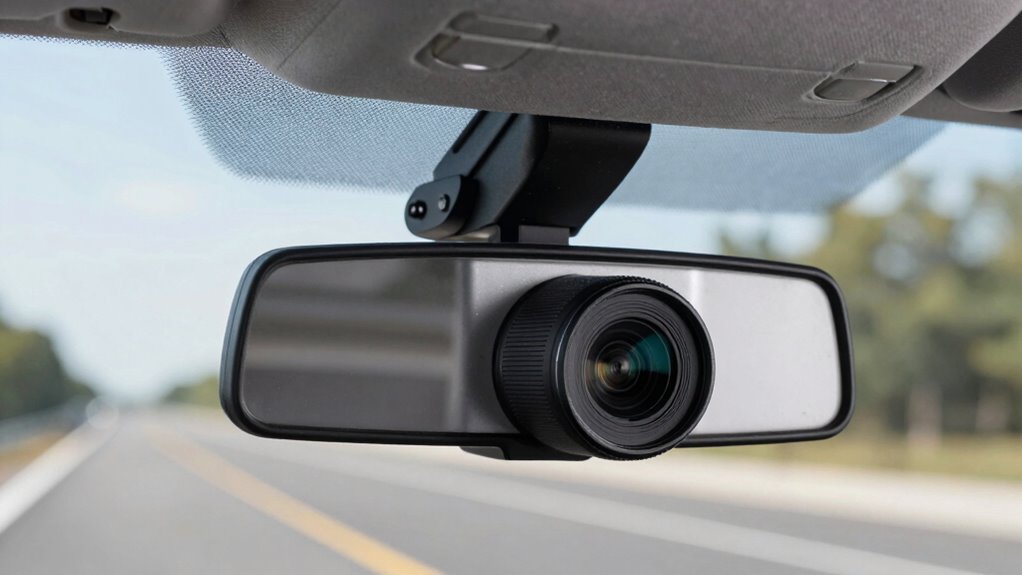
Once you’ve positioned your dash cam correctly, it’s important to regularly check and maintain its alignment over time. Camera stability can shift due to road vibrations, temperature changes, or minor impacts, so periodic adjustments are essential. Ensuring your power sources remain secure prevents unexpected shutdowns or position shifts caused by loose connections. To maintain peak performance, consider these tips:
Regularly check and tighten your dash cam to ensure clear footage and stable positioning over time.
- Check for loose mounting brackets or adhesive bonds
- Tighten screws or re-adhere the camera if needed
- Inspect and secure power cables to avoid movement
- Confirm the camera’s view remains unobstructed
- Regularly clean the lens for clear footage
- Using quality car accessories, like secure mounts and protective covers, can also help preserve your dash cam’s position over time. Proper installation techniques, similar to the precision required in engine upgrades, can greatly extend the effectiveness of your dash cam setup. Additionally, understanding the vibration effects common in vehicles can guide how you secure and maintain your camera to withstand road conditions. Regularly inspecting for potential loose components and addressing road vibrations can prevent unexpected shifts or damage.
Consistently monitoring these elements keeps your dash cam in the right position, ensuring high-quality footage regardless of driving conditions.
FAQs: Best Practices for Dash Cam Placement and Performance
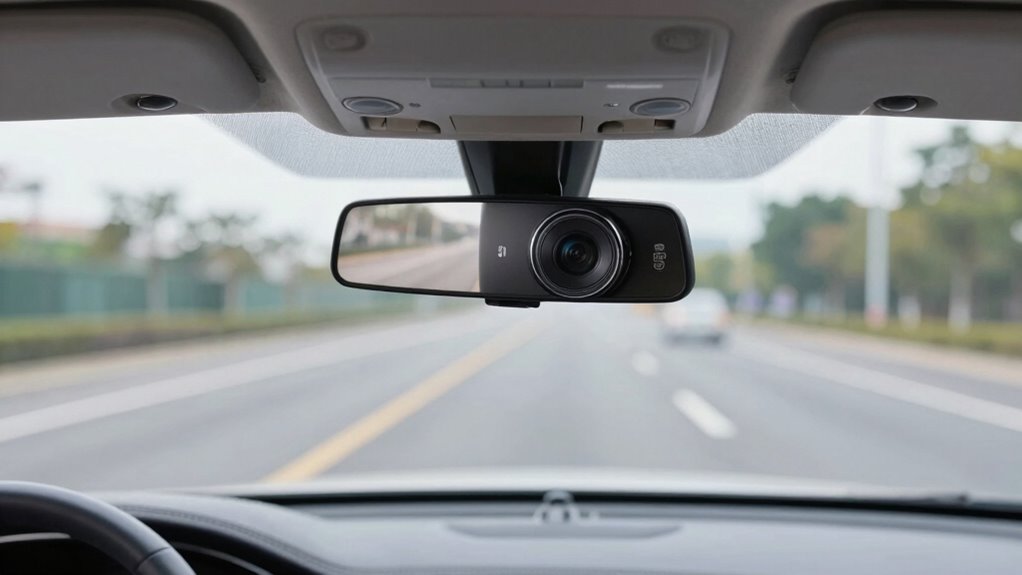
Finding the best placement for your dash cam can considerably impact the quality of footage and overall performance. To optimize camera angles, position your dash cam behind the rearview mirror, guaranteeing it captures the road ahead without obstructing your view. Using sturdy mounting materials, like adhesive pads or suction mounts, helps keep your camera stable and minimizes vibrations. Avoid placing the camera too low or too high, as this can distort footage or miss critical details. Confirm the lens has a clear, unobstructed view, and regularly check its alignment. Proper placement ensures clear, reliable footage during an incident. Remember, a well-mounted dash cam with the correct camera angles not only improves video quality but also simplifies troubleshooting when needed.
Frequently Asked Questions
How Often Should I Check My Dash Cam’s Position?
You should check your dash cam’s position at least once a month to guarantee ideal camera visibility and mounting stability. Regularly inspecting it helps catch any shifts or loose mounts that could compromise footage quality. Make sure the camera stays aligned with your windshield and remains securely mounted. Frequent checks ensure your dash cam captures clear, steady footage, providing peace of mind and reliable evidence if needed.
Can Dash Cam Positioning Affect Insurance Claims?
Yes, dash cam positioning can affect insurance claims because clear footage is essential. When your camera has high resolution, it captures more details, making evidence stronger. Proper positioning guarantees the camera records what’s necessary, especially if it also considers storage capacity, so footage isn’t overwritten prematurely. If your dash cam is well-placed, your insurance claim process becomes smoother, as you have reliable, high-quality evidence to support your case.
Is There a Recommended Angle for Different Weather Conditions?
You should adjust your dash cam to weather-specific angles for ideal footage. When it’s foggy or rainy, tilt the camera slightly downward to enhance visibility and reduce glare. In bright sunlight or snow, angle it more upward to avoid lens flare and glare. Always make sure your camera remains visible and unobstructed, allowing it to capture clear footage regardless of weather. Proper positioning guarantees better evidence during unpredictable conditions.
How Does Vehicle Size Influence Dash Cam Placement?
Your vehicle size profoundly influences dash cam placement. For smaller cars, position the dash cam higher on the windshield to maximize the field of view and avoid blind spots. Larger vehicles, like trucks or SUVs, benefit from placement closer to the rearview mirror, ensuring clear footage without obstruction. Adjust the angle accordingly to capture the road effectively, considering your vehicle’s size for ideal coverage and minimal blind spots.
Are There Legal Restrictions on Dash Cam Mounting?
Yes, there are legal restrictions on dash cam mounting you should follow for legal compliance and to address privacy concerns. You must avoid obstructing your view, usually by mounting the camera within the windshield’s legal limits, and refrain from capturing footage where privacy might be compromised, like inside private property or other vehicles. Check your local laws to guarantee your dash cam setup respects privacy and adheres to regulations.
Conclusion
Just like a seasoned director knows the perfect camera angle, mastering your dash cam’s position guarantees your footage tells the full story. By following the rules and avoiding common pitfalls, you’ll capture clear, reliable footage every time. Think of it as your vehicle’s own eye—keeping watch like Argus, vigilant and sharp. With proper placement and ongoing care, your dash cam becomes a trusted witness, ready to serve justice or simply provide peace of mind on every journey.