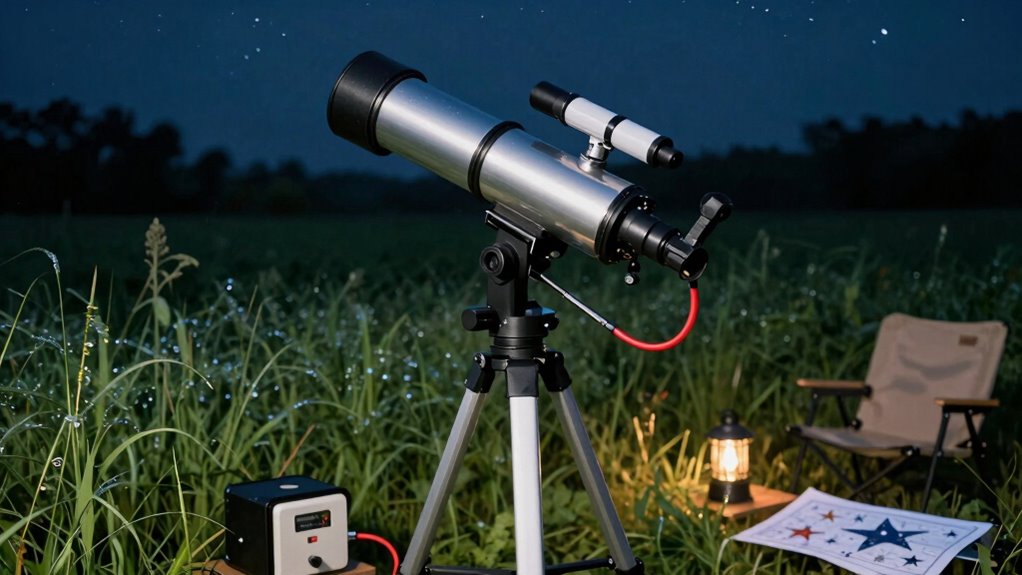

Establishing a consistent telescope setup routine saves you time and avoids frustration during outdoor nights. Prepare your equipment ahead, choose the best stargazing spot, and follow a step-by-step checklist to assemble and align your telescope quickly. Practice this routine regularly to build muscle memory, increasing your speed and confidence. Troubleshoot common problems before you head out to guarantee smooth sessions. Keep these habits in mind, and you’ll maximize your observing time—there’s plenty more to discover if you stick with it.

Get audio and creator gear delivered free with Prime
- Fast, free delivery on millions of items
- Prime Video, Amazon Music and more included
- Member-only deals all year
Key Takeaways
- Establish a consistent routine for setup, maintenance, and troubleshooting to save time and reduce frustration.
- Prepare all equipment and select the ideal stargazing location before dark.
- Follow step-by-step assembly and alignment procedures to ensure quick, accurate setup.
- Practice the setup routine regularly to develop muscle memory and increase speed.
- Perform routine maintenance and checks to ensure equipment functions properly during outdoor sessions.
As an affiliate, we earn on qualifying purchases.
Why a Consistent Telescope Setup Routine Saves You Time and Frustration
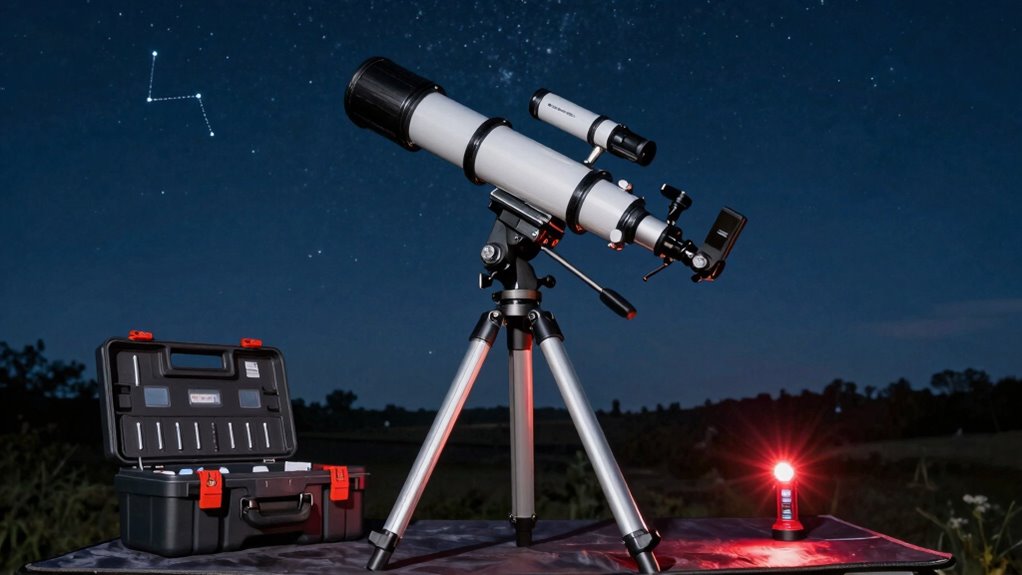
Establishing a consistent telescope setup routine can considerably reduce the time and frustration you experience during your stargazing sessions. When you follow a regular process, equipment maintenance becomes easier, as you get into the habit of checking for loose screws, cleaning lenses, and guaranteeing everything functions properly. This minimizes unexpected malfunctions that waste time. Considering weather conditions beforehand helps you prepare the right gear and protect your equipment from moisture or wind. By developing a routine, you streamline setup tasks, avoid rushing, and guarantee your telescope is properly aligned. This consistency builds confidence, so you spend more time observing rather than troubleshooting. Ultimately, a reliable routine makes your nights outdoors more enjoyable and less stressful.
Gather Your Equipment and Choose the Best Stargazing Spot
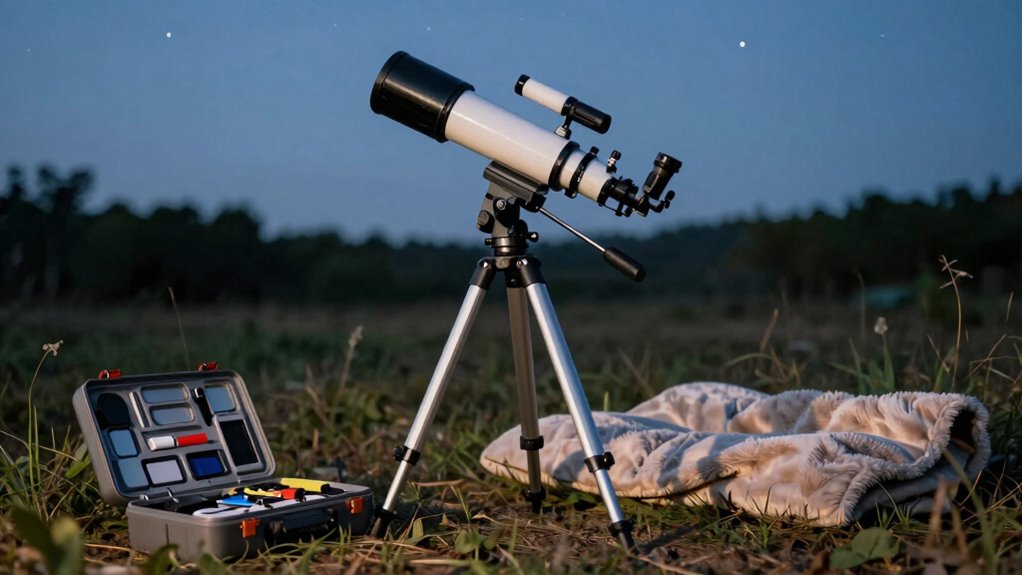
Before you start, gather all your equipment so you’re ready to go, including your telescope, batteries, and star charts. Next, find a spot with dark, clear skies and minimal light pollution for the best viewing experience. Make sure the area is level and open so you can set up comfortably and see the stars unobstructed. Planning ahead and understanding the digital content formats can help enhance your stargazing experience. Additionally, being familiar with urban traffic confidence can help you reach your outdoor spot safely and efficiently. Being aware of smart home gear options, like outdoor lighting and security cameras, can also improve your safety and convenience during your nighttime outing. Considering electric bikes can be a convenient way to reach remote stargazing locations quickly and with less effort. Knowing about light pollution can help you choose the darkest possible spot for optimal sky viewing.
Select Dark, Clear Skies
Choosing the right night for stargazing starts with finding a spot with dark, clear skies. Light pollution from city lights can wash out stars, so seek locations away from urban areas. Check weather conditions before heading out—clear skies are crucial, and avoid nights with high humidity or fog, which can obscure your view. Look for a forecast with minimal cloud coverage and stable atmospheric conditions. A dark, unobstructed horizon enhances your viewing experience, so pick a spot with little light interference and open views. Planning ahead ensures you maximize your time under ideal conditions, making your stargazing session more rewarding. Monitoring moon phases can also help, as a new moon provides the darkest skies for optimal stargazing. Being aware of atmospheric stability can further improve your chances of clear, crisp views. Additionally, understanding local light pollution levels can help you identify the best nearby locations for optimal viewing conditions. Knowing how light pollution impacts visibility can guide you in selecting the most suitable sites for your stargazing adventures, and considering projector technology can improve your outdoor viewing setup if you plan to incorporate visual aids or presentations.
Gather Essential Equipment
Gathering your essential equipment is a crucial step to guarantee a smooth and enjoyable stargazing experience. Start by checking your telescope and accessories for equipment maintenance—assure everything is clean, functioning properly, and packed securely. Next, consider weather considerations; bring appropriate clothing, blankets, and shelter options to stay comfortable and dry. Finally, pack these must-have items:
- Red flashlight to preserve night vision
- Notebook or star chart for quick reference
- Power sources or batteries for electronic equipment
Having your gear ready and in good condition minimizes setup time and frustration. Proper equipment maintenance assures everything works when needed, and considering weather helps you adapt and stay comfortable during your night out.
Find Level, Open Area
Finding a level, open area is essential for a successful stargazing session because uneven ground can make setting up your telescope difficult and uncomfortable. An open space minimizes obstructions and enhances visibility, while a flat surface guarantees stable mounting techniques. Weather considerations, like wind or humidity, also influence your choice—look for spots sheltered from wind and with clear, dry conditions. Additionally, selecting an eco-friendly natural pool area with native plants can create a more sustainable and harmonious outdoor environment. Use the table below to determine your ideal spot:
| Criteria | Why It Matters |
|---|---|
| Flat, level ground | Ensures stable mounting and ease of setup |
| Minimal light pollution | Improves visibility of celestial objects |
| Shelter from wind | Prevents vibrations affecting your view |
| Clear weather | Maximizes viewing clarity |
Choosing wisely helps you set up quickly and enjoy clearer, more comfortable nights outdoors.
Follow This Easy Checklist to Assemble Your Telescope Quickly
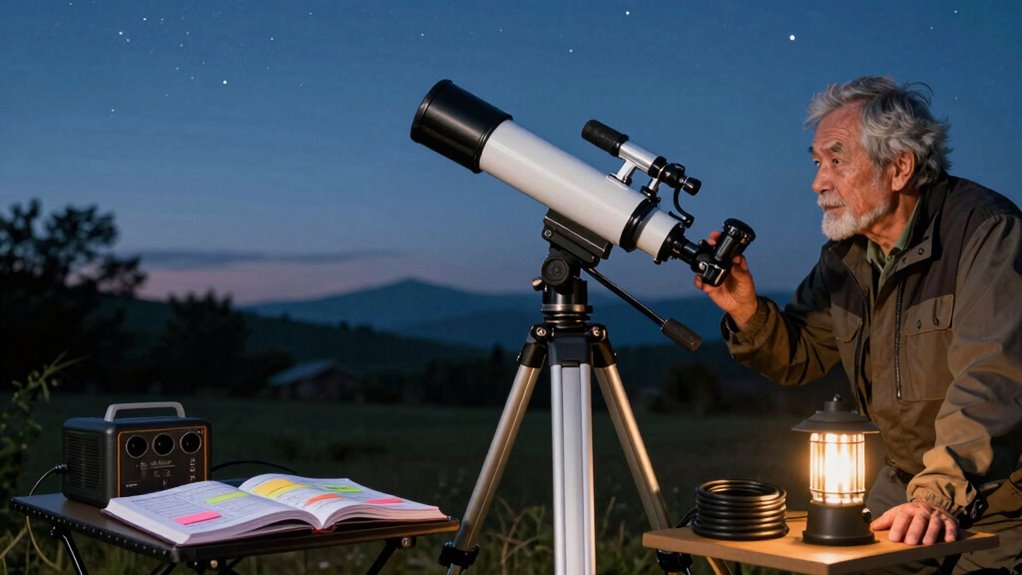
To assemble your telescope quickly, start by gathering all the necessary tools beforehand so you’re ready to go. Follow the step-by-step instructions carefully to avoid mistakes and save time. Once assembled, check the alignment and balance to guarantee smooth operation and clear viewing. Additionally, understanding media literacy can help you distinguish reliable sources of astronomical information and improve your overall stargazing experience.
Gather Necessary Tools
Before you start assembling your telescope, it’s essential to have all the necessary tools within reach. Having everything ready saves time and reduces frustration during setup. Make sure you gather these key items:
- Telescope accessories – eyepieces, filters, and lens caps ensure you’re prepared for different viewing scenarios.
- Outdoor lighting – a red flashlight helps you see your equipment without ruining your night vision.
- Tools for adjustments – screwdrivers or Allen wrenches needed for mounting or fine-tuning your telescope’s alignment.
Having these items on hand allows you to focus on setup instead of hunting for tools. Proper organization of your telescope accessories and outdoor lighting ensures a smooth, efficient assembly, so you’re ready to start exploring the night sky quickly.
Follow Step-by-Step Instructions
Following a clear, step-by-step checklist can make your telescope assembly much more straightforward and efficient. When you have a simple guide, you’re less likely to miss essential steps, saving you time and frustration. Whether you’re setting up for stunning mountain views or trying to peer past urban obstructions, following instructions ensures your equipment is correctly assembled for ideal viewing. It helps you quickly identify any issues, like loose mounts or misaligned parts, so you can focus on observing the night sky. Keep the checklist handy and follow each step carefully. This disciplined approach minimizes errors, speeds up setup, and allows you to spend more time enjoying the stars rather than troubleshooting. A well-organized process helps you get outdoors faster and makes each night under the sky more rewarding.
Check Alignment and Balance
Have you checked your telescope’s alignment and balance yet? Proper optical alignment and balance calibration are key for clear, steady viewing. To guarantee this, follow these steps:
- Verify optical alignment by adjusting the mirrors or lenses until the stars appear sharp and centered in your eyepiece.
- Confirm your telescope is balanced by placing it on the mount and adjusting counterweights so it moves smoothly without strain.
- Recheck the balance after any adjustments to prevent drift or uneven movement during observation.
- Ensuring your equipment is properly maintenance helps maintain optimal performance and prolongs the lifespan of your telescope.
- Regularly calibrate your telescope’s components to keep your setup precise and reliable over time. Staying aware of urban pursuits in Harrisburg can also help you find local stargazing events and resources.
- Understanding and following aviation regulations related to equipment maintenance can also help ensure your telescope remains in top condition.
These simple checks make setup faster and improve image stability. Proper alignment guarantees accurate tracking, while balanced equipment reduces motor strain, leading to clearer, more enjoyable nights outdoors.
Align and Calibrate Your Telescope for Clearer, Sharper Views
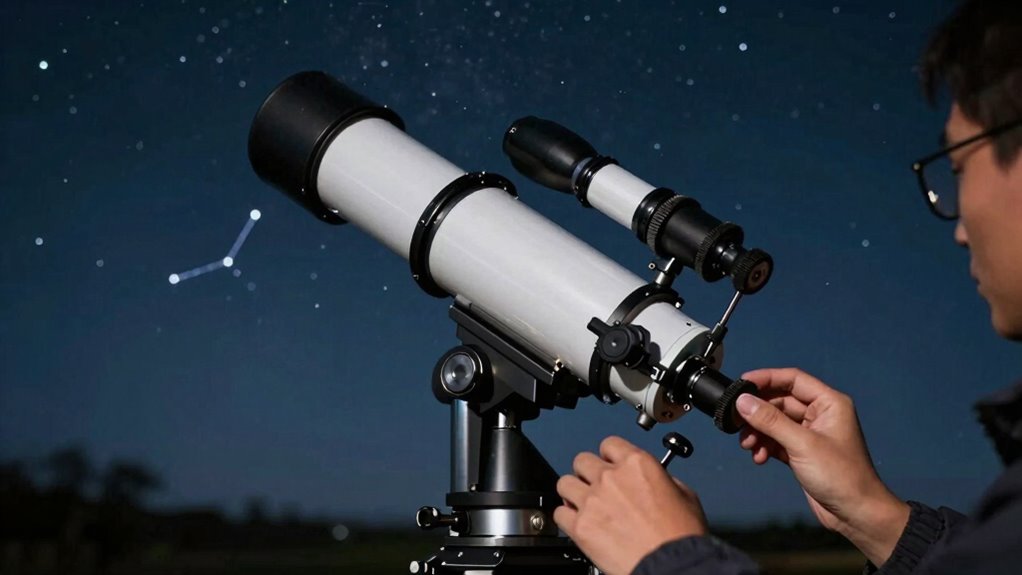
To achieve the clearest, sharpest views through your telescope, proper alignment and calibration are essential. Start by inspecting your lens maintenance, ensuring lenses are clean and free of dust or smudges that can blur images. Use star charting to identify key celestial targets and verify your telescope’s alignment with the night sky. Adjust your mount and finderscope carefully, matching star positions to your star chart to guarantee accurate tracking. Calibration also involves fine-tuning the focus and collimation, so your images stay crisp across the field of view. Regularly checking and maintaining these elements keeps your telescope performing at its best, reducing blurry or distorted views, and boosting your confidence in every session.
Practice Your Setup Routine Regularly to Build Speed and Confidence
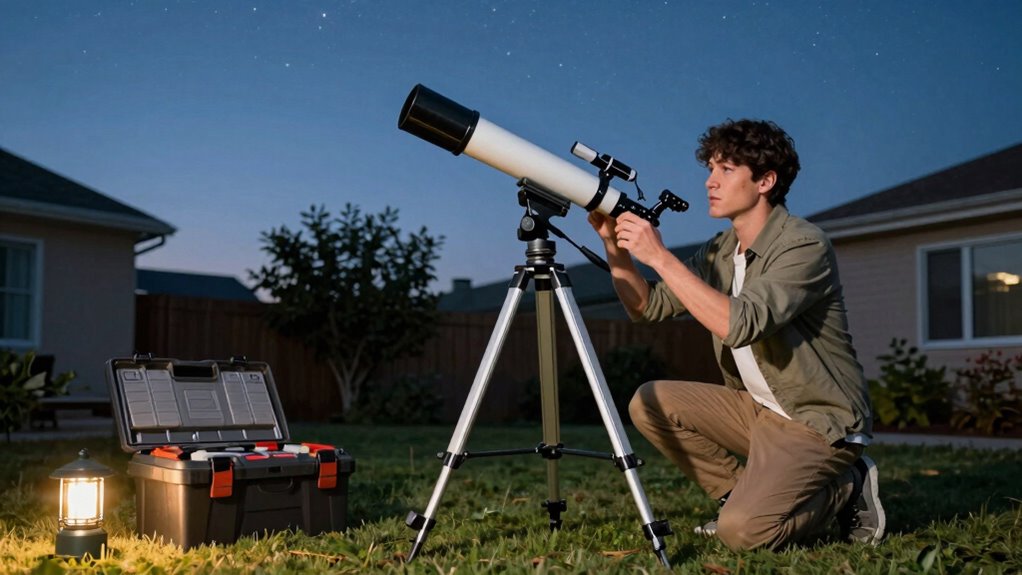
Practicing your setup routine regularly is key to becoming more efficient and confident when preparing your telescope. Repetition helps you master mounting techniques and adapt to weather considerations quickly. To improve your speed and confidence, focus on these steps:
- Refine mounting techniques—practice aligning and securing your telescope smoothly, minimizing setup time.
- Adapt to weather conditions—simulate different scenarios, like wind or cold, to ensure your routine remains effective.
- Time yourself—set a timer to challenge your speed and identify areas for improvement.
- Incorporate proper technique fundamentals—understanding the basics of your equipment ensures smoother and faster setups. Additionally, recognizing regional flavors can inspire you to customize your outdoor setup environment for a more comfortable experience. Developing good safety and seamanship fundamentals can also help you avoid common setup pitfalls and ensure a secure, stable setup every time.
Consistent practice builds muscle memory, so your setup becomes second nature. Over time, you’ll set up faster, troubleshoot on the fly, and enjoy more time observing rather than fussing with equipment.
Troubleshooting Common Setup Problems Before You Head Out
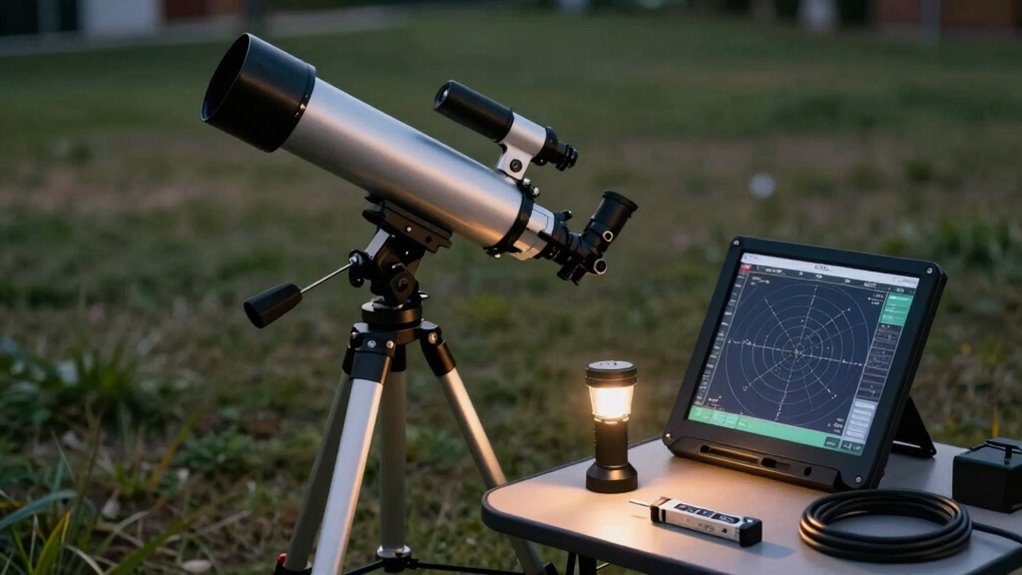
Before heading out for your observing session, it’s essential to identify and address common setup problems to prevent disruptions later. Check your telescope’s alignment and focus, ensuring camera accessories are secure and functioning. Weather considerations are critical—verify forecasts for humidity, wind, or rain that could impact your equipment. A quick test run can reveal issues with power sources or mount stability. Also, confirm your smartphone or tablet connects smoothly to your guiding apps. Use this table to review common issues:
| Problem | Solution |
|---|---|
| Camera accessories not syncing | Reconnect and update drivers |
| Mount instability | Tighten all bolts and balance your telescope |
| Poor weather conditions | Bring protective covers and monitor forecasts |
| Power supply issues | Use fully charged batteries or backup power |
| Focus or alignment problems | Run a quick calibration before dark |
Additionally, ensuring your equipment is properly setup protocols can save you time and frustration during your night outdoors. Being familiar with whole-home water systems can help you understand the importance of proper maintenance and troubleshooting, which can be surprisingly similar to adjusting and calibrating your telescope setup.
Frequently Asked Questions
What Tools Are Essential for Quick Telescope Setup?
You need essential tools like an organized accessory storage system and reliable power management. Keep your accessories, such as eyepieces and filters, neatly stored to save time. Use a power strip or portable power source to quickly energize your telescope and accessories. This setup minimizes hassle, letting you focus on stargazing. Proper accessory organization and efficient power management are key to a swift, smooth telescope setup for better nights outdoors.
How Do Weather Conditions Affect My Setup Routine?
Weather conditions directly impact your setup routine. Weather patterns like wind or rain can delay or complicate your process, so you should always check the forecast beforehand. Humidity levels can cause moisture buildup on your equipment, so keep a cloth handy and allow your telescope to acclimate to outdoor temperatures. Adjust your routine accordingly: if it’s humid, take extra time to make certain everything’s dry and stable for clear, safe observations.
Can I Automate Parts of My Telescope Setup?
Yes, you can automate parts of your telescope setup. Many modern telescopes come with built-in motors and software for automatic alignment, saving time and effort. Use manual alignment initially to calibrate your mount, then enable automation for future sessions. Incorporate astrophotography tips by ensuring precise alignment, which benefits from automated processes. This approach helps you quickly start observing or imaging, maximizing your clear nights outdoors.
What Should I Do if My Alignment Keeps Drifting?
Think of your telescope’s alignment as a delicate dance that needs constant tuning. If your alignment drifts, it’s time to recheck calibration consistency and star alignment. Revisit your initial setup steps, ensuring your mount is stable and your star database is accurate. Regularly recalibrating and carefully aligning stars keeps your telescope’s view steady, turning your night sky observations into a smooth, reliable performance.
How Do I Store My Equipment to Maintain Readiness?
You should use proper storage solutions and accessory organization to keep your equipment ready. Store your telescope and accessories in labeled containers or dedicated cases, protecting them from dust and moisture. Keep delicate parts, like eyepieces and filters, separated and organized. Regularly clean and check your gear. By maintaining an organized storage system, you guarantee everything is quickly accessible and in good condition for your next night under the stars.
Conclusion
Stick to your setup routine, and you’ll be the star of every stargazing night—minus the cosmic chaos. With practice, you’ll assemble faster than a shooting star streaks across the sky, leaving more time for awe and less for frustration. So, embrace the ritual, troubleshoot like a pro, and watch your celestial adventures shine brighter. After all, who needs a telescope when your setup skills are out of this world? Happy stargazing!
Fall Picks
fall essentials
As an affiliate, we earn on qualifying purchases.