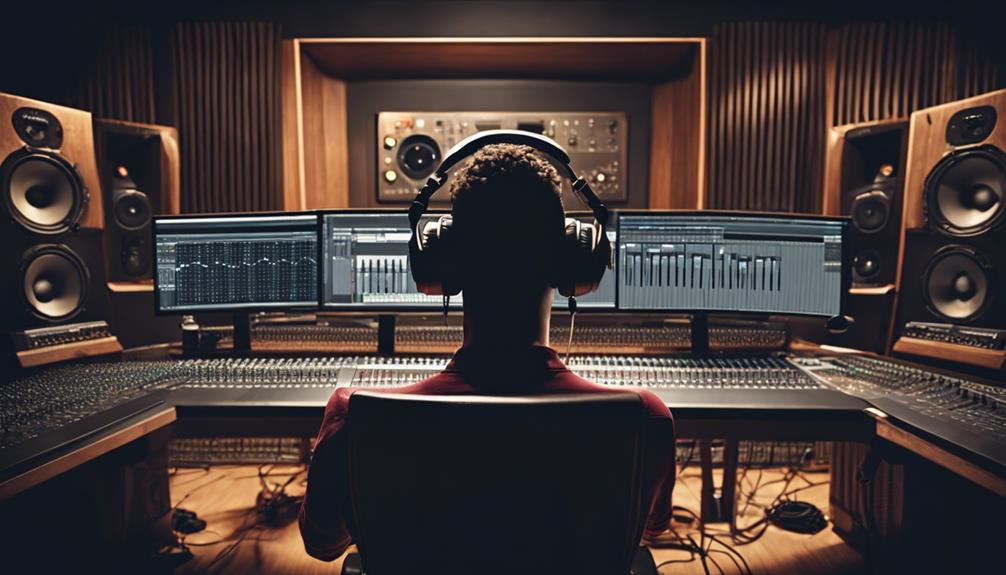
To achieve professional-level song recordings, start by setting up a space with good acoustics and proper lighting. Familiarize yourself with the song’s key and tempo for accurate recording. Improve the room acoustics using treatment placement and isolation techniques. Choose the appropriate microphone type for vocals, taking into account patterns and sound quality. Prepare the vocalist with warm-ups and the right equipment. By following these steps carefully, you can enhance the quality of your song recordings. Pay attention to every detail to ensure a polished finish for each track you produce.
Key Takeaways
- Optimize sound quality with a dedicated recording space and proper acoustics.
- Familiarize with song details like arrangement, key, tempo, and lyrics for precision.
- Enhance room acoustics with strategic placement of acoustic treatment.
- Select appropriate microphones based on vocal nuances and recording needs.
- Ensure vocalist's preparation with warm-up routines, exercises, and a comfortable environment.
Set Up Your Recording Space
To optimize sound quality in your recordings, we need to carefully set up our recording space. Choosing a dedicated room with good acoustics is vital.
Investing in soundproofing materials such as acoustic foam panels or bass traps can help eliminate unwanted noise and echoes, ensuring a clean sound capture. Proper lighting is essential for creating a conducive environment, while comfortable seating can enhance productivity during long recording sessions.
Organizing the equipment layout strategically not only allows for easy access but also promotes an efficient workflow. Consider incorporating ergonomic furniture to maintain comfort and reduce fatigue.
Implementing cable management solutions keeps the setup neat and organized. By paying attention to details like soundproofing, lighting, ergonomic furniture, and equipment layout, we can create a recording space that maximizes sound quality and supports a productive workflow.
Familiarize With Song Details
We explore the intricacies of understanding the song's arrangement, key, tempo, and lyrics to guarantee precise recording. When preparing to record a song, it's important to dive into the details that shape its essence. Here's a quick guide to familiarize yourself with the fundamental elements:
- Song arrangement: Analyze the structure of the song, including verses, choruses, bridges, and any instrumental breaks, to plan the recording process effectively.
- Key and tempo: Determine the song's key signature and tempo to make sure all instruments and vocals align harmoniously throughout the recording.
- Lyrics: Grasp the lyrical content and emotional nuances of the song to deliver a compelling vocal performance that resonates with listeners.
- Singer's vocal range: Understand the singer's vocal capabilities and range to choose suitable melodies and harmonies that showcase their strengths.
Optimize Room Acoustics
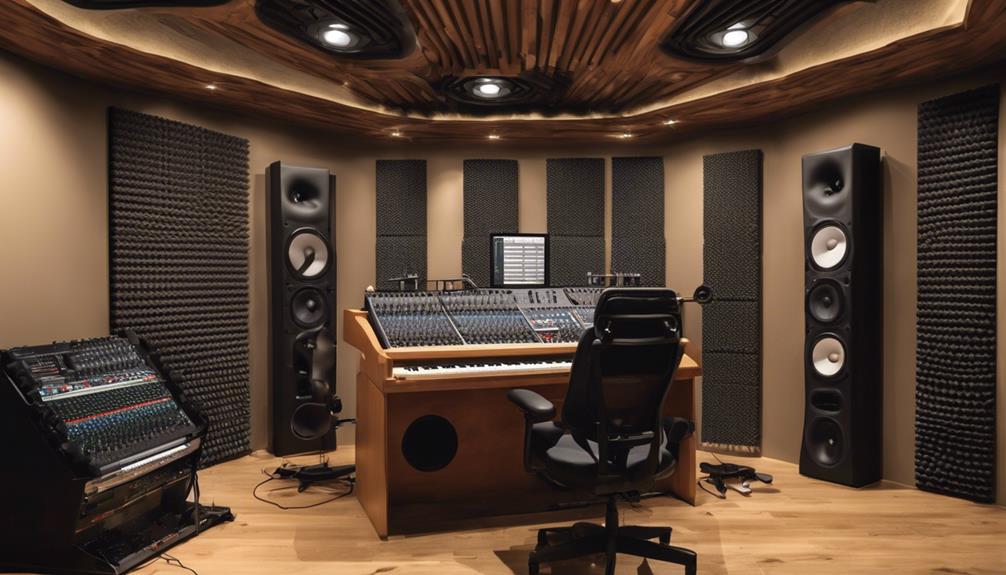
Improving sound quality in vocal recordings involves strategic placement of acoustic treatment to optimize room acoustics. By incorporating absorption panels, bass traps, and diffusers, you can effectively control room reverb and echoes, leading to a cleaner sound.
Creating a dedicated vocal booth or using an isolation shield helps isolate vocals from external noise interference, ensuring that your recordings are free from unwanted distractions. Optimizing room acoustics is essential for enhancing sound quality and clarity in vocal recordings. Address issues like standing waves and reflections by strategically positioning acoustic treatment throughout the room.
Professional acoustics play a significant role in creating an ideal recording environment for achieving high-quality vocal tracks. Remember, the proper arrangement of acoustic elements can make a substantial difference in the final outcome of your recordings. So, take the time to fine-tune your room acoustics to elevate the overall quality of your vocal recordings.
Select Proper Microphones
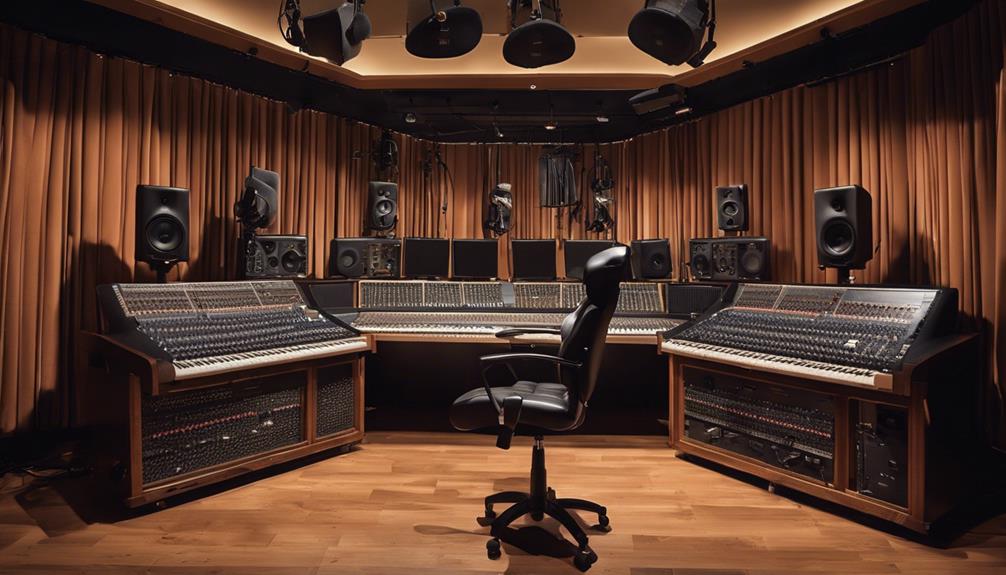
When choosing the correct microphone, it's crucial to comprehend the different types available and which ones are most suitable for vocals.
Large-diaphragm condenser microphones excel at capturing the subtleties of a singer's voice, whereas dynamic mics are ideal for live performances.
Moreover, taking into account microphone polar patterns can assist in customizing your recording setup for various situations.
Mic Types Explained
Large-diaphragm condenser microphones stand out as the top choice for capturing rich, detailed vocals with warmth and clarity. When it comes to selecting the right microphone for your recording needs, consider the following options:
- Dynamic microphones: Ideal for live performances and capturing high-SPL sources like drums and guitar amps.
- Ribbon microphones: Offer a smooth, vintage sound perfect for delicate vocals and acoustic instruments.
- Small-diaphragm condenser microphones: Excel at capturing transient details and high-frequency content with precision.
- Shotgun microphones: Highly directional, perfect for picking up sound from a specific source while rejecting off-axis noise.
Each microphone type serves a unique purpose in sound capture, enhancing the quality of your recordings and bringing innovation to your vocal recording experience.
Best Mics for Vocals
For achieving excellent vocal recordings, we always emphasize selecting the appropriate microphone that suits your voice type and recording environment. When it comes to capturing vocals, different microphones offer unique characteristics.
Large-diaphragm condenser microphones are ideal for vocals, providing warmth and detail. Dynamic microphones, often used for live performances, offer durability and feedback rejection. Ribbon microphones deliver a smooth, natural sound, perfect for vintage or intimate recordings. Tube microphones are favored in professional settings for their classic, warm tone.
While USB microphones offer convenience for home setups, XLR microphones are preferred for professional vocal recording due to their superior quality. Choose the microphone that best fits your needs to elevate your vocal recordings to a professional level.
Ensure Vocalist's Preparation
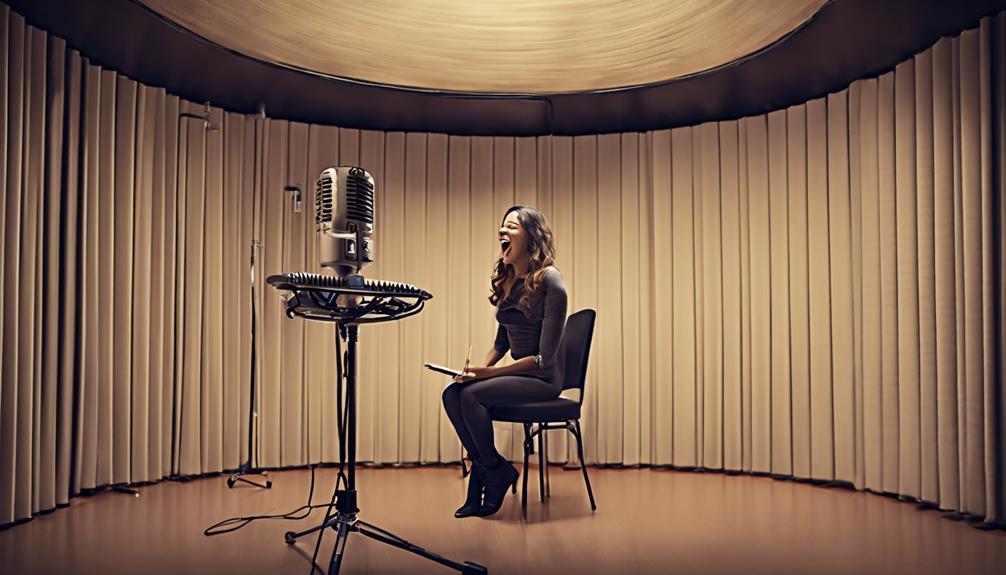
To ensure the vocalist's readiness for recording, it's vital to promote proper vocal warm-up routines lasting 15-20 minutes beforehand. This essential step can greatly improve performance and prevent vocal strain.
Here are some key factors to keep in mind in ensuring the vocalist's preparation:
- Encourage vocal warm-up exercises to enhance vocal performance.
- Provide a comfortable environment to boost the vocalist's focus during recording sessions.
- Select large-diaphragm condenser microphones for best sound capture.
- Set the input level on the audio interface correctly to avoid distortion and maintain peak levels around -10dB to -6dB.
Utilize Recording Techniques
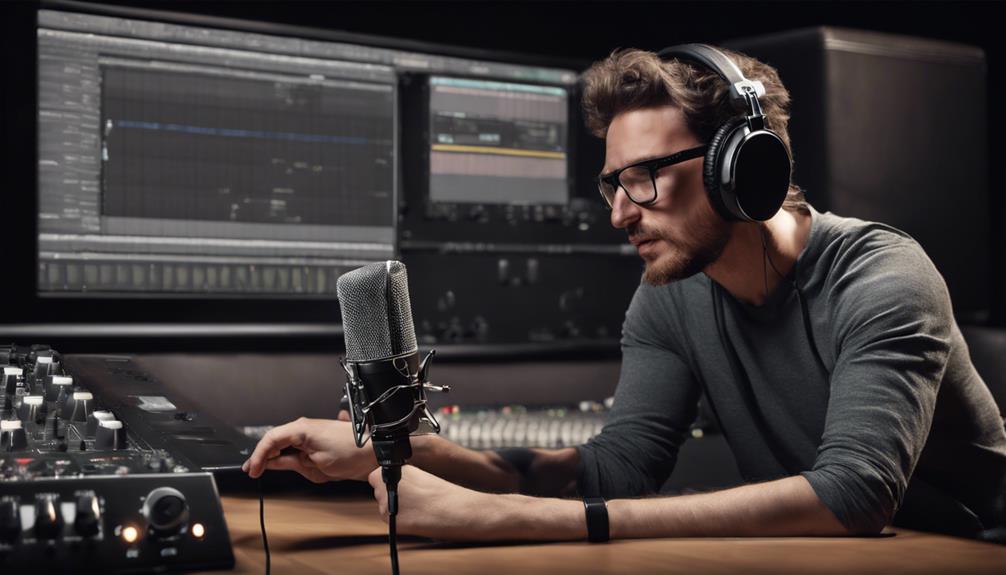
Let's start incorporating various recording techniques to enhance the vocal quality and overall production of the song. Recording multiple takes allows us to capture different nuances and performances, adding depth and authenticity to the vocals. Experimenting with vocal doubling, harmonies, ad-libs, and vocal effects can create creative and unique textures that elevate the song's impact. When editing, remember to fine-tune vocals sparingly to maintain the original authenticity of the performance.
Exploring different microphone techniques is essential in finding the best sound for the vocals. Each microphone can capture specific tonal qualities differently, so don't hesitate to try various options to achieve the desired effect.
Apply Professional Editing
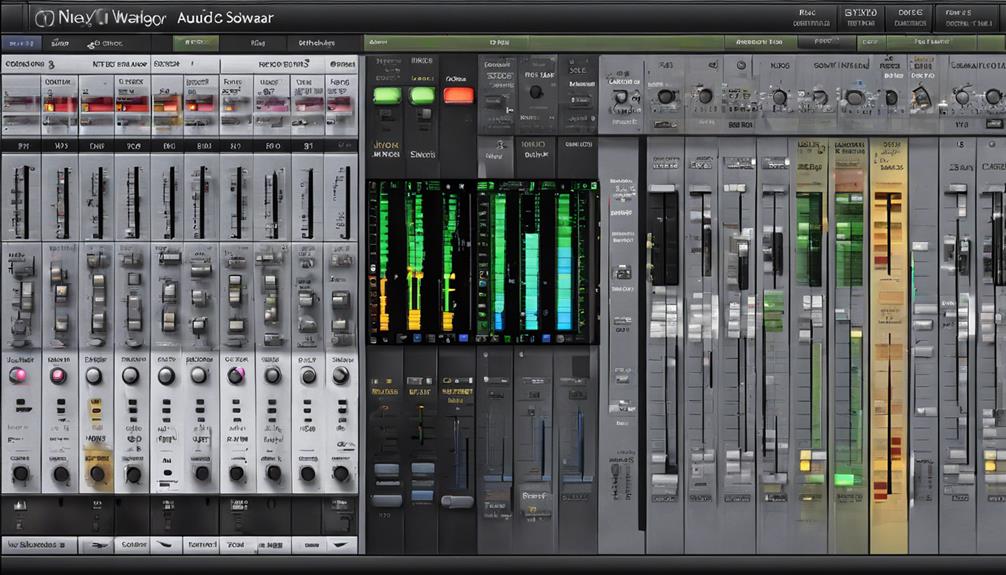
As we explore the world of professional editing, we harness the power of editing software to refine pitch and timing errors in vocals and instruments. When applying professional editing techniques, we focus on enhancing the quality of the recorded tracks through various methods such as:
- Utilizing noise reduction: Removing unwanted background noise to enhance clarity.
- Applying EQ and compression: Balancing frequencies and controlling dynamics for a polished sound.
- Incorporating effects: Adding reverb, delay, and modulation for depth and atmosphere.
- Ensuring seamless connections: Seamlessly blending sections with crossfading or editing techniques.
Frequently Asked Questions
How Do Professionals Record Songs?
When we record songs like pros, we kick things off with a scratch track to set the foundation.
Next, we lay down the rhythm section to establish the beat and groove.
Then, we capture lead instruments or melodies to enhance the overall sound.
Recording vocals is vital as it acts as the focal point.
How Do You Record Like a Pro?
Recording like a pro involves investing in quality equipment and seeking guidance to enhance performance. Multiple recordings, including vocals, rhythm, and harmonies, streamline editing and guarantee control over each instrument.
Trial recordings for drums, bass, vocals, and sound effects refine the final song. A professional approach, whether in a home or rental studio, results in a polished end product.
Utilize these steps to elevate your recording quality and performance like a pro.
What Are the Steps to Recording a Song?
Setting up your home studio with essential gear is important. Start with a scratch track, then layer in rhythm, lead instruments, vocals, and harmonies.
Multiple takes, comping, vocal doubling, and harmonies help capture the best performance. Utilize mixing techniques like balancing faders, panning, EQ, compression, and reverb for a polished sound.
How Do You Record a Perfect Song?
When crafting a perfect song, we lay down a scratch track to get the vibe just right. From there, we build up the rhythm section to set the beat and groove.
Lead instruments and melodies are added to enhance the sound, followed by vocals that bring emotion and clarity. Background vocals or harmonies add depth and complement the main vocals.
It's a step-by-step process that guarantees every element shines in harmony.
Conclusion
To sum up, recording songs like a pro requires attention to detail and proper preparation. By following the steps outlined in this article, you can create high-quality recordings that showcase your talent and creativity.
For example, imagine the exhilaration of hearing your perfectly recorded vocals blend seamlessly with the music, creating a truly memorable and professional sound.
So, set up your space, optimize your acoustics, and get ready to record like a pro!

