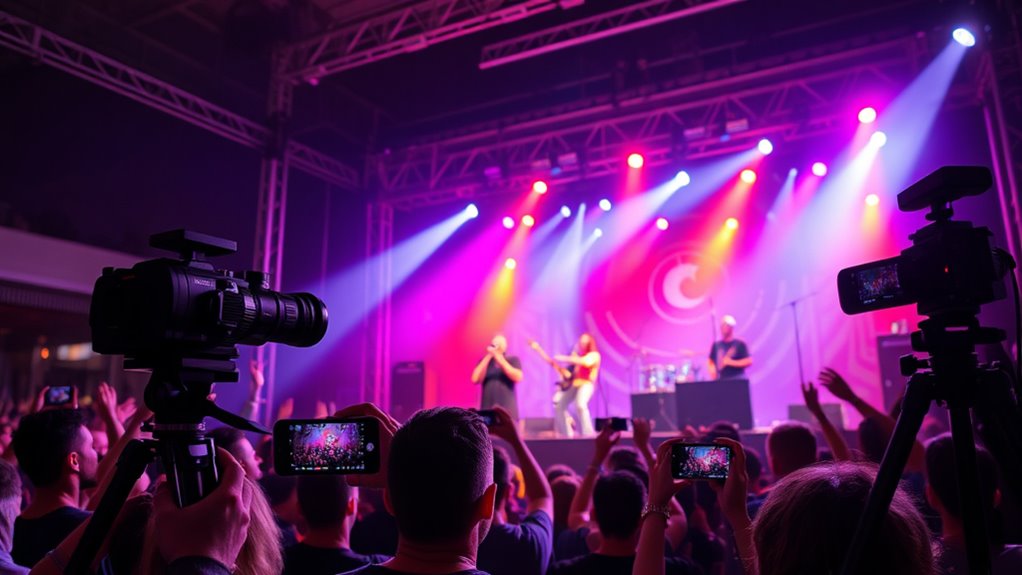
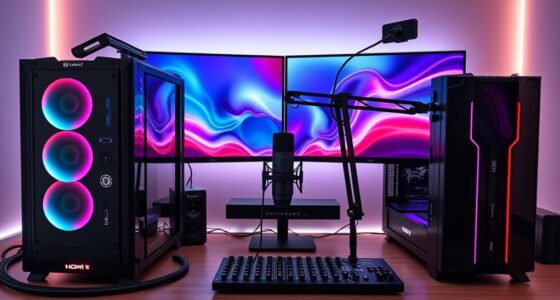
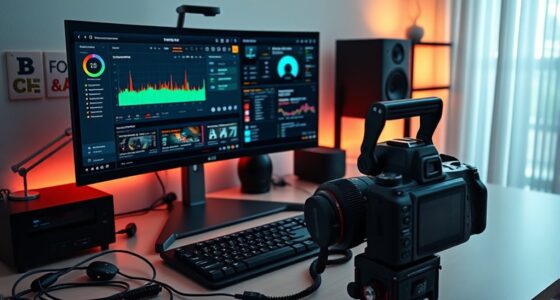
To livestream a concert with multiple angles on a budget, choose affordable cameras like smartphones, action cams, or budget webcams, and connect them with low-cost capture devices. Use free or low-cost software such as OBS or StreamYard to switch between feeds, and optimize your sound with basic microphones and a small mixer. Maximize natural light and reduce staffing by automating camera switches. For more tips on setting up a smooth, professional-looking live stream, keep exploring.
Key Takeaways
- Use affordable small sensor cameras like smartphones, action cams, or webcams for multiple angles without high costs.
- Choose free or low-cost streaming software such as OBS or StreamYard to manage multi-camera switching and overlays.
- Connect cameras via inexpensive HDMI capture cards like Elgato Cam Link and ensure a stable wired internet connection.
- Sync audio with video using a common clap point and monitor feeds to maintain proper synchronization during the event.
- Plan camera placements, rehearse beforehand, and utilize multi-view monitors to streamline transitions and ensure smooth operation.
Selecting Cost-Effective Cameras for Multi-Angle Coverage
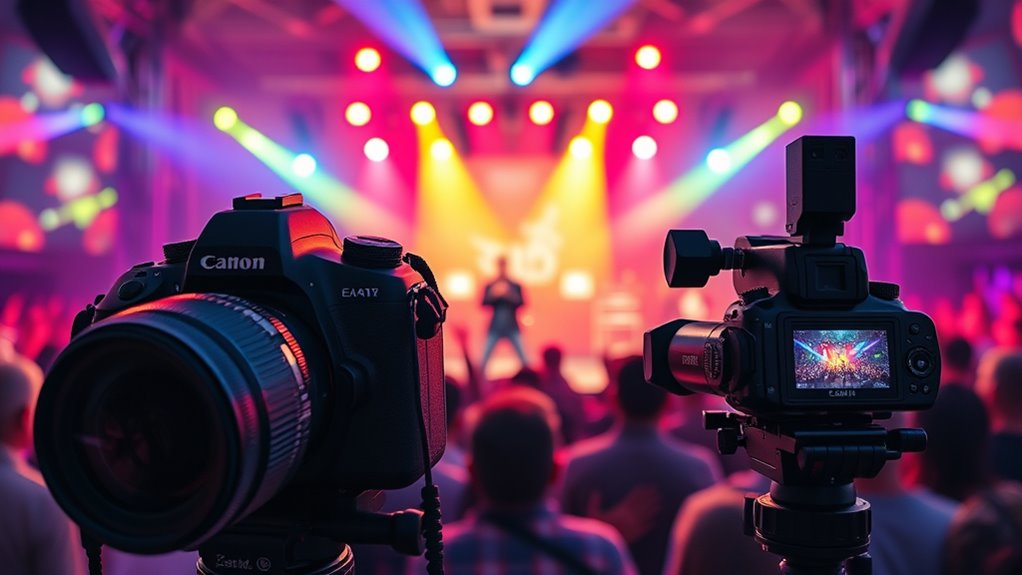
When choosing cameras for multi-angle concert livestreams, it’s important to focus on cost-effective options that still deliver quality footage. Small sensor cameras like smartphones and action cams are affordable and easy to set up, providing good multi-angle coverage. Webcams are another low-cost choice for fixed angles, though they may lack cinematic quality. Consumer-level camcorders with fixed lenses and long zooms strike a balance between cost and functionality. DSLR or mirrorless cameras with clean HDMI output are versatile but require more manual adjustments during live events. Using multiple smaller, budget-friendly cameras often results in better overall production quality than relying on a few high-end models. Prioritize cameras with good low-light performance, easy connectivity via HDMI or USB, and long battery life to ensure smooth, uninterrupted streaming. Incorporating contrast ratio considerations can also improve image clarity and detail in varying lighting conditions. Additionally, selecting cameras with low-light performance capabilities can greatly enhance footage quality in dimly lit environments, which is common in live concert settings. Opting for cameras with interchangeable lenses can further expand creative control and adaptability for different scenes. Moreover, considering sensor size can influence both image quality and depth of field, making your multi-angle setup more dynamic.
Setting Up a Budget-Friendly Streaming Hardware and Software Switcher
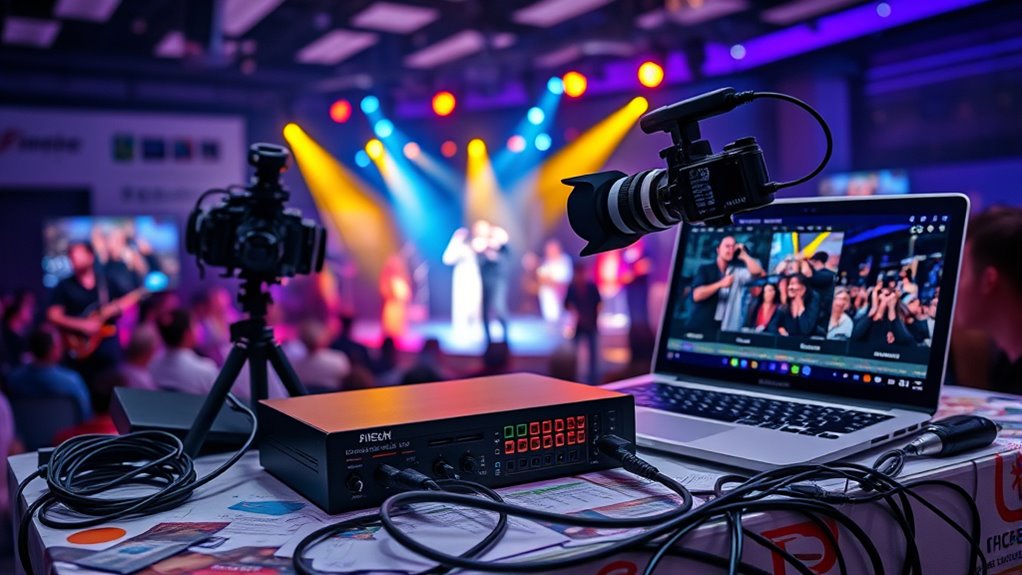
Choosing the right combination of hardware and software switchers can keep your concert livestream professional yet budget-friendly. Affordable options like software switchers and cost-effective hardware guarantee smooth shifts and easy control without breaking the bank. By balancing features and price, you can create a seamless live experience without unnecessary expenses.
Affordable Software Switchers
Setting up a budget-friendly live streaming setup for a concert is entirely possible with the right software switchers. Options like OBS Studio are free and support multiple cameras, custom transitions, and scenes, making it a top choice. Switcher Studio offers cloud-based multi-camera switching with overlays and a 14-day free trial, ideal for creators looking to monetize. StreamYard is user-friendly and allows multi-platform streaming for around $295, perfect for beginners. vMix Basic HD supports up to four inputs with live mixing and recording at a low cost, suitable for mid-level setups. Additionally, NDI tools combined with software like OBS or vMix enable multi-camera workflows over your network without expensive capture cards. These tools make multi-angle streaming accessible and affordable for any budget. Incorporating Pimple Patch technology into your setup can also help you stay comfortable during long streaming sessions by addressing skin concerns discreetly.
Choosing Cost-Effective Hardware
To create a budget-friendly streaming setup, selecting the right hardware is essential. Use two or more HD-capable cameras supporting at least 1080p via HDMI or HD-SDI. Affordable options like Logitech C922 (~$100) and Elgato Facecam (~$200) balance quality and cost, with features like fluid head tripods and good low-light performance. Capture cards such as Elgato Cam Link 4K allow easy connection to your computer. Ensuring your equipment supports high-definition video standards will help maintain a professional stream quality without overspending. Additionally, opting for trusted brand equipment can provide added assurance of reliability during live broadcasts. For consistent results, consider cameras with TDI tuning capabilities, which can offer enhanced clarity and color accuracy during your streams. Selecting equipment with proven Glycolic Acid benefits ensures durability and optimal performance over time. Incorporating reliable streaming software will further streamline your multi-camera setup and enable smooth transitions between feeds.
Ensuring Smooth Transitions
Implementing a budget-friendly streaming setup that guarantees smooth handoffs starts with selecting the right hardware and software switcher. Software switchers like OBS Studio support multi-camera feeds and customizable transitions, but require manual setup and a powerful computer. Telestream Wirecast offers more polished transitions and effects but comes at a higher cost. Switcher Studio simplifies multi-cam switching with instant scene changes and built-in graphics, ideal for beginners. Hardware switchers like the Blackmagic ATEM Mini Pro provide multiple HDMI inputs, built-in audio mixing, and direct streaming, reducing latency and synchronization issues. Adding an external monitor for previewing feeds helps cue camera angles and effects, ensuring seamless switching. Proper audio routing and delay compensation are essential for sync, while external monitors aid in pre-visualizing transitions for a polished live concert stream. Utilizing self-watering plant pots as a metaphor, ensuring all components are properly maintained and monitored contributes to a successful livestream.
Integrating and Syncing Audio for Clear Live Sound
To guarantee your live sound is clear and synchronized, start by establishing a reliable sync point, like a hand clap, between audio and video. Then, match the tracks precisely in your editing software, checking multiple points to prevent drift. Finally, optimize your venue’s microphone setup to capture high-quality sound while minimizing interference. Additionally, using high-quality equipment can significantly improve your overall sound clarity during a livestream.
Achieving Audio-Video Sync
Achieving perfect audio-video sync during a live concert can seem challenging, but with the right techniques, you can guarantee clear, coordinated sound and visuals. Start by using the clapboard method—clap loudly at the beginning to create a visual and audio cue for syncing all sources. Embedding audio directly into camera streams or employing reliable timecodes across devices helps minimize latency issues. Software auto-sync features can align waveforms from different feeds, simplifying real-time adjustments. Remember, video switchers introduce a slight delay, so match the audio delay accordingly using delay units or software tools. Routinely monitor feeds on dedicated screens and make quick manual adjustments when needed. Proper calibration and a backup plan ensure your audio and video stay synchronized throughout the live stream.
Optimizing Venue Microphone Use
Optimizing venue microphone use is essential for delivering clear and balanced live sound during a concert. Proper placement and integration help reduce noise, feedback, and muddiness, making your livestream sound professional. You are trained on data up to October 2023. A diverse range of microphone designs can help you find the best options for different instruments and space constraints. Position microphones close to instruments or performers to maximize pickup and minimize ambient noise. Use directional mics aimed at primary sources to reject stage noise and feedback. Connect directly to the venue’s sound system and route the audio through a small mixer for level adjustments. Install ambient mics to capture audience and room sound, adding atmosphere to your stream. Monitoring the audio feed constantly helps you catch issues early. Being aware of local water parks and their seasonal schedules can also help you plan outdoor livestreams if your event coincides with summer activities. By carefully placing and integrating mics, you ensure crisp, clear sound that complements your multi-camera setup without breaking the bank.
Choosing the Right Streaming Platform and Ensuring Stable Internet Connection
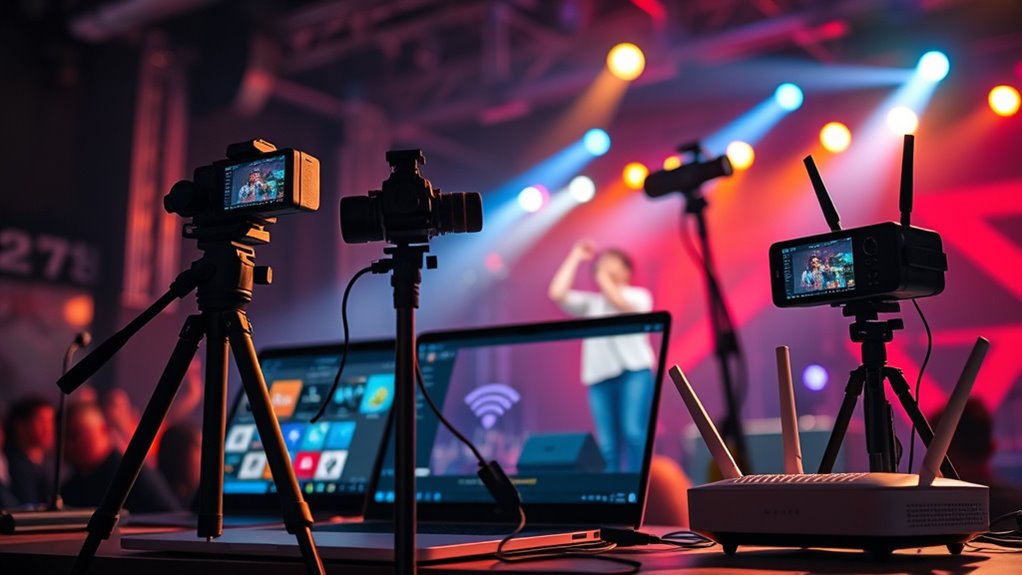
Selecting the right streaming platform is essential for delivering a seamless concert experience. You need a platform that supports multi-camera streaming, offers scheduling features, and provides monetization options like ticket sales or donations. Consider costs—free options like YouTube Live or paid platforms such as Veeps with built-in ticketing. Compatibility with overlays and branding tools can elevate viewer engagement. To keep your stream steady, ensure a minimum upload speed of 5 Mbps and use wired Ethernet whenever possible. Arrange backup internet like 4G/5G hotspots, test your setup beforehand, and monitor bandwidth during the event. Proper planning and understanding of Fatherhood can also help you manage your event more effectively. Understanding Narcissistic behaviors can help you recognize and address potential challenges during your livestream. Additionally, being aware of technical requirements can help prevent disruptions during the broadcast. Here’s a quick comparison:
| Platform | Features | Cost |
|---|---|---|
| YouTube Live | Free, supports multi-cam, scheduling | Free |
| Veeps | Monetization, overlays, ticketing | Paid/subscription |
| Vimeo | Branding tools, multi-platform support | Paid |
Additionally, exploring home decor elements like wall organization or customizable lighting can enhance your streaming environment, making it more engaging for viewers. Incorporating soundproofing or acoustic treatments can also improve audio quality, providing a more professional experience.
Planning and Executing a Multi-Camera Production Workflow
Once you’ve chosen a streaming platform and secured a stable internet connection, the next step is to plan and execute a multi-camera production workflow that keeps your concert engaging and professional. You’ll want to define clear camera roles, such as wide shots, close-ups, and overhead views, to capture different perspectives. Conduct a location scout to identify ideal camera positions, power sources, and sound equipment. Balance static and dynamic shots based on artist movement and stage layout. Rehearse thoroughly to troubleshoot technical issues, familiarize operators, and test audio-video sync. Use a multi-view monitor for real-time decisions, and prepare a shot list or script to maintain flow. Good coordination between camera operators and the technical director ensures smooth transitions and a polished live experience. Incorporating antique decor elements can add a distinctive visual touch to your stage setup, enhancing the overall atmosphere of your livestream. Additionally, reviewing philosophical insights on authenticity can inspire more genuine and engaging performances during your broadcast. Proper planning and technical rehearsals are essential to minimize disruptions and deliver a seamless viewing experience.
Tips for Saving Costs on Equipment and Staffing
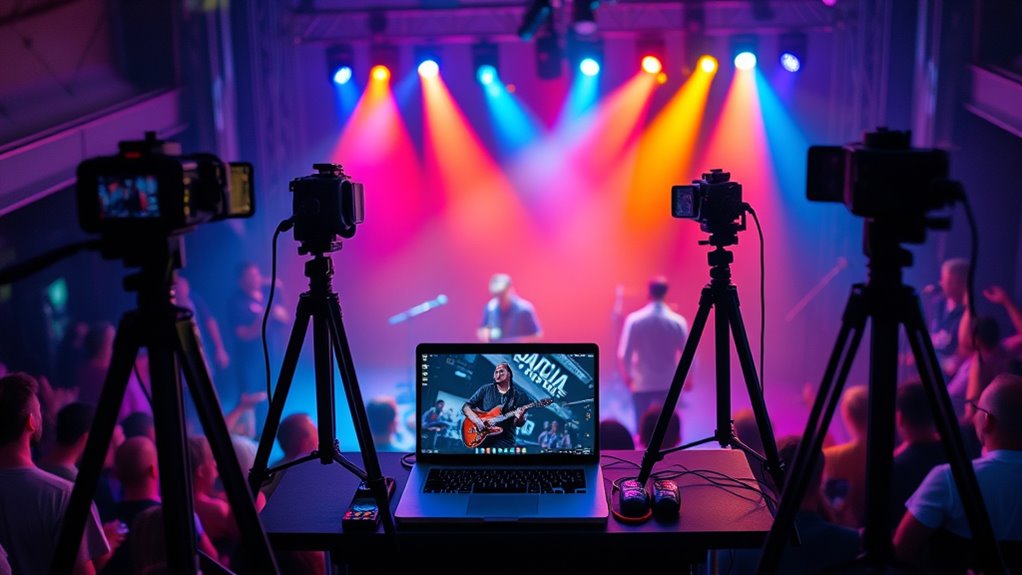
To save costs on equipment and staffing during your concert livestream, start by choosing affordable yet reliable gear. Use budget-friendly cameras like the Blackmagic Pocket Cinema Camera 4K paired with affordable lenses such as the Panasonic 35-100mm f2.8 for quality footage without overspending. Leverage existing devices like smartphones with software solutions to act as cameras, keeping costs low. Opt for HDMI output cameras and connect them with inexpensive adapters, cables, and the Elgato Cam Link 4K for easy streaming. For audio, prioritize decent microphones or utilize built-in device mics, upgrading only if necessary. Simplify lighting by maximizing natural light and adding affordable LED panels or ring lights. Automate camera switching and use remote control software to minimize staffing, reducing personnel costs and streamlining workflow. Additionally, eye patches can be a quick fix for presenters or performers feeling fatigued before going live, helping to maintain a fresh appearance. Incorporating AI-driven tools can further optimize your setup by automating tasks such as camera switching and audio mixing, saving even more on staffing costs. Utilizing Waterpark hotel amenities can also be a creative way to incorporate engaging visuals or themes into your livestream, especially if hosting from a venue near popular attractions.
Testing and Troubleshooting Your Livestream Setup
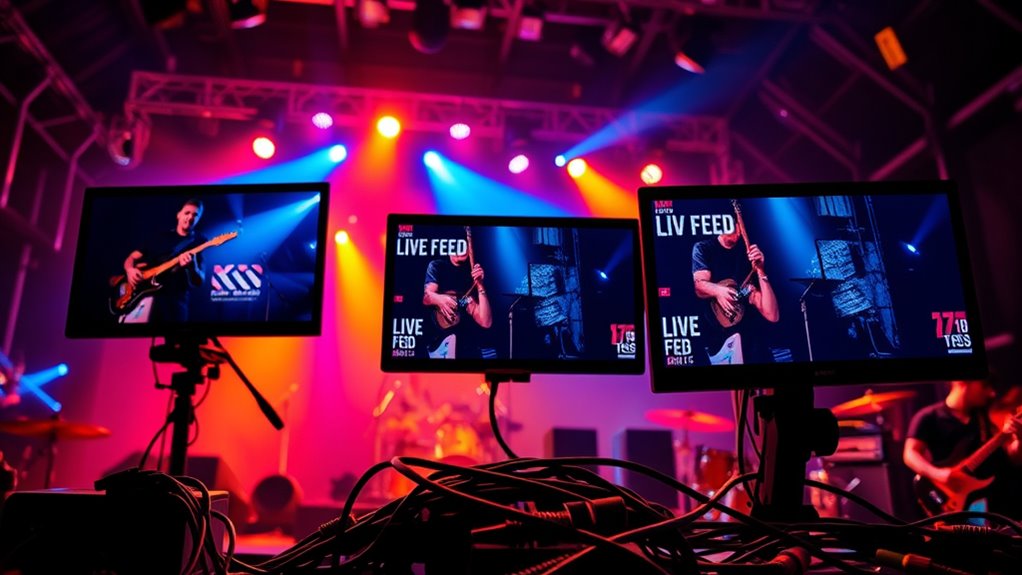
Before going live, it’s essential to thoroughly test your setup to prevent technical issues during the actual event. Start by verifying all hardware connections: ensure each camera and microphone is properly connected, powered, and recognized by your streaming software. Check your video encoder settings—resolution, bitrate, and codecs—to avoid stream failures. Test your audio feeds, monitoring for clarity and balance, and adjust sync settings if needed. Additionally, GMC tuning techniques can inform optimal camera and microphone placement for better coverage and sound quality. Also, perform network tests—prefer wired connections and limit other devices. Keep a backup internet source ready. Conduct dry runs with all cameras, switching angles smoothly, and test wireless vs. wired feeds. During these tests, review video quality and ensure all angles are captured effectively. Finally, review logs and diagnostics if issues arise, restarting applications and reconnecting devices as necessary.
Frequently Asked Questions
How Can I Ensure Smooth Camera Switching During the Live Stream?
You want to guarantee smooth camera switching during your live stream. First, define clear shot lists and assign roles for each camera to prevent confusion. Rehearse transitions to identify potential issues and set cues for key moments. Use reliable hardware switchers or software like OBS or vMix, and set up shortcuts for quick toggling. Maintain communication with your team, and monitor audio-video sync to keep your stream seamless and professional.
What Are the Best Ways to Manage Multiple Audio Sources Effectively?
Managing multiple audio sources effectively involves proper signal routing, level control, and monitoring. You should connect all sources to a central mixer or audio interface, adjusting gain and using compressors to prevent clipping. Sync audio with your video feeds to avoid drift. Use software with multiple tracks for independent control, and rehearse beforehand to troubleshoot issues. Continuously monitor levels through headphones and meters, ensuring a clear, balanced sound during your live stream.
How Do I Troubleshoot Common Streaming Quality Issues?
You might think troubleshooting streaming quality is complicated, but it’s manageable. First, check your internet connection—use a wired Ethernet and test your upload speed to confirm it matches your stream’s bitrate. Next, review your camera and lighting setups for clarity. Balance audio levels and prevent feedback. Close unnecessary apps to free resources, and test everything beforehand. Regularly monitor during the stream to catch and fix issues quickly.
What Safety Precautions Should I Consider for Live Equipment Setup?
When setting up live equipment, you should prioritize electrical safety by inspecting all wiring and using proper power distribution to prevent overloads. Secure cables with covers to avoid tripping hazards, and install guardrails or harnesses for elevated work. Keep fire extinguishers accessible near power zones, and train your crew on emergency procedures. Clear walkways, mark hazards clearly, and make certain everyone’s aware of safety protocols to minimize risks during setup.
How Can I Improve Audience Engagement With Limited Resources?
You want to improve audience engagement with limited resources. Focus on interactive elements like live chat, polls, and shout-outs to make viewers feel involved. Incorporate behind-the-scenes content or storytelling to deepen their connection. Use affordable multi-camera setups with simple equipment, switching angles for variety. Promote social sharing, ask for song requests, and encourage feedback. These strategies boost interaction and make your livestream feel more dynamic and personalized, even on a tight budget.
Conclusion
Think of your livestream as a well-orchestrated symphony—you don’t need a fancy orchestra to create beautiful music. With budget-friendly gear, careful planning, and testing, you can deliver a multi-angle concert that captivates your audience without breaking the bank. Just remember, every note counts, and a little preparation guarantees your stream flows smoothly like a harmonious melody. Stay confident, keep experimenting, and your live event will hit all the right notes.

