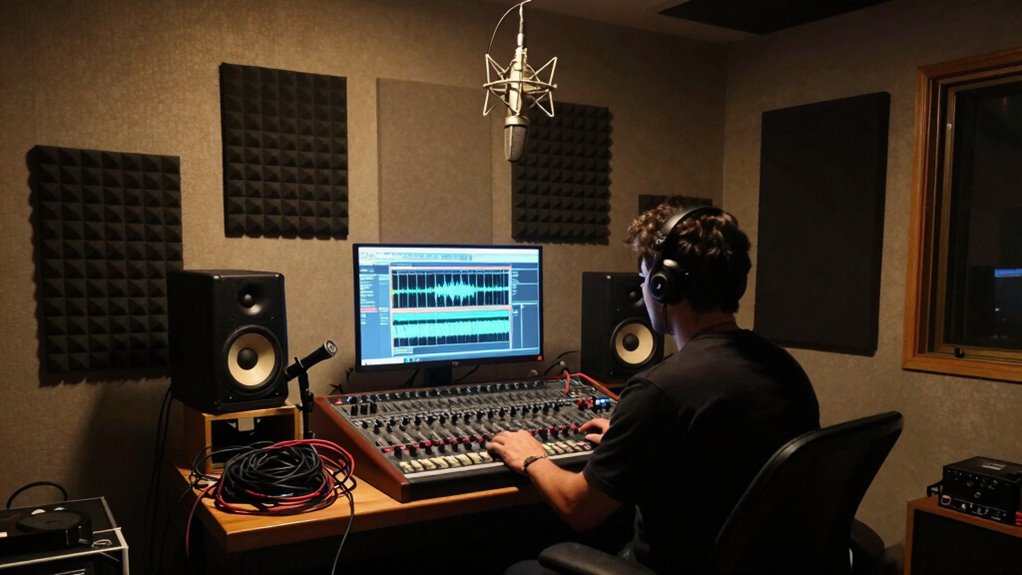
Dealing with the noise floor in your home studio can be frustrating if you don’t proactively manage it. External sounds, reflections, and equipment noise all contribute to a lower sound quality. You’ll need to seal gaps, position gear carefully, and use soundproofing techniques to keep ambient noise out. Patience and ongoing adjustments are key. If you keep exploring, you’ll discover effective methods to improve your sound clarity and produce more professional recordings.

Get audio and creator gear delivered free with Prime
- Fast, free delivery on millions of items
- Prime Video, Amazon Music and more included
- Member-only deals all year
Key Takeaways
- External and internal noise sources elevate the noise floor, impacting recording clarity in home studios.
- Effective soundproofing and equipment placement are essential to reduce noise intrusion and reflections.
- Regular assessment with measurement tools helps identify and address specific noise issues.
- Continuous adjustments and environment refinements improve overall sound quality over time.
- Patience and attention to detail are crucial for mastering noise floor control in home recording setups.
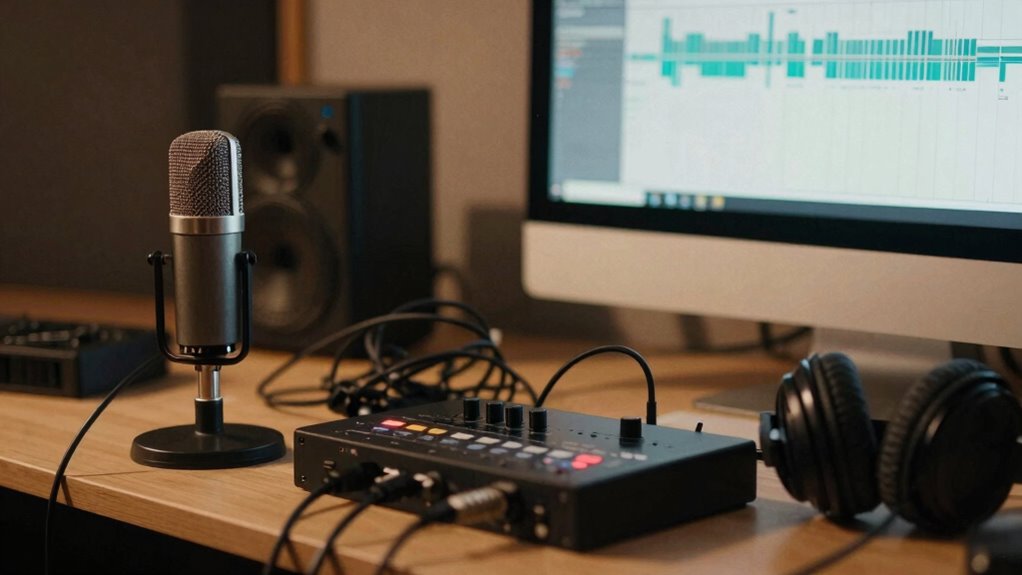
When you set up a home studio, one of the biggest hurdles you’ll face is managing the noise floor—those faint background sounds that can interfere with your recordings. Noise floor issues are frustrating because they often go unnoticed until you start recording and realize your audio isn’t as clean as you’d hoped. To combat this, you need to focus on effective soundproofing techniques and smart equipment placement. Soundproofing isn’t about making your room completely silent but reducing external noise and minimizing internal sound reflections that contribute to the overall noise floor. You might start by sealing gaps around doors and windows, installing weather stripping or acoustic caulk, and adding heavy drapes or acoustic panels. These steps can considerably cut down on external noise leaks that creep into your recordings.
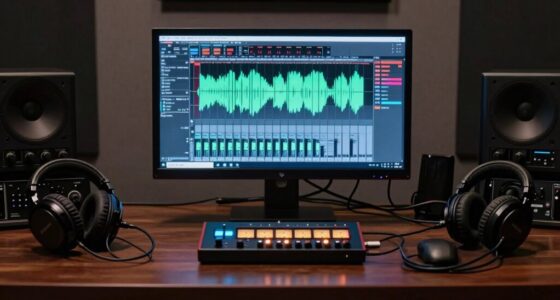
Equipment placement plays a crucial role in managing noise. Position your microphones and recording gear carefully, avoiding areas near windows, vents, or sources of noise like HVAC units or appliances. Placing your equipment in the quietest part of your room, ideally away from corners and reflective surfaces, helps keep ambient noise low. Use bass traps and diffusers strategically to control sound reflections within the room, which can otherwise amplify background sounds and create a muddy recording. When you set up your gear, try to keep your recording space isolated from household noise—close doors, turn off noisy appliances, and consider using a portable vocal booth or reflection filter if necessary. Additionally, understanding the impact of the room’s soundproofing can significantly improve your recording environment. Regularly assessing your environment with measurement tools can help identify specific problem areas and guide your improvements. Incorporating soundproofing techniques that target both external and internal noise sources can further enhance your setup. Being aware of the room’s acoustics and how it influences sound quality allows you to make more informed adjustments to your space. Moreover, maintaining consistent monitoring levels and using audio processing can help minimize residual noise during editing.
Managing your noise floor is an ongoing process, but with proper soundproofing techniques and careful equipment placement, you learn to control those faint background sounds. The more you refine your setup, the clearer and more professional your recordings will sound. It’s a matter of patience and attention to detail, but the results will give your home studio the quality edge it needs to produce polished, noise-free recordings.
soundproofing acoustic panels for home studio
As an affiliate, we earn on qualifying purchases.
As an affiliate, we earn on qualifying purchases.
Frequently Asked Questions
How Can I Measure My Home Studio’s Noise Floor Accurately?
To measure your home studio’s noise floor accurately, use a quality sound level meter in your recording space. Turn off all equipment and silence external noise sources. Record the baseline sound level over a few minutes, ensuring consistent conditions. Incorporate soundproofing techniques and acoustic treatment to reduce ambient noise, making your measurements more precise. Regularly monitor the noise floor to identify improvements and maintain ideal recording conditions.
What Are the Best Affordable Solutions to Reduce Noise Floor?
To reduce your home studio’s noise floor affordably, start with soundproof curtains—they’re easy to install and block out external noise. Adding acoustic panels to your walls can absorb echo and minimize internal noise. Seal gaps around doors and windows with weatherstripping to prevent sound leaks. These solutions are budget-friendly, effective, and simple to implement, helping you create a quieter environment for better recordings without breaking the bank.
How Does Room Size Affect the Noise Floor Levels?
Room size markedly impacts noise floor levels; larger rooms tend to have higher ambient noise, making soundproofing techniques and acoustic treatment essential. In smaller spaces, sound waves bounce more, amplifying noise, so you should focus on effective soundproofing methods like sealing gaps and adding acoustic panels. For larger rooms, consider bass traps and diffusers to manage sound reflections, reducing overall noise and creating a clearer, more controlled environment.
Can Equipment Upgrades Significantly Lower the Noise Floor?
Upgrading your equipment can substantially lower the noise floor, especially if you choose durable gear that minimizes internal noise. Pairing it with proper acoustic treatment enhances sound isolation, reducing external noise interference. Durable equipment guarantees consistent performance over time, preventing additional noise issues. Together, these upgrades improve your studio’s sound clarity, making your recordings cleaner and more professional, which is crucial for achieving ideal audio quality.
How Does the Noise Floor Impact Mixing and Recording Quality?
The noise floor affects your mixing and recording quality by adding unwanted background sounds that compromise clarity. Acoustic treatment and soundproofing techniques help reduce the noise floor, giving you cleaner recordings and more precise mixes. When you lower the noise floor, you’ll notice better detail, depth, and overall professionalism in your sound. Investing in these solutions makes your home studio more effective and enjoyable for creating high-quality audio.
Conclusion
To conquer the noise floor problem, you need to understand it, address it, and prevent it. Recognize where noise sneaks in, take steps to silence it, and maintain a clean, controlled environment. By doing so, you’ll capture clearer recordings, enjoy better mixes, and create more professional-sounding projects. Keep fighting the noise floor, keep improving your setup, and keep pushing your home studio to its full potential. Your best sound is just a few proactive steps away.
Halloween Picks
halloween
As an affiliate, we earn on qualifying purchases.