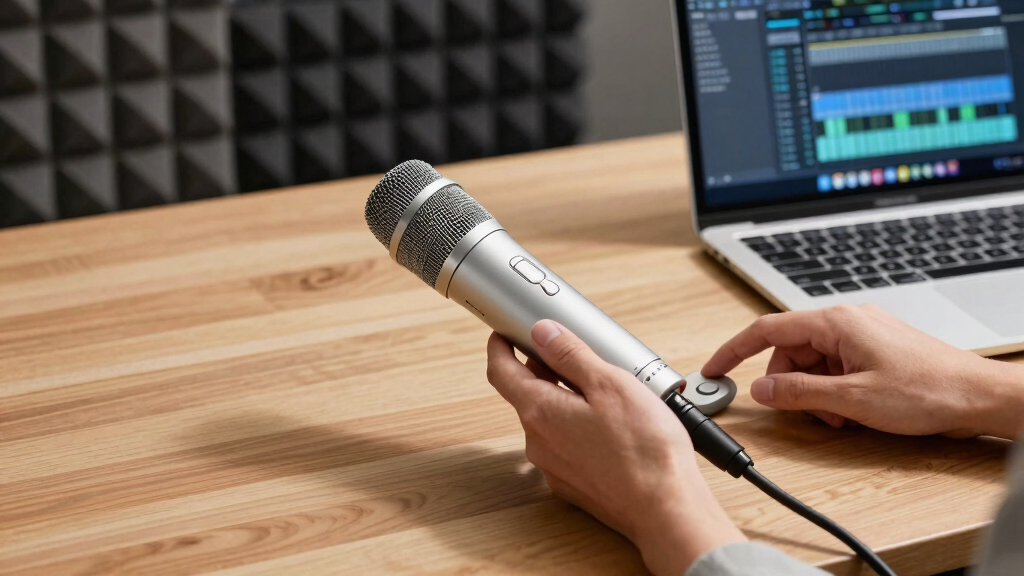
This guide helps you choose, set up, and optimize a high-quality USB microphone for recording, streaming, or podcasting. Ideal for beginners and intermediate users seeking professional sound without complex equipment. Complete setup and optimization can be done within about half an hour.

Get audio and creator gear delivered free with Prime
- Fast, free delivery on millions of items
- Prime Video, Amazon Music and more included
- Member-only deals all year
Difficulty: Beginner to Intermediate | Time: 30-60 minutes
What You’ll Need
Tools & Materials:
- USB microphone
- Computer with USB port
- Optional: Pop filter or windscreen
- Software for recording or streaming (e.g., OBS, Audacity)
Knowledge:
- Basic familiarity with computer hardware and USB devices
- Understanding of audio recording principles (optional but helpful)
Ensure your computer’s USB ports are functioning correctly and your operating system is up to date for best compatibility.
high-quality USB microphone for streaming
As an affiliate, we earn on qualifying purchases.
As an affiliate, we earn on qualifying purchases.
Before You Start
Test your computer’s USB ports beforehand. Avoid connecting the microphone to a hub or extension cable if possible, as this can lead to connection issues. Decide on your recording environment—preferably a quiet, echo-free space for best results.
Step-by-Step Instructions
Step 1: Research and select a high-quality USB microphone
Compare models based on reviews, audio quality, and features like cardioid pickup pattern, frequency response, and build quality. Choose a reputable brand known for professional audio equipment.
Tip: Prioritize microphones with good reviews for clarity and noise rejection. Consider your specific needs—podcasting, streaming, or voice recording—when selecting features.
Check: You have a specific microphone model chosen and ready to purchase or set up.
Step 2: Connect the microphone to your computer
Plug the microphone’s USB cable into a dedicated USB port on your computer. Use a direct port rather than a hub to ensure stable connection.
Tip: Avoid using damaged or low-quality cables. Check for any physical damage before connecting.
Check: Your computer recognizes the microphone without error messages or driver issues.
Step 3: Set the microphone as the default input device
Open your computer’s sound settings, navigate to the input devices section, and select your microphone as the default recording device.
Tip: Test the device in sound settings to confirm it’s capturing audio. Look for activity levels when speaking into the mic.
Check: Your system indicates the microphone is active and capturing sound when you speak.
Step 4: Configure microphone gain and volume settings
Adjust the gain (input volume) in your system settings or recording software so the audio peaks are strong but not clipping.
Tip: Use a test recording to monitor levels; avoid setting gain too high, which causes distortion, or too low, which results in inaudible audio.
Check: Test recordings show clear, loud audio without distortion or background noise.
Step 5: Add a pop filter or windscreen (optional but recommended)
Attach a pop filter or windscreen to your microphone to reduce plosive sounds and unwanted noise.
Tip: Position the filter approximately 2-3 inches in front of the microphone capsule, not touching it.
Check: Your recordings have fewer plosive sounds and less breath noise.
Step 6: Test and optimize audio quality in your recording software
Open your recording or streaming software, select your microphone as the input device, and record a test clip. Adjust gain, EQ, or noise suppression as needed.
Tip: Use headphones to monitor audio quality and make real-time adjustments for clarity and noise reduction.
Check: Your test recordings sound clear, without background hiss or distortion, and are at appropriate volume levels.
Common Mistakes to Avoid
- Using a low-quality or faulty USB cable — Use a high-quality, undamaged USB cable and connect directly to the computer’s USB port.
- Not setting the microphone as the default input device — Always verify and select your microphone as the default recording device in system settings.
- Overly high gain settings causing clipping — Adjust the gain to a moderate level where your voice peaks without distortion, verified through test recordings.
- Ignoring environment noise or echo — Record in a quiet, acoustically treated space to improve sound quality and minimize background noise.
Troubleshooting
Problem: Microphone not recognized by computer
Solution: Try reconnecting the microphone, use a different USB port, or restart your computer. Check device manager or system preferences for recognition.
Problem: Audio is distorted or too quiet
Solution: Lower the gain or volume in settings. Ensure the microphone is not too close or too far from your mouth, and check for software-specific volume controls.
Problem: Background noise or static
Solution: Use a pop filter, record in a quieter environment, and enable noise reduction features in your software.
What Success Looks Like
The microphone produces clear, distortion-free audio that peaks at appropriate levels without background noise or interference. The recorded sound is natural and suitable for professional use.
Next Steps
Regularly test your microphone setup before important recordings or streams. Clean and maintain your equipment, update drivers, and explore additional audio processing tools to enhance sound quality. Consider upgrading your environment or equipment if persistent issues occur.
Frequently Asked Questions
Can I use a USB microphone for professional studio recordings?
Yes, high-quality USB microphones can produce professional-grade audio suitable for studio work, especially when paired with good environment treatment and audio processing software.
How do I improve audio quality further after setup?
Use equalization (EQ), noise reduction plugins, and proper gain staging in your recording software to enhance clarity and reduce background noise.
Is it better to connect directly to the computer or through a USB hub?
Connecting directly to the computer’s USB port is preferable, as hubs can introduce noise or power issues that affect audio quality.
How often should I replace my USB microphone or cables?
Replace cables if they show damage or cause connection issues. Microphones typically last several years with proper care, but replace if audio quality degrades or hardware failure occurs.
Halloween Picks
halloween
As an affiliate, we earn on qualifying purchases.