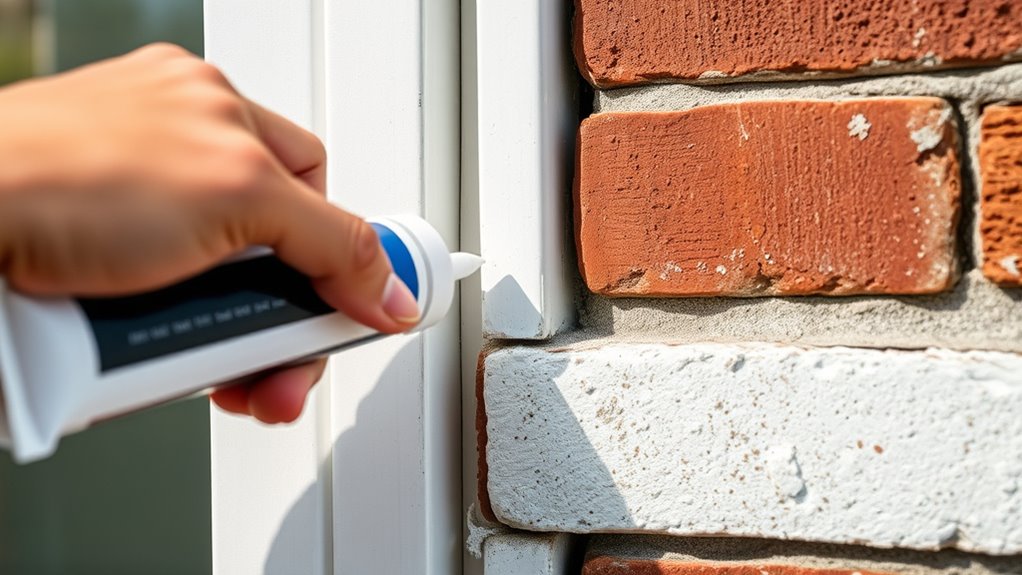
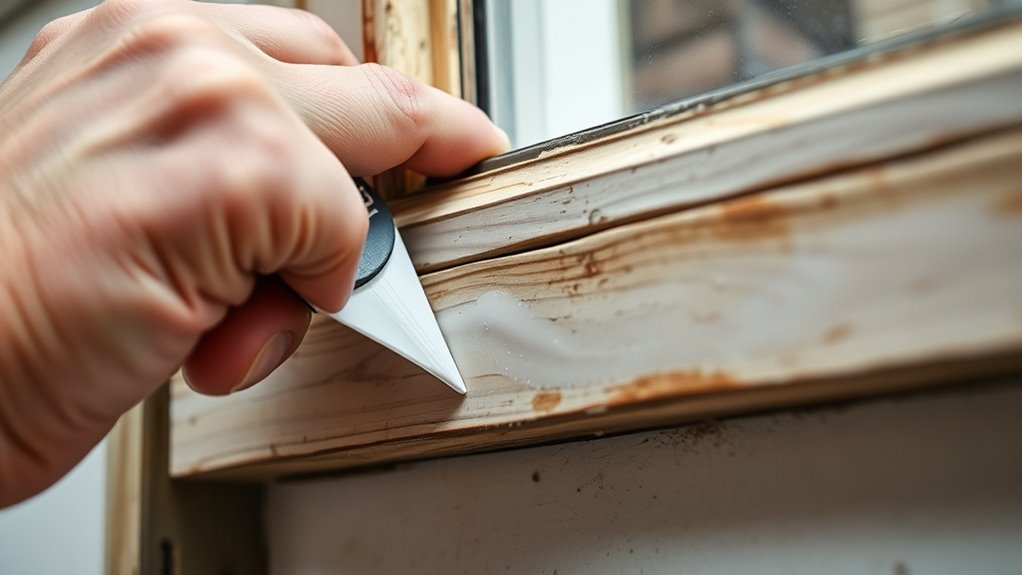
To caulk and seal gaps to prevent drafts, start by cleaning and drying the area thoroughly. Choose the right caulk for your surface, like silicone for glass or weatherproof for outdoor spaces. Cut the tip of the caulk tube to match the gap size, then apply a steady bead along the gap at a 45-degree angle. Smooth the caulk with your finger or a tool, and check for any missed spots. Want to learn more about perfecting your sealing technique?
Key Takeaways
- Identify and clean gaps thoroughly to ensure proper adhesion of the caulk.
- Choose weatherproof, flexible caulk suitable for sealing drafts around doors and windows.
- Cut the caulk nozzle to match the size of the gap for precise application.
- Apply a continuous bead of caulk along the gap, then smooth it with a finger or tool for a tight seal.
- Inspect and reapply caulk as needed to maintain an effective, draft-proof seal over time.

Sealing gaps around your home is an effective way to improve energy efficiency and prevent drafts. The first step involves choosing the right caulk for the job. Make sure the caulk matches the surface type—silicone works well for glass and metal, while polyurethane suits larger or more flexible joints. Picking the correct type guarantees durability and a tight seal. Before applying, clean the area thoroughly to remove dirt, dust, and debris. A clean surface allows the caulk to adhere better and last longer. For neat lines and minimal mess, use painter’s tape along the edges of the gap. This helps create a clean finish and prevents caulk from spreading onto unwanted areas.
Next, cut the nozzle of your caulk tube to match the width of the gap. A smaller opening is ideal for narrow cracks, while a larger one is better for wider gaps. If old caulk exists, remove it carefully using a utility knife or caulk remover to ensure a solid bond with the new material. When applying, hold the caulk gun at a 45-degree angle for smooth, even flow. Apply a continuous bead along the entire length of the gap without stopping. To push the caulk deep into the joint, use your finger or a caulking tool to press it into the gap, ensuring a thorough seal. Keep a cloth nearby to wipe away any excess caulk immediately, preventing unsightly smears.
Push the gun forward steadily as you fill the gap, maintaining consistent pressure for an even bead. After application, smooth the caulk with a damp finger or a finishing tool to create a professional appearance. Pay extra attention to corners and joints, as these are common trouble spots. Once the caulk is set, check for any gaps or air bubbles by inspecting the area carefully. If needed, apply a second layer for extra protection. Additionally, understanding the importance of contrast ratio can help you select the right projector settings to optimize your viewing experience.
Different types of caulk offer varying levels of flexibility and adhesion, so choose one suited for the specific surface and environmental conditions. For outdoor or moisture-prone areas, select a moisture-resistant, weatherproof caulk. For joints that expand or contract, opt for a flexible type that can move with the building. Maintaining your sealed gaps involves inspecting periodically for signs of deterioration and reapplying caulk when necessary. Clean any excess before it dries, and ensure good ventilation to prevent mold growth. Always verify that new caulk is compatible with existing sealants to maintain a durable, airtight barrier. Proper caulking not only keeps drafts out but also enhances your home’s energy efficiency and comfort.
Frequently Asked Questions
What Types of Caulk Are Best for Outdoor Use?
When choosing caulk for outdoor use, you should consider silicone caulk for its flexibility, weather resistance, and UV stability. It’s perfect for sealing gaps around windows and doors, preventing drafts and moisture intrusion. If you need something more durable with strong adhesion, polyurethane caulk works well, especially for structural applications. Acrylic or vinyl latex caulk can also be suitable for less demanding outdoor projects, offering decent weather resistance and ease of application.
How Long Does Caulk Typically Last Before Needing Replacement?
You might think caulk lasts forever, but it usually needs replacing every 5 to 10 years, depending on conditions. Environmental factors like sunlight, moisture, and temperature can shorten its lifespan. Proper application and regular inspections help extend its effectiveness. In harsh environments, especially damp or exposed areas, expect to replace caulk sooner. Staying proactive guarantees your seals stay tight, saving you money and preventing drafts over time.
Can I Use Caulk on Painted Surfaces Without Damaging the Paint?
You can definitely use caulk on painted surfaces without damaging the paint if you prep properly. Make sure the surface is clean and dry, and choose a paintable caulk like acrylic or latex. Apply it carefully with a smoothing tool or damp finger to prevent smears. Use painter’s tape for neat edges, and remove excess before it dries. Let the caulk cure fully before touching or painting over it for a seamless finish.
What’s the Best Way to Clean Old, Cracked Caulk?
You might think cleaning old, cracked caulk is tough, but with the right tools, it’s easy. Use a utility knife or caulk removal tool to score and loosen the cracks. Apply a commercial caulk remover or heat with a hairdryer to soften the residue. Scrape away the softened caulk with a putty knife, then clean the surface thoroughly. Proper removal guarantees a smooth, clean area ready for new sealing.
Are There Eco-Friendly Caulking Options Available?
You’ll find eco-friendly caulking options that suit your needs, like silicone-based sealants for durability and flexibility, or acrylic-based ones that are non-toxic and paintable. These products are safe for indoor use and often free from harmful chemicals. Brands like AFM Safecoat and Chemlink Durasil offer mildewcide-free, environmentally friendly choices. Using these helps you seal gaps effectively while keeping your home healthier and more sustainable.
Conclusion
Now that you know how to caulk and seal gaps, you’re well on your way to transforming your home into a fortress against drafts. With just a little effort, you can make your space more comfortable and energy-efficient. Remember, a properly sealed home can save you enough money to buy a small island someday—okay, maybe not quite, but it’ll definitely cut your heating bills markedly. Keep sealing, and enjoy the cozy, draft-free haven you’ve created!


