To start your DIY flooring project, first measure your space accurately and plan your material needs. Choose a flooring type such as laminate, vinyl, or hardwood based on your room’s use and budget. Begin installation in a corner, leaving a small gap for expansion, and snugly fit each plank using spacers and tapping tools. Finish by trimming around obstacles, adding baseboards, and inspecting your work. Keep exploring to discover detailed tips for a professional result.
Key Takeaways
- Measure your room accurately to determine the amount of flooring needed, accounting for irregularities and waste.
- Gather essential tools like a tape measure, chalk line, saw, and spacers to ensure precise cuts and proper installation.
- Choose the right flooring type based on room conditions, budget, and desired appearance, such as laminate, vinyl, or hardwood.
- Start laying flooring in a corner, maintaining a 1/4-inch expansion gap, and use spacers and tapping tools for a snug fit.
- Finish by staggering seams, trimming around obstacles, and installing baseboards or molding for a professional look.

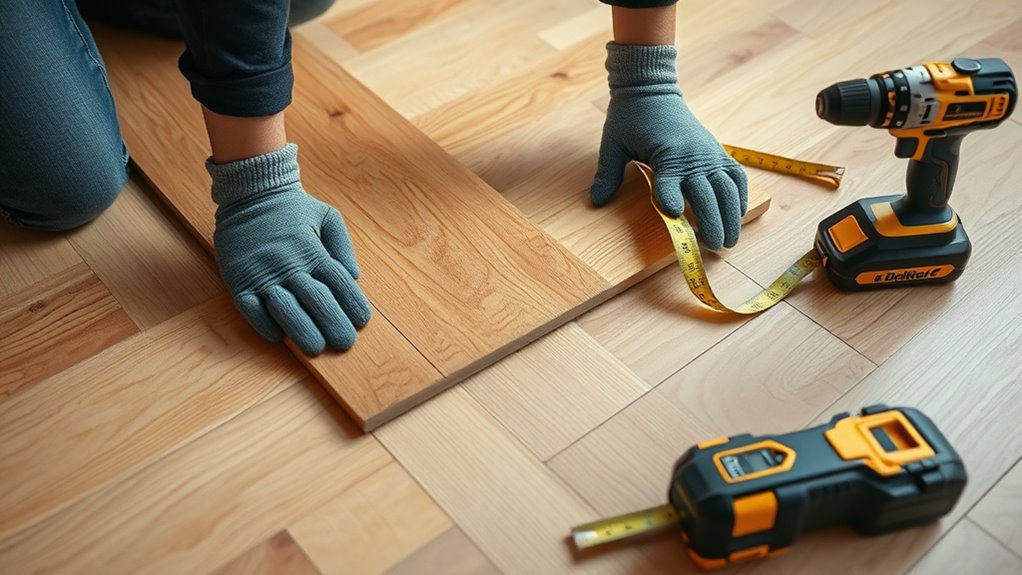
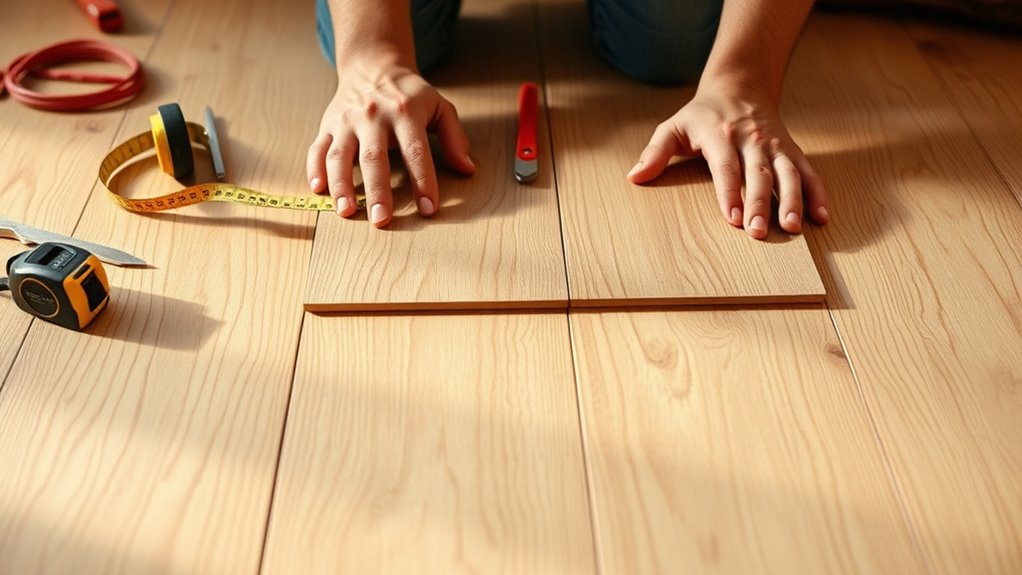
Starting on a DIY flooring project can transform your space, but success depends on careful preparation and planning. The first step is to measure the room accurately. Use a tape measure to determine the length and width, then multiply these figures to find the total square footage. Don’t forget to account for closets, nooks, or any irregularities that might affect your layout. This way, you’ll know exactly how much material you need and avoid running short or over-purchasing. Next, choose the right tools. A tape measure, chalk line, utility knife, and possibly a saw are essential. If you’re cutting hard materials like tiles or hardwood, you’ll need a hand saw, circular saw, or flooring cutter for precise cuts. Having these on hand will make the process much smoother.
Start your DIY flooring project with accurate measurements and essential tools for smooth installation.
Before buying your flooring, consider the type best suited for your room. Laminate flooring is affordable and easy to install with a click-and-lock system, perfect for DIYers. Vinyl plank flooring offers water resistance and durability, making it ideal for high-traffic or moisture-prone areas. Hardwood provides a classic look but requires more maintenance, while tile is excellent for bathrooms and kitchens, especially if water exposure is a concern. Cork flooring adds warmth and cushioning, often favored in living rooms. Once you’ve selected your flooring, set a budget that includes materials and any tools or accessories needed, such as spacers, adhesives, or underlayment.
When it’s time to lay the first row, start in one corner of the room. Use a chalk line to mark a straight path along the wall to guide your initial row. Place spacers between the planks and the wall to maintain a 1/4-inch expansion gap, which accommodates natural expansion and contraction. Carefully align the first plank with the chalk line, ensuring it’s straight. Secure it with spacers and proceed to lay the rest of the row, using a tapping block and rubber mallet to fit planks snugly together. When cutting planks to fit around obstacles like door frames or baseboards, measure carefully before making your cuts. Use a saw or flooring cutter to achieve precise edges, and handle obstacles with patience to ensure a clean fit.
Stagger seams between rows to improve the strength and appearance of your floor. Typically, cut the first piece of every other row to offset the seams, creating a more natural, stable surface. Avoid placing seams in high-traffic areas for durability. As you progress, use a pull bar for tight-fitting last pieces and carefully cut around obstacles. When your flooring is complete, trim baseboards and install quarter round molding to cover gaps. Finally, inspect your work for any uneven spots or gaps, clean up leftover materials, and enjoy your freshly installed floor. With patience and precision, you can achieve professional-looking results on your own. Proper measurement and planning are crucial for a successful DIY flooring project.
Frequently Asked Questions
What Is the Average Cost of DIY Flooring Projects?
You’re wondering about the average cost of DIY flooring projects. Generally, you can expect to spend between $1 and $15 per square foot, depending on the material you choose. Laminate and carpet are cheaper options, while hardwood and luxury vinyl planks cost more. Keep in mind, you’ll also need to budget for tools and supplies. Overall, DIY flooring can save you money compared to professional installation, especially for smaller spaces.
How Long Does It Take to Install Different Types of Flooring?
When it comes to installing different flooring types, timing varies based on factors like size, complexity, and your skill level. Hardwood takes 1-4 days, laminate and vinyl usually need 1-2 days, and tile can take 2-4 days. You’ll need time for preparation, acclimation, installation, and finishing. By understanding these steps, you can better plan your project, manage expectations, and guarantee a smoother, quicker installation process.
What Tools Are Essential for a Beginner DIY Flooring Project?
For your DIY flooring project, you need essential tools like an adhesive trowel, flat bar, straight edge, floor scraper, and a level for vinyl and linoleum. If you’re installing floating wood floors, grab a miter saw, tapping block, tape measure, and pull bar. For traditional wood, you’ll need a pneumatic nailer, air compressor, and drill. For ceramic tiles, a notched trowel, wet saw, sponges, and buckets are key.
Can I Install Flooring Over Existing Surfaces?
You can install new flooring over existing surfaces if they’re clean, level, and in good condition. Make sure to remove debris, repair damage, and fill grout lines or uneven spots. Avoid installing over carpets or textured surfaces. Check moisture levels, especially over concrete or tile, and use appropriate underlayments. Keep in mind, layering might raise door heights and thresholds, so plan accordingly for a smooth, secure finish.
How Do I Handle Uneven Subfloors During Installation?
When dealing with uneven subfloors, start by identifying the material and measuring the levelness with a straightedge and level. For wooden floors, sand high spots and shim low areas; for concrete, grind high spots and patch low spots. Always clean thoroughly and consider moisture barriers. Use self-leveling compounds for minor dips, but for significant unevenness, repair or replace damaged sections first. Properly leveling guarantees a stable, durable flooring surface.
Conclusion
Remember, tackling your own flooring is like planting a garden—you start with a small patch, and with patience, it blossoms into something beautiful. When I first tried laying my floor, I felt overwhelmed, but each step built my confidence. Studies show that DIY projects boost your sense of accomplishment and save money. So, don’t be afraid to roll up your sleeves. With effort and care, you’ll transform your space and create something truly special—just like nurturing a garden.


