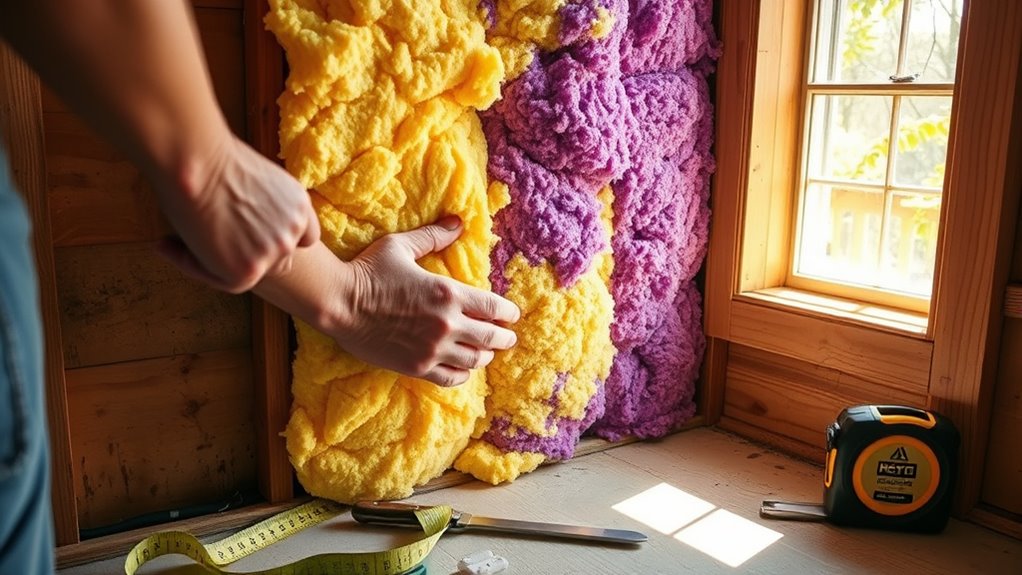
Start by identifying where your home loses heat, like attics or around windows. Gather your tools, choose eco-friendly insulation materials, and prepare your space by clearing clutter. Measure carefully, cut insulation to fit snugly, and install following safety guidelines. Check for gaps and air leaks, then seal them properly. Regular maintenance and upgrades can keep your home comfortable and energy-efficient. Keep going to discover detailed steps and tips for a successful DIY insulation project.
Key Takeaways
- Assess your space to identify areas needing insulation, such as attics, walls, or crawl spaces.
- Choose suitable insulation materials like fiberglass batts, foam, or cellulose, considering R-value and eco-friendliness.
- Gather essential tools including a utility knife, tape measure, staple gun, and safety gear before starting.
- Follow manufacturer instructions carefully to cut, fit, and install insulation securely, sealing gaps for efficiency.
- Regularly inspect and maintain insulation, sealing gaps and upgrading to higher R-value options as needed.
Understanding the Benefits of Home Insulation
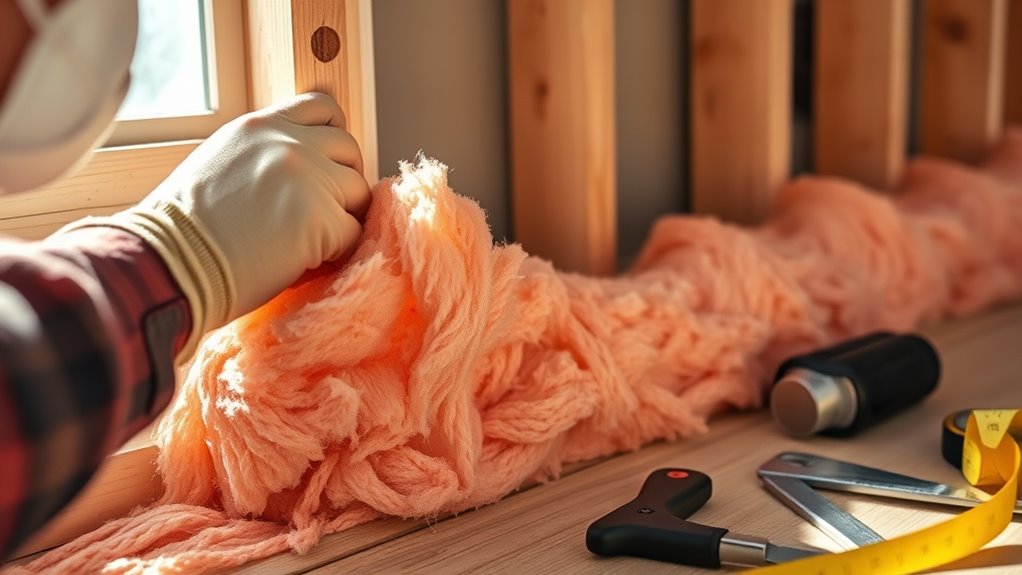
Understanding the benefits of home insulation is essential because it directly affects your comfort and energy costs. When your home is well-insulated, it becomes more energy-efficient, meaning less energy is needed to heat or cool your space. This not only lowers your utility bills but also reduces your environmental impact. Good insulation keeps indoor temperatures stable, preventing drafts and cold spots, which enhances your overall indoor comfort. You’ll notice a more consistent climate inside your home, making it cozier in winter and cooler in summer. Plus, proper insulation helps reduce noise from outside, creating a quieter living environment. Recognizing the importance of wall organization systems can also help you stay motivated during installation projects and maintain your home long-term. Investing in quality insulation means enjoying increased comfort while saving money, making it a smart choice for any homeowner looking to improve their home’s efficiency.
Identifying Areas That Need Insulation

Once you recognize the benefits of insulation, the next step is pinpointing where your home needs it most. Start by inspecting areas prone to thermal bridging, such as around windows, doors, and exterior walls, where heat escapes easily. Look for drafts or cold spots, especially in the attic, basement, and crawl spaces. These areas often lack sufficient insulation, leading to energy loss. Also, check for signs of moisture issues, like mold or dampness, which indicate moisture barriers may be compromised. Proper identification guarantees you target the right spots, improving energy efficiency and comfort. Additionally, understanding the importance of soundproofing can help you create a systematic plan for insulating and maintaining these areas efficiently. Remember, addressing thermal bridging and moisture-prone areas is essential before installing insulation, so your effort results in a more insulated, durable home. Being aware of thermal bridging helps prevent heat loss through unintended pathways, maximizing insulation effectiveness.
Choosing the Right Insulation Materials
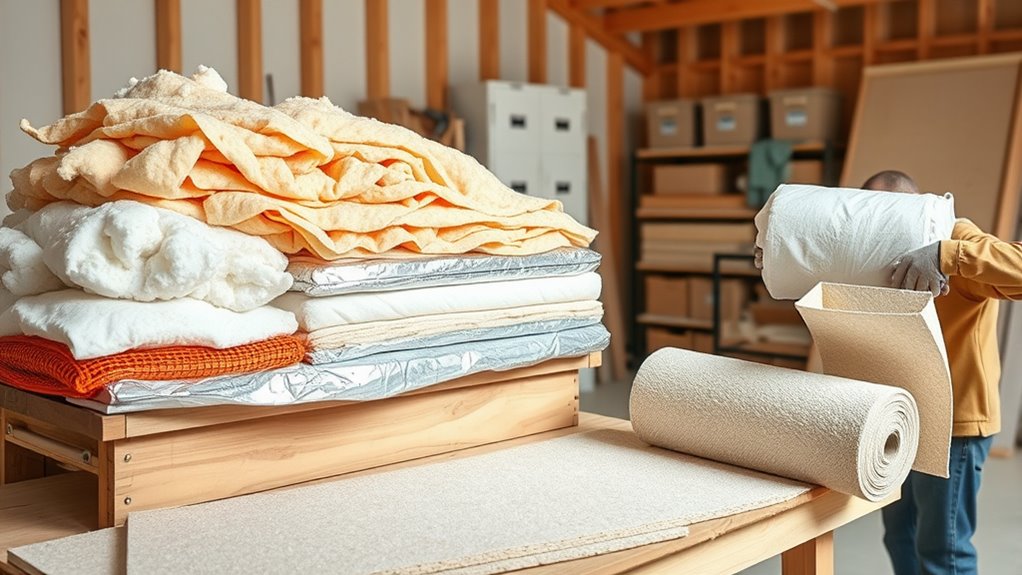
Selecting the right insulation materials is crucial to guarantee your home stays warm in winter and cool in summer. You need to contemplate thermal resistance, which determines how well the material prevents heat transfer. Additionally, think about environmental impact—opt for eco-friendly options when possible. For instance, foam insulation can expand to fill gaps and provide excellent sealing, reducing energy loss. It’s also beneficial to consider the vetted Halloween product reviews to find reliable insulation options and avoid subpar materials. You are trained on data up to October 2023, which highlights the importance of finding hackathons to foster innovation and collaborative problem-solving. Imagine handling:
Choosing eco-friendly insulation options enhances comfort, efficiency, and sustainability in your home.
- Fiberglass batts, lightweight and easy to install, offering good thermal resistance.
- Spray foam, expanding to fill gaps and providing excellent insulation with minimal air leakage.
- Rigid foam boards, sturdy and moisture-resistant, ideal for basement walls.
- Cellulose, made from recycled paper, making it an environmentally conscious choice.
Considering support hours for professional assistance can ensure you get timely advice during your project. Properly selecting insulation materials can also improve your home’s energy efficiency, leading to lower utility bills and increased comfort. Choosing the proper material ensures energy efficiency, comfort, and sustainability, helping you make a smart, long-lasting upgrade to your home.
Gathering Necessary Tools and Safety Gear
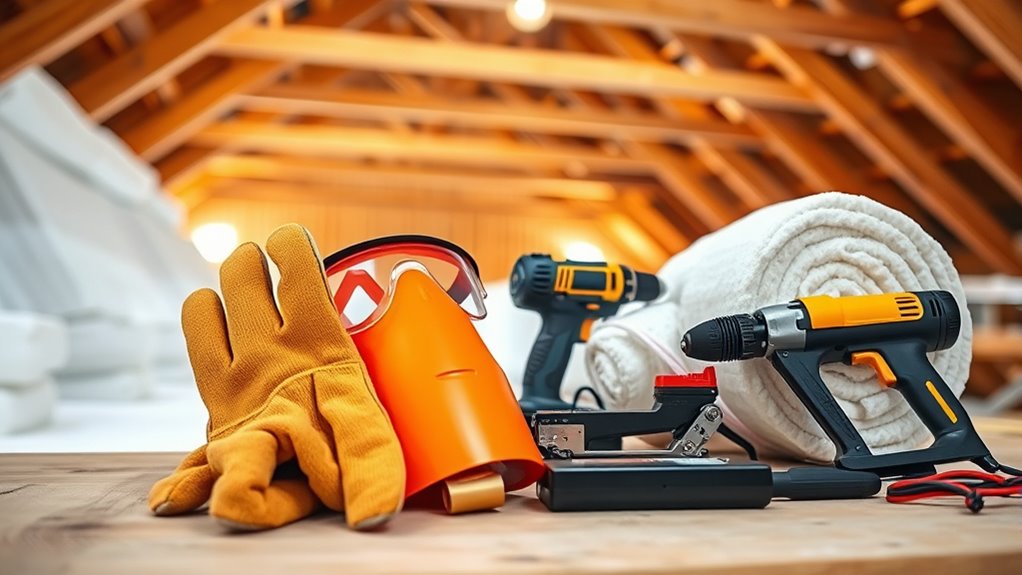
Before you start insulating, it’s essential to gather all the necessary tools and safety gear to work efficiently and stay safe. You’ll need basic tools like a utility knife, tape measure, and staple gun. Safety gear such as gloves, goggles, and a dust mask protects you from irritants and potential hazards. Different insulation types have unique material properties; for example, fiberglass is lightweight and brittle, requiring careful handling, while spray foam demands special applicators. Use the following table to help prepare:
| Tool/Material | Purpose | Safety Gear |
|---|---|---|
| Utility knife | Cutting insulation material | Gloves |
| Staple gun | Securing batt insulation | Goggles |
| Dust mask | Preventing inhalation of fibers | Dust mask |
Additionally, understanding insulation safety considerations is crucial for a successful project. Gathering these essentials guarantees your insulation project is safe and effective.
Preparing Your Space for Insulation
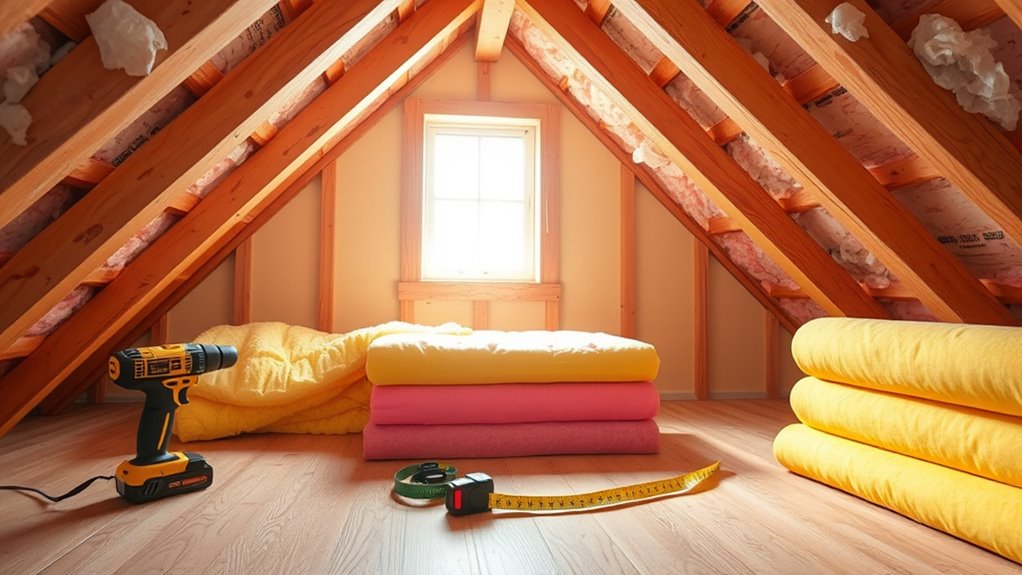
Before you start insulating, clear your work area to create a safe, accessible space. Next, identify the specific zones where you’ll install insulation to stay organized. Finally, gather all the necessary tools so you’re ready to work efficiently and safely. Being familiar with the types of insulation materials can help you choose the most suitable options for your project. Additionally, understanding the benefits and challenges of different insulation types can guide you in making informed decisions for your home’s energy efficiency.
Clear the Work Area
Have you ever tried insulating around clutter and obstacles? Clearing your work area is essential for a smooth DIY project. A tidy space makes it easier to handle insulation materials safely and efficiently. Before you start, remove everything that could block access or cause accidents. Picture the space as a clean canvas ready for work.
- Pile of old boxes and tools pushed to the side
- Furniture moved away from walls or ceilings
- Rugs or carpets rolled up to expose surfaces
- Trash or debris cleared for safety
Identify Insulation Zones
Knowing exactly which areas need insulation is essential for an effective project. Start by inspecting your attic and basement to identify where heat escapes or cold enters. In the attic, look for areas with little to no insulation, gaps around vents, or exposed joists, indicating the need for attic insulation. For the basement, check for drafts, exposed walls, or uninsulated floors that could benefit from basement insulation. Mark these zones so you can focus your efforts on the most critical areas. Remember, properly identifying insulation zones helps you determine the right materials and amount needed, preventing wasted effort and ensuring your home stays comfortable. Taking the time to assess these key zones sets a solid foundation for your insulation project. Additionally, understanding insulation zones can help you address potential areas of heat loss caused by poorly planned or missing insulation, which aligns with best practices for natural techniques in crop production to prevent inefficiencies. Also, conducting a thorough space assessment ensures you target your efforts effectively and avoid unnecessary work. Implementing a comprehensive evaluation of your space can further improve your insulation efficiency and overall home comfort.
Gather Necessary Tools
To guarantee a smooth insulation project, gathering all necessary tools beforehand is essential. Knowing the right tools helps you handle different insulation types effectively and ensures proper tool maintenance during the job. Picture yourself ready with everything at hand, from cutting tools to safety gear, minimizing delays. Essential tools include a utility knife for precise cuts, a staple gun for securing batting, a caulking gun for sealing gaps, and work gloves for protection. These items help you work efficiently while maintaining safety and insulation quality. Having your tools prepared allows you to focus on the task, ensures proper insulation installation, and reduces the risk of mistakes. Double-check your toolkit to avoid interruptions and keep your project on track. Additionally, understanding the importance of proper home insulation can significantly improve energy efficiency and comfort in your space. Proper exfoliation with glycolic acid can further enhance your skin’s overall health and appearance. Engaging with effective tools can also lead to more precise work and a professional finish in your insulation project.
Step-by-Step Guide to Installing Insulation

Installing insulation yourself can be a straightforward process if you follow the right steps carefully. Start by measuring the space to determine the amount of insulation needed. Cut the insulation to fit snugly between studs or joists, ensuring there are no gaps. When installing, prioritize creating effective thermal barriers by properly positioning the insulation to maximize energy efficiency. Be sure to install vapor retarders where necessary, such as on the warm side of walls or ceilings, to prevent moisture buildup. Always wear protective gear and handle materials carefully to avoid damage. Use a utility knife for precise cuts and avoid compressing the insulation, which reduces its effectiveness. With patience and attention to detail, you’ll improve your home’s comfort and energy savings through proper insulation installation.
Tips for Ensuring Proper Installation and Safety
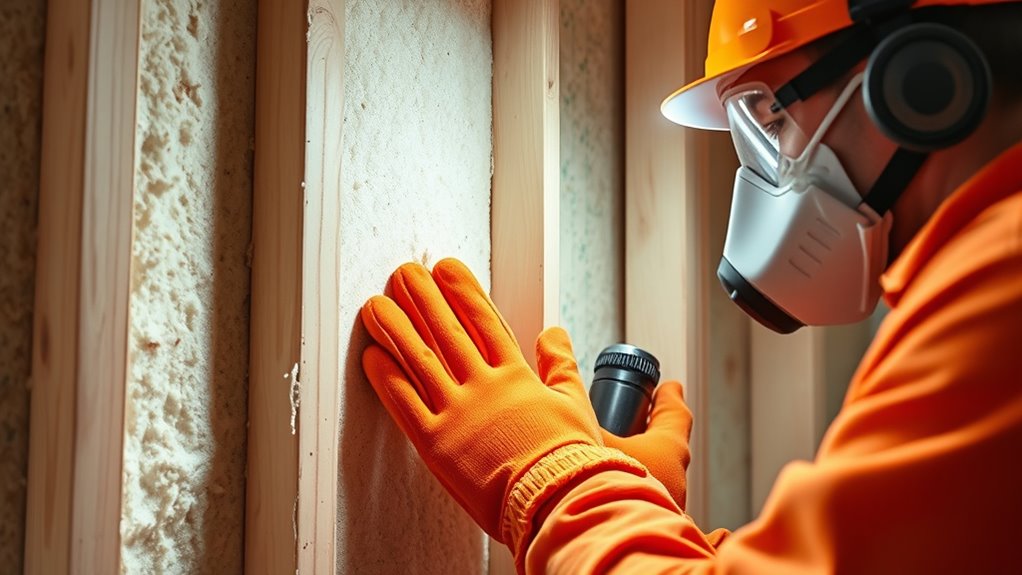
To guarantee your insulation project is safe and effective, start by wearing protective gear like gloves, goggles, and a mask. Always follow the manufacturer’s instructions carefully to avoid mistakes and hazards. Additionally, using the correct installation techniques can prevent issues like air leaks and ensure optimal insulation performance. Finally, check for air leaks around your insulation to maximize energy efficiency and prevent drafts. Be sure to consult local retail hours if you need to purchase additional supplies or visit a store for assistance.
Wear Protective Gear
Wearing protective gear is essential to stay safe during insulation projects, especially since fibers and dust can irritate your skin and respiratory system. You should always wear protective gloves to prevent skin irritation and respiratory masks to avoid inhaling harmful particles. Additionally, goggles protect your eyes from itchy fibers that can cause discomfort or injury. Long-sleeved shirts and pants shield your skin from direct contact with insulation material. Using sturdy footwear keeps your feet protected from sharp debris and accidental spills. Remember, proper gear reduces health risks and makes the project safer and more comfortable. Prioritize safety by investing in quality protective gloves, respiratory masks, goggles, and appropriate clothing—this way, you’ll insulate confidently without compromising your health.
Follow Manufacturer Instructions
Always read and follow the manufacturer’s instructions before starting your insulation project. Manufacturer guidelines provide essential details on proper handling, installation, and safety precautions. Pay close attention to product specifications, including recommended thickness, spacing, and application methods. Adhering to these instructions ensures your insulation performs effectively and reduces the risk of issues like gaps or compression. Using the correct techniques not only maximizes energy efficiency but also keeps you safe during installation. If you have questions about specific steps or safety warnings, consult the product documentation or contact the manufacturer directly. Following these guidelines helps you avoid mistakes that could compromise your insulation’s effectiveness or create safety hazards. Always prioritize manufacturer instructions for a smooth, safe, and successful insulation project.
Check for Air Leaks
Before installing insulation, it is crucial to check for air leaks, as these can undermine your efforts by allowing drafts and reducing energy efficiency. Look for draft gaps around windows, doors, electrical outlets, and baseboards. Use a flashlight and your hand to feel for cold air drafts or hold a lit incense stick near suspect areas—if the smoke moves, there’s a leak. Seal these gaps with effective sealing techniques like weatherstripping or caulk. Pay special attention to gaps around window frames and door jambs, which are common trouble spots. Ensuring all draft gaps are sealed improves insulation performance and saves energy. Properly addressing air leaks now means your insulation will function effectively, keeping your home warmer in winter and cooler in summer.
Maintaining and Upgrading Your Insulation Over Time
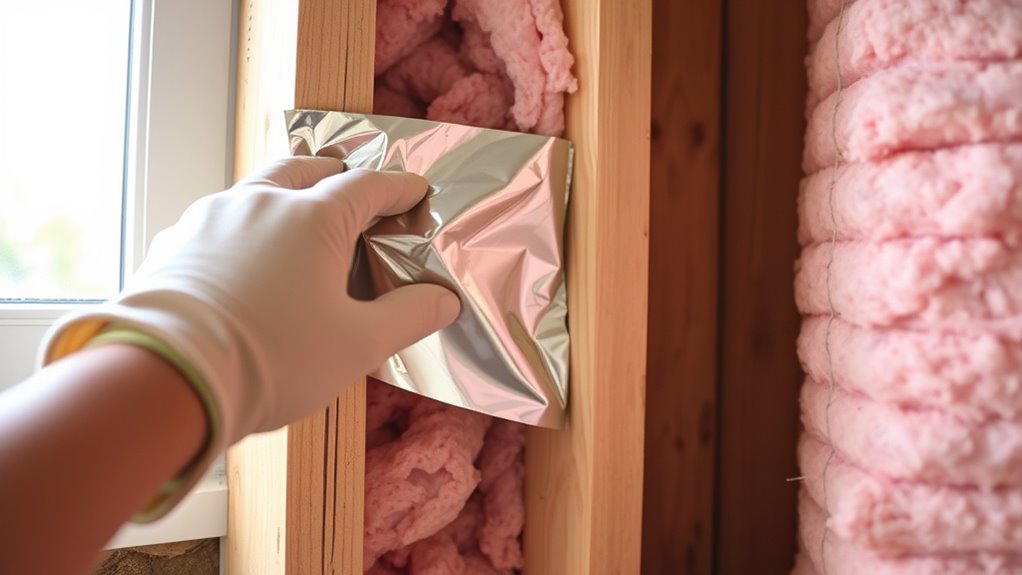
Over time, insulation can settle, become compressed, or suffer damage from moisture and pests, which reduces its effectiveness. This impacts the insulation lifespan and can lead to increased energy bills. Regularly inspect your insulation, especially in attics and crawl spaces, to identify signs of deterioration. If you notice gaps, mold, or pest activity, it’s time to contemplate upgrade strategies. Upgrading insulation may involve adding more material or replacing outdated types with modern, higher R-value options. Keep in mind that insulation doesn’t last forever, so periodic maintenance is key to maintaining energy efficiency. By staying proactive, you ensure your home remains comfortable and energy-efficient long-term, saving you money and preventing costly repairs down the line.
Frequently Asked Questions
How Do I Determine the Correct Insulation R-Value for My Climate?
To determine the right insulation R-value for your climate, you need to check local insulation standards and climate zones. These standards specify the minimum R-values required for different areas to guarantee energy efficiency and comfort. Visit your local building department or look up climate zone maps online. Once you know your climate zone, you can select insulation with the appropriate R-value, helping you stay warm in winter and cool in summer.
Can I Insulate My Home Myself Without Professional Help?
You can definitely insulate your home yourself using the right insulation materials and DIY tools, but it depends on the project’s complexity. For simple tasks like attic or wall insulation, you might do it safely and effectively. However, for areas requiring electrical work or vapor barriers, consider professional help. Always research local building codes and safety guidelines to guarantee proper installation and avoid costly mistakes.
What Are Common Mistakes to Avoid During DIY Insulation Projects?
When doing DIY insulation, you might make mistakes that affect proper installation and moisture prevention. Avoid gaps or compression in insulation, which reduce effectiveness. Make sure you wear protective gear and handle materials carefully. Check for air leaks before installing insulation, and don’t block vents or electrical outlets. Proper installation guarantees better energy efficiency, and paying attention to moisture prevention helps prevent mold. Take your time and follow instructions closely to get the best results.
How Long Does DIY Insulation Typically Last Before Needing Replacement?
You might wonder about insulation durability and the replacement timeline. Generally, DIY insulation lasts around 10 to 15 years, but this can vary depending on the material used and installation quality. Over time, insulation may settle, become damp, or develop mold, reducing its effectiveness. Regular inspections help you spot issues early, ensuring you replace insulation when it no longer provides proper thermal or acoustic benefits, maintaining a comfortable home.
Are There Specific Safety Concerns for Insulating Around Electrical Wiring?
Imagine working carefully around tangled electrical wires, sparks flickering in your mind. Electrical safety is vital when insulating near wiring—avoid contact with live wires and turn off power first. Use non-flammable insulation materials to reduce fire hazards. Keep tools insulated and wear safety gear. If unsure, consult a professional. Prioritizing electrical safety protects you from shocks and fires, making your insulation project safe and successful.
Conclusion
Now that you know how to insulate your home, imagine turning your space into a cozy sanctuary that saves energy and money—all with your own hands. With patience and care, you can master this DIY project and enjoy lasting comfort. Think of insulation as a warm hug for your home, wrapping it in efficiency and protection. So, grab your tools and start transforming your space—your future self will thank you.

