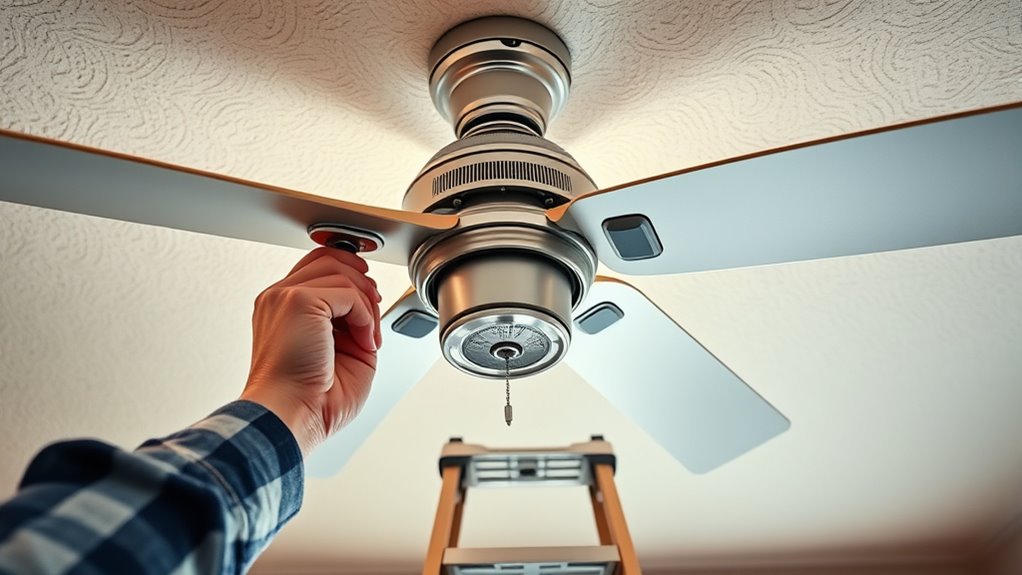
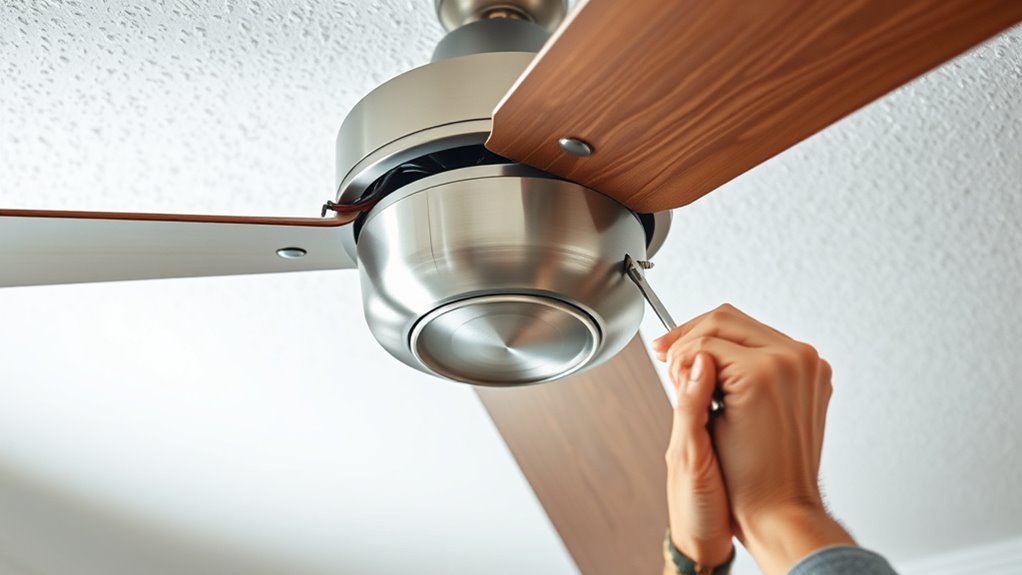
To install a ceiling fan, start by turning off power at the circuit breaker. Remove the existing fixture and check that the electrical box can support the fan’s weight. Mount the bracket securely, connect the wiring (hot, neutral, and ground), and attach the fan to the bracket. Finish by installing blades, balancing them, and attaching the light kit if included. For a safe and smooth setup, follow each step carefully as you go along.
Key Takeaways
- Turn off power at the circuit breaker and verify with a voltage tester before starting.
- Ensure the electrical box is rated for fan support and securely mounted between ceiling joists.
- Connect the fan’s wires properly, matching black to black, white to white, and grounding for safety.
- Assemble the fan, attach blades, and mount the motor to the bracket following manufacturer instructions.
- Test the fan and light, then perform final checks for secure wiring and proper operation.

Installing a ceiling fan can be a straightforward DIY project if you’re familiar with basic electrical work and have the right tools. To get started, gather a screwdriver set (flathead and Phillips), a wire stripper/cutter, a voltage tester, a sturdy ladder, and the ceiling fan kit, which includes the mounting bracket, fan motor, blades, and canopy. Before you begin, turn off the power at the circuit breaker to guarantee safety. Remove any existing light fixture or ceiling fan, including bulbs and covers, and inspect the ceiling electrical box. If it isn’t rated for a fan’s weight or motion, replace it with a fan-rated box. Use an adjustable hanger bar to securely mount the box between ceiling joists, ensuring it’s firmly anchored to support the fan’s weight and movement.
Start by turning off power, removing old fixtures, and ensuring your electrical box can support your ceiling fan safely.
Next, attach the mounting bracket to the electrical box using the screws provided. Make sure the bracket is level and tightly fastened, so the fan doesn’t wobble once installed. Before mounting the fan, pass the mounting rod and electrical wires through the canopy, then temporarily attach the fan to the bracket for easier wiring access. Connect the grounding wire from the bracket or fan to the house ground to guarantee safety.
When wiring, strip about half an inch of insulation from each wire end. Match the black (hot) wires from the fan and ceiling box, securing them with a wire nut. Connect the white (neutral) wires from both the fan and ceiling box together, then attach the green or bare copper ground wire to the grounding wire or bracket. Carefully tuck all wires into the electrical box, making sure connections are tight and insulated to prevent shorts. Additionally, understanding the importance of proper color accuracy can help ensure your fan’s lighting components display true-to-life colors.
Once wired, attach the fan blades to the motor following the manufacturer’s instructions, then mount the motor to the bracket, ensuring it’s supported during wiring. Install the fan canopy to cover the hardware and wiring, securing it firmly. If your fan includes a light kit, wire it according to the instructions and mount it securely. After everything’s assembled, balance the blades to minimize noise and vibration, guaranteeing smooth operation.
Always double-check that the ceiling box is rated for the fan’s weight and motion. Confirm all electrical connections are secure and insulated, and verify the circuit is off with your voltage tester before handling wires. Follow the manufacturer’s instructions carefully to avoid warranty issues and adhere to local electrical codes—consult a licensed electrician if needed. After installation, test the fan and light, adjust speed and direction for ideal airflow, and periodically check blade tightness and mounting stability. Regular cleaning and maintenance will keep your ceiling fan functioning efficiently for years.
Frequently Asked Questions
Can I Install a Ceiling Fan Without an Existing Light Fixture?
Yes, you can install a ceiling fan without an existing light fixture. You’ll need to check if your ceiling can support the weight and whether there’s space for wiring. You might need to run new electrical lines and install a switch. For safety, it’s best to hire a licensed electrician, especially if wiring or structural changes are involved. Proper planning guarantees your fan is installed securely and functions correctly.
What Tools Are Essential for Ceiling Fan Installation?
Think of installing a ceiling fan as a symphony, where each tool plays a crucial note. You’ll need an adjustable wrench for bolts, screwdrivers for screws, a drill for holes, and wire strippers for electrical work. Don’t forget safety gear like goggles and a ladder. These essential tools will help you confidently orchestrate a smooth, safe installation, turning your ceiling into a masterpiece of comfort and style.
How Do I Determine the Right Size Fan for My Room?
To find the right size fan for your room, start by measuring its length and width, then multiply these to get the square footage. For small rooms up to 100 square feet, choose a fan between 29-36 inches. Larger spaces need bigger fans, with sizes increasing as the room size grows. Also, consider ceiling height and style to make certain of proper fit and safe, effective air circulation.
Is It Safe to Install a Ceiling Fan Myself?
Installing a ceiling fan yourself can be safe if you follow proper precautions. You need to turn off the power at the breaker, use the right tools, and double-check wiring connections for safety and correctness. Make sure the support box is rated for fans, and wear insulated gloves. If you’re unsure about any step, it’s best to hire a professional to avoid risks like electrical shocks or fire hazards.
What Should I Do if the Ceiling Joist Isn’t Level?
If the ceiling joist isn’t level, you should first assess the extent of the unevenness. To hide the imperfections, consider installing a decorative medallion, which can also provide a more level surface for mounting. If you want a more stable solution, you might need to modify the ceiling, but this often requires professional help. Always guarantee the fan is securely attached to prevent wobbling or accidents.
Conclusion
Now that you’ve learned how to install a ceiling fan, you’re like a captain ready to navigate your own DIY ship. With a little patience and attention to detail, you can breeze through the process and enjoy the cool comfort it brings. Remember, every step you take is like adding a brushstroke to your home improvement masterpiece. Soon, you’ll have a stylish, functional fan spinning smoothly, making your space feel just right—cool as a summer breeze.


