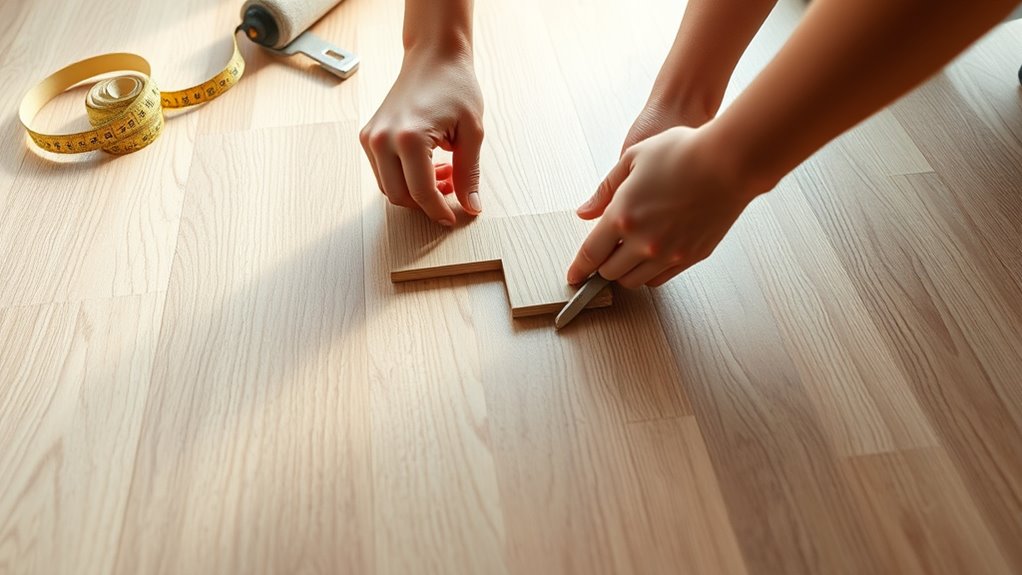
To install laminate flooring yourself, start by preparing a clean, level workspace and gather all necessary tools, including a saw, measuring tape, spacers, and adhesive. Measure your room carefully and plan the layout, ensuring proper plank direction and expansion gaps. Acclimate the flooring for at least 48 hours in the room, then install underlayment and lay the planks tightly, staggering joints. Finish with trim and connection pieces. If you follow these steps, you’ll get a professional result—learn more to perfect your project.
Key Takeaways
- Prepare and acclimate the flooring in a climate-controlled room for at least 48 hours before installation.
- Measure your space accurately and plan the layout, choosing the direction of the planks.
- Install a moisture barrier and underlayment to protect against moisture and improve comfort.
- Start laying planks from a corner, clicking edges together and staggering joints for a seamless look.
- Finish with trim and transition strips to hide gaps and create a polished, professional appearance.
Preparing Your Workspace and Gathering Tools
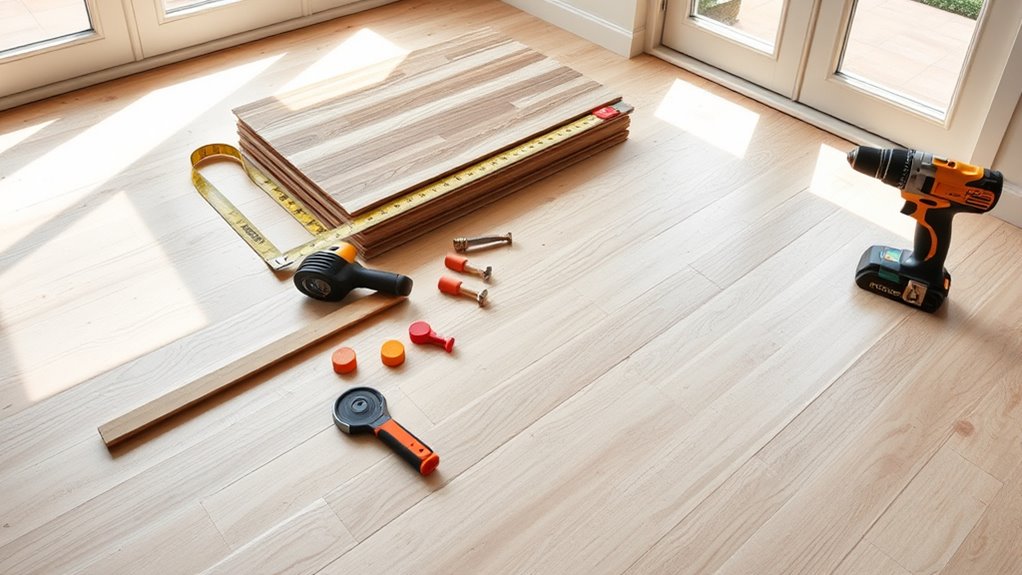
Have you prepared your workspace and gathered all the necessary tools before starting your laminate flooring project? Clear a spacious area free of clutter, ensuring you have enough room to work comfortably. Gather essential tools like a saw, measuring tape, spacers, and a rubber mallet. Keep decorative trims nearby to finish edges neatly and consider flooring adhesives if your installation requires extra hold or sealing. It’s important to have everything ready beforehand to avoid interruptions. Set up your workspace on a flat, stable surface to prevent warping or damage during installation. Organize your supplies so they’re easily accessible. This preparation helps streamline the process, reduces mistakes, and ensures a smooth, professional-looking finish for your laminate flooring project. Additionally, understanding flooring installation techniques can also lead to better results and a more durable finish, especially when following proper subfloor preparation procedures. Proper underlayment setup can further improve the longevity and appearance of your flooring.
Measuring and Planning Your Layout
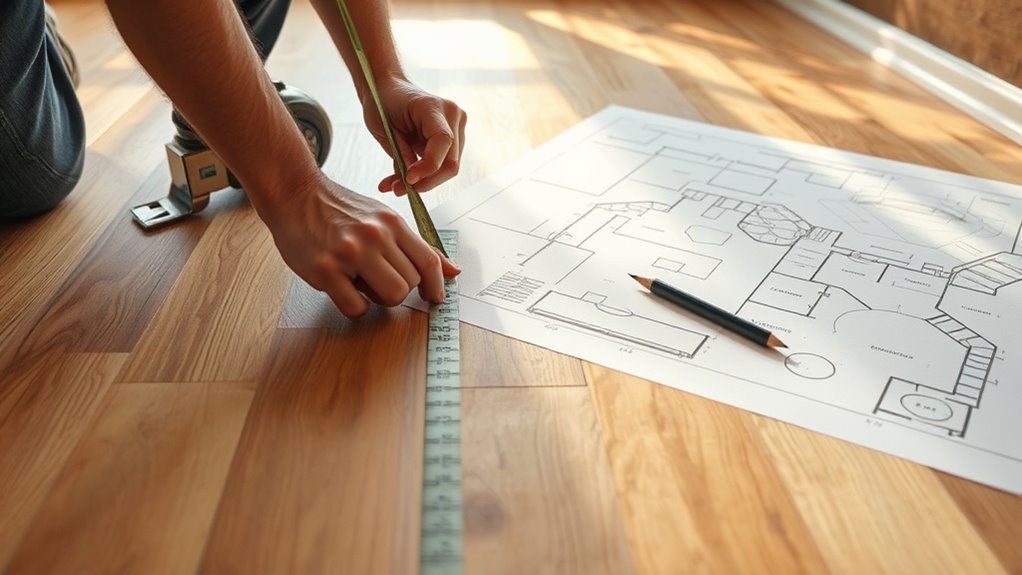
Start by measuring your room carefully to determine the exact dimensions you’ll be working with. Planning your layout thoughtfully guarantees the planks fit well and look balanced across the space. Taking time to measure accurately now saves you headaches and adjustments later. Additionally, considering the best outdoor survival bags for transporting materials can help streamline your installation process. Knowing the best tools for laminate flooring can further ensure a smoother and more efficient installation.
Accurate Room Measurements
Before laying down your laminate flooring, it is vital to take precise measurements of your room. Use reliable measuring tools like a tape measure or laser distance finder to get accurate dimensions. Measure the length and width of the room at multiple points to account for any irregularities or uneven walls. Note down these measurements carefully, and double-check them to avoid mistakes. Understanding your room layout helps you plan how many flooring planks you’ll need and where to position seams. Remember, accurate measurements prevent surprises during installation and ensure a professional finish. Take your time during this step to record everything precisely. Proper measurement is the foundation for a successful laminate flooring project, so don’t rush this important stage. Additionally, considering the room’s shape and layout can influence your flooring pattern and installation approach. Being aware of potential subfloor conditions can also help you prepare for any necessary adjustments or repairs before installation begins.
Optimal Layout Planning
Proper layout planning begins with analyzing your room’s measurements to determine the best way to arrange your laminate planks. Consider design considerations such as the direction of natural light and focal points to enhance the room’s aesthetic choices. Decide whether to run planks parallel or perpendicular to the longest wall, which affects the room’s visual flow. Measure gaps and plan for expansion space along walls to prevent buckling. Create a detailed layout plan or use flooring visualization tools to preview the final look. Think about how patterns or color variations will impact the overall design. Proper planning guarantees your laminate flooring looks professional, functions well, and aligns with your aesthetic goals. Taking the time to plan your layout carefully saves effort during installation and results in a polished finish. Additionally, understanding optimal layout planning can help you incorporate design elements like geometric patterns or mixed textures for a more dynamic appearance. Ensuring accurate measurements and considering moisture barriers can further improve the longevity and appearance of your flooring.
Acclimating the Laminate Flooring
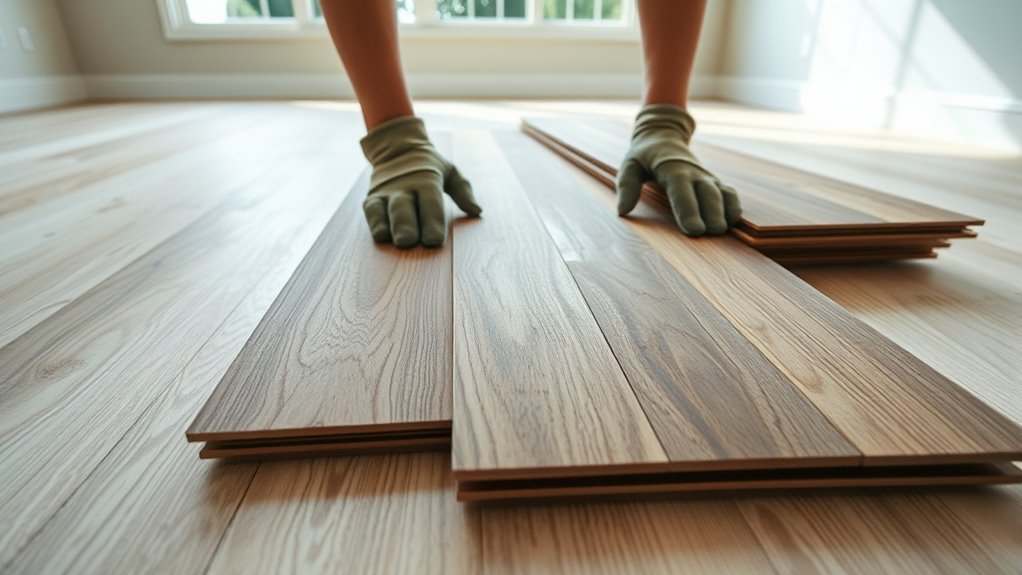
Before installing your laminate flooring, you need to give the planks time to adjust to your home’s environment. Make sure to store the flooring in the room where you’ll install it for at least 48 hours, keeping the temperature and humidity levels consistent. Proper acclimation helps prevent expansion or contraction after installation, ensuring a smooth, long-lasting finish. Additionally, understanding digital literacy programs can help you better communicate and troubleshoot any issues that may arise during installation. Being aware of AI-driven personalization in e-learning can also provide you with resources or tutorials tailored to your learning style, making the installation process more manageable. Consulting all waterparks or related resources can offer helpful tips specific to water-resistant flooring options and maintenance. Engaging with expert advice related to your specific flooring type can further ensure a successful installation.
Adjusting Temperature & Humidity
To make certain your laminate flooring adjusts properly to its new environment, you need to acclimate it by controlling temperature and humidity levels. Proper humidity control and temperature regulation prevent issues like warping or gaps after installation. Keep your room’s humidity between 35-55% and maintain a temperature around 65-75°F. During acclimation, leave the flooring in the room for at least 48 hours, ensuring consistent conditions.
| Humidity Level | Temperature Range | Recommended Action |
|---|---|---|
| 30-40% | 60-70°F | Use humidifiers/dehumidifiers |
| 41-55% | 65-75°F | Ideal for acclimation |
| Over 55% | 60-70°F | Reduce humidity |
| Under 30% | 65-75°F | Increase humidity |
Proper Storage Before Installation
Ensuring your laminate flooring is stored correctly is essential for a successful installation. Proper storage preparation helps prevent warping, damage, and material handling issues. First, keep the boxes flat and upright in a climate-controlled area. This maintains the integrity of the materials. Second, guarantee the storage space has consistent temperature and humidity levels, avoiding extreme fluctuations. This allows the laminate to acclimate properly. Third, leave the boxes unopened until you’re ready to install, preventing unnecessary exposure to dust or moisture. Additionally, using appropriate storage methods can further protect the flooring materials from environmental factors. Maintaining proper environmental conditions during storage is crucial for optimal results. Being aware of material sensitivity helps ensure the laminate flooring remains in top condition. Properly storing your flooring also minimizes the risk of installation problems caused by environmental stress. To further enhance the longevity of your flooring, consider employing climate control techniques which can regulate indoor conditions effectively. By following these steps, you help the flooring adapt to your home’s environment and reduce installation problems. Proper storage sets the foundation for a smooth, flawless laminate flooring project.
Installing the Underlayment
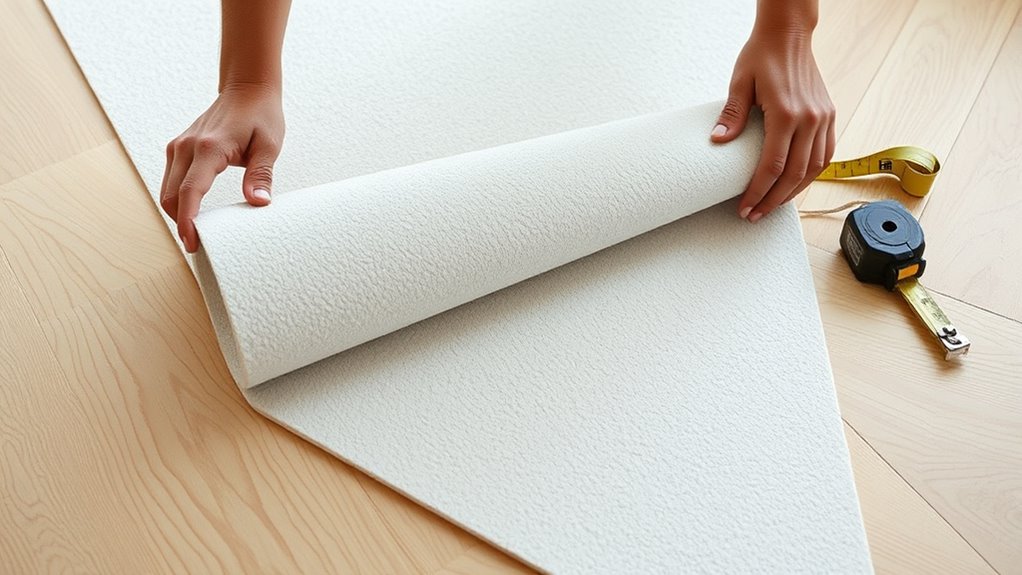
Have you prepared your subfloor properly? Installing the underlayment is essential for a smooth laminate flooring project. Start by rolling out the moisture barriers to protect against dampness, especially in basements or ground floors. Overlap the edges by a few inches and tape them securely to prevent moisture from seeping through. Next, lay the underlayment, making sure it’s flat and wrinkle-free. This layer helps with soundproofing techniques, reducing noise transmission and adding comfort underfoot. Avoid overlapping the underlayment; instead, leave small gaps around the edges to allow for expansion. Secure the seams with tape, but don’t glue or staple them. Proper installation of the underlayment guarantees your laminate flooring will be durable, quiet, and well-protected from moisture.
Laying Down the Laminate Planks
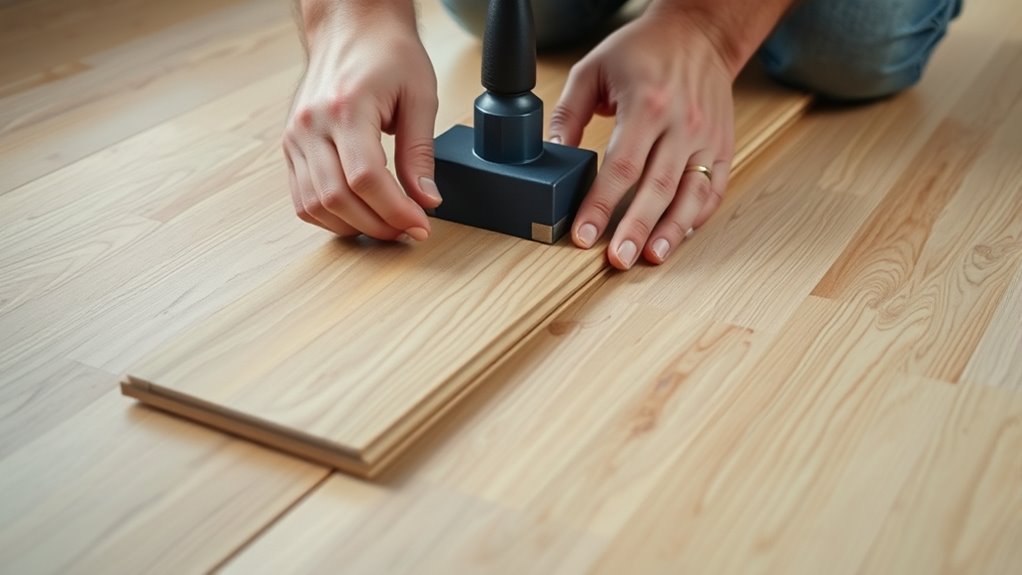
Once the underlayment is securely in place, you can start laying down the laminate planks. Begin by placing the first row along the wall, ensuring a small gap for expansion. As you proceed, focus on these steps:
- Connect each plank tightly, clicking the edges together to maximize laminate durability and create a seamless look.
- Stagger the joints between rows by at least 12 inches, enhancing strength and mimicking natural flooring patterns.
- Continue until the entire floor is covered, adjusting the last planks as needed for a perfect fit.
Pay attention to decorative patterns, aligning planks for visual appeal. Proper installation guarantees your laminate flooring will be both durable and attractive for years to come.
Finishing Touches and Room Transitions
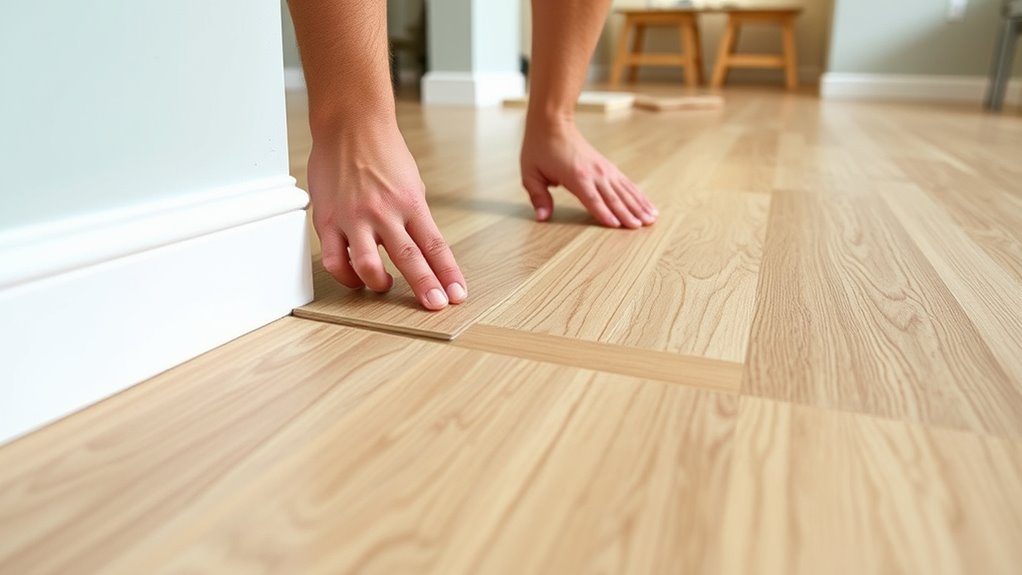
Are you ready to give your laminate flooring a polished look? Finishing touches and room transitions are key to a professional appearance. Start by installing decorative trim along the edges where the flooring meets walls or cabinets; this hides expansion gaps and adds a refined detail. Use transition strips at doorways or between rooms with different flooring types to guarantee smooth, safe transitions. Secure these strips firmly to prevent movement and create a seamless flow. Take your time aligning the trim and strips properly, and use a pry bar or mallet if needed. These finishing elements not only enhance the aesthetic but also protect the edges of your flooring over time. With careful installation, your laminate flooring will look polished and cohesive throughout your space.
Frequently Asked Questions
Can I Install Laminate Flooring Over Existing Carpet?
You can install laminate flooring over existing carpet if you choose a suitable underlay and add a moisture barrier. First, clean and level the carpet to prevent bumps. Use a high-quality underlay designed for laminate, which provides stability and soundproofing. Then, install a moisture barrier to protect against humidity. Keep in mind, this method works best on low-pile carpets and may not be ideal for all types.
How Do I Handle Uneven Subfloors Before Installation?
Dealing with an uneven subfloor is like trying to walk on a roller coaster—it’s bumpy and unpredictable! You need to prioritize proper subfloor preparation through leveling techniques, such as sanding high spots, filling low areas with a leveling compound, and using a floor level. These steps guarantee a smooth, stable surface, preventing future issues and making your laminate flooring installation flawless and long-lasting.
What Is the Recommended Expansion Gap Size?
During installation, you should leave an expansion gap of about ¼ inch around the perimeter of your room. This gap allows for natural expansion and contraction of the laminate flooring due to temperature changes. Follow the installation guidelines closely, ensuring the gaps are consistent along walls and around obstacles. Properly maintaining these expansion gaps helps prevent buckling or warping over time, keeping your flooring looking great and functioning properly.
How Do I Cut Laminate Planks Around Irregular Shapes?
To cut laminate planks around irregular shapes, you’ll want to use a jigsaw with a fine-tooth blade. Mark your cut lines clearly, then set your saw blade to a low speed. Use steady, controlled movements, following your markings carefully. You can also experiment with different saw blades to get cleaner cuts. Practice on scrap pieces first, so you get comfortable with jigsaw techniques before working on your actual flooring.
What Are the Best Cleaning Practices Post-Installation?
After installing your laminate flooring, you should follow effective cleaning routines to keep it looking new. Use a soft broom or vacuum regularly to remove dust and dirt, and damp mop with a laminate-specific cleaner or a mixture of water and a few drops of dish soap. Avoid harsh chemicals or excessive water. Maintenance tips include placing mats at entryways and using furniture pads to prevent scratches, ensuring your floor stays pristine longer.
Conclusion
Now that you’ve completed your laminate flooring project, imagine walking into your transformed space, each step echoing your effort and craftsmanship. You’ve turned a formidable task into a rewarding achievement—proof that you can create beauty with your own hands. With your new floor, every moment becomes a testimony to your skill and dedication. So, embrace this fresh beginning, and let your stunning new space inspire confidence and pride in all you do.

