To install a smart thermostat, start by turning off your HVAC system and removing your old thermostat, taking photos of the wiring for reference. Label and disconnect the wires carefully, then mount the new base plate securely on the wall. Connect the wires to the correct terminals, attach the thermostat unit, and restore power. Follow the setup instructions via the app to connect to Wi-Fi and customize settings. For detailed guidance, continue with the next steps to guarantee a smooth installation.
Key Takeaways
- Turn off power to the HVAC system and remove the existing thermostat, noting wiring connections with a photo for reference.
- Choose a central, accessible location away from vents and sunlight, then install the mounting plate securely on the wall.
- Connect the thermostat wires to the corresponding terminals on the new device, ensuring proper placement and secure connection.
- Restore power at the circuit breaker, turn on the thermostat, and follow the app instructions to connect to Wi-Fi and configure settings.
- Complete the setup via the app, set schedules, preferences, and features to optimize energy savings and home comfort.

Thinking about upgrading to a smart thermostat? Before you start, make sure your HVAC system is compatible. Check if it’s a low-voltage 24V system, since most smart thermostats require this. Also, see if you have a C-Wire, which supplies continuous power to the device. If not, you might need a C-Wire adapter to guarantee reliable operation. Gather your tools—like a Phillips head screwdriver, small flat head screwdriver, drill, and wire stripper—and ensure your mobile device is fully charged. Having your smartphone ready is essential for setup, as most smart thermostats are configured via an app.
Before starting, ensure your HVAC is 24V and has a C-Wire for reliable smart thermostat setup.
Next, select the ideal location for your new thermostat. Pick a central spot in your home to get accurate temperature readings. Avoid placing it near heating vents, radiators, or direct sunlight, as these can skew readings and affect performance. Make sure the spot is easily accessible for future maintenance and adjustments. Also, consider how it looks—placing it where it’s visible and blends well with your decor helps. Before drilling, confirm there are no pipes or wires behind the wall to prevent accidents. Once you’ve chosen the spot, turn off power to the existing thermostat to avoid electrical shocks.
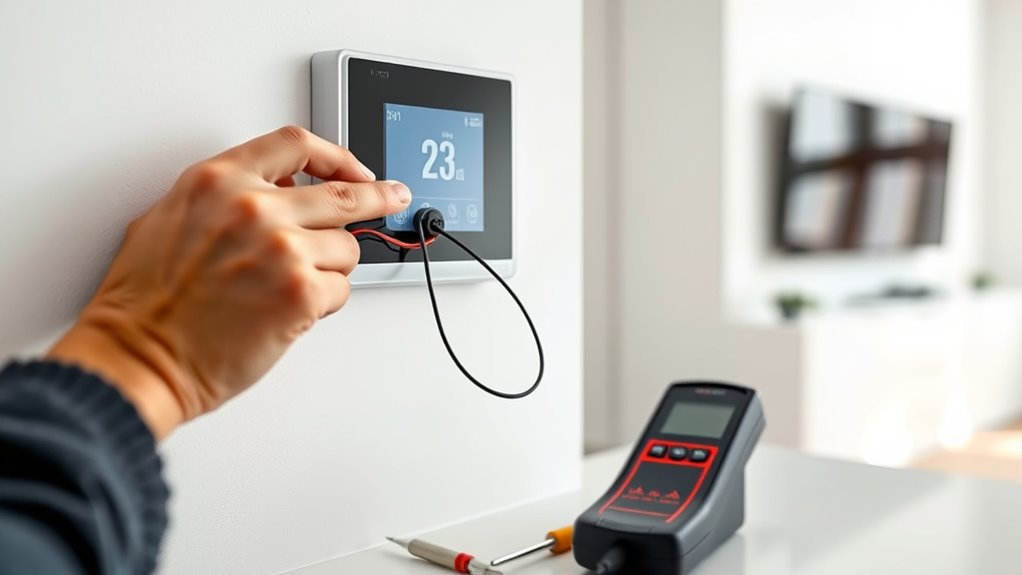
Remove the old thermostat carefully. Take a photo of the wiring setup for reference, especially if you’re unsure about reconnecting wires later. Remove the thermostat cover and label each wire according to its terminal (like R, W, Y, G). Disconnect the wires gently, then remove the old device from the wall. When mounting the new thermostat plate, drill holes for drywall anchors using a ¼” drill bit. Insert the anchors, then secure the back plate firmly against the wall with screws. If needed, attach a trim plate to cover any gaps, ensuring the mounting is solid.
Wiring the new thermostat is vital. Identify and label each wire, then press the terminal lever on the base plate. Insert each wire into its corresponding terminal, matching the labels. Push any excess wires into the wall cavity neatly. Once wired, align the thermostat unit over the back plate, making sure the display or control buttons are at the bottom. Gently push until it clicks into place, confirming it’s secure.
Additionally, understanding the importance of color accuracy in your home cinema projector can significantly enhance your viewing experience. Finally, restore power at the circuit breaker. Turn on the thermostat and wait for it to power up automatically. As soon as it’s on, start setup within 30 minutes. Use the smart home app to connect your thermostat to Wi-Fi, enabling remote control. Follow the prompts to configure your preferences, set schedules, and enable features. Once completed, your new smart thermostat is ready to help you save energy and keep your home comfortable.
Frequently Asked Questions
Can I Install a Smart Thermostat Without Professional Help?
You can definitely install a smart thermostat yourself if you’re comfortable with basic wiring and safety precautions. Make sure to turn off power at the breaker before starting. Follow the installation instructions carefully, label wires, and take photos for reference. Use the provided guides or videos from the manufacturer. If you’re unsure about wiring or compatibility, it’s best to consult a professional to avoid potential issues or damage.
Will Installing a Smart Thermostat Affect My Current HVAC Warranty?
Installing a smart thermostat can impact your HVAC warranty, especially if you do it without professional help. Many manufacturers require licensed technicians to ensure the installation meets safety and compatibility standards. If you skip professional installation, you risk voiding your warranty and causing potential system issues. To protect your warranty and ensure proper setup, it’s best to hire a professional who understands your system and adheres to manufacturer requirements.
How Do I Connect My Smart Thermostat to Wi-Fi?
Think of connecting your smart thermostat to Wi-Fi as opening a secret door, granting you remote control over your home’s comfort. To do this, access the Wi-Fi setup menu on the device, select your network, and enter the password carefully. Make certain your router’s within range and avoid network congestion. Once connected, you can manage your thermostat via the app, making adjustments anytime, anywhere.
What Should I Do if My Smart Thermostat Isn’T Compatible With My System?
If your smart thermostat isn’t compatible with your system, first check the wiring and system specifications to identify issues. Use compatibility checkers or tools online to confirm. Consider installing a C-wire adapter, relay panel, or system upgrades if needed. If problems persist, consult a professional for advice or explore alternative models. Sometimes, returning or replacing the thermostat with a compatible one is the best solution.
Are There Any Security Risks With Smart Thermostats?
You’re right to ask about security risks. Smart thermostats can be vulnerable to hacking, which might let attackers access your home network or steal data. Weak passwords and outdated firmware increase these risks. To stay safe, regularly update your device, use strong passwords, and set up network segmentation. Monitoring activity and choosing reputable brands also help protect your smart thermostat and your overall home security.
Conclusion
Installing a smart thermostat is straightforward and worth the effort for the convenience and energy savings it offers. If you’re worried about compatibility or complexity, don’t be—most smart thermostats come with clear instructions and support. Take your time, double-check connections, and you’ll have it up and running in no time. Once installed, you’ll enjoy better control over your home’s comfort, all while saving money on energy bills. It’s an easy upgrade with big benefits!


