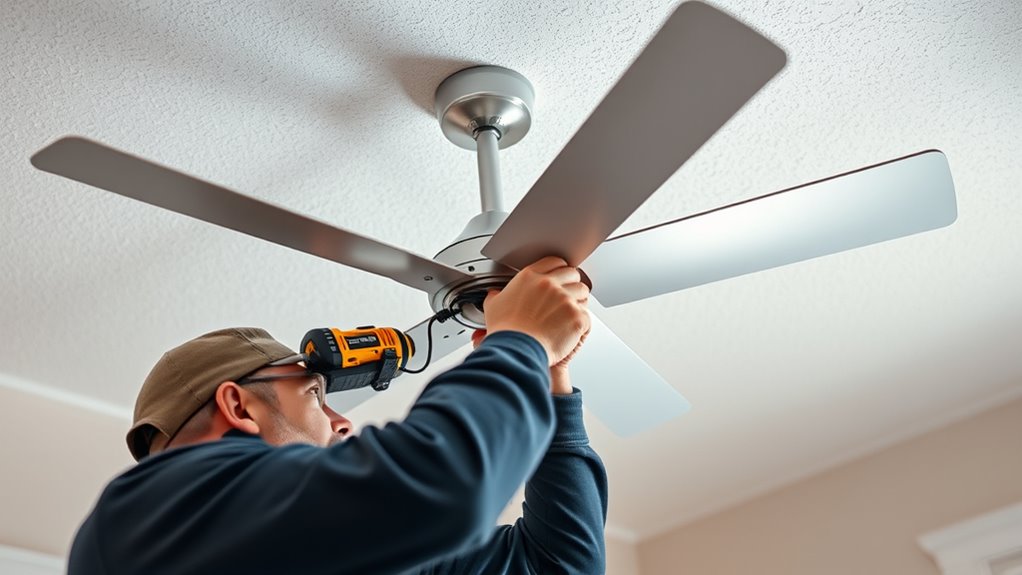
To install a ceiling fan, start by turning off the power at the circuit breaker and carefully removing the old fixture. Secure the mounting bracket to the ceiling, ensuring it’s level and supports the fan’s weight. Connect the wiring correctly: match black to black, white to white, and green to ground. Attach the fan, tighten all screws, and test its operation with the remote. If you keep going, you’ll find detailed steps to complete the installation smoothly.
Key Takeaways
- Turn off the power at the circuit breaker and confirm with a voltage tester before starting installation.
- Mount the ceiling fan bracket securely to an electrical box rated for fan weight and level it properly.
- Connect the fan wiring by matching color codes (hot, neutral, ground) and secure connections with wire nuts.
- Attach the fan blades, ensuring they are aligned correctly to prevent wobbling and noise.
- Test the fan’s operation with the remote or wall switch, and use a balancing kit if needed for smooth functioning.
Gathering Tools and Materials
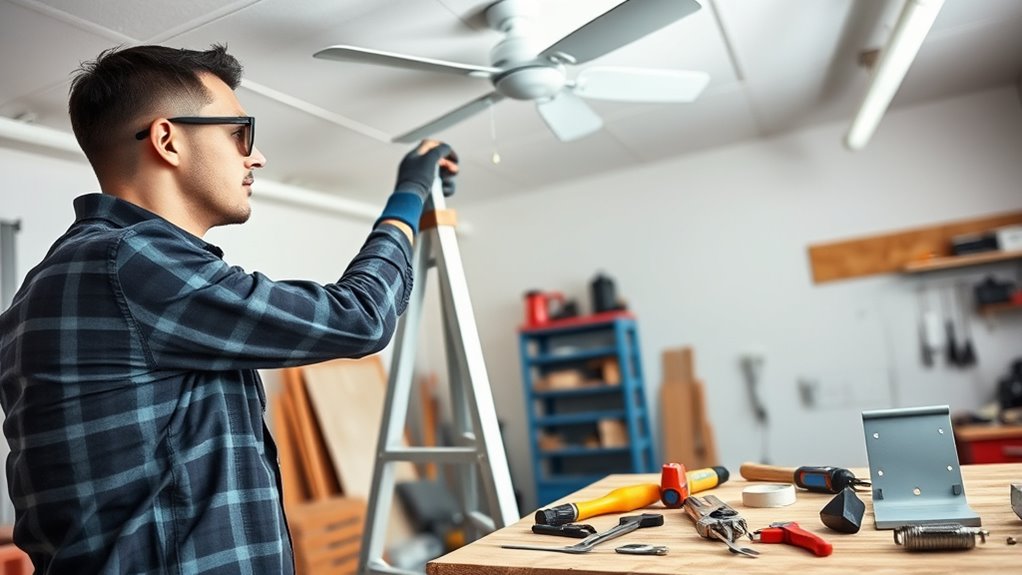
Before you begin installing your ceiling fan, it is vital to gather all the necessary tools and materials. Make sure you have a ladder, screwdriver, wire strippers, and voltage tester on hand. You’ll also need the fan’s mounting bracket, screws, and the fan blades themselves. Planning for remote control setup is essential—check if your fan comes with a remote or requires an additional receiver. Don’t forget to have a fan blade balancing kit ready, as you might need it to guarantee quiet, wobble-free operation. Properly gathering these items beforehand streamlines the installation process, saves time, and prevents interruptions. Double-check that all parts are included in your fan package, and read the instructions carefully to ensure you’re prepared for the steps ahead. Additionally, understanding the electrical wiring involved can help prevent potential safety hazards during installation. Familiarizing yourself with bedroom design considerations can also ensure your fan complements your space effectively. To ensure safety and a smooth setup, reviewing best installation practices is highly recommended. Also, considering energy efficiency features can help you select a fan that reduces power consumption over time. Moreover, consulting product specifications can provide further insights into the fan’s compatibility and features.
Turning Off Power and Preparing the Installation Site
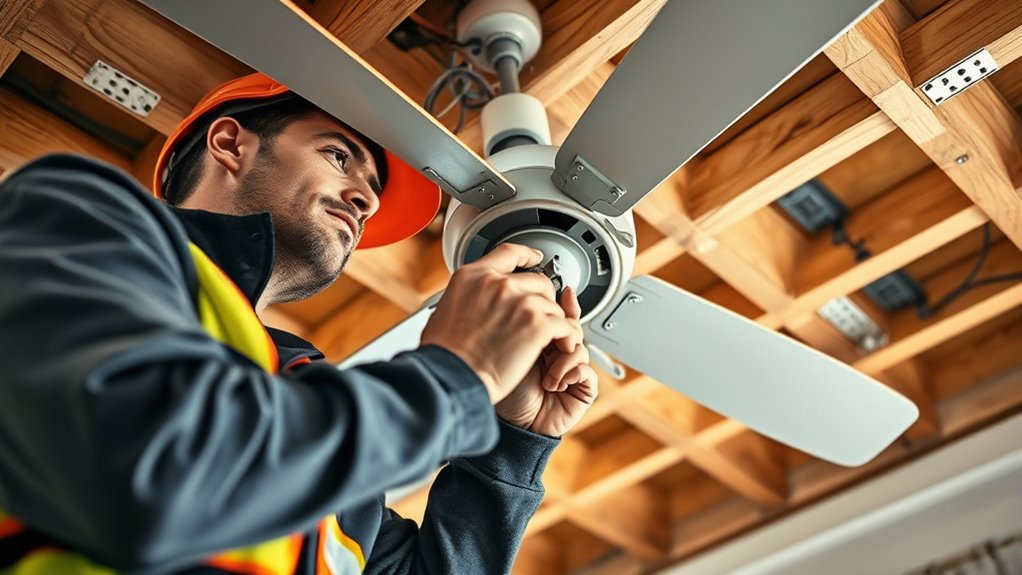
To guarantee safety during installation, you must turn off the power supply to the ceiling fan’s circuit. This prevents electrical shocks and adheres to safety precautions and electrical codes. Before working, verify that the circuit is dead using a voltage tester. Always follow local electrical codes to ensure proper grounding and wiring. To help you stay organized, consider this quick reference:
| Step | Action | Safety Tip |
|---|---|---|
| Turn off circuit breaker | Locate and switch off the correct breaker | Confirm power is off with tester |
| Remove existing fixtures | Carefully disconnect old fixture | Use insulated tools |
| Prepare the site | Clear the area and inspect wiring | Keep workspace dry |
Proper preparation guarantees a safe, smooth ceiling fan installation. Regularly reviewing electrical codes can help ensure your work remains compliant and safe.
Installing the Ceiling Fan Mounting Bracket
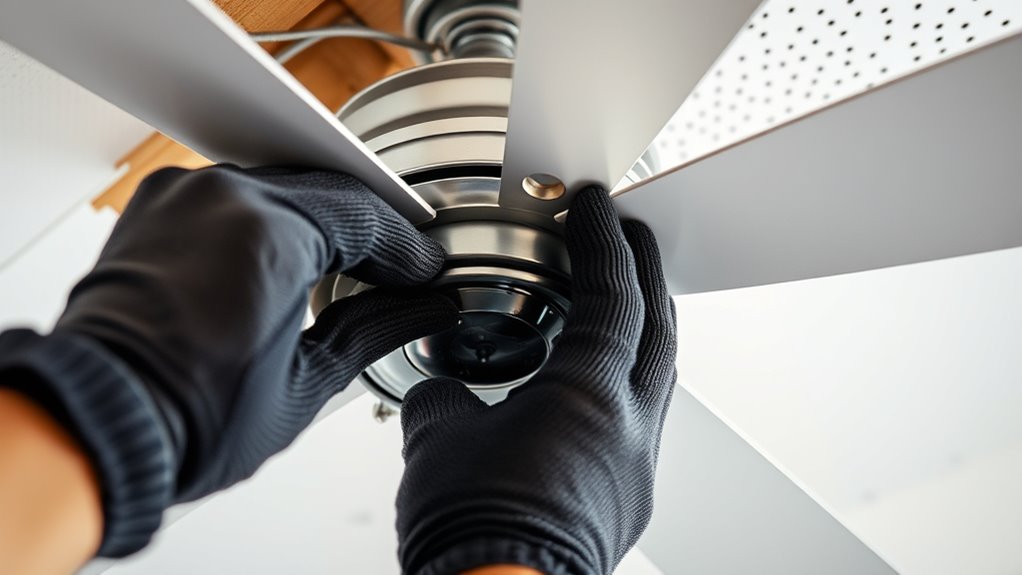
After confirming the power is off and the work area is prepared, the next step is to install the ceiling fan mounting bracket. First, check the mounting bracket compatibility with your ceiling fan model and ceiling type. Make sure it can support the ceiling fan weight safely. If your ceiling has an existing electrical box, confirm it’s rated to hold the fan’s weight. Attach the mounting bracket securely to the ceiling or electrical box using the appropriate screws. Use a level to verify the bracket is straight. Proper installation of this bracket is vital for stability and safety. Additionally, ensure the bracket is compatible with local building codes and permits to avoid any safety issues or violations. Once secured, you’re ready to proceed to wiring and fan assembly. Take your time to verify everything is firmly in place before moving on. Incorporating vertical storage solutions can help you keep your work area organized and free of clutter during the project. Being aware of safety precautions related to electrical work can further ensure a secure installation.
Connecting the Wiring and Assembling the Fan

Once the mounting bracket is secure, you can connect the wiring and assemble the fan. Start by turning off the power supply. Match the wire color codes: black (hot), white (neutral), and green or bare (ground). Connect the black wire from the ceiling to the fan’s black wire, and the white to white. Secure each connection with wire nuts. Guarantee the ground wire is attached to the fan’s grounding wire or screw. When attaching the blades, check fan blade alignment to prevent wobbling. Use the provided screws to attach each blade evenly, ensuring they sit flat. This alignment guarantees smooth operation and reduces noise. Keep the wiring organized and tight to avoid interference or damage during operation. Proper fan installation and wiring connections are essential for safety and optimal performance. Celebrating fatherhood through shared experiences and lessons can also serve as a reminder of the importance of support and guidance in family projects.
Securing the Fan and Testing Its Operation
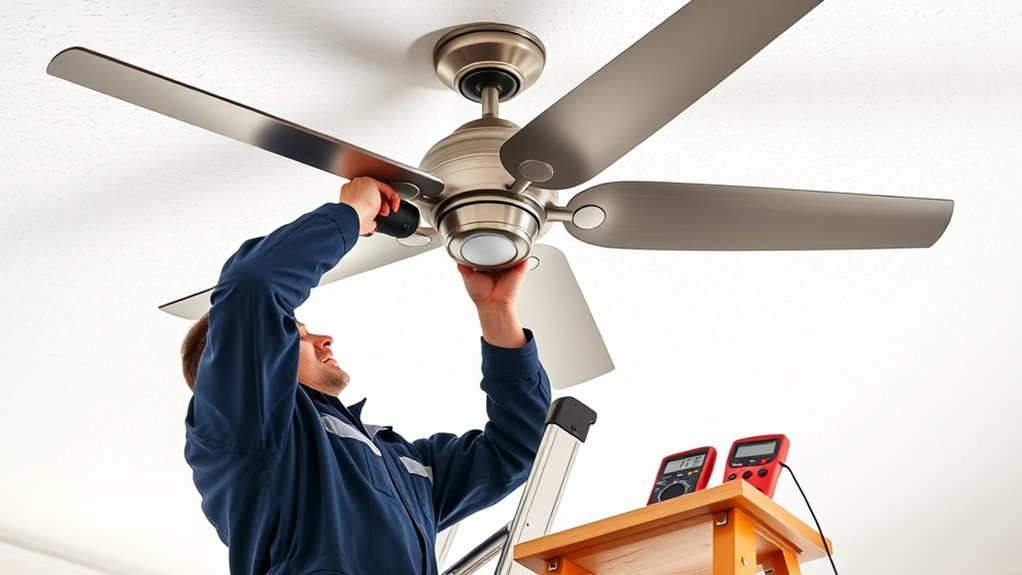
With the wiring connections secured and the blades aligned properly, you can now focus on mounting the fan securely to the ceiling. Tighten all mounting screws to guarantee stability, then attach the fan’s canopy and double-check that it’s flush against the ceiling. Once installed, test the fan’s operation by turning it on at the wall switch or remote control. Use the remote control setup to connect it to your preferred device, if applicable. Balance the blades using a blade balancing kit to minimize wobbling and noise. Make small adjustments until the fan runs smoothly. Confirm that the remote controls all functions properly, including speed and lighting. Additionally, verifying the trustworthiness of the brand can ensure you’re investing in a safe and reliable product. Proper securing and testing ensure safe, quiet operation and optimal performance. Considering the popularity of smart home integrations can enhance your control options and user experience. Selecting a reliable security brand known for quality can also give you peace of mind about your investment. Remember that proper installation techniques are essential for long-term durability and safety.
Frequently Asked Questions
How Do I Choose the Right Size Ceiling Fan for My Room?
When choosing the right ceiling fan size, you should consider your room dimensions. For small rooms up to 75 square feet, opt for a fan with a blade span of 29-36 inches. Medium rooms (76-144 sq ft) need a 36-42 inch fan, while larger spaces (over 144 sq ft) require a 52-inch or bigger fan. Correct ceiling fan size guarantees ideal airflow and comfort in your room.
Can I Install a Ceiling Fan on a Sloped Ceiling?
Think of your ceiling like the great pyramids—beautiful and unique. Yes, you can install a ceiling fan on a sloped ceiling, but you’ll need ceiling fan brackets and slope adapters to do it safely. These parts help secure the fan at an angle, preventing wobbling or wobbling. Make sure to follow the manufacturer’s instructions, and if you’re unsure, consider consulting a professional for a smooth, safe installation.
What Safety Precautions Should I Take During Installation?
During installation, you should prioritize electrical and tool safety. Always turn off the power at the circuit breaker before working on electrical wiring to prevent shocks. Use insulated tools and double-check connections to avoid short circuits. Wear safety goggles and gloves to protect yourself from debris and sharp edges. Ensuring a stable ladder and working in a well-lit area also minimizes accidents. Taking these precautions keeps you safe throughout the process.
How Do I Troubleshoot Common Ceiling Fan Wiring Issues?
When troubleshooting ceiling fan wiring issues, start by checking the wire color codes to guarantee proper connections. Confirm that the fan’s wiring matches the switch wiring and that the circuit breaker is compatible and not tripped. Use a voltage tester to verify power supply. If wires seem mismatched or loose, disconnect and reattach them securely, respecting the color codes, and reset the circuit breaker to restore power safely.
Is It Necessary to Use a Ceiling Fan With a Built-In Light?
Thinking about adding a ceiling fan with a built-in light? It’s like hitting two birds with one stone—improving your room’s aesthetic appeal and boosting energy efficiency. While it’s not strictly necessary, having a light can add convenience and ambiance. If you want to save on electricity costs and enhance your space’s look, a fan with a light is a smart choice. Otherwise, you can opt for a fan without one.
Conclusion
Now that your ceiling fan is installed, you’ve just transformed your room into the coolest, most breezy oasis imaginable. Imagine the endless comfort and fresh air flowing effortlessly, turning your space into a paradise of relaxation and style. With your new fan spinning confidently, you’ll wonder how you ever lived without this masterpiece of cooling power. Get ready to enjoy the ultimate refreshment—your room has become the coolest spot in the universe!

