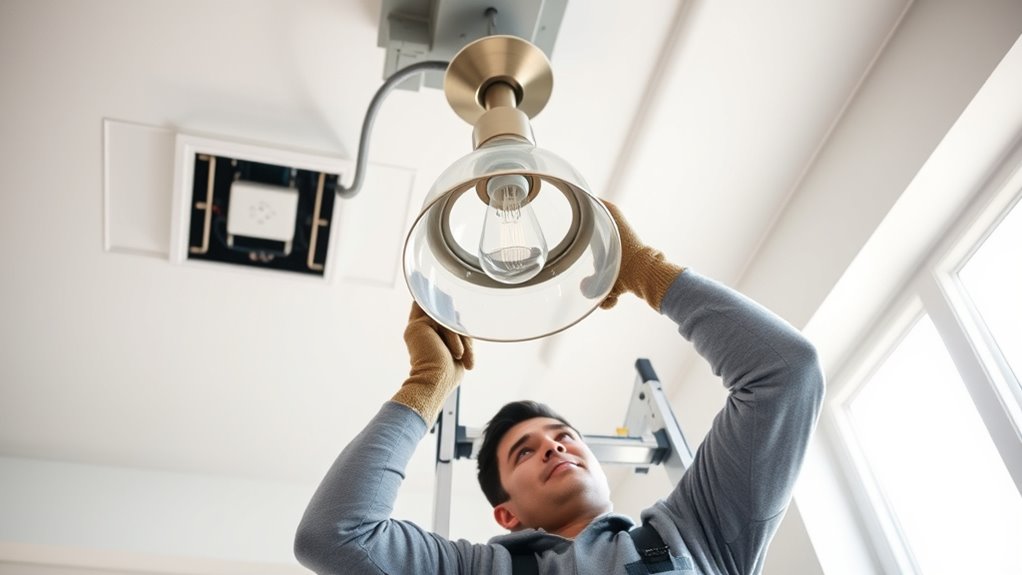
To safely replace a light fixture, start by turning off the power at the circuit breaker and use a voltage tester to confirm it’s dead. Wear safety gloves and carefully remove the old fixture by supporting it as you disconnect the wires. Connect the new fixture securely, ensuring the wires are properly matched and tightly connected, then attach it to the mount. Turn the power back on and test the new light—follow the full process to guarantee safety and proper function.
Key Takeaways
- Turn off the circuit breaker and verify the power is off with a voltage tester before starting.
- Remove the old fixture carefully, supporting it during disconnection to prevent falling.
- Connect wiring securely using wire nuts or terminal screws, ensuring no exposed copper wire.
- Attach the new fixture firmly to its mount, following the manufacturer’s instructions for stability.
- Restore power, then test the fixture for proper operation and check for flickering or unusual noises.
Gather Necessary Tools and Materials
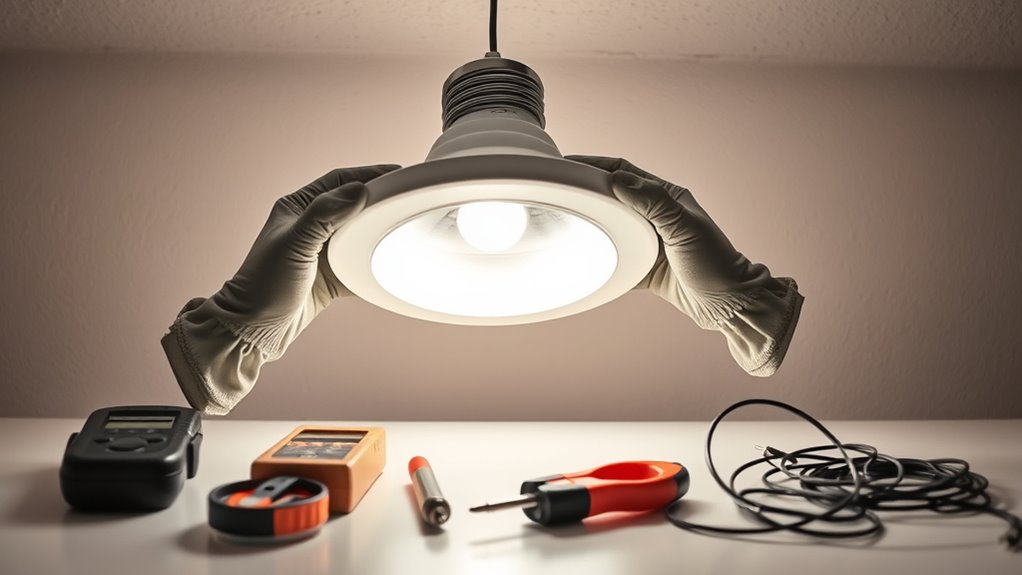
Before you begin replacing your light fixture, it’s important to gather all the necessary tools and materials. Start with a sturdy ladder, safety gloves, and a voltage tester to ensure safety. You’ll also need wire strippers, a screwdriver, and wire connectors. Pay attention to the wire gauge; most household fixtures use 14 or 12-gauge wire, so have the correct size ready. Consider the fixture weight too—if it’s heavy, you might need additional support or mounting hardware. Having these tools on hand will make the process smoother and safer. Double-check that you have all parts of the new fixture, including mounting brackets and screws. Proper color accuracy in your wiring connections can prevent potential issues and ensure optimal performance of your new fixture. It’s also helpful to review installation instructions beforehand to familiarize yourself with the steps involved. Being aware of electrical safety protocols can further prevent accidents during the replacement. Additionally, understanding AI security concerns can be beneficial when working with smart or internet-connected fixtures to avoid vulnerabilities. Preparing everything beforehand prevents interruptions and helps you focus on the actual replacement process.
Turn Off Power and Prepare the Area
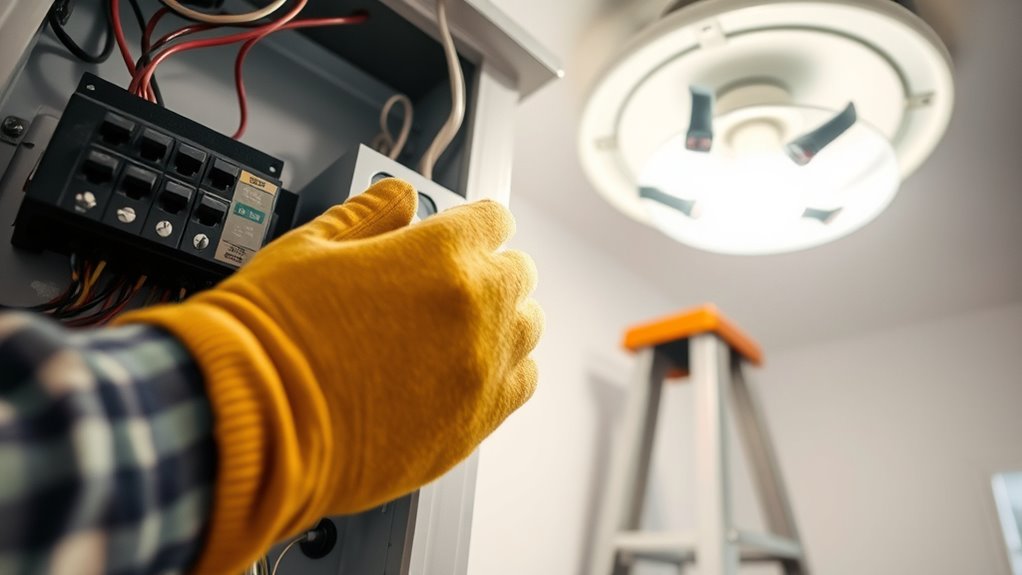
To guarantee safety, you should turn off the power at the circuit breaker before starting any work on your light fixture. This prevents electrical shock and ensures a secure workspace. Once the power is off, verify the circuit is dead using a voltage tester. Prepare the area by clearing furniture and covering nearby surfaces. Use proper grounding techniques to avoid electrical hazards, especially if your fixture requires grounding. Check fixture compatibility with your existing wiring to prevent issues later. Keep a clear workspace for tools and parts.
| Step | Action | Safety Tip |
|---|---|---|
| Turn off power | Switch off at circuit breaker | Confirm power is off with tester |
| Verify dead circuit | Use voltage tester | Avoid accidental shocks |
| Clear workspace | Remove furniture and cover surfaces | Prevent damage |
| Check grounding | Ensure proper grounding techniques | Prevent electrical faults |
| Confirm fixture compatibility | Match fixture to wiring specifications | Avoid installation problems |
Remove the Old Fixture Carefully
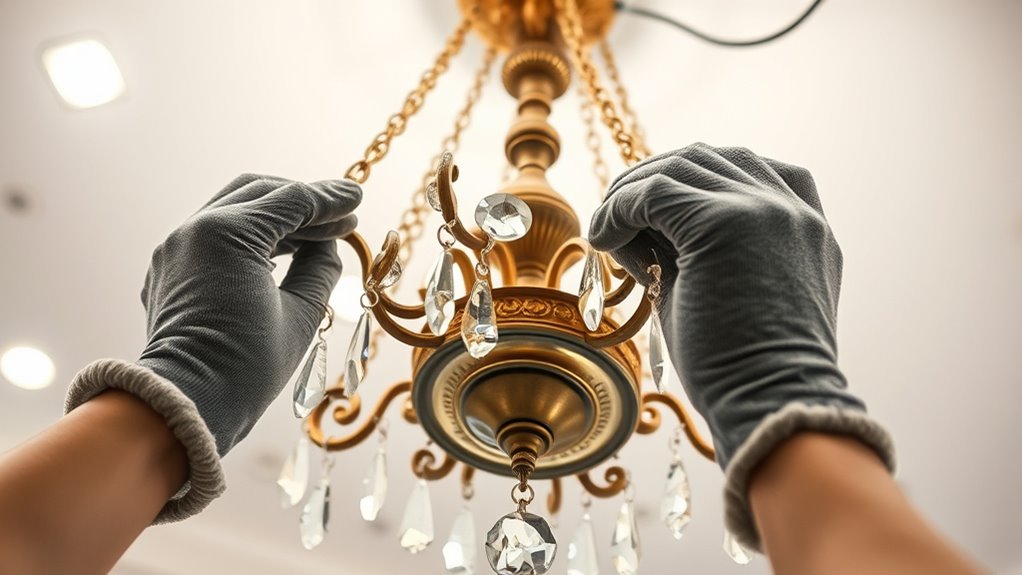
Carefully removing the old fixture is essential to guarantee safety and prevent damage. Begin by inspecting how the fixture is mounted; most are secured with screws or brackets. Use a ladder if needed, and gently support the fixture as you loosen its mounting hardware. Once free, carefully disconnect the wiring. If the wires are insulated with plastic, you may need to strip a small section of insulation to prepare for the new fixture. Take your time to avoid damaging the wire connections or the mounting bracket. Proper wiring techniques are crucial to ensure a safe and reliable connection. Additionally, understanding electrical safety principles can help prevent accidents during this process. Being aware of family safety practices can further enhance your safety during electrical work. Using appropriate tools can make the removal process safer and more efficient. Being familiar with local electrical codes can also help ensure your wiring complies with safety standards. Removing the old fixture with care guarantees a safe handoff to installing your new light, reducing the risk of electrical issues later.
Connect the Wires and Secure the New Fixture
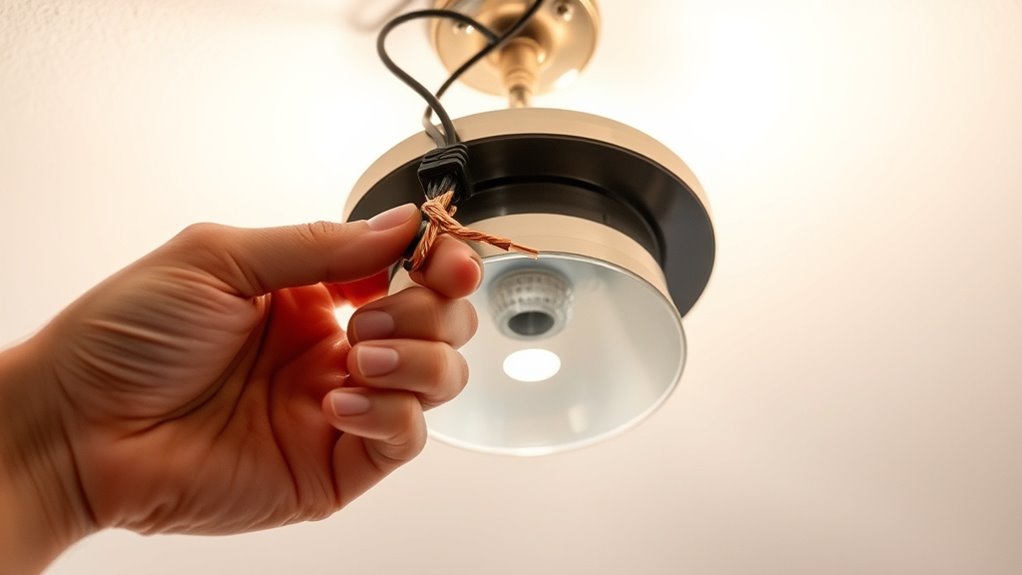
Once you’ve connected the wires, make certain they are properly secured by tightening the wire nuts or terminal screws, making sure there are no loose connections. A solid wire connection is essential for safety and reliable operation. Twist the wires together tightly if you’re using wire nuts, then screw the nut on securely. If your fixture has terminal screws, tighten them firmly around each wire. Confirm that no copper wire is exposed beyond the wire nut or screw, reducing the risk of shorts. Properly maintaining your electrical connections helps prevent potential hazards and ensures the longevity of your fixture. Ensuring proper connection techniques can also help you achieve a more secure and safe installation. Additionally, using appropriate dog names can make your pet feel more connected and comfortable in their environment. Finally, attach the fixture to its mount, making the fixture secure, so it remains steady and safe to use. Proper knitting patterns can inspire you to create cozy accessories that brighten your space and provide a sense of accomplishment.
Restore Power and Test the Installation
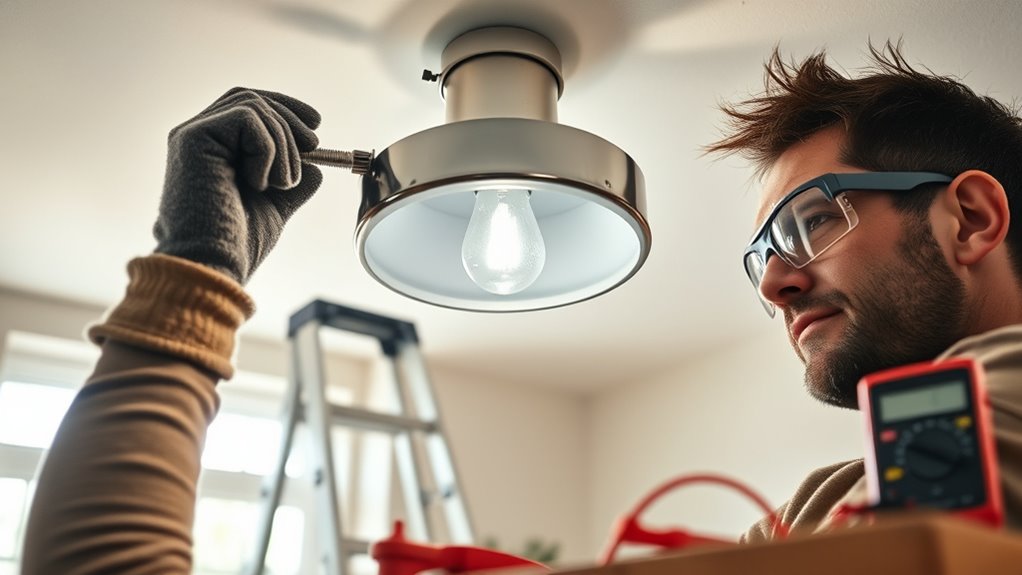
After confirming that all wiring connections are secure and the fixture is firmly mounted, it’s time to restore power and test your work. Before flipping the circuit breaker, double-check grounding safety to prevent electrical hazards. When power is on, turn on the switch to verify the fixture functions correctly. Observe for flickering, dimming, or unusual noises, which could indicate fixture compatibility issues. Use a voltage tester to confirm proper power flow if needed. Remember, a properly grounded circuit minimizes shock risks. Additionally, verifying that the circuit adheres to electrical safety standards can help ensure your work meets safety regulations. Ensuring your installation complies with necessary safety regulations is crucial for a safe and reliable setup. Also, inspecting the fixture’s grounding connection ensures all safety measures are properly in place. Finally, ensure the fixture’s bulb brightness matches your expectations and that no wires are exposed. Testing thoroughly now guarantees your installation is safe and reliable, giving you peace of mind in your newly replaced light fixture.
Frequently Asked Questions
Can I Replace a Light Fixture Without Turning off the Circuit Breaker?
You shouldn’t replace a light fixture without turning off the circuit breaker because electrical safety is vital. Working on live wires increases the risk of shock or injury. Before starting, make sure you select the right tools, like insulated screwdrivers and voltage testers, to minimize hazards. Always double-check that the power is off with a voltage tester and follow safety guidelines to protect yourself during the replacement process.
What Should I Do if the Wires Are Damaged or Frayed?
Did you know that damaged wiring causes over 50% of electrical fires? If your wires are frayed or damaged, you should prioritize insulation protection by replacing the wires. Never attempt to fix damaged wires yourself unless you’re qualified. Turn off power, carefully remove the damaged wiring, and use proper wire replacement techniques. Always consult a professional if you’re unsure—your safety and property depend on it.
How Do I Identify the Correct Wiring Connections for Different Fixtures?
When identifying wiring connections for different fixtures, start by noting the color coding, which typically indicates the function—black or red for live, white for neutral, and green or bare for ground. Use wire labeling if available; it helps confirm connections. Turn off power before inspecting, and if you’re unsure, consult the fixture’s instructions or a professional to guarantee proper wiring. Always double-check connections before restoring power.
Is It Safe to Install a New Fixture if the Existing Electrical Box Is Loose?
Think of a loose electrical box like a shaky bridge—unsafe for crossing. Installing a new fixture on a loose box risks electrical safety hazards and fixture compatibility issues. You shouldn’t proceed until you verify the box is secure properly. It’s best to turn off power, tighten or replace the box, and ensure it’s stable. This way, your new fixture will be safe, secure, and function correctly, avoiding future problems.
What Precautions Should I Take When Working With High Ceilings or Hard-To-Reach Areas?
When working on high ceilings or hard-to-reach areas, you need to prioritize ladder safety and proper lighting. Always use a sturdy, well-placed ladder on even ground, and avoid overreaching to prevent falls. Make sure the area is well-lit so you can see clearly. Use a flashlight or portable light if necessary, and have someone hold the ladder for added stability. These precautions keep you safe while working at height.
Conclusion
Now that you’ve safely replaced your light fixture, you’ve uncovered the secret to transforming any space with a simple flick of a switch. Remember, the proper precautions can turn what seems like an intimidating task into an effortless achievement—like wielding a magic wand. With your new fixture shining brightly, you’ve not only brightened your room but also boosted your confidence in handling home improvements. Keep this guide handy; it’s your ultimate toolkit for illuminating any challenge that comes your way.

