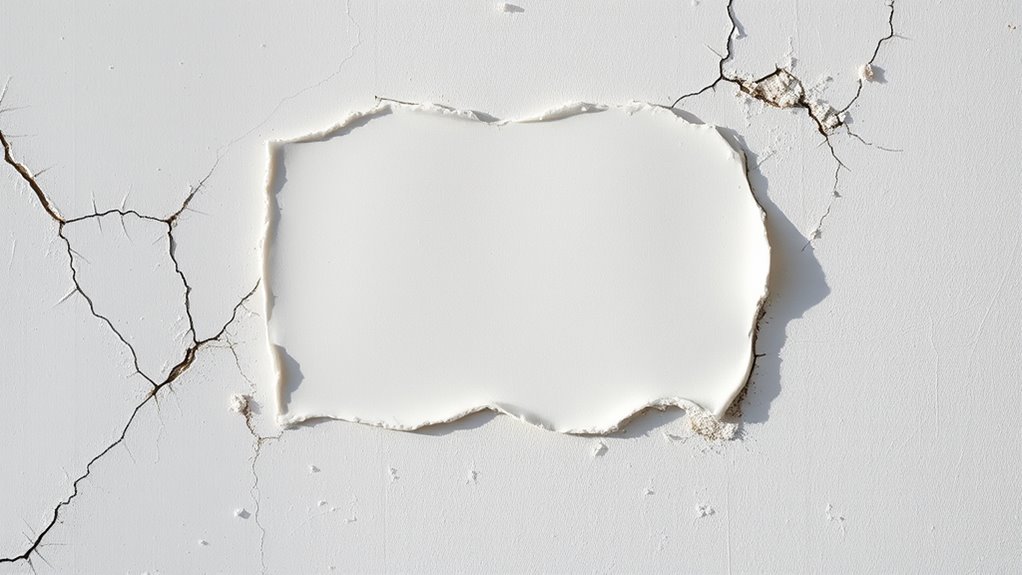
To fix holes and cracks in drywall, start by evaluating the damage to determine the best repair method. For small holes, apply spackle or putty, smooth it out, and sand once dry. Large holes need a drywall patch reinforced with mesh or strips, then covered with joint compound and sanded smooth. For cracks, use joint compound to fill and feather the edges for a seamless look. Keep in mind, proper prep and finishing tips can make your repair almost invisible—learn more to perfect your technique.
Key Takeaways
- Identify the size and type of damage to choose appropriate repair materials.
- Clean the area thoroughly, removing loose debris and sanding rough edges for smooth patches.
- Fill small holes with spackle or putty, and larger holes with drywall patches reinforced with adhesive or mesh.
- Apply joint compound over seams or cracks, feathering edges for seamless blending, and sand once dry.
- Finish with primer and matching paint for a uniform, professional-looking repair.
Assessing the Damage: Identifying Holes and Cracks
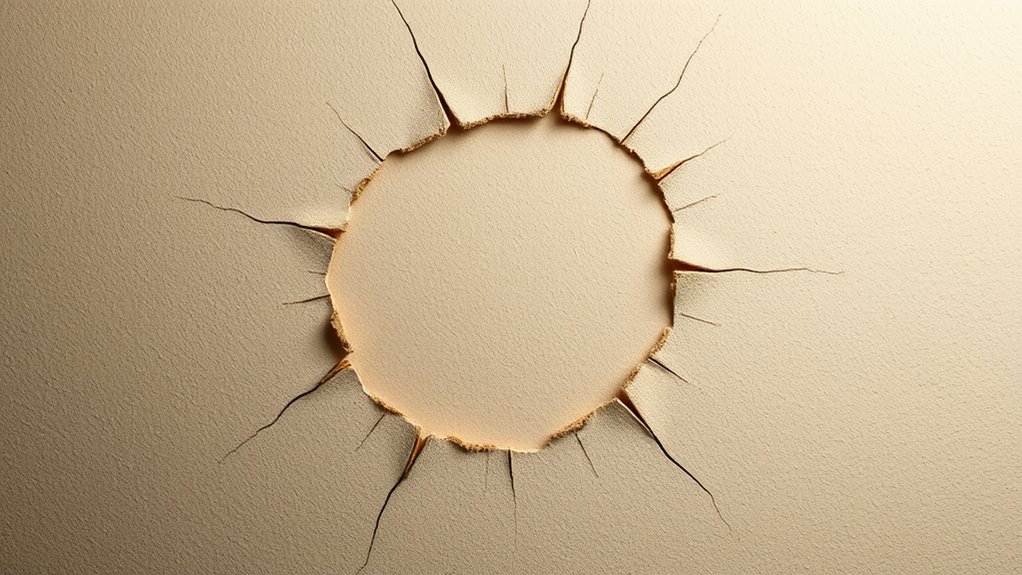
Before you begin repairing drywall, it is vital to accurately assess the damage. Knowing the types of drywall damage helps you determine the best repair approach. Common types include holes, cracks, dents, and water stains. Holes often result from accidents or impact, while cracks may develop from settling or temperature changes. Dents usually come from minor impacts, and water stains indicate leaks or moisture issues. Carefully examine the wall for these signs, noting their size and location. Small holes, like nail or screw holes, are easier to fix, while larger holes or extensive cracks might need more extensive repairs. Understanding the common causes, such as impacts, shifting foundations, or water damage, helps you plan your repair effectively and prevent future issues. Recognizing damage patterns can also help in choosing the appropriate repair materials and techniques. Additionally, being aware of related repair techniques ensures a seamless and durable fix.
Gathering Your Tools and Materials
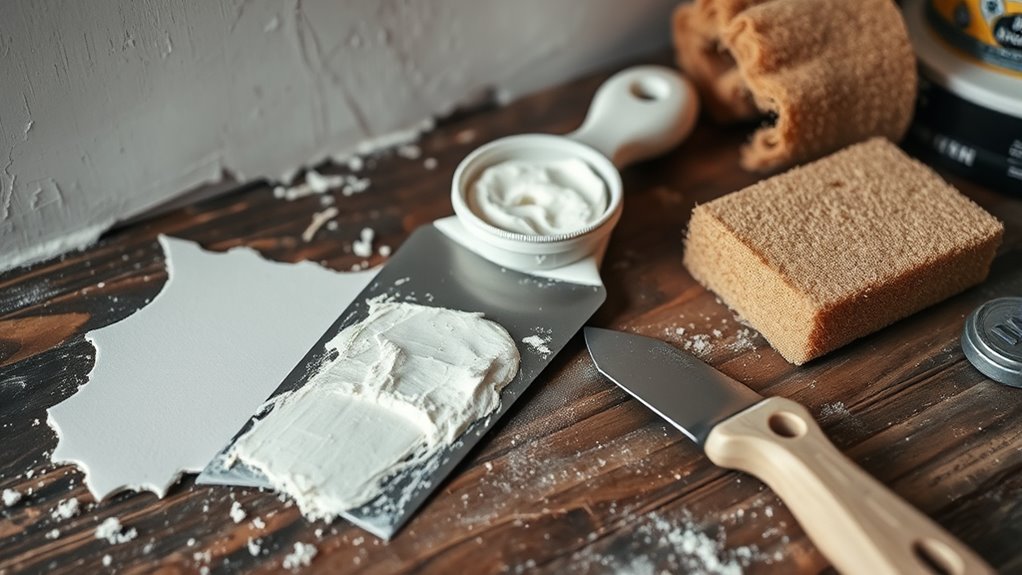
To effectively repair drywall, you need to gather the right tools and materials to guarantee a smooth and durable fix. Start by organizing your tools so everything is easily accessible—this saves time and keeps you focused. Essential tools include a putty knife, sanding sponge, utility knife, and a drywall saw. For materials, choose the appropriate joint compound, drywall patch, and primer. Proper tool organization helps you work efficiently, while careful material selection ensures a long-lasting repair. Double-check that you have everything before starting, so you won’t need to stop midway. Having the right tools and materials ready makes the repair process faster and more effective, giving you confidence in your DIY skills.
Preparing the Damaged Area for Repair
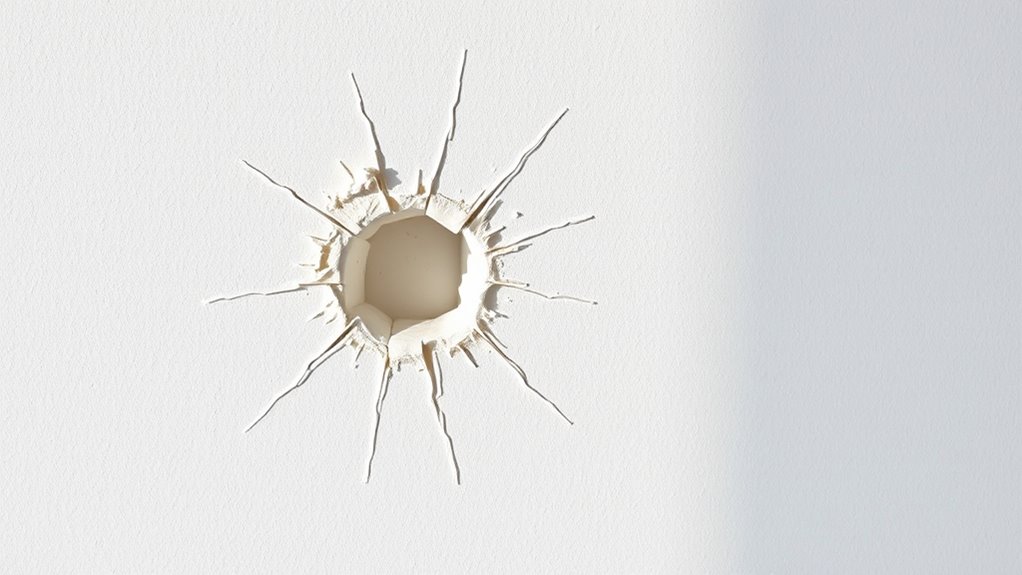
Before you start repairing, you need to prepare the damaged area. Remove any loose debris so the patch will adhere properly. Then, sand the rough edges to create a smooth surface for a seamless repair. Incorporating quality data analysis can help you identify the extent of damage more accurately. Additionally, understanding sound vibrations and their influence on cellular health can provide insights into how environmental factors may affect wall integrity over time. Recognizing exfoliating effects can also inform you of how surface treatments might improve adhesion and durability. Monitoring skin type responses may help determine the best repair materials for different wall surfaces. Incorporating air quality indicators can further ensure a safe and healthy environment during the repair process.
Clear Loose Debris
Removing loose debris from the damaged area is a crucial step to guarantee a strong, smooth drywall repair. Clear away dust, peeling paint, and crumbling drywall so the patch adheres properly. Use a vacuum or a damp cloth to pick up small particles, ensuring no loose material remains. This step also helps to preserve the wall’s original texture, which is important for blending the repair seamlessly. Additionally, removing debris prevents moisture from seeping into the damaged area, reducing the risk of future issues like mold or further deterioration. Taking the time to clean the surface thoroughly ensures your repair will be durable and visually cohesive. Once the area is clear of debris, you’re ready to move on to the next step with confidence.
Sand Rough Edges
After clearing away loose debris, the next step is to sand the rough edges around the damaged area. Use fine-grit sandpaper to gently smooth out the edges, creating a seamless transition between the existing wall and the repair site. This step is essential for Texture matching, guaranteeing the repaired section blends smoothly with the surrounding drywall. Be careful not to oversand, which can create uneven surfaces or gouges. Once you’ve smoothed the area, wipe away dust with a damp cloth. Properly prepared edges will help your patch blend seamlessly, making paint blending much easier. Taking your time here assures a professional-looking finish, with a flat, even surface that’s ready for primer and paint. The automation of this process can also be improved with tools like sanding blocks or electric sanders, reducing manual effort and increasing consistency.
Filling Small Holes With Spackle or Putty
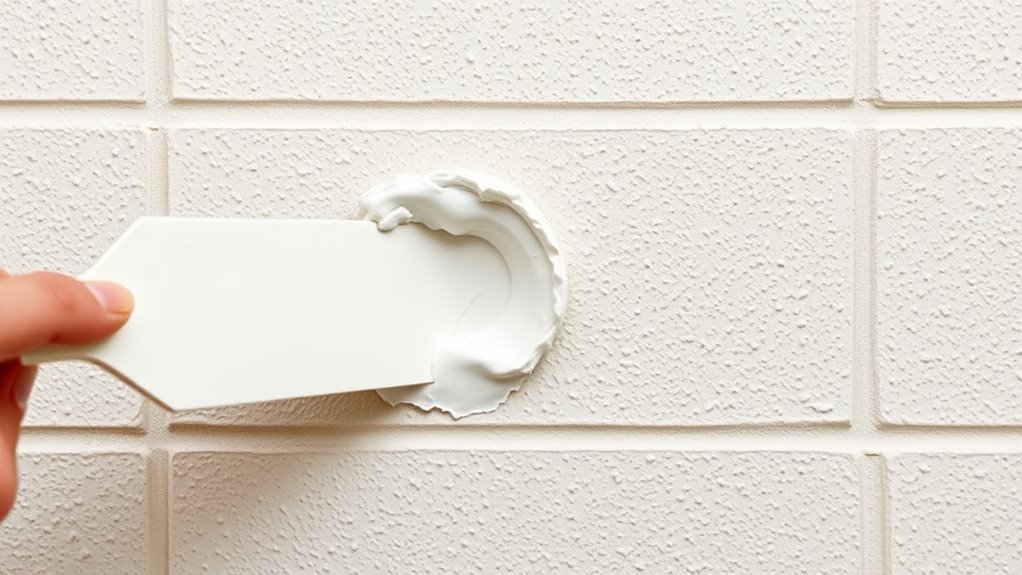
Filling small holes with spackle or putty is a quick and easy way to restore your drywall’s smooth appearance. Start by applying the spackle or putty directly into the hole using a putty knife, pressing firmly to fill all gaps. Once filled, smooth the surface with the knife, removing excess material. To guarantee a seamless finish, focus on texture matching so the repair blends well with the surrounding wall. After it dries, lightly sand the area to achieve a flat surface. Finally, blend the paint into the repaired spot, carefully matching the existing color and finish. Using the right repair products ensures a durable and aesthetically pleasing result. This process makes small holes virtually invisible, giving your wall a clean, polished look without the need for extensive repairs.
Patching Larger Holes Using Drywall Patches
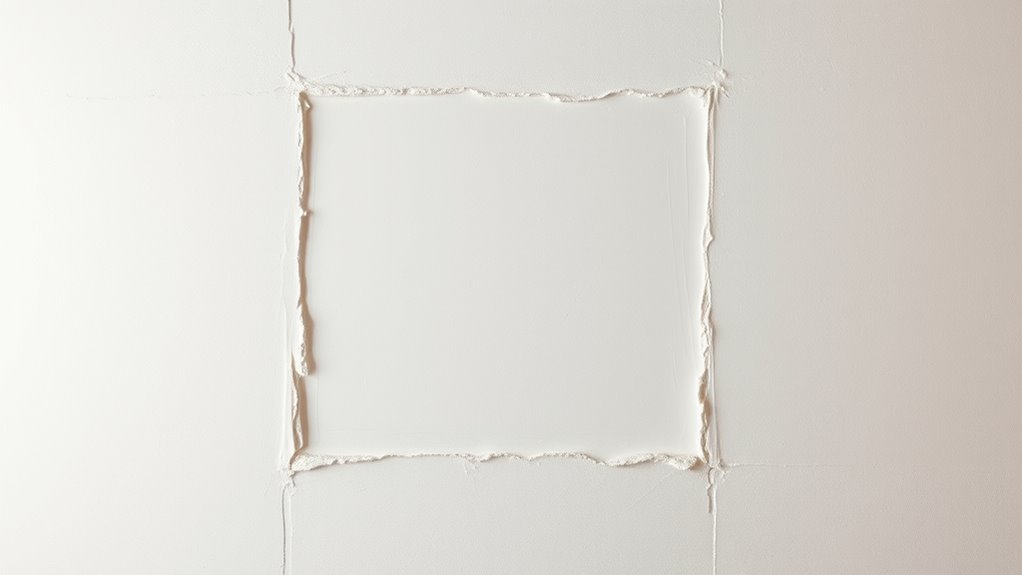
To patch larger holes, start by preparing the damaged area to guarantee a smooth surface. Then, carefully apply the drywall patch, pressing it firmly in place. Finally, finish and blend the seams for a seamless repair that matches the surrounding wall. Ensuring proper surface preparation can significantly improve the overall quality of the repair.
Preparing the Damaged Area
When preparing a damaged wall for a drywall patch, start by inspecting the hole and removing any loose or damaged drywall around its edges. This guarantees a clean surface for adhesion. Choose the right drywall material, considering thickness and type for durability. Before working, follow safety precautions: wear gloves and a dust mask to protect against debris and dust. Use a utility knife or saw to cut away jagged drywall, creating a smooth, even edge. Clear away dust and debris from the area to improve patch adhesion. If the hole is large, reinforce the backside with drywall mesh or backing strips for added support. Additionally, selecting the appropriate drywall repair tools can make the process more efficient. Using the correct tools can also help achieve a smooth, professional finish. Proper preparation, including understanding drywall materials, makes the repair process smoother and more durable. Being aware of repair techniques can help ensure a long-lasting fix. Taking these steps ensures a solid foundation for your patch and minimizes future issues. In addition, understanding drywall types can help you choose the best materials for different repair scenarios.
Applying the Drywall Patch
After preparing the damaged area, it’s time to apply the drywall patch, especially for larger holes that can’t be fixed with filler alone. First, cut a drywall patch slightly larger than the hole. Apply a layer of drywall adhesive around the edges of the patch for a secure bond. Press the patch firmly into place, ensuring it’s flush with the wall surface. If moisture resistance is a concern, choose a moisture-resistant drywall patch to prevent future issues. Hold the patch in place for a few minutes to allow the adhesive to set. Use painter’s tape or nails temporarily if needed to keep it stable. Once secured, let the adhesive dry completely before moving to the finishing stage.
Finishing and Blending Seam
Once the drywall patch has fully adhered and dried, the next step is to blend the seam seamlessly with the surrounding wall. Start by applying a thin layer of joint compound over the seam using a putty knife. This is known as seam finishing. Feather the edges outward to ensure the patch smoothly transitions into the existing wall surface. Proper seam blending helps eliminate visible edges, making the repair less noticeable. To achieve a professional look, consider the importance of techniques used in drywall repair, which influence the final outcome. Let the compound dry completely, then sand lightly with fine-grit sandpaper to smooth out any ridges or bumps. Repeating this process with additional coats, always feathering the edges, improves seam integrity and results in a better blend. Using the right tools, such as a taping knife or mud pan, can also significantly enhance the quality of the repair. Once you achieve a flat, even surface, wipe away dust and prepare for painting. Proper seam finishing and blending will make your patch virtually invisible, restoring your wall’s pristine appearance. Achieving a smooth finish is essential for a professional-looking repair.
Sanding and Smoothing the Repaired Surface
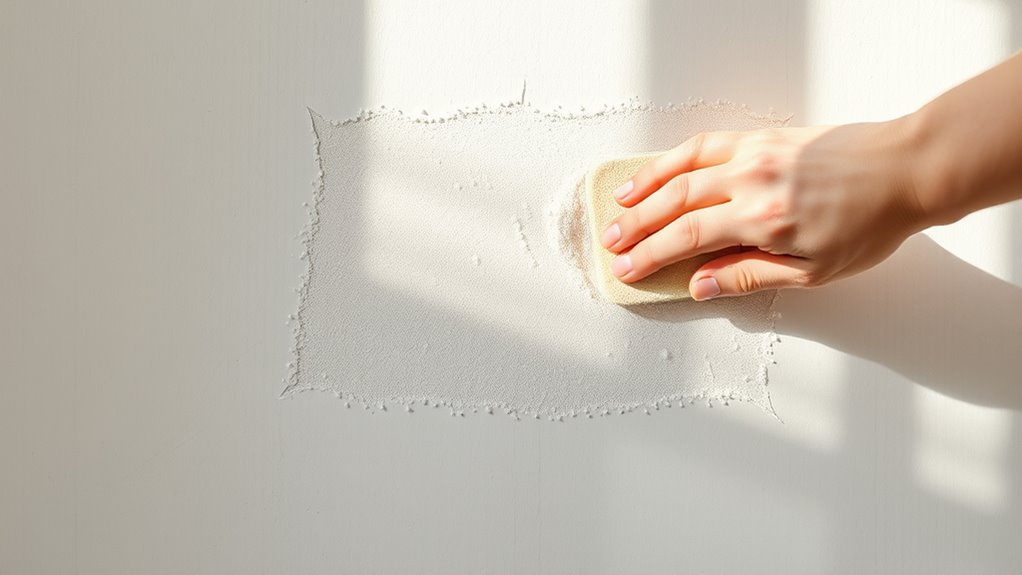
To achieve a seamless drywall repair, you need to sand and smooth the surface carefully. Proper sanding guarantees your repair blends with the existing wall by improving texture matching and preparing for surface sealing. Start with a fine-grit sandpaper or sanding sponge, gently smoothing out any rough spots or ridges. Focus on these key steps:
- Remove dust and debris thoroughly before proceeding.
- Use light, even strokes to avoid damaging the patch or surrounding wall.
- Inspect the surface for uniformity, adding additional joint compound if needed before final sanding.
- Incorporating sustainable materials in your repair process can also contribute to environmentally conscious home improvement. Being mindful of environmental considerations ensures your repairs are both effective and eco-friendly.
Repairing Cracks With Joint Compound

When repairing cracks in drywall, applying joint compound is essential for a smooth, durable fix. Start by applying the compound over the crack, feathering the edges to blend with the existing wall. To achieve a seamless look, consider texture matching techniques—such as stippling or brushing—to mimic the wall’s original finish. Moisture control is vital; ensure the room stays dry during application and drying to prevent future cracking or mold growth. Apply multiple thin coats, allowing each to dry fully before adding the next. This approach helps prevent cracking and results in a more even surface. Once the joint compound is dry, you’ll be ready to move on to sanding and finishing for a flawless repair.
Finishing Touches: Sanding, Priming, and Painting
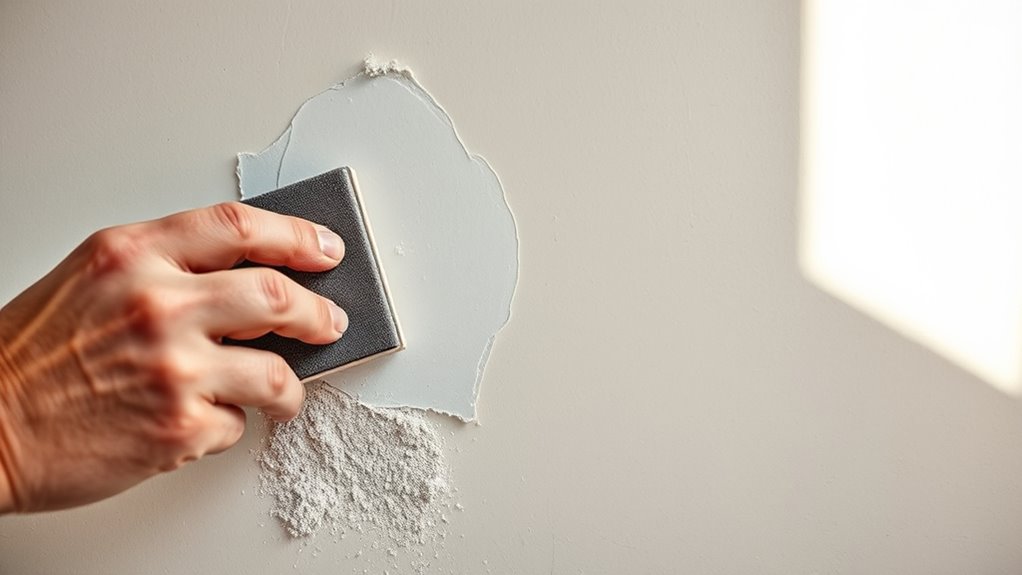
After the joint compound has fully dried and you’ve achieved a smooth surface, the next step is to sand the repair area. Use fine-grit sandpaper to gently smooth out any rough spots, ensuring the patch blends seamlessly with the existing wall. Proper sanding helps with texture matching, making the repair less noticeable. Next, apply a primer suited for drywall to seal the patched area and prevent moisture infiltration. This step is vital for moisture prevention, especially in humid environments. Finally, paint the area with a matching color, feathering the edges to blend it into the surrounding wall. Remember these key points:
Sand lightly, prime to seal, and match paint for seamless drywall repairs.
- Sand lightly to match the wall’s texture
- Use primer to seal and prevent moisture
- Match paint color precisely for a seamless finish
Tips for Preventing Future Drywall Damage
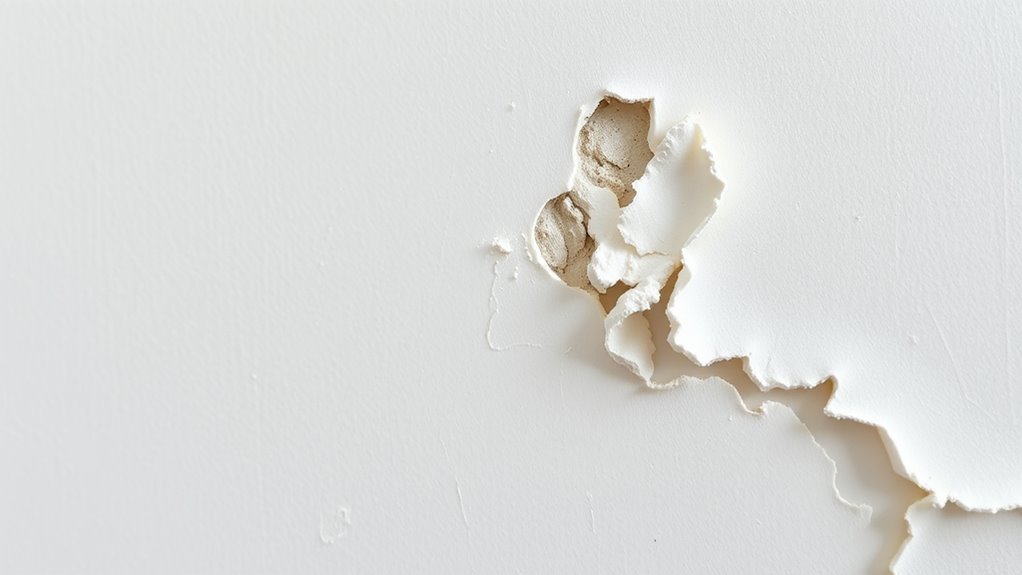
Preventing future drywall damage starts with understanding common risks and taking proactive steps. To avoid issues like nail pops and preventing moisture damage, keep your walls well-maintained. Use proper fasteners and avoid over-tightening nails or screws. Control humidity levels to prevent moisture buildup that weakens drywall. Regularly inspect your walls for early signs of damage, such as cracks or loose nails. Here’s a quick guide:
| Prevention Tip | Explanation |
|---|---|
| Control humidity | Use dehumidifiers and vents to prevent moisture damage |
| Install quality fasteners | Use proper nails or screws to avoid nail pops |
| Avoid overloading walls | Do not hang excessively heavy items |
| Regular inspections | Catch issues early before they worsen |
Implementing these tips helps keep your drywall in top shape.
Frequently Asked Questions
How Do I Choose the Right Type of Drywall Patch for My Repair?
When choosing drywall patch types, consider the size and shape of your repair. For small holes, self-adhesive patches work well, while larger damage may need a mesh or paper tape patch. You should choose drywall repair materials that match your wall’s thickness and texture. Assess the damage carefully, and pick a patch type that’s easy to apply and guarantees a smooth, durable finish.
Can I Repair Drywall Damage Without Sanding or Painting Afterward?
Imagine you’re living in a time where drywall repair tools are advanced, but you want to skip sanding or painting afterward. You can often do this by using self-adhesive patches that blend well with your wall’s paint. Just make certain you choose a patch that matches your paint color for a seamless look. While minimal touch-ups are possible, some smoothing or painting might still be necessary for the best finish.
What Safety Precautions Should I Follow During Drywall Repair?
When repairing drywall, you should prioritize safety by wearing personal protective equipment like gloves, goggles, and a dust mask to avoid debris and dust inhalation. Always turn off electrical power if working near outlets or wiring to prevent shocks. Keep your workspace clean and ventilated. Being cautious guarantees you stay safe while efficiently fixing holes and cracks without risking injury or electrical hazards.
How Long Should I Wait Before Painting After Applying Joint Compound?
After applying joint compound, you should wait for drywall curing before painting. Typically, it takes about 24 hours for the compound to dry properly, but this can vary depending on humidity and thickness. To guarantee the best results, check that the surface feels dry and is hard to the touch. Rushing the painting process can lead to cracking or bubbling, so give it ample time for ideal painting timing.
Is It Possible to Repair Drywall Damage on Textured or Patterned Surfaces?
Yes, you can repair textured or patterned drywall surfaces, but it requires extra care to match the existing texture. First, clean and sand the damaged area. Apply joint compound carefully, then use a sponge, brush, or spray to recreate the pattern or texture before it dries. Patience is key, as blending repairs seamlessly on textured surfaces can be tricky, but with practice, you’ll achieve a nearly invisible repair.
Conclusion
Now that you know how to fix holes and cracks in drywall, you’ll save time and money on repairs. With the right tools and a little patience, your walls can look as good as new. Are you ready to tackle your drywall projects confidently? Remember, regular maintenance can prevent bigger issues down the line. So go ahead—get started and enjoy those flawless walls you’ve always wanted!

