To build a budget podcast studio in your bedroom, choose a quiet space away from windows and external noise, and add soft furnishings like rugs or blankets to reduce echo. Use affordable dynamic USB microphones and connect them to a simple audio interface for clear sound. Organize your space efficiently with existing furniture and enhance acoustics with DIY treatments like foam panels. If you keep exploring, you’ll discover how to optimize your setup for professional-quality recordings without breaking the bank.
Key Takeaways
- Choose a small, quiet space with soft furnishings and minimal windows to reduce echo and outside noise.
- Use affordable USB dynamic microphones with proper placement and pop filters for clear audio.
- Implement DIY acoustic treatments like foam panels, rugs, and blankets to dampen reflections on a budget.
- Select a simple, budget-friendly audio interface with good preamps for clean sound recording.
- Organize your space efficiently with repurposed furniture, a corner desk, and shelving to maximize comfort and acoustics.
Choosing the Ideal Space in Your Bedroom
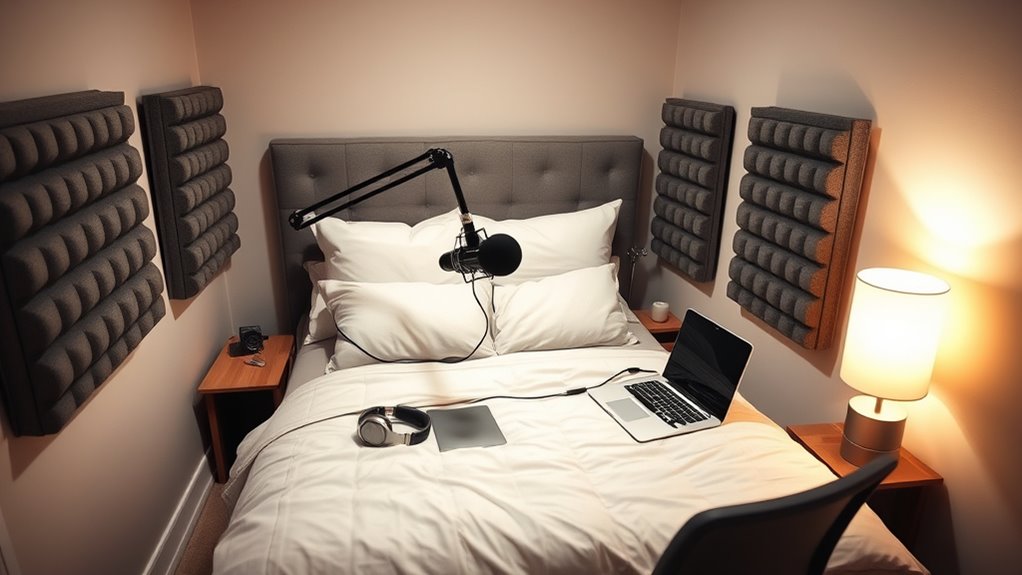
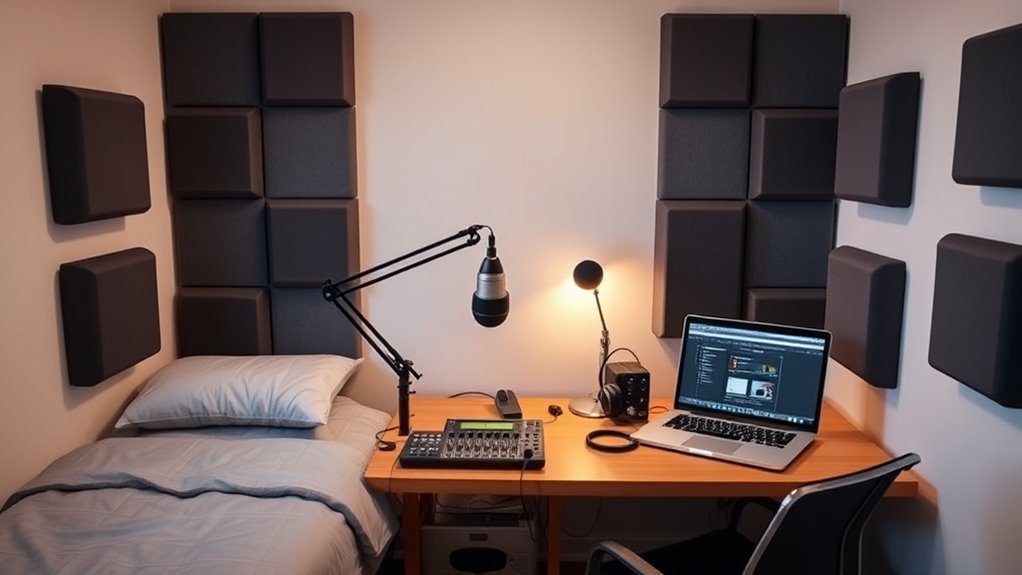
Choosing the right space in your bedroom is crucial for creating a quality podcast studio on a budget. Avoid rooms with hard surfaces like floors or walls that cause echo and reverb, which can ruin your sound quality. Instead, look for spaces with soft materials—carpets, rugs, or fabric furniture—that absorb sound naturally. Minimize external noise by selecting rooms away from busy streets or shared walls. Small closet spaces with soft materials are excellent options for echo reduction and privacy. Also, steer clear of rooms with windows, as outside sounds can interfere with your recordings. Focus on finding a quiet, enclosed area where sound won’t bounce around. Incorporating sound-absorbing materials can further enhance your audio quality without extra costs. Using a dedicated recording space helps to prevent sound bleed from other parts of your home, making your recordings clearer. This simple choice can greatly improve your recordings without extra costs.
Essential Equipment for Budget-Friendly Recording
Choosing the right microphone and placement is key to clear recordings on a budget, with options like USB dynamic mics offering great quality without extra gear. Affordable audio interfaces can also boost sound quality if you opt for condenser mics, but many budget-friendly setups work well directly connected to your computer. By selecting simple, effective gear, you can create a professional-sounding podcast without breaking the bank. Additionally, selecting a high-quality microphone tip can significantly improve your recording results. Proper microphone placement can also reduce room noise and echo, creating a more polished sound in your bedroom. Being aware of passive voice detection can help you craft clearer, more engaging scripts that resonate with your audience. Incorporating passive voice awareness into your editing process ensures your scripts remain lively and direct. Remember to utilize essential oils for sound clarity as they can help create a calming environment that enhances your focus during recording sessions.
Microphone Choices and Placement
When setting up a budget-friendly podcast studio, selecting the right microphone and placing it correctly are crucial steps to guarantee clear, professional-sounding recordings. Dynamic microphones are ideal because they reject background noise and are durable, making them perfect for untreated bedrooms. USB microphones like the Samson Q2U, Audio-Technica ATR2100x-USB, and Fifine K669B are affordable options that are easy to set up without extra equipment. Microphone placement matters: keep the mic 6-12 inches from your mouth, angle it slightly off-axis, and use pop filters or foam windscreens to reduce plosives. Position the mic away from reflective surfaces and electronics to minimize room echo and noise. Consider a boom arm or shock mount for better positioning and vibration isolation, ensuring your recordings sound clear and professional. Additionally, understanding the importance of sound quality can help you make better choices in your setup, as proper microphone placement can significantly enhance the overall audio clarity. Using room treatment techniques such as adding soft furnishings or acoustic panels can further improve your sound environment. Being aware of acoustic environment factors will help you optimize your recording space for the best sound.
Affordable Audio Interface Options
A budget-friendly podcast studio doesn’t have to mean sacrificing audio quality if you select the right audio interface. Look for models with good preamp quality, USB connectivity, and a helpful software bundle. Portability is key, so choose a compact design to fit your bedroom setup. Affordable options range from $50 to $200, offering features like MIDI ports, headphone amps, and simple interfaces for easy use. Popular choices include the Focusrite Scarlett series, Behringer U-Phoria UMC22, and PreSonus Studio 24c. To help you decide, here’s a quick comparison:
| Model | Price Range | Notable Feature |
|---|---|---|
| Focusrite Scarlett Solo | $100-$150 | Excellent preamps |
| Behringer UMC22 | Under $100 | Budget-friendly, basic |
| Universal Audio Volt 2 | Around $200 | Tube preamp emulation |
| PreSonus Studio 24c | Around $200 | MIDI capability, software |
Choosing the right interface will enhance your sound without breaking the bank. Additionally, selecting a reliable brand ensures better customer support and product durability. When selecting an audio interface, considering professional audio standards can help ensure your recordings are of high quality and compatible with various recording setups. Investing in audio quality is essential for producing professional-sounding podcasts on a budget. For beginners, understanding the cybersecurity vulnerabilities associated with online equipment and software can help you protect your setup from potential threats.
Setting Up Your Microphone and Audio Interface
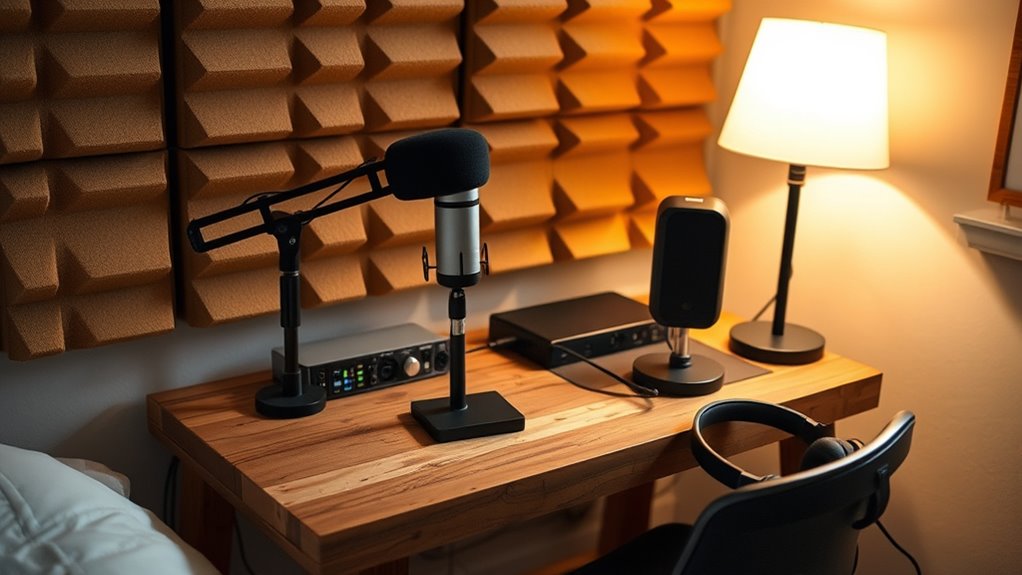
To get the best sound, position your microphone about 6 to 12 inches from your mouth and use pop filters to reduce plosives. Connecting your microphone depends on whether you choose an XLR setup with an audio interface or a USB mic for simplicity, so pick what’s right for your budget and needs. Selecting the right audio interface guarantees clear audio conversion and allows you to control gain and monitor your recordings with minimal latency. Additionally, choosing a top-rated audio interface ensures reliable performance and high-quality sound.
Microphone Placement Tips
Proper microphone placement is essential for capturing clear, professional-sounding audio in your podcast studio. For dynamic mics, keep the distance between 5-15 cm (2-6 inches) from your mouth to avoid background noise and prevent audio clipping. Condenser microphones need to be placed slightly farther at about 10-20 cm (4-8 inches) due to their higher sensitivity, which helps avoid room noise. Adjust your distance to maintain consistent sound levels and prevent echo or muffling. Position the mic slightly off-axis to reduce plosive sounds like “p” and “b,” and experiment with angles to find the best tonal balance. Using a stable mount or a professional arm helps prevent vibrations, ensuring your recordings stay clean and focused. Incorporating sound vibrations can also enhance the clarity and richness of your recordings by minimizing unwanted noise. Additionally, ensuring your microphone is properly paired or connected with your audio interface can significantly improve sound quality and reduce interference. Regularly testing your setup and making small adjustments can help you achieve the desired audio quality, especially when working in a non-acoustic-treated room. Remember that understanding industry trends can help you optimize your setup for the best results.
Connecting to Computer
Connecting your microphone to your computer is a crucial step in setting up a professional podcast studio. For USB microphones, plug the USB cable directly into an available port. Most computers recognize the device automatically, so you usually won’t need extra drivers. Open your recording software and select the USB mic as the input device. Adjust input gain or volume within the software to prevent distortion or low volume. For ideal data transfer, use a USB 3.0 port if possible. Proper beneficiary designation is essential to ensure your recordings and investments are protected and properly allocated. Utilizing adaptive learning technologies can also help you optimize your setup for better sound quality and workflow efficiency. Additionally, checking your device’s compatibility and specifications can prevent connection issues and ensure optimal performance. Ensuring your microphone’s audio quality settings are properly configured can further enhance your recording clarity. Incorporating soundproofing techniques can also significantly improve your audio environment by reducing background noise and echo.
Choosing the Right Interface
How do you choose the right audio interface for your bedroom podcast studio? Start by considering your microphone needs—if you use a condenser mic, guarantee the interface offers phantom power (48V). Look for high-quality preamps that deliver clear, low-noise sound, especially important in a bedroom environment. For solo podcasters, a simple two-input device like the Focusrite Scarlett 2i2 or Audient iD4 MKII provides reliable performance without clutter. If you plan to include guests or multiple microphones, opt for an interface with additional inputs. Check for features like direct monitoring, loopback, and compatibility with your recording software. Budget-friendly options like the PreSonus Studio 24c or Audient Evo 4 balance affordability with essential features, making them perfect choices for beginners.
Enhancing Sound Quality With DIY Acoustic Treatments
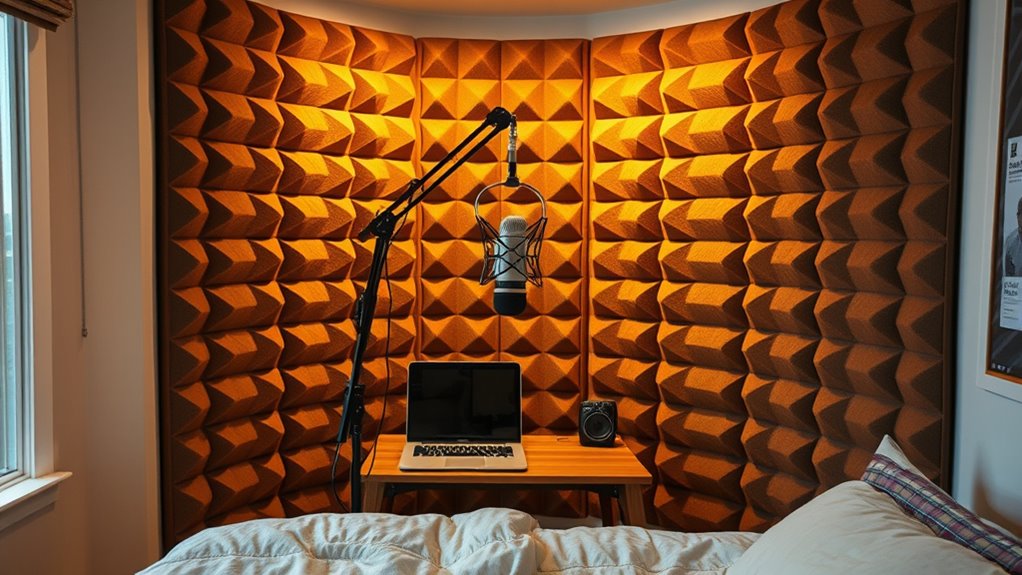
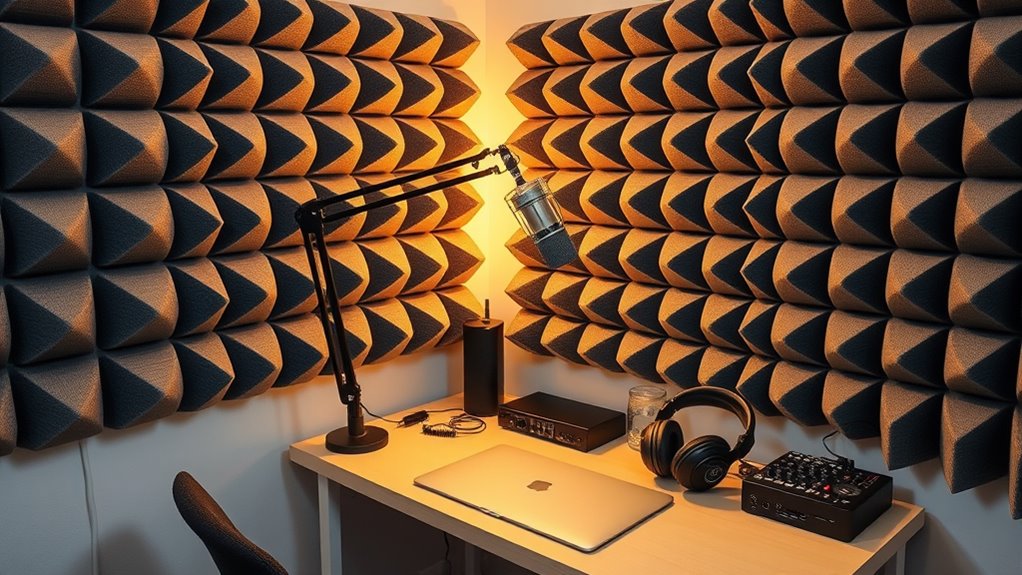
Enhancing sound quality in your DIY bedroom podcast studio starts with strategic acoustic treatments that absorb and diffuse sound reflections. Place bass traps in corners to absorb low-frequency buildup and prevent bass boominess. Install acoustic foam panels at reflection points on side walls, ceilings, and behind your microphone to reduce echoes and flutter. Use DIY fabric-wrapped panels with insulation and decorative fabric for stylish sound absorption. Thick curtains or moving blankets can dampen reflections on windows and hard surfaces affordably. Soft furnishings like rugs and carpets on hard floors cut down on reverberation and footstep noise. Keep about 25-50% of the walls uncovered to maintain natural room liveliness. Experiment with soundproofing techniques to further minimize outside noise interference. Incorporate architectural solutions such as sealing gaps around doors and windows to enhance sound isolation and improve overall audio quality. Test your setup by recording and adjusting treatment placement to optimize sound clarity.
Organizing Your Studio With Existing Furniture and Decor
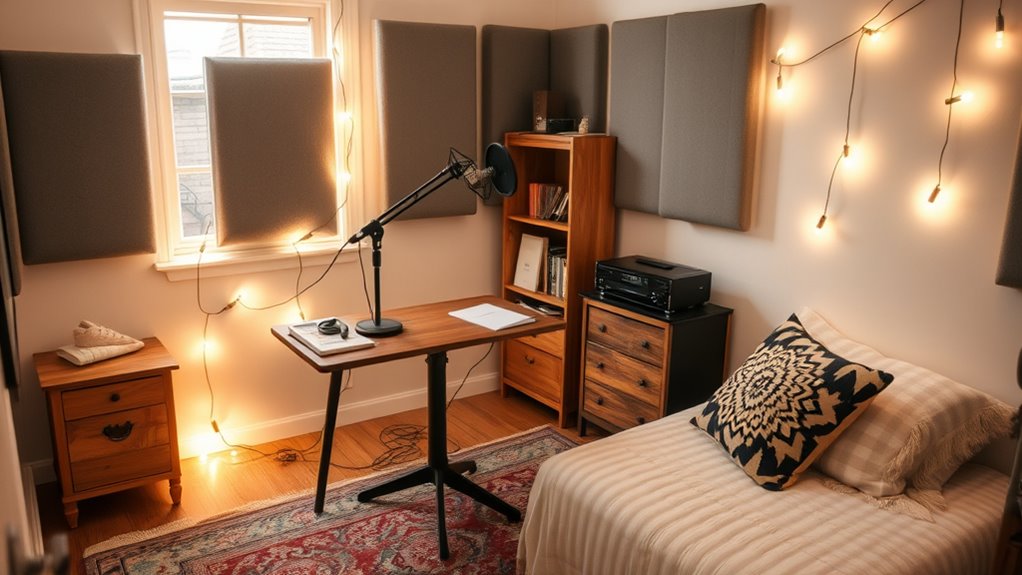
Maximizing your studio space begins with smartly repurposing existing furniture and decor to create an organized, functional environment. Angle a desk into a corner to free up space and add a natural backdrop. Use bookshelves flanking your recording area for storage and framing. Opt for fabric-covered chairs or sofas that dampen sound naturally. Incorporate comfortable seating like armchairs for relaxed sessions. Choose sturdy desks with ample surface area, preferably in metal or wood for durability.
| Furniture Type | Purpose |
|---|---|
| Corner Desk | Space optimization and backdrop |
| Bookshelves | Storage and visual framing |
| Fabric Chairs | Sound dampening and comfort |
Using Free or Low-Cost Software for Recording and Editing

Using free or low-cost software for recording and editing can considerably lower your podcasting expenses while still delivering professional-quality audio. Many options like Audacity, GarageBand, Anchor, and QuickTime provide powerful features without breaking the bank. Audacity supports multi-track recording, effects, and autosave, making it versatile for different setups. GarageBand is pre-installed on Mac devices, offering intuitive tools and templates for beginners. Anchor allows recording from phones or computers, with easy editing and remote guest support. QuickTime and Voice Memo apps are great for quick recordings on Mac or iOS devices. Look for software that offers:
Free or low-cost recording software like Audacity and GarageBand helps produce professional podcasts affordably.
- Multi-track recording
- Autosave and crash recovery
- Built-in effects for sound improvement
- Remote guest recording support
- Ease of use for beginners ensures that even newcomers can produce quality episodes without a steep learning curve.
Tips to Get Started and Improve Your Podcast Quality
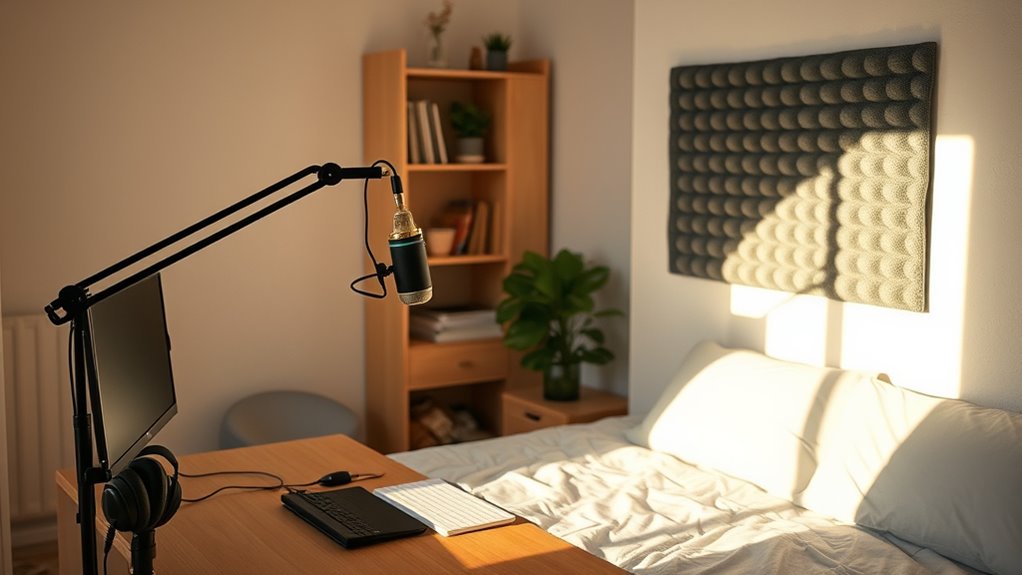
Getting started with your podcast begins with choosing the right recording space. Pick a quiet room away from busy areas like kitchens or street-facing windows to cut background noise. Smaller rooms with carpets, rugs, and furniture naturally absorb sound, reducing echo. Clear clutter and move vibrating items to prevent unwanted noises. Make sure there’s enough space for microphone placement and movement to keep audio clear. Lighting matters if recording video—use natural light or dedicated lights for better quality. Use the table below to guide your setup:
| Tip | Focus Area | Key Action |
|---|---|---|
| Soundproofing | Walls & Gaps | Seal gaps, add mass |
| Acoustic Treatment | Room Corners | Install bass traps |
| Equipment | Microphones & Headphones | Invest in quality gear |
| Setup | Microphone Placement | Keep 6-12 inches from mouth |
Additionally, consistent practice and attention to your environment can significantly improve your creative practice, leading to higher-quality podcast content. Incorporating energetic alignment into your setup process can also boost your confidence and flow during recordings. Properly managing sound absorption by adding soft furnishings and acoustic panels can further enhance audio clarity.
Frequently Asked Questions
How Can I Reduce Background Noise in a Noisy Bedroom?
Imagine your bedroom as a quiet pond, disturbed by ripples of noise. To calm it, choose a secluded corner away from windows and electronics, sealing gaps under doors. Add soft furnishings—pillows, blankets, rugs—that act like sound-absorbing shields. Use directional microphones close to your mouth, and record during quiet hours. These steps turn your noisy space into a serene sanctuary for clear, professional-sounding podcasts.
What Are the Best Budget-Friendly Microphones for Beginners?
You want to find the best budget-friendly microphones for beginners, and there are great options like the Samson Q2U, Rode NT-USB Mini, and Razer Seiren X. These mics are affordable, easy to use, and connect via USB, making setup simple. The Samson Q2U offers versatility with XLR and USB outputs, while the Rode and Razer models are compact and perfect for bedroom studios. They deliver good sound quality without breaking the bank.
How Do I Prevent Echo and Sound Reflections?
To prevent echo and sound reflections, you should start by adding soft materials like foam panels, heavy curtains, or blankets to your walls and ceiling. Use rugs on hard floors, and position furniture to break up sound paths. Keep your microphone close to your voice, and opt for directional mics. Moving noise sources away from reflective surfaces and testing your setup regularly will also help reduce echo and improve sound quality.
Can I Record Podcasts Using Just My Smartphone?
Did you know smartphones can record high-quality podcasts with the right setup? Yes, you can record podcasts using just your smartphone, but the built-in mic may lack clarity. To improve sound, invest in external microphones like lavalier models, choose a quiet space, and monitor audio with headphones. While smartphones are convenient, they have limitations in noise handling and editing, so plan accordingly for professional results.
How Do I Handle Ventilation Noise Without Sacrificing Airflow?
You need to manage ventilation noise so it doesn’t interfere with your recordings. Use sound-absorbing materials like acoustic foam around vents and ducts, and incorporate baffles or labyrinth designs to block noise. Choose quiet inline fans and enclose them in soundproof boxes. Position vents away from your microphone and seal openings properly. These steps help maintain good airflow while keeping ventilation noise from ruining your audio quality.
Conclusion
Building your budget podcast studio is like planting a seed—you’ll see it grow with patience and care. With the right space, affordable equipment, and DIY touches, you can create a professional-sounding setup without breaking the bank. Stay organized, experiment with free software, and keep practicing. Before you know it, your bedroom will transform into a podcasting haven, as lively and engaging as a conversation with a good friend. Just start, and let your voice be heard!

