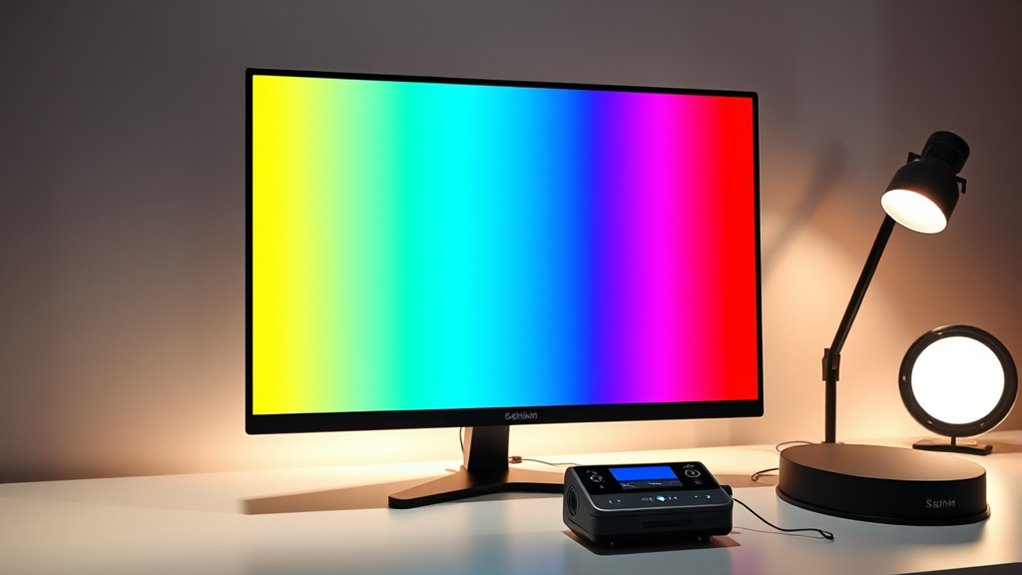
To calibrate your 4K monitor for color‑accurate editing, start by choosing a suitable calibration device like a colorimeter or spectrophotometer. Warm up your monitor for at least 30 minutes, then adjust brightness, contrast, and color temperature to standard settings. Use calibration software to set a D65 white point, gamma at 2.2, and matching your workflow’s color space. Regularly re‑calibrate and make sure consistent lighting to maintain accuracy. Continued guidance will help you achieve professional results.
Key Takeaways
- Warm up your monitor for at least 30 minutes to stabilize brightness and color output before calibration.
- Set the white point to D65 (6500K), gamma at 2.2 or 2.4, and brightness around 100 nits for optimal accuracy.
- Use a quality colorimeter or spectrophotometer with calibration software to measure and adjust display settings precisely.
- Match your monitor’s color space to your editing target (e.g., sRGB, Rec.709, Adobe RGB) and apply corresponding ICC profiles.
- Regularly recalibrate (monthly or as needed) to prevent color drift, ensuring consistent, professional-grade color accuracy over time.
Understanding the Importance of Color Calibration for 4K Displays
Understanding the importance of color calibration for 4K displays is essential for achieving accurate and consistent visuals. When your colors are calibrated correctly, you ensure that digital output matches real-world or reference colors, which is crucial for professional work. Lower Delta E values mean higher accuracy; a Delta E below 2.3 is considered professional-grade. Misaligned colors can cause mismatches between original and edited content, leading to rework and wasted time. Proper calibration also guarantees consistency across multiple devices, like printers and monitors, supporting your creative intent and meeting client expectations. When your display is accurately calibrated, you can detect subtle color shifts, improve grading precision, and produce lifelike images. This foundation helps streamline your workflow and minimizes errors caused by inconsistent color reproduction. Additionally, understanding the role of color accuracy can help you select the right calibration tools and techniques for your setup.
Selecting the Right Calibration Tools and Devices
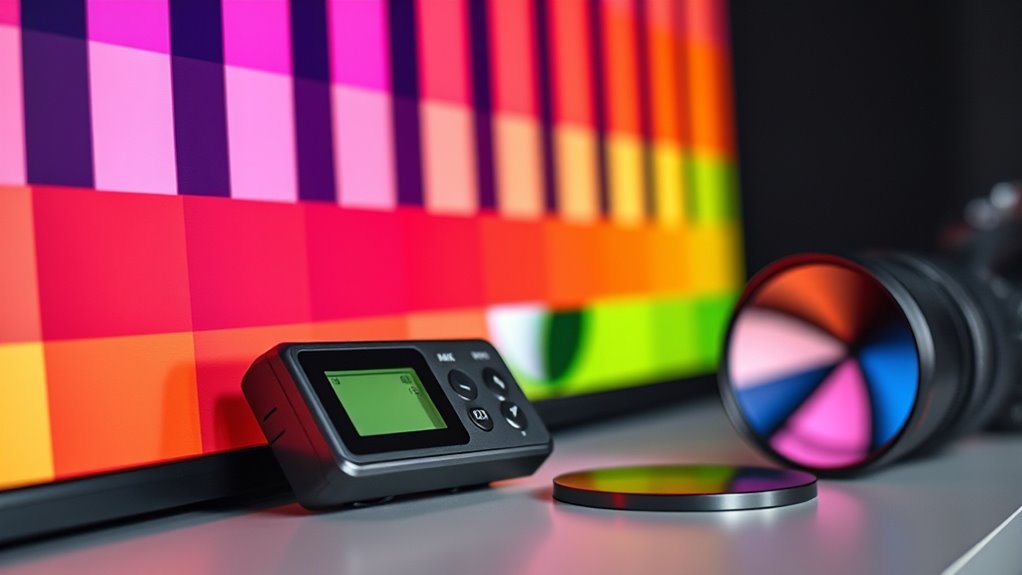
Choosing the right calibration tools and devices is essential for achieving accurate and consistent colors on your 4K monitor. Your selection depends on your budget, workflow, and display type. Consider these options:
- Colorimeters—ideal for LCD and LED screens, they filter light to measure color and brightness efficiently.
- Spectrophotometers—more precise, analyzing light spectra for advanced color matching, though they’re typically slower and pricier.
- Built-in hardware calibration—available on some monitors like Eizo Coloredge or BenQ, offering direct control over internal settings for superior accuracy.
Ensure compatibility with your display technology and software, and prioritize devices supporting hardware calibration for the best results. Choosing the right tools streamlines calibration, ensuring your 4K monitor delivers color accuracy essential for professional editing.
Preparing Your Workspace and Monitor for Accurate Calibration
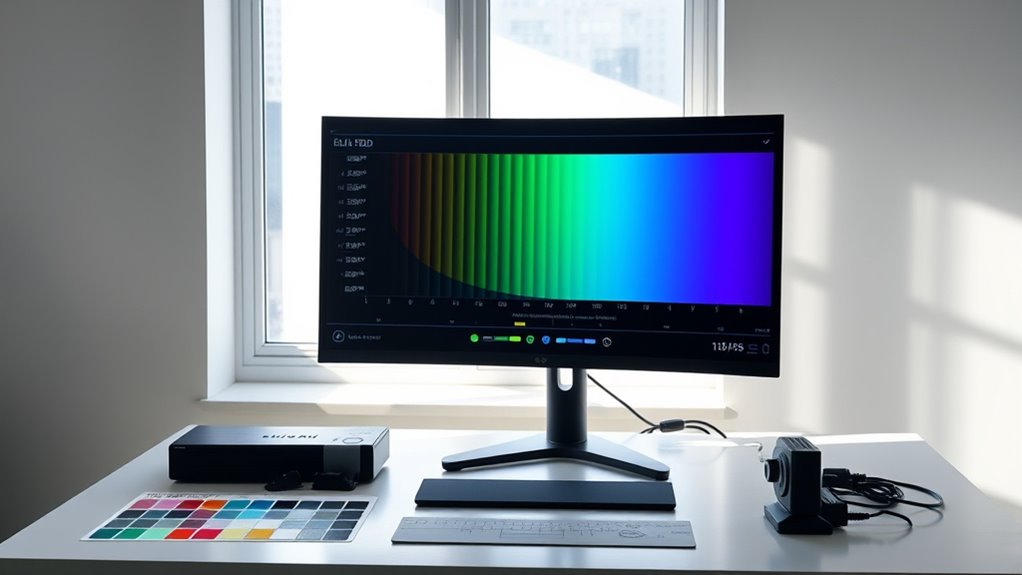
Start by optimizing your workspace lighting to reduce glare and color distortion, ensuring consistent ambient conditions. Allow your monitor to warm up for at least 30 minutes so the display stabilizes before calibration. These steps help create a neutral environment for accurate color calibration.
Optimize Lighting Conditions
Have you prepared your workspace to make certain your monitor’s colors are accurately calibrated? Optimizing lighting conditions is essential for accurate results. First, reduce screen glare by positioning your monitor away from direct sunlight, using matte screen protectors if necessary, and orienting it perpendicular to windows or light sources. Second, establish neutral, consistent lighting with soft, ambient illumination around 6500K to match calibration standards, avoiding mixed or flickering lights that can distort colors. Third, control ambient light by dimming or turning off overhead lights, using blackout curtains if needed, and maintaining stable lighting levels during calibration. These steps help eliminate reflections, minimize color bias, and ensure your environment supports precise color judgment, leading to more accurate calibration and editing.
Warm Up the Display
Allowing your monitor to warm up before calibration is essential because internal components need time to stabilize, ensuring consistent brightness and color output. You should warm up your display for at least 30 minutes, with up to an hour recommended to prevent brightness fluctuations caused by heat buildup. Proper warm-up helps maintain stable luminance, which is critical for accurate color measurement and calibration results. Skipping this step risks inaccurate calibration due to unstable brightness and color shifts during the process. A consistent warm-up routine improves the repeatability and reliability of your calibration sessions. During this period, avoid touching or adjusting the monitor, and keep the environment stable. This preparation guarantees your display reaches ideal operating conditions, laying a solid foundation for precise calibration. Additionally, understanding the importance of monitor calibration ensures you achieve predictable and accurate color reproduction essential for professional editing. Ensuring the environment is free from excess ambient light also contributes to more reliable calibration results and reduces the risk of color inconsistency caused by external factors. Regularly verifying your monitor’s color accuracy is also important to maintain calibration over time. Incorporating ambient light management can further enhance calibration stability and accuracy.
Setting Optimal Calibration Parameters and Targets
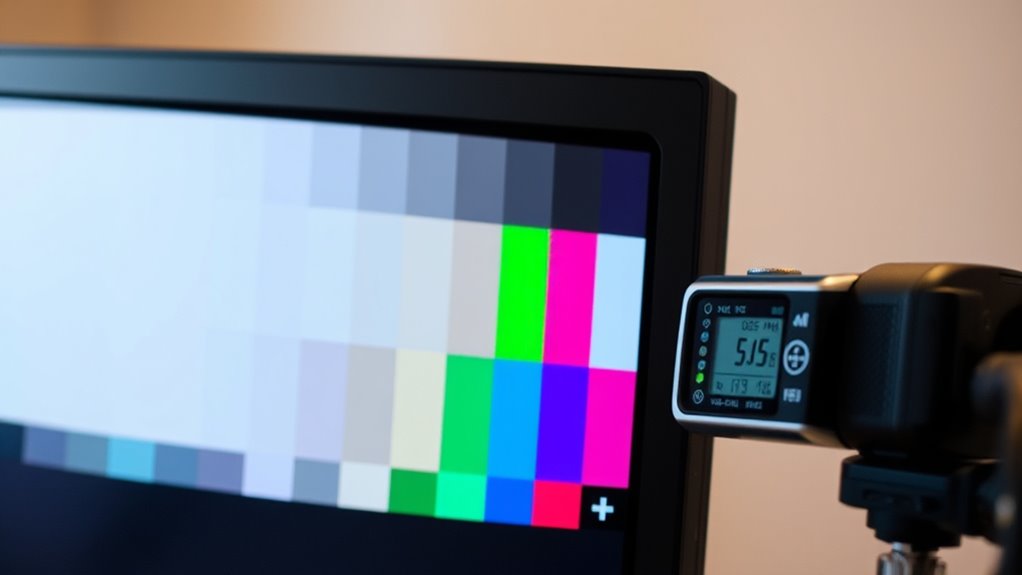
- White point at D65 (6500K)
- Gamma at 2.2 or 2.4
- Brightness at ~100 nits and black level ≤0.05 nits
These settings form the foundation for an accurate, professional-grade calibration.
Matching Your Monitor’s Color Space to Your Editing Workflow

Matching your monitor’s color space to your editing workflow is essential for maintaining color accuracy throughout the editing process. Choose a color space that aligns with your final output, whether it’s sRGB for web, Rec.709 for HD video, or Adobe RGB for print projects. Hardware-calibrated 4K monitors often support multiple preset color spaces, so set yours accordingly. For video editing, match the monitor to your timeline’s color space, like Rec.709 Gamma 2.4, to simplify grading and previewing. Switching color spaces mid-project can cause inaccurate colors, so consistency is key. Additionally, confirm your software’s color management settings reflect your monitor’s profile, allowing for proper color mapping and predictable results across all stages of editing. Ensuring your monitor’s calibration is regularly maintained for color accuracy helps prevent drift over time and keeps your workflow precise. Regular calibration routines can also help you understand and utilize your monitor’s color space capabilities effectively, ensuring consistent results. Proper calibration and understanding of color profiles are crucial for achieving the most accurate color representation in your work. Maintaining an awareness of your monitor’s color capabilities can further enhance your editing precision.
Using Calibration Software With Your Hardware Devices
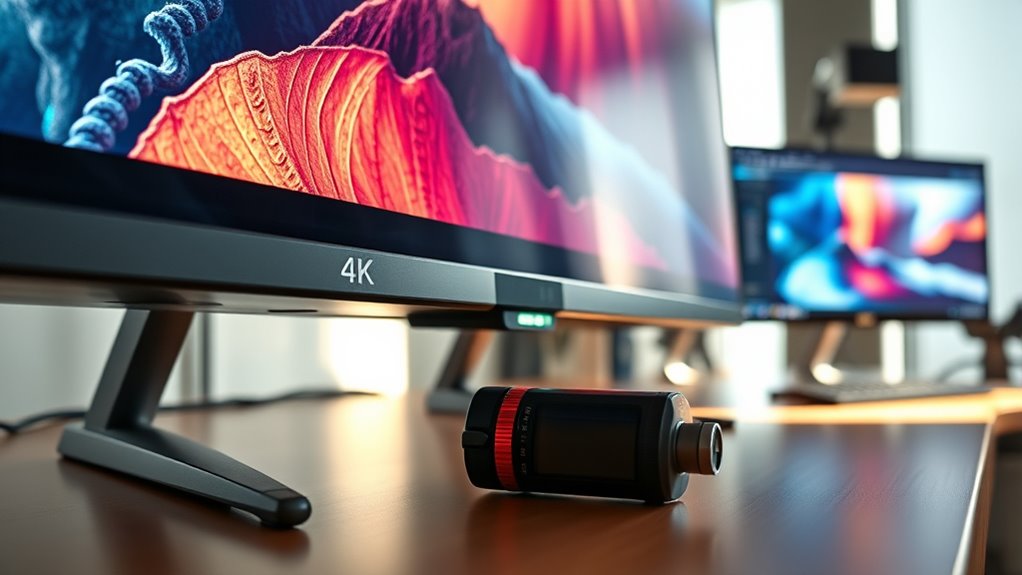
Using calibration software with your hardware devices enhances color accuracy by directly integrating the correction process into your monitor’s workflow. This approach ensures precise color reproduction and maintains the integrity of your color gamut. When using hardware calibration, color correction data is stored directly on the monitor’s internal LUT chip, resulting in more reliable, device-specific adjustments. To optimize this process, consider these key steps:
- Connect your colorimeter and position it correctly to measure displayed colors accurately.
- Configure essential monitor settings like brightness and contrast before starting calibration.
- Follow the software’s guided process to perform iterative measurements and adjustments, ensuring all colors fall within acceptable tolerance levels.
- Regularly update your calibration profiles to maintain color accuracy over time, especially when ambient lighting conditions change. Additionally, understanding asset division laws in your region can help ensure your assets are properly managed in related processes. Incorporating automation in calibration routines can streamline consistency across multiple devices, saving time and reducing errors. Implementing calibration schedules can also help maintain consistent visual performance over extended periods. Utilizing monitor calibration tools and software can further improve the calibration process, ensuring optimal display performance for your editing needs. This combination of hardware and software streamlines calibration, delivering consistent, high-quality color profiles for your editing needs.
Performing Regular Calibration to Maintain Color Accuracy
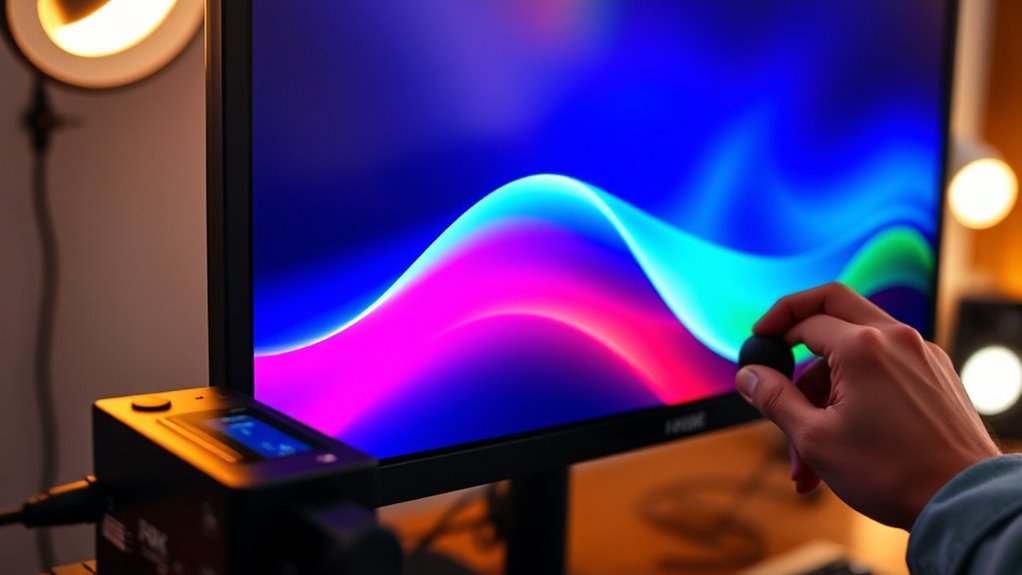
To guarantee your 4K monitor maintains ideal color precision over time, it’s vital to perform regular calibration. Consistent calibration helps prevent color drift caused by age, usage, or environmental factors. Most professionals recommend calibrating monthly, though high-demand setups might need biweekly or weekly adjustments. Newer monitors with stable panels can stretch calibration intervals, while older units require more frequent attention. Environmental influences like sunlight or temperature fluctuations also affect color accuracy. Keep an eye on signs such as oversaturated or muted colors, discrepancies with print outputs, or visible shifts in brightness and contrast. Regularly track your calibration data and perform visual checks with test images. This ongoing effort ensures your display remains reliable and consistent for color-critical work. Additionally, understanding color management principles enhances your calibration routine and overall accuracy. Incorporating monitor profiling tools can further refine your calibration process and ensure consistent results over time.
Best Practices for Maintaining Consistent Color Across Multiple Monitors
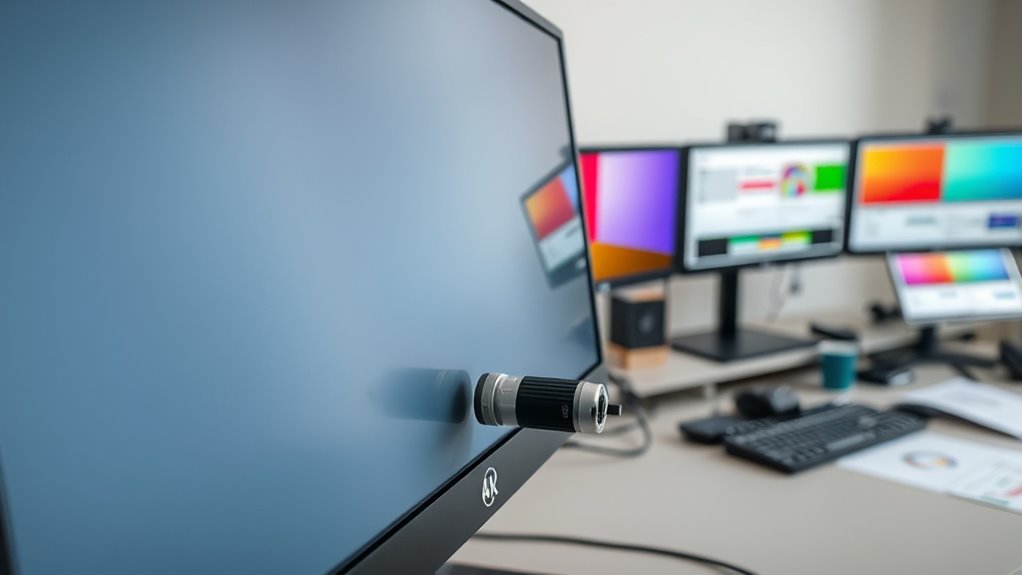
Achieving consistent color across multiple monitors requires careful adjustment of individual display settings and thoughtful management of calibration tools. To guarantee uniformity, consider these best practices:
- Match brightness levels across monitors by displaying a white screen and measuring light output with a calibrated device, ensuring equal luminance.
- Synchronize contrast, sharpness, and RGB color values using built-in controls or calibration software to align visual intensity and color output.
- Set identical color temperature (e.g., 6500K) and disable any special display modes that could alter color rendering, maintaining consistent tone and color accuracy.
Additionally, utilize system-level color management tools to apply uniform ICC profiles and choose monitors with compatible color gamuts. Keep ambient lighting stable and monitor viewing angles for ideal color perception.
Frequently Asked Questions
How Often Should I Recalibrate My 4K Monitor for Optimal Accuracy?
You should recalibrate your 4K monitor regularly to keep colors accurate. For professional editing, biweekly calibration is ideal, especially if you use it heavily. Older monitors need more frequent recalibration, roughly monthly, while newer ones might only require every two months. Keep an eye out for color inaccuracies or print mismatches, and use a colorimeter for precise adjustments. Regular calibration guarantees your colors stay consistent across different projects and devices.
Can I Calibrate My Monitor Without Professional Hardware Tools?
You can calibrate your monitor without professional hardware, but it’s less precise. You’ll rely on software tools, built-in OS utilities, and visual references like test images or matching devices. While it’s good for improving color consistency, it won’t match the accuracy of hardware calibration. Be aware that subjective adjustments depend on ambient lighting and monitor quality, so frequent re-calibration is recommended to maintain better, though not perfect, color accuracy.
What Are the Signs That My Monitor Needs Recalibration?
You might notice your monitor needs recalibration if colors look washed out, faded, or unnatural, especially skin tones. Watch for banding in gradients or color shifts, and whites that appear tinted, either too warm or cool. If your display seems inconsistent across multiple monitors or after changing ambient lighting, or if colors don’t match your expectations, these are clear signs you should recalibrate to restore accurate color representation.
How Does Ambient Lighting Affect the Calibration Process?
Ambient lighting influences how you perceive colors and brightness during calibration, even if it doesn’t affect the measurements directly. If your room has bright or uneven light, reflections and glare can distort your view, leading to inaccurate adjustments. To get the best results, you should calibrate in a consistent, subdued, neutral lighting environment similar to your usual workspace. This helps maintain accurate color perception and consistent editing conditions.
Is Built-In Calibration Enough for Professional Color-Accurate Editing?
You might think built-in calibration is enough for professional editing, but it’s like relying on a map with only major roads—you miss the finer details. Factory calibration provides a solid starting point, but over time, aging and environment cause color shifts. To guarantee true color accuracy, you’ll need external calibration devices. They measure real output under your specific conditions, fine-tuning your monitor for precise, consistent results essential for professional work.
Conclusion
Now that you know the steps to calibrate your 4K monitor, imagine the stunning visuals you’ll create with perfect color accuracy. But don’t stop here—regular calibration keeps your work flawless and your colors true. Will you notice subtle shifts over time? The key is consistency. Keep your tools sharp, your settings precise, and your workspace ready. Your next masterpiece depends on it—are you prepared to release your monitor’s full potential?

