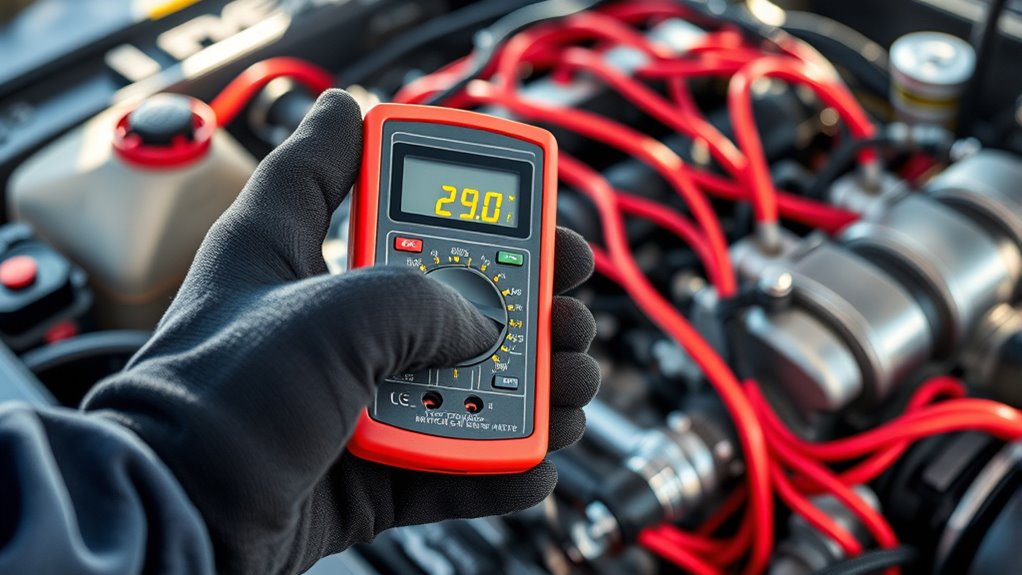
Start by checking your battery’s health with a voltage test—look for around 12.6 volts or higher to guarantee it’s charged. Then, verify engine cranking speed and sensor signals with a scope or multimeter; smooth, consistent pulse patterns indicate proper rotation and sensor function. Avoid skipping these steps, as they are vital for diagnosing a no-start condition. Keep exploring for detailed tips to pinpoint the root cause and get your vehicle running again.
Key Takeaways
- Check battery voltage with a multimeter; ensure it’s above 12.6V for proper starting power.
- Inspect terminals and connectors for corrosion, looseness, or damage; clean and tighten as needed.
- Verify engine cranking speed using a scope or multimeter to confirm proper sensor signals and rotation.
- Avoid unnecessary disconnections; always disconnect damaged batteries safely and follow proper procedures.
- Monitor sensor signals regularly to detect intermittent issues or noise affecting engine start-up.
Confirm Battery Health and Cranking Voltage
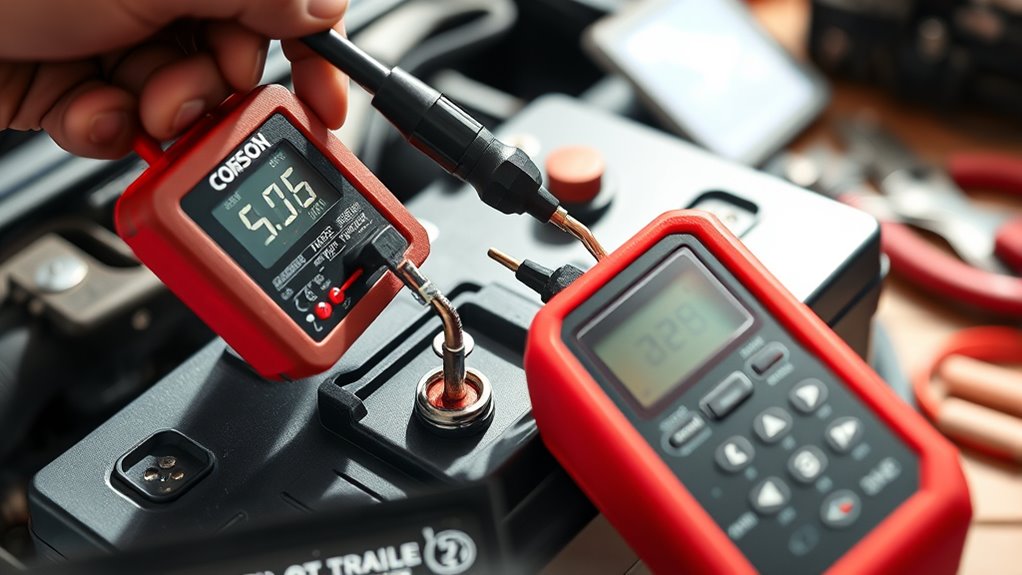
To confirm your battery’s health and cranking voltage, start by inspecting the battery visually. Check for corrosion on terminals, leaks, cracks, or swelling that suggest damage. Verify the terminals and connectors are tight, secure, and free from wear or corrosion. Clean the terminals if needed to remove any buildup that could hinder electrical flow. Use proper personal protective equipment to stay safe during the inspection. If the battery appears damaged or compromised, safely disconnect it before proceeding with advanced tests. Once the visual check is complete, use a digital multimeter set to DC voltage. Connect the probes directly to the battery terminals—red to positive, black to negative—and note the reading. A healthy, resting 12V battery should read around 12.6 volts or higher. Anything below 12.4 volts indicates a partially discharged battery. Routine testing is essential for detecting early issues and maintaining battery longevity, especially considering that battery health directly impacts vehicle performance.
Verify Engine Cranking Speed and Sensor Signals
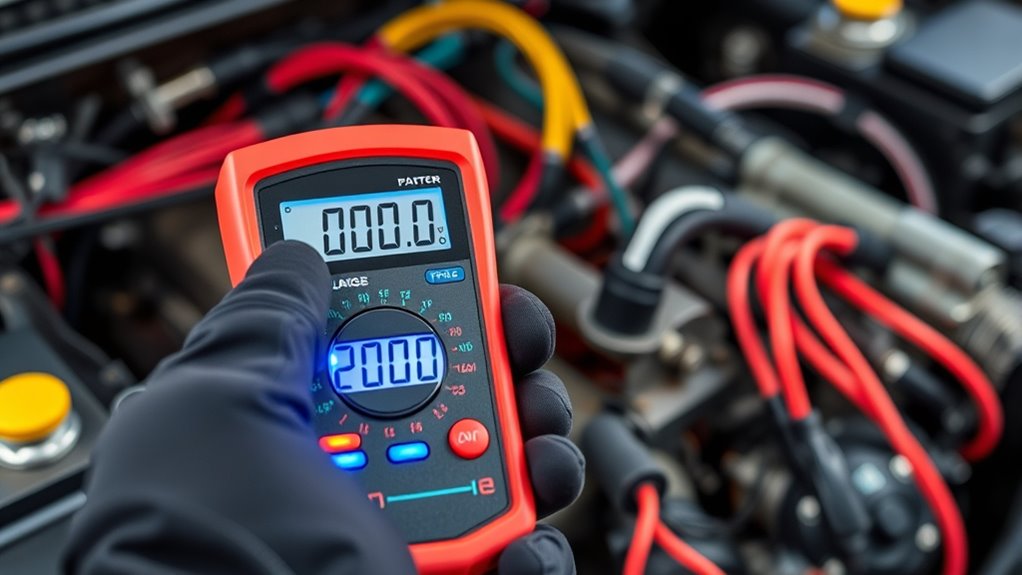
Verifying engine cranking speed and sensor signals is essential for diagnosing starting issues. Start by checking the signals from the crankshaft position sensors, often using a scope or multimeter. Use a proximity sensor to detect gear teeth passing by; this generates pulses that reflect crankshaft speed. Higher pulses per revolution (PPR) improve measurement resolution, so ensure the sensor and gear teeth are intact. Measure the pulses’ frequency at higher RPMs and their period at lower speeds for better accuracy. Confirm pulse symmetry and consistency to avoid inaccurate readings. Additionally, verify the sensor’s mounting and wiring to prevent interference or noise that can distort signals. Proper signal verification helps pinpoint whether the problem lies in the sensor, wiring, or the crankshaft’s actual rotation. Regularly monitoring sensor signals can also help identify intermittent issues that may not be present during initial diagnosis.
Frequently Asked Questions
How Can I Test the Fuel Pump Directly?
To test the fuel pump directly, connect a fuel pressure gauge to the fuel rail or pump outlet and start the vehicle. Observe if the pressure rises to and maintains the specified range. Use a multimeter to check voltage at the pump’s connector and measure resistance. Additionally, employ a clamp meter to monitor current draw, ensuring it matches manufacturer specs. These steps help confirm if your fuel pump is functioning properly.
What if the Check Engine Light Doesn’T Come on During Key Turn?
If your check engine light doesn’t come on during key turn, start by examining the bulb itself for damage or burnout. Then, inspect the fuse related to the instrument cluster and confirm the wiring and connections are intact. Also, test the battery and alternator, as low voltage can prevent the light from illuminating. If these check out, the ECU might have a fault, requiring professional diagnostics to confirm.
How Do I Differentiate Between a Bad Sensor and Wiring Issues?
You might think a bad sensor always causes a no-start, but wiring issues often mimic this. To differentiate, start with visual inspection for corrosion, loose connections, or damaged wires. Use a multimeter to check for voltage continuity along wiring harnesses. If voltage is present but the sensor isn’t sending signals, swap with a known good sensor. Consistent wiring tests help confirm whether the problem lies in the sensor or the wiring itself.
Can a Faulty ECU Cause a No-Start Condition?
Yes, a faulty ECU can cause a no-start condition. When the ECU malfunctions due to software corruption or hardware failure, it may fail to send essential signals for fuel injection and ignition, preventing the engine from starting. You might notice no communication during diagnostics, intermittent starting issues, or warning lights. To fix this, you’ll need to diagnose ECU health with professional tools and replace or reprogram it if necessary.
What Are Signs of a Slipping Timing Belt During Cranking?
Oh, you’re in for a thrill ride—signs of a slipping timing belt during cranking include a rapid, high-pitched whine that sounds like your engine’s auditioning for a rock band, along with rhythmic clicking or rattling noises. Expect rough starts, misfires, and maybe even smoke billowing out. If your engine sounds more like a drum solo than a smooth purr, it’s time to check that belt before it turns your car into a paperweight.
Conclusion
By thoroughly confirming battery health and cranking voltage, you guarantee your engine has the power it needs. Verifying engine speed and sensor signals helps pinpoint potential issues early. Some believe these steps alone solve most no-start problems, but recent studies suggest underlying electrical or fuel system faults can still be overlooked. Combining diagnostics with a deeper understanding of vehicle systems increases your chances of accurately diagnosing and fixing the root cause, saving you time and money in the long run.

