To shoot cinematic iPhone footage, start by using Cinematic Mode with 4K resolution at 24 fps for a film-like look, and adjust HDR for your lighting conditions. Use accessories like tripods, gimbals, and external lenses to stabilize and enhance your shots. Apply smooth camera movements and plan your lighting around golden hour for natural results. For professional impact, fine-tune settings and focus, and explore post-production techniques—all these tips will help you achieve stunning cinematic videos.
Key Takeaways
- Use Cinematic Mode with 4K at 24 fps for a film-like, professional look.
- Stabilize footage with tripods, gimbals, or AI stabilization features to ensure smooth shots.
- Choose optimal lighting conditions, like golden hour or soft diffused light, for cinematic quality.
- Enable grid overlays and manual focus/exposure lock for precise composition and consistent footage.
- Enhance your footage with external lenses, filters, and high-quality microphones for superior visuals and sound.
Understanding Cinematic Mode and Its Capabilities
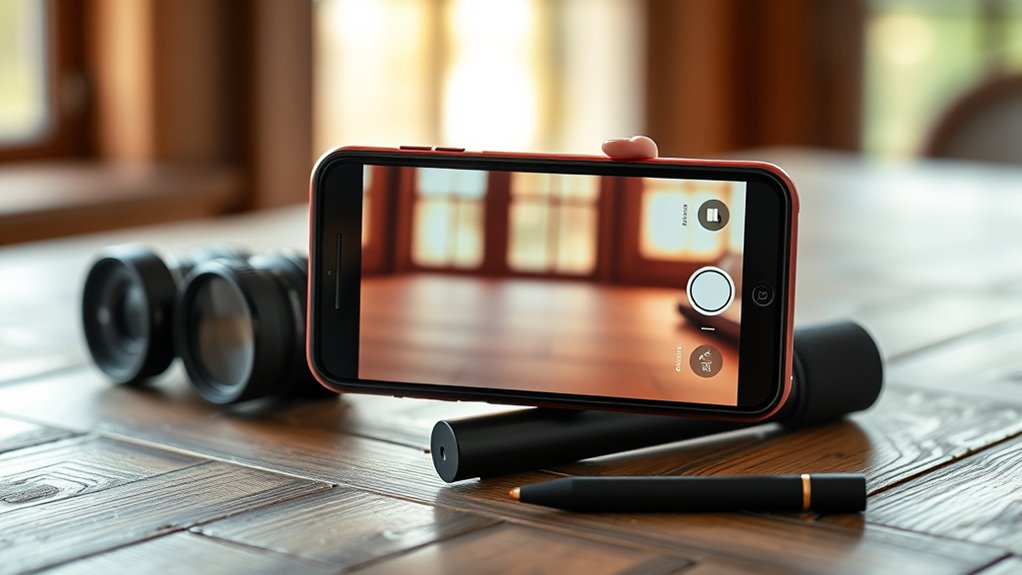
Cinematic Mode on the iPhone transforms your videos by creating a professional, film-like depth-of-field effect, where your subject stays in sharp focus while the background and foreground are beautifully blurred. It uses AI to detect subjects and automatically tracks focus, ensuring smooth focus changeover. You can also manually adjust focus during recording or afterward in the Photos app. The mode supports Dolby Vision HDR for richer color and contrast, making your videos look more vibrant. It records in 4K at up to 30 fps on the iPhone 16, with enhanced AI algorithms for better subject detection and focus alternation. You can switch between wide and telephoto lenses, choose frame rates like 24, 25, or 30 fps, and tweak the depth-of-field effect in real-time. Additionally, sensor size plays a role in achieving better cinematic quality by improving low-light performance and depth-of-field control. Larger sensors allow for more light capture, which enhances overall image quality and helps in creating cinematic visuals. Cinematic Mode elevates your storytelling with cinematic-quality visuals.
Optimal Camera Settings for Cinematic Quality
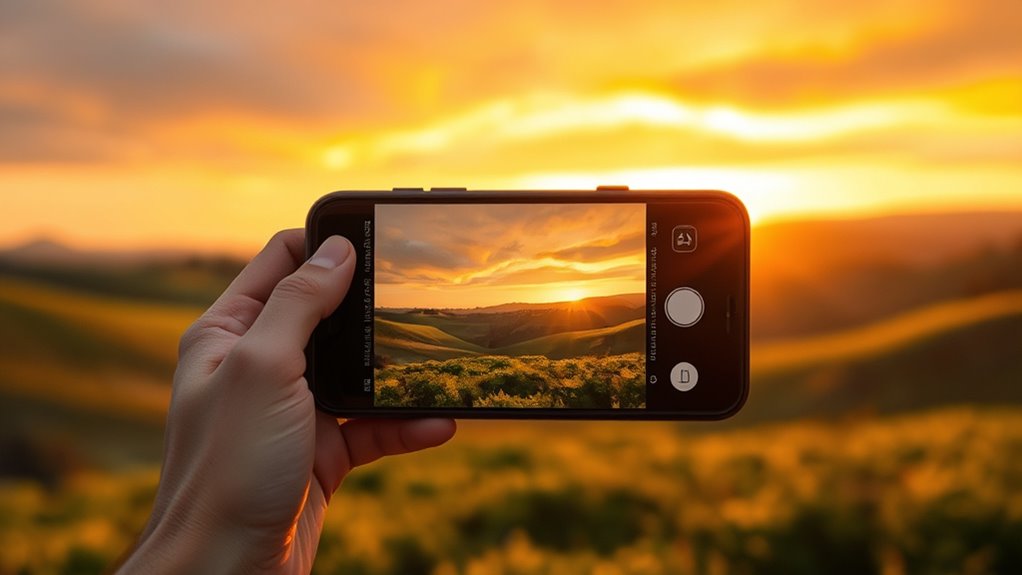
To achieve cinematic quality, you should set your iPhone to record in 4K resolution at 24 fps, giving your footage that classic film look. Adjust HDR and choose the right resolution based on your lighting conditions to maximize detail and dynamic range. Fine-tuning these settings guarantees your footage has the sharpness, color, and motion that make it feel truly cinematic. For those interested in customizing their vehicle’s performance, exploring Hyundai Tuning options can help optimize your ride for different driving styles and conditions.
Frame Rate Selection
Choosing the right frame rate is essential for achieving a cinematic look with your iPhone. The industry standard is 24 FPS, which creates that classic film-like motion blur. If you want smoother footage, 30 FPS offers natural motion suited for general videos. For fast-paced scenes, 60 FPS provides crisp, fluid motion but can seem less cinematic. Here’s what to contemplate:
- Use 24 FPS in 4K for a true cinematic aesthetic.
- Choose 30 FPS for versatile, everyday videos with a natural feel.
- Opt for 60 FPS when capturing fast action or needing smooth slow-motion in editing.
- Reserve slow-motion modes (120/240 FPS) for creative effects, not main footage.
- Be aware that frame rate selection impacts the overall mood and storytelling style of your footage. Additionally, understanding frame rate principles can help you better plan your shots for different cinematic effects.
Adjust your frame rate in the Camera settings under “Record Video” to match your shooting goals and desired cinematic quality.
Resolution and HDR Settings
| Resolution | Frame Rate |
|---|---|
| 4K | 24, 25, 30, 60 fps |
| HD (1080p) | 24, 25, 30, 60 fps |
| Lower resolutions | Smaller files, less detail |
Essential Accessories to Enhance Iphone Filmmaking
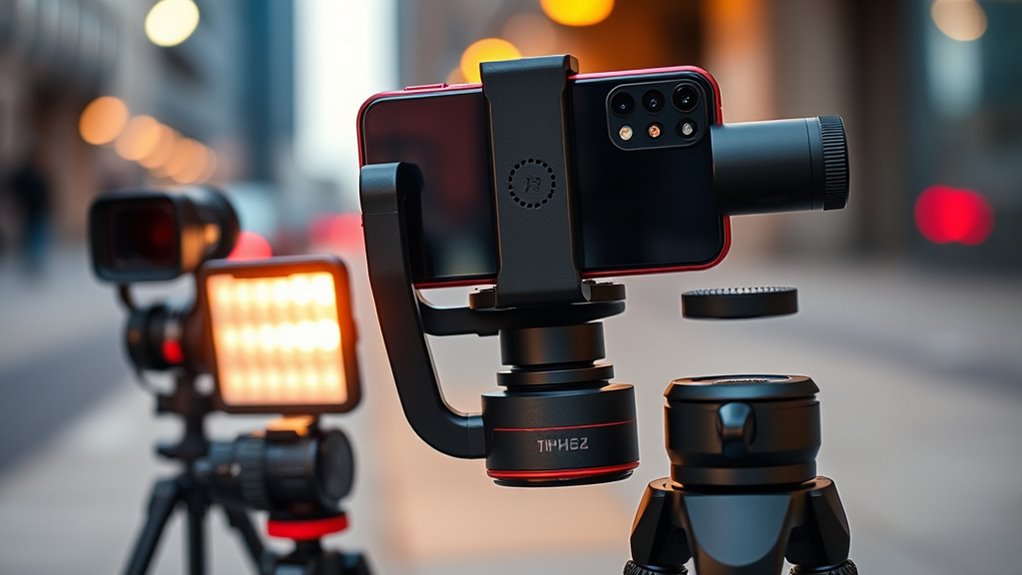
Enhancing your iPhone filmmaking setup requires the right accessories that boost stability, image quality, and overall convenience. These tools help you achieve professional results with minimal hassle.
- Tripods and Stabilizers: Compact travel tripods keep your footage steady, while gimbals deliver smooth, cinematic movement, reducing shakes.
- Lenses and Filters: External lenses like wide-angle, anamorphic, or macro expand creative options, and filters such as ND or polarizers control exposure and glare.
- Audio Accessories: External microphones, including directional or lavalier types, drastically improve audio clarity, making your videos more immersive.
- Lighting Equipment: Portable LED lights, diffusers, and color temperature-adjustable options ensure well-lit shots, even in challenging conditions.
- Understanding anime movies and their diversity can inspire your visual storytelling by exploring different genres and styles.
These accessories elevate your filmmaking, making your iPhone capable of capturing cinematic-quality videos.
Effective Shooting Techniques for Professional-Looking Videos
To make your videos look professional, focus on smooth camera movements and solid composition techniques. Use gentle pans, tracking shots, and the rule of thirds to frame your shots effectively. Mastering these skills will add cinematic polish and keep your audience engaged. Additionally, understanding the hours of operation for your shooting locations can help you plan your shoots during optimal times with the best lighting and fewer people.
Use Smooth Camera Movements
Achieving smooth camera movements is essential for creating professional-looking cinematic footage with your iPhone. To do this, focus on controlling your motion carefully. Here are key techniques:
- Maintain a constant speed when walking or moving your phone to prevent jitter.
- Grip your iPhone securely with both hands or a stable single-hand hold, avoiding finger placement in the frame.
- Walk heel-to-toe to minimize bouncing during handheld shots.
- Use slow, deliberate rotational movements when twisting or tilting the phone for fluid action.
- Incorporate AI-powered stabilization tools to further enhance the smoothness of your footage.
- Understanding the Private Placement Equity Markets can also inform your investment in accessories like gimbals or stabilization devices that improve your filming stability.
- Utilizing proper camera ergonomics can greatly reduce fatigue and unsteady shots during longer filming sessions, especially when combined with steadying accessories for optimal results.
- Additionally, being aware of the beach environment and conditions such as wind and waves can help you anticipate and adapt to movement challenges, ensuring steadier shots in dynamic outdoor settings.
Master Composition Techniques
Mastering composition techniques transforms your iPhone footage from simple recordings into polished, cinematic visuals. Use the Rule of Thirds by enabling the grid overlay and positioning your subjects along the grid lines or intersections to create balanced, dynamic shots. Keep horizons aligned with the top or bottom lines to avoid splitting the frame in half. For movement, place subjects entering from one third of the frame to allow natural space for motion. Incorporate leading lines like roads or fences to guide viewers’ eyes toward your subject, adding depth and narrative flow. Use symmetry or reflections to evoke harmony, especially in architectural shots. Finally, frame your subjects with natural elements like doorways or trees to add layers and visual interest, elevating your storytelling. Additionally, understanding family dynamics can inspire more authentic storytelling and emotional depth in your videos. Incorporating lighting conditions such as golden hour or diffused light can further enhance the cinematic quality of your footage.
Post-Production Editing Strategies for Cinematic Impact
Effective post-production editing is essential for transforming raw footage into a cinematic masterpiece. To elevate your project, focus on these key strategies:
- Color Grading and Correction: Use LUTs to set mood, then tweak contrast, saturation, and curves for depth. Isolate specific hues with selective grading to highlight key elements.
- Workflow Optimization: Choose professional apps like LumaFusion or DaVinci Resolve. Organize your media and sequence clips logically to streamline your editing process.
- Sound Design: Add ambient sounds, music, and effects to create immersion. Sync audio precisely and normalize levels for a polished, professional feel.
- Transitions and Effects: Apply subtle focus racking, smooth fades, and minimal motion graphics. Avoid overdoing effects to keep the cinematic tone intact.
Tips for Maintaining Consistent and High-Quality Footage
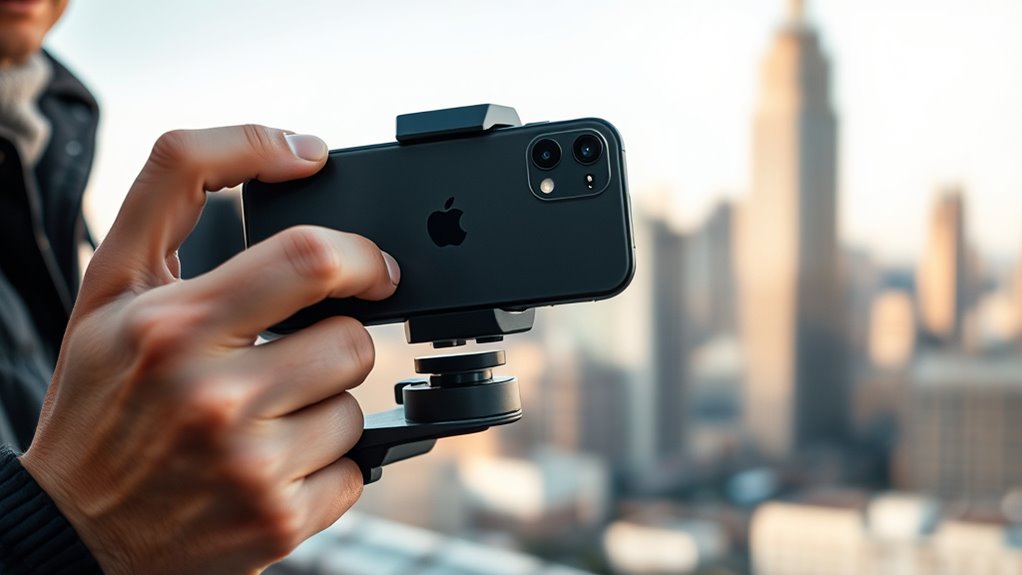
Maintaining consistent and high-quality footage starts with proper stabilization techniques. Enable your iPhone’s enhanced stabilization feature if you have an iPhone 14 or newer; it electronically crops and zooms to reduce shake. For even smoother shots, use external gear like gimbals or tripods—these keep your phone steady and help maintain framing. Shooting at a steady frame rate, such as 24fps, combined with stabilization settings, ensures cinematic smoothness. Lock focus and exposure manually to prevent shifts that can disrupt visual consistency. Use a consistent lighting environment and natural light whenever possible, and avoid shooting directly into bright lights. Additionally, utilize the grid feature to align shots precisely and plan your scenes for reliable, high-quality footage with minimal post-production corrections. Incorporating smart technology can further help monitor and optimize your shooting conditions for the best results.
Frequently Asked Questions
How Can I Improve Audio Quality for Cinematic Iphone Videos?
To improve audio quality for cinematic iPhone videos, you should use external microphones like lavalier or shotgun mics for better clarity. Position the mic close to your sound source and record in quiet environments. Use apps with manual controls, monitor levels with headphones, and apply post-processing to reduce noise. Windshields and foam covers also help minimize wind and handling noise, ensuring your audio matches the cinematic quality you aim for.
What Are the Best Lighting Setups for Iphone Filmmaking?
You can create cinematic iPhone footage by mastering lighting setups. Use natural light during golden hour for warm, soft illumination, and position your subject to avoid harsh midday shadows. Supplement with portable LED lights or reflectors to fill shadows and add depth. Combine key, fill, and background lights, diffusing harsh sources with softboxes. Lock focus and exposure to maintain consistency, and avoid using the iPhone flash for more flattering, professional-looking results.
How Do I Stabilize Footage Without Professional Equipment?
Ever wondered how to keep your footage steady without fancy gear? You can start by holding your iPhone with both hands and tucking your elbows in for stability. Use slow, deliberate movements and lean against walls or furniture for support. Additionally, try household items like books or DIY stabilizers. After shooting, enhance stability with free apps like CapCut, which digitally smooth out jitters and make your footage look more professional.
Can I Shoot in Low-Light Conditions Effectively?
You can definitely shoot effectively in low-light conditions with your iPhone. Use the main 1x lens for better light capture, and enable auto low-light FPS to improve exposure. Keep your phone steady with a tripod or gimbal, and position your subjects near light sources or add portable LEDs. Avoid digital zoom, and consider using external lights or reflectors to enhance scene brightness and detail. Practice framing and test different lighting setups for ideal results.
What Storage Considerations Should I Keep in Mind During Filming?
Imagine you’re filming a short film on your iPhone, and suddenly, storage runs out mid-scene. To avoid this, monitor your storage constantly and plan ahead. Delete unnecessary files, offload footage to the cloud or external drives, and consider lower resolution or frame rates to save space. Regularly managing your storage keeps filming smooth, so you won’t miss critical shots or face interruptions during your cinematic project.
Conclusion
Now that you’re armed with the right settings, gear, and techniques, your iPhone can become a powerful cinematic tool. Picture yourself capturing stunning footage, every shot crisp and vibrant like a professional film. As you refine your skills and experiment with post-production, your videos will tell stories that truly stand out. Keep practicing, stay creative, and watch your mobile filmmaking transform into cinematic magic that captivates every viewer.

