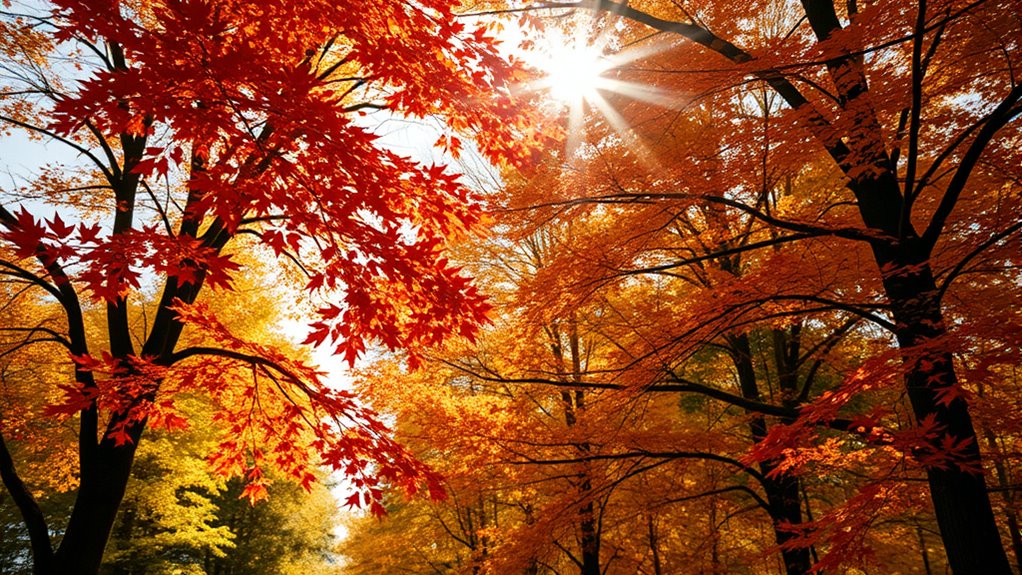
To capture vibrant fall leaf colors, set your camera’s white balance to “Daylight” or lock it manually near 5500K for warm tones. Shoot during golden hour for soft, richly colored light, and use a wide-angle lens with polarizers to enhance saturation and contrast. Use aperture priority with small f/8 to f/16 for sharp leaves and blurred backgrounds. Adjust exposure compensation to boost saturation, and consider post-processing to fine-tune vivid hues — explore more techniques to make your fall photos pop.
Key Takeaways
- Set white balance to “Daylight” or lock it manually near 5500K for natural, vibrant fall colors.
- Use a narrow aperture (f/8–f/16) to maximize depth of field and enhance leaf saturation.
- Shoot during golden hour (early morning or late afternoon) for warm, soft lighting that amplifies fall hues.
- Employ polarizing filters to deepen colors, reduce glare, and increase contrast in leaves and foliage.
- Focus precisely on leaves using single-point autofocus or manual focus for maximum sharpness and detail.
Adjusting White Balance for Rich, Warm Tones
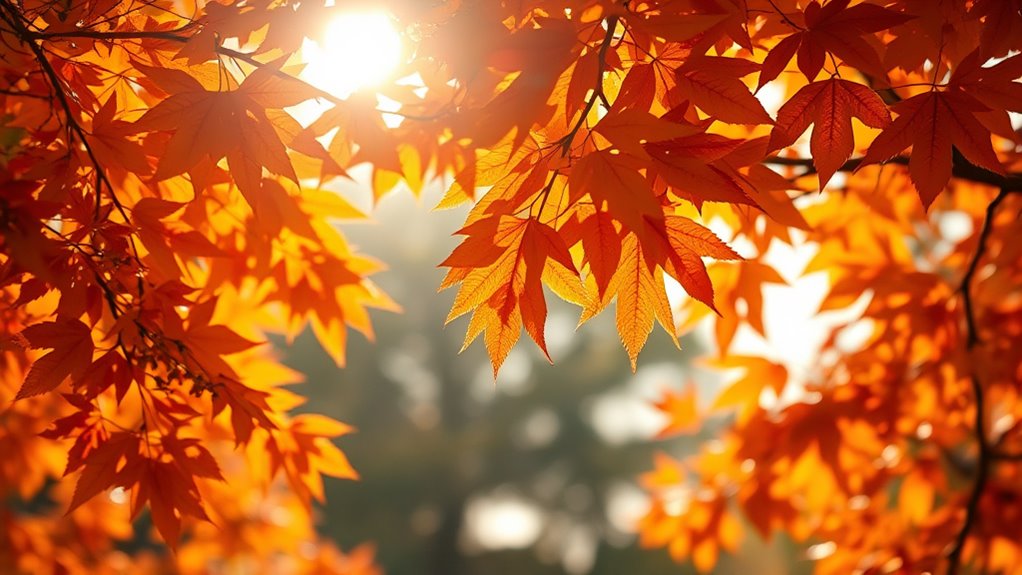
To achieve rich, warm tones in fall photography, adjusting your white balance is essential. White balance controls how colors are rendered by setting the camera’s color temperature, measured in Kelvin. Setting WB to “Daylight” (around 5,000–5,500K) helps produce natural, vibrant fall colors, making leaves pop with warmth. Auto White Balance (AWB) can misinterpret these tones, resulting in duller images. Locking WB to Daylight provides consistency and accuracy, preserving the scene’s richness. Manually adjusting WB during shooting prevents color shifts across multiple shots and enhances reds, oranges, and yellows without post-processing. Choose a fixed Kelvin value near 5,500K or use the Daylight preset, especially in mixed lighting. For RAW files, fine-tune WB later, but setting it correctly in-camera saves time and maintains color fidelity. Understanding how white balance interacts with your camera’s sensor can further improve your results. Additionally, being aware of color temperature effects allows photographers to better control the mood and atmosphere of their images. Properly managing color accuracy ensures your fall scenes look vibrant and true to life. Being mindful of camera settings can also help you achieve more consistent and striking results in your fall photography. Recognizing the impact of automation in camera functions can streamline your shooting process and improve overall quality.
Selecting the Optimal Time of Day and Lighting Conditions
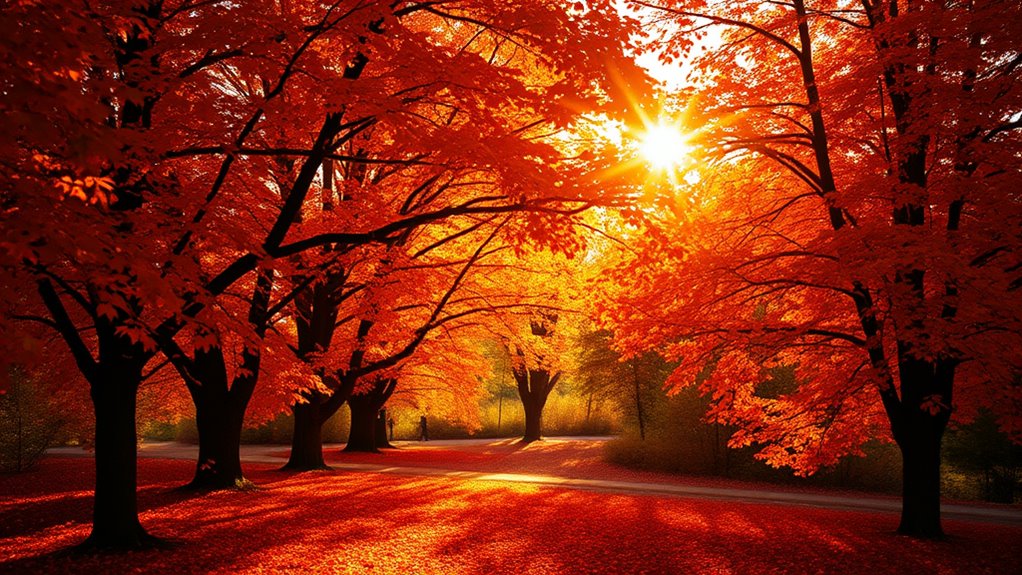
Choosing the right time of day and lighting conditions can make a significant difference in fall photography. Late afternoon, around 3 to 3:30 pm, provides warm, soft light that enhances leaf colors without harsh shadows. During sunrise and sunset, the Golden Hour offers front or side lighting, creating warm tones and dramatic shadows that boost vibrancy. Midday sunlight tends to be harsher, producing strong contrast and washing out colors. Backlighting, shooting into the sun, makes leaves translucent and emphasizes their brightness and rich hues. Overcast days offer diffuse, soft light that saturates colors and minimizes shadows, while clear sunny weather allows for creative experiments with shadows and light direction. Calm, moist conditions typically yield the best results, helping you capture vivid, detailed fall scenes. Additionally, understanding the lighting conditions can help you choose the appropriate camera settings to maximize color vibrancy and detail. Using a polarizing filter can further enhance colors and reduce glare, bringing out the richness of the fall foliage. Recognizing how different weather patterns influence lighting quality allows photographers to plan their shoots more effectively and achieve stunning results. Being aware of seasonal changes can also help anticipate the best moments for capturing peak foliage in vibrant colors.
Choosing the Right Lens and Filters to Enhance Color
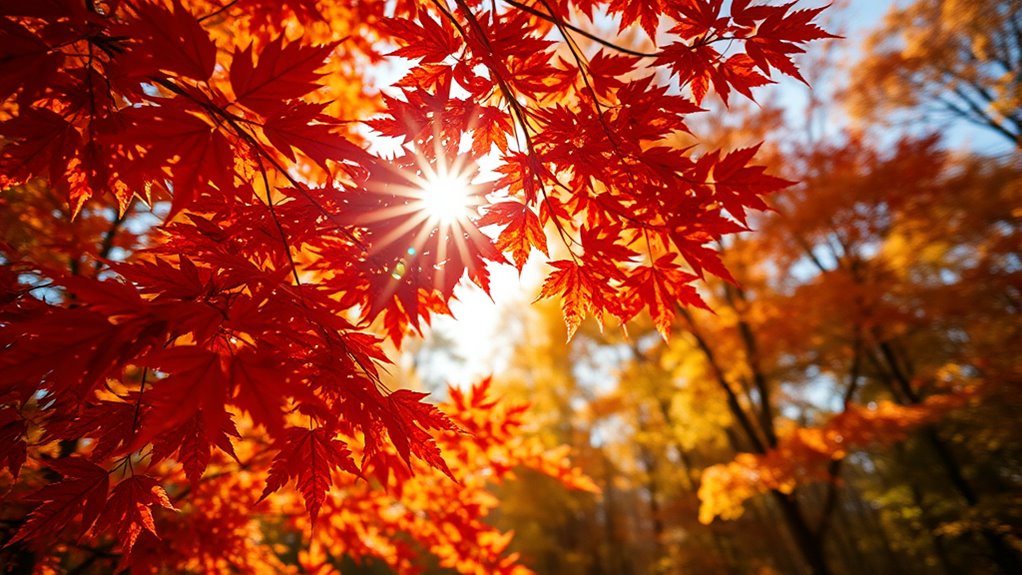
Choosing the right lens and filters can make your fall photos stand out with richer colors and sharper details. A circular polarizer reduces glare and deepens color saturation, while macro lenses capture intricate leaf textures. Combining these tools with the appropriate focal length and aperture settings helps you highlight the vibrant beauty of autumn landscapes. Additionally, selecting the right camera settings can further enhance color vibrancy and image quality. Understanding figurative language techniques can also inspire more creative composition and descriptive elements in your photography narrative. Incorporating color theory into your shot planning can also elevate the visual impact of your images. Paying attention to lighting conditions during different times of the day can further enhance the vividness of fall foliage. Using the right paint sprayer accessories can ensure your equipment performs optimally, preventing issues that might compromise image quality.
Polarizing Filter Benefits
Have you ever noticed how a polarizing filter can transform fall photos by making colors pop and reducing unwanted reflections? By blocking polarized light, it reveals the true hues of wet leaves and shiny surfaces, boosting color saturation and contrast. It darkens blue skies, adding depth and drama to your compositions, while cutting atmospheric haze for clearer, sharper images. A polarizer also minimizes glare from water or glass, revealing details beneath surfaces. It naturally enhances the vibrancy of dry and wet foliage without digital editing. When used properly—especially at a 90-degree angle to the sun—it offers greater control over brightness and contrast in changing light conditions. Additionally, understanding camera settings can maximize the impact of your polarizer and improve overall image quality. Proper lens selection is also crucial to achieve the best results with filters, ensuring compatibility and optimal performance. A good quality filter mount can help prevent vignetting and ensure even polarization across the frame. Compatible with many lenses, a polarizing filter is essential for capturing vivid, true-to-life fall scenes. Decluttering can also help free up space for storing camera gear and accessories, making your photography process more organized and stress-free. Incorporating dynamic communication exercises into your routine can also help you better understand how different camera settings influence your images.
Macro for Details
To capture the intricate textures and vibrant colors of fall leaves in macro photography, selecting the right lens and filters is essential. Use a lens with a short minimum focus distance or a dedicated macro lens to reveal fine surface details, veins, and imperfections. Shooting with a wide aperture (f/2.8 to f/4) creates a shallow depth of field, blurring backgrounds and emphasizing leaf textures. Backlighting enhances translucency, revealing veins and color variations, while diffused natural light prevents harsh shadows. Shooting in RAW and adjusting white balance for warm tones guarantees color accuracy. Keep ISO low to preserve detail, and use manual focus for precise sharpness. Consider close-up filters or extension tubes to increase magnification when macro lenses aren’t available, boosting detail and color vibrancy.
Lens Choices for Scope
Selecting the right lens and filters can considerably enhance the vibrant colors of fall foliage in your photographs. Wide-angle lenses (16-35mm) capture sweeping landscapes filled with rich autumn hues, while telephoto lenses (70-200mm) help isolate details like individual trees or clusters of leaves, emphasizing texture and color variations. Super telephoto lenses (200-600mm) allow you to photograph distant subjects with beautiful background blur, making fall colors stand out. Using circular polarizer filters reduces glare and reflections, boosting saturation and contrast, especially on shiny leaves or water. Lenses with wide apertures (f/2.8) provide creative depth-of-field control, isolating subjects or keeping scenes sharp. Understanding camera settings such as ISO, shutter speed, and aperture can help you optimize your shots for vibrant color display and clarity. Adjusting these settings in conjunction with your choice of lens and filters ensures you capture the full splendor of fall foliage with vivid, striking colors. Proper camera gear selection can also significantly influence the vibrancy of your images, making your fall photography truly stand out. Additionally, using autofocus modes effectively can help maintain sharpness across varied scenes and compositions. To further enhance your results, consider experimenting with lighting conditions, such as shooting during the golden hour when natural light adds warmth to your images.
Setting Exposure for Maximum Color Saturation and Detail
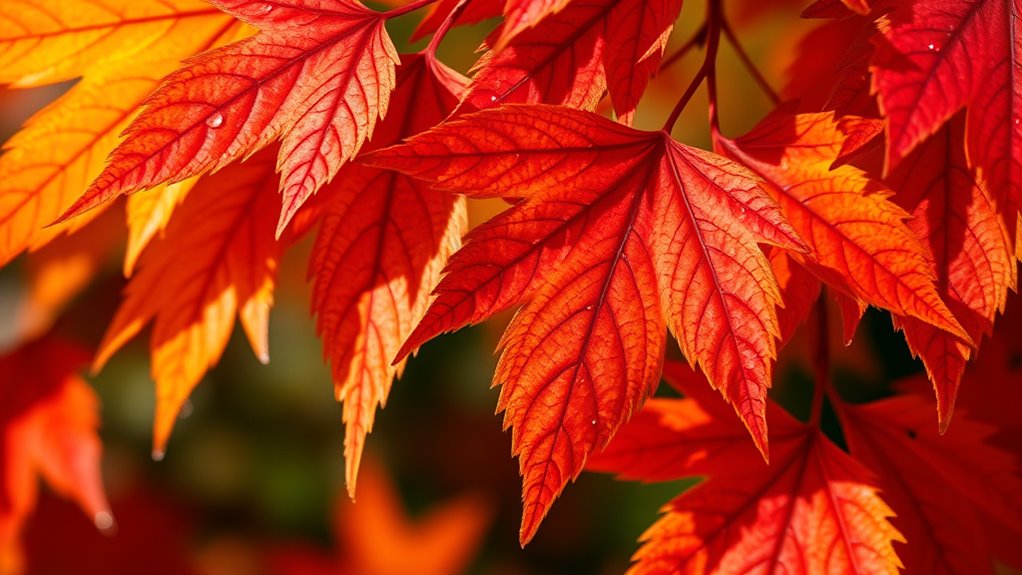
To get the most vibrant fall colors, set your camera to manual exposure mode so you can control the brightness precisely. Adjust your exposure compensation to prevent highlights from blowing out while keeping colors rich and detailed. Shooting in RAW allows you to fine-tune exposure and maximize color saturation in post-processing without losing image quality. Using auto functions can also help maintain optimal exposure in changing lighting conditions. Additionally, understanding camera settings such as ISO, aperture, and shutter speed will help you capture the most vivid images. Furthermore, understanding marketing strategies such as data-driven approaches can help you tailor your photography business to attract more clients during seasonal peaks.
Use Manual Exposure Mode
Ever wondered how to capture fall colors at their most vibrant? Using manual exposure mode gives you full control to fine-tune settings for maximum saturation and detail. Start by choosing your aperture for depth of field and sharpness. Set your shutter speed fast enough—at least 1/250 sec—to prevent motion blur. Adjust ISO last, keeping it as low as possible—around 100 or 200—for the best image quality. Slight underexposure (about 1/3 to 2/3 stops) deepens colors and boosts contrast, making reds and oranges pop. Use the exposure meter and histogram to ensure balanced exposure without clipping highlights or shadows. Manual mode lets you precisely control each element, helping your fall photos glow with vibrant, detailed foliage.
| Setting | Action |
|---|---|
| Aperture | Choose for desired depth and detail, typically f/8–f/11 |
| Shutter Speed | Use 1/250 sec or faster to avoid motion blur |
| ISO | Keep low (100–200), increase only if necessary |
| Exposure | Slightly underexpose to enhance color intensity |
| Mode | Use manual for full control over exposure and color saturation |
Adjust Exposure Compensation
Adjusting exposure compensation allows you to fine-tune your camera’s brightness, ensuring fall foliage appears vibrant and detailed. When you use Aperture Priority or Program mode, this feature overrides the camera’s metered exposure, helping you achieve the ideal brightness level. If scenes are too bright, like snow-covered landscapes, adding positive compensation brightens the image, highlighting colorful leaves. Conversely, in darker scenes, negative compensation prevents overexposure, preserving details and saturation. Proper adjustment enhances color vibrancy by avoiding washed-out or muted tones. Review your histogram to confirm proper exposure, and experiment with different levels to find what best captures the scene’s richness. Remember, small tweaks can considerably impact how lively and detailed your fall photos look.
Shoot in RAW Format
Shooting in RAW format liberates the full potential of your camera’s sensor data, capturing all details without compression. This allows you to preserve maximum detail in shadows and highlights, essential for vibrant fall scenes. RAW files contain vastly more brightness levels than JPEGs, enabling smoother tonal gradations and richer colors. They also give you the flexibility to fine-tune white balance and color temperature after shooting, ensuring accurate foliage hues. Additionally, RAW images provide a wider dynamic range, making highlight and shadow recovery easier and preventing color clipping.
Here are four key benefits:
- Preserve all sensor data for maximum detail.
- Adjust exposure and white balance post-shoot.
- Capture a broader tonal range.
- Enhance color vibrancy without artifacts.
Composing Images for Dynamic and Artistic Fall Scenes
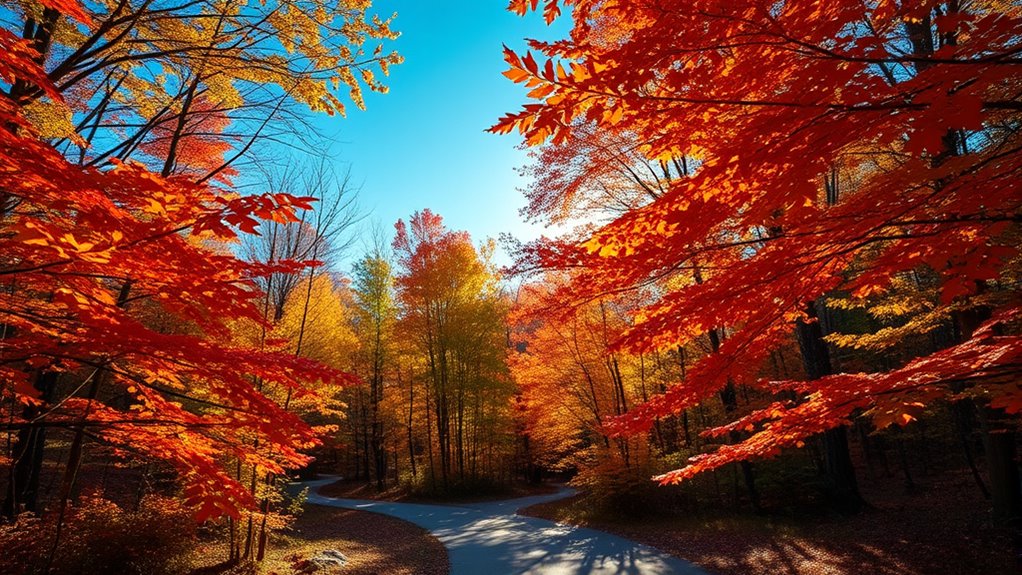
To create dynamic and artistic fall scenes, focus on thoughtful composition that highlights the season’s vibrant colors and textures. Seek abstract arrangements that emphasize patterns and details over a single subject, creating tapestry-like effects in forest scenes. Identify a clear subject, like a tree, road, or mountain, and use surrounding fall foliage as a colorful backdrop. Incorporate layers—overlapping trees, foliage, or ground elements—to add depth and complexity. Experiment with angles and perspectives beyond eye level to evoke emotion and interest. Use natural textures such as bark, leaves, or rocks to enhance tactile appeal. Pay attention to light direction, preferring golden hour conditions to boost color saturation. Be deliberate, balancing elements and avoiding chaos, to craft compelling, visually ordered compositions.
Using Focus Techniques to Highlight Leaf Details

Focusing precisely on leaf details is essential for capturing the intricate textures and vibrant colors of fall foliage. To do this effectively, consider these techniques:
Sharp focus on leaf details captures vibrant fall textures and colors beautifully.
- Use Single-Point Autofocus to target a specific leaf or fine detail, ensuring sharpness where it matters most.
- Switch to Manual Focus for better control in low light or complex backgrounds, allowing deliberate emphasis on your chosen leaf.
- Employ magnified live view to fine-tune focus, especially on small or textured surfaces.
- Place autofocus points directly on the leaf surface, not the background, to maximize detail accuracy.
A tripod stabilizes your camera, preventing blur and helping you capture crisp, detailed leaves. These focus techniques will make your fall shots pop with clarity and vibrancy.
Utilizing Camera Modes and Picture Styles for Vibrant Colors
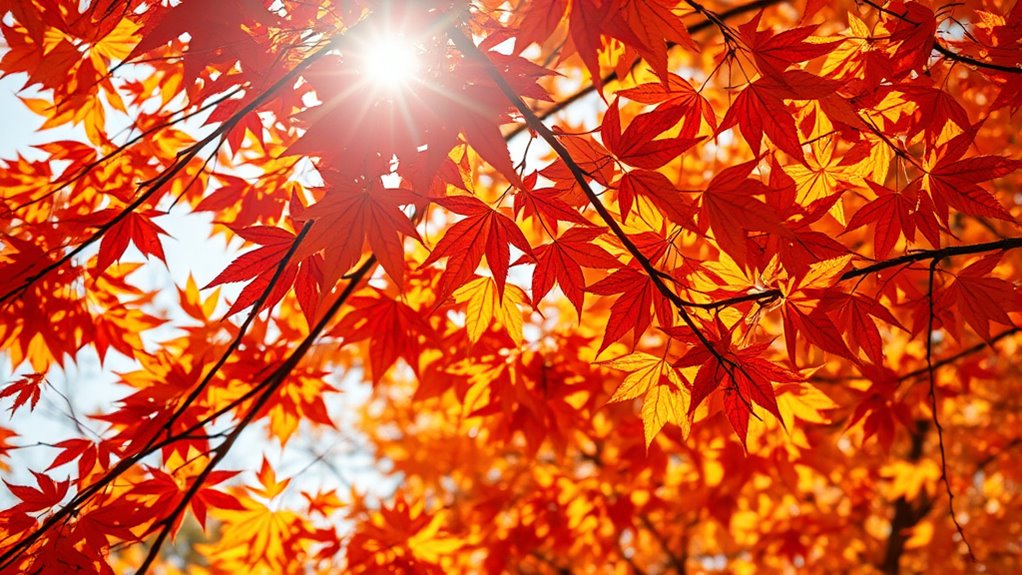
Choosing the right camera mode can markedly enhance the vibrancy of your fall colors. Landscape mode boosts saturation and sharpness, highlighting warm hues like reds and yellows. Manual mode gives you full control over exposure, ISO, and aperture, allowing precise adjustments for maximum color vibrancy. Aperture Priority keeps leaves sharp while creating a beautifully blurred background. Program mode offers automatic settings that can be fine-tuned with exposure compensation for richer colors. Scene modes like “Autumn Colors” are preset to enhance warm tones automatically. For white balance, use Shade or Cloudy settings to add warmth and deepen reds and oranges, avoiding Auto White Balance, which can neutralize vibrant tones. Pair these with vivid or landscape picture styles for bold, colorful results.
Incorporating Movement and Wind in Your Shots

Embracing movement and wind can transform your fall photography from static snapshots into dynamic, expressive images. Wind naturally causes leaves to sway, creating beautiful motion blur that adds energy and mood. To capture this:
- Use slow shutter speeds (about 1/2 to 2 seconds) to turn leaf movement into artistic blur, emphasizing the sense of wind.
- Keep some elements like tree trunks or branches sharp to contrast with the motion-blurred leaves.
- Employ ND filters if needed to extend exposure times during daylight without overexposing.
- Use a tripod to stabilize your camera, ensuring stationary parts stay sharp while capturing the movement.
This approach conveys natural change and adds a lively, ephemeral feel to your autumn images.
Post-Processing Tips for Enhancing Fall Foliage Colors
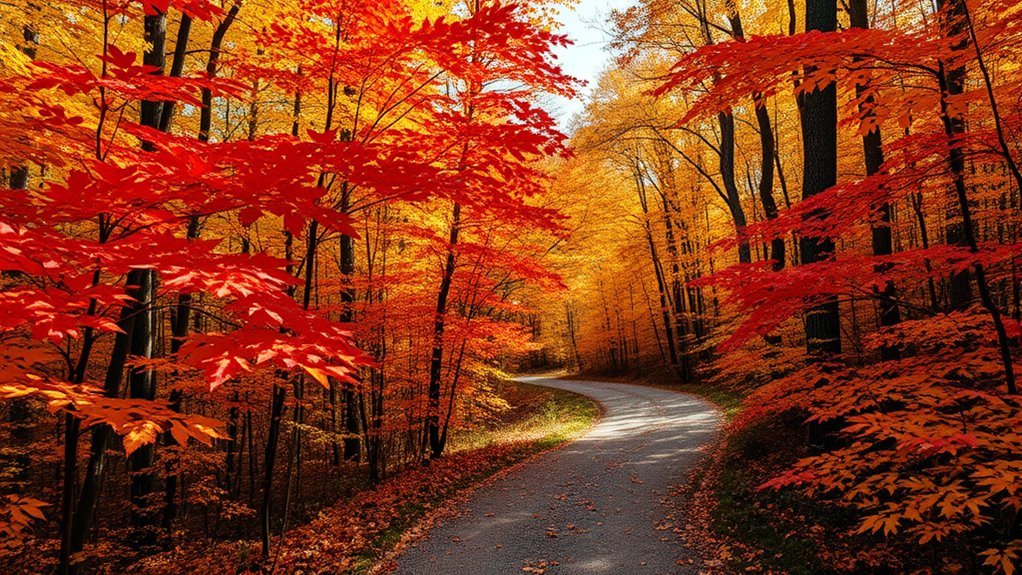
To make fall foliage colors truly pop in your photos, post-processing plays a crucial role in enhancing their vibrancy and realism. Start by adjusting the white balance toward warmer tones, like “cloudy” or manually increasing temperature, to highlight reds, oranges, and yellows. Use selective color adjustments to boost saturation and luminance of specific fall hues without oversaturating the entire image. Apply vibrance controls to enrich muted colors while protecting skin tones and highlights. Increase contrast with curves or levels to deepen shadows and brighten highlights, intensifying color perception. Correct any color casts, such as green or blue tints, to preserve natural hues. Finally, moderate clarity and texture enhancements reveal leaf details, but avoid over-processing to maintain a natural look.
Frequently Asked Questions
How Does White Balance Affect the Warmth of Fall Foliage Colors?
White balance directly influences how warm or cool your fall foliage appears. When you set it to auto, it often makes colors look dull or less vibrant. Instead, using presets like Daylight, Cloudy, or Shade, or adjusting Kelvin temperatures, adds warmth and richness to reds, oranges, and yellows. This makes your photos feel cozy and true to the season, highlighting the vibrant beauty of autumn leaves.
Which Lighting Conditions Best Highlight Vibrant Leaf Hues?
You’re about to discover the secret to making fall colors pop like fireworks. The best lighting for vibrant leaf hues is during the golden hour when sunlight’s warm glow enhances reds, oranges, and yellows. Overcast days are perfect too, diffusing light evenly and boosting saturation. Avoid harsh midday sun, which washes out colors. Instead, shoot during sunrise, sunset, or cloudy days to capture leaves at their most dazzling and true-to-life.
What Lens Choices Optimize Color Saturation in Fall Photography?
You should choose wide-angle lenses to capture expansive, vibrant fall landscapes or use moderate telephoto lenses to isolate colorful foliage details. Opt for prime lenses with high optical quality and coatings that reduce flare and chromatic aberrations, preserving color saturation. Use a wide aperture (f/2.8 to f/5.6) for shallow depth of field or stop down to f/8–f/11 for sharpness and consistent color. Adding polarizers and high-quality filters enhances saturation and contrast.
How Can Exposure Settings Maximize Color Richness and Detail?
Think of your camera as a painter’s palette, blending settings for vibrant hues. You’ll want to open your aperture wide (f/2.8-f/5.6) to isolate leaves, and adjust shutter speed to match lighting—fast on bright days, slower on overcast ones. Keep ISO low for clarity, and fine-tune exposure with compensation. Shooting in RAW lets you perfect colors later, ensuring your images burst with rich, detailed fall splendor.
What Composition Techniques Make Fall Scenes More Dynamic and Appealing?
To create dynamic fall scenes, you should focus on layering elements like trees, paths, and natural frames to add depth. Use different angles—above, below, or side—to highlight textures and patterns. Incorporate foreground and background for visual interest, and position your subject thoughtfully. Leading lines and selective focus help draw attention, while avoiding clutter ensures your composition remains clear and engaging, making your fall photos truly enthralling.
Conclusion
To make your fall photos truly stand out, remember that over 90% of color perception comes from how you capture and process your shots. By adjusting settings like white balance, choosing the right time and lens, and employing effective composition, you’ll bring out those vibrant leaf hues. Don’t forget to experiment with post-processing to enhance natural beauty. With these tips, you’ll turn everyday scenes into stunning autumn masterpieces that capture the season’s magic.

