To shoot and edit 10-bit log on mirrorless cameras, first enable the appropriate log profile like C-Log and guarantee your camera supports 10-bit recording. Use proper exposure tools like zebra or waveform, and monitor with external LUTs or calibrated monitors for accurate imagery. When editing, apply LUTs for visualization, then gradually adjust curves and contrast to maximize dynamic range. Mastering these steps open up professional-quality footage; if you’re curious, there’s more to explore.
Key Takeaways
- Enable and select a 10-bit log profile (e.g., C-Log, S-Log) in your camera menu before shooting.
- Use external monitors with LUT support and proper exposure tools to achieve optimal exposure in log mode.
- Lock manual settings (ISO, shutter, white balance) to maintain consistent footage quality during recording.
- Record in a compatible format that supports 10-bit color depth, using external recorders if necessary.
- In post-production, apply appropriate LUTs and perform advanced grading to maximize dynamic range and color fidelity.
Understanding the Benefits of 10-bit Log Recording

Understanding the benefits of 10-bit log recording helps you realize how this advanced format enhances your footage quality. With 10-bit color, you capture over one billion colors, compared to only 16 million in 8-bit footage. This allows for finer color gradations and reduces banding in skies and gradients. The increased dynamic range means more detail in shadows and highlights, which is essential for complex lighting scenes. Shooting in 10-bit log maximizes your camera sensor’s full potential, providing greater latitude for post-production adjustments. It’s especially critical for HDR projects, as the higher bit depth prevents banding and preserves image quality across a wide color gamut. Additionally, the color depth of 10-bit recording enables more precise color grading and correction, giving you greater creative control. Understanding color science helps you optimize your workflow and ensure accurate color reproduction. Incorporating color grading techniques in your editing process can further enhance the visual impact of your footage. Recognizing the importance of dynamic range allows you to better utilize your camera’s capabilities for more cinematic results. Gaining a deeper understanding of image processing can also help you maximize image quality in your workflow. Overall, 10-bit log recording gives you richer, more detailed footage that stands up to professional editing and delivery standards.
Enabling Log Profiles on Your Mirrorless Camera
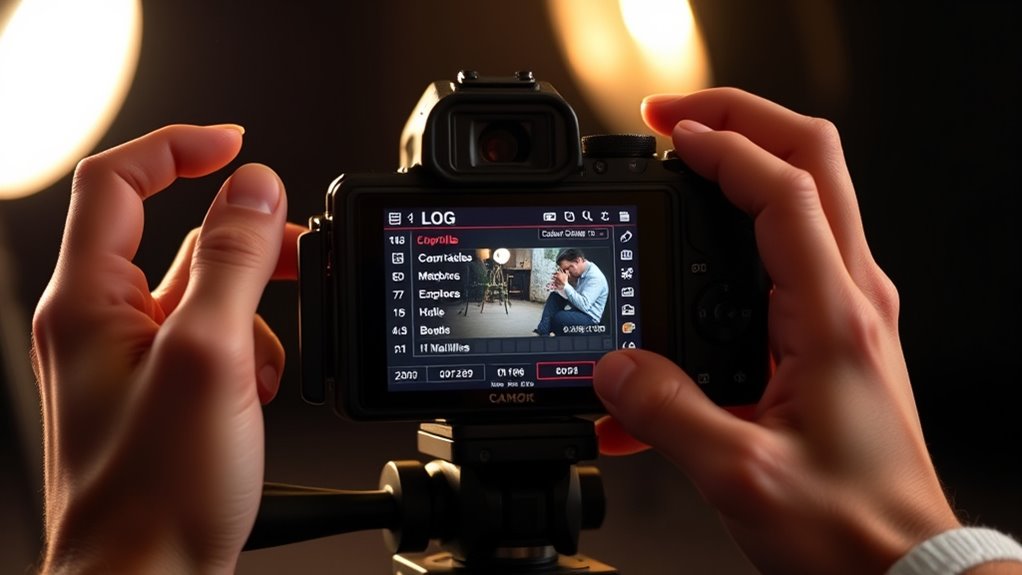
To enable log profiles on your mirrorless camera, you first need to select the right profile, like C-Log, that suits your shooting needs. Then, access the log mode settings through your camera’s menu and verify that your output confirms 10-bit recording. This process guarantees you get the maximum dynamic range and color grading flexibility for your footage. Additionally, understanding color accuracy can help you optimize your footage for a more vibrant and true-to-life image.
Selecting the Right Profile
Choosing the right log profile is essential for maximizing your camera’s dynamic range and ensuring smooth post-production workflows. Your choice depends on the balance between dynamic range, color grading flexibility, and your camera’s sensor capabilities. For example, C-Log 3 on Canon mirrorless cameras offers a good mix of dynamic range and easier grading, while other profiles like Cinelike or S-Log vary in compression and color gamut. Consider your sensor’s native dynamic range to avoid noisy shadows or clipped highlights. Keep in mind that different profiles influence contrast and saturation, which are flattened for grading. Testing various options under your shooting conditions helps identify the best fit for your project.
- Match profile to desired dynamic range and grading workflow
- Evaluate available options (e.g., C-Log 3, Cinelike, S-Log)
- Consider sensor’s native dynamic range for ideal results
- Test profiles in real shooting conditions
Accessing Log Mode Settings
Accessing log mode settings on your mirrorless camera starts with maneuvering through the main menu. First, locate the video or color profile section, often labeled as “Picture Profile,” “Color Style,” or “Creative Styles.” Within this submenu, look for log profiles such as “Log,” “Film Log,” “Cinelike,” or brand-specific options like “C-Log” or “S-Log.” Confirm you’re in the video profile menu, as some cameras separate photo and video settings. Verify that the log profile is available and selectable; firmware updates may be necessary to release these options. Once found, select the desired log profile compatible with your camera, customize settings if possible, and activate it. Some models automatically enable 10-bit recording when logging is turned on. Additionally, understanding the symbolism within log profiles can help you better interpret your footage for post-production. Recognizing the personality traits associated with different log profiles can also assist in achieving your desired cinematic look during editing. To ensure optimal footage quality, it’s also helpful to familiarize yourself with the color grading techniques used in post-processing to maximize the benefits of log recording. Exploring monitor calibration can further improve your ability to evaluate footage accurately during recording and editing. Being aware of the color palette that each log profile offers can aid in making better creative decisions while filming.
Confirming 10-bit Output
Ensuring your camera outputs 10-bit video is essential for taking full advantage of log profiles and capturing a wider range of colors and details. First, verify your camera’s specifications to confirm it supports 10-bit output, often found in higher-end models like the Canon EOS R5 or Sony mirrorless cameras. Next, check your menu settings to enable log profiles such as C-Log or S-Log, ensuring the camera is configured correctly for 10-bit recording. Some cameras might require external recorders to achieve 10-bit output if not supported internally. Finally, review your footage in post-production using compatible editing software to confirm the footage displays the full color depth and dynamic range.
- Verify camera specifications for 10-bit support
- Enable log profiles in menu settings
- Use external recorders if necessary
- Review footage for correct color depth
Setting Up Proper Exposure and Monitoring Techniques

To get the best results, you need to use your camera’s exposure tools like histograms, zebras, and false color to monitor your footage accurately. Keep your settings consistent and adjust these tools as needed to prevent clipping in highlights or shadows. Using LUTs on external monitors can also help you see the final graded look during filming, ensuring proper exposure throughout your shoot. Additionally, understanding skin tone reproduction can help you better interpret and manage high-value data in your footage or settings. Being aware of relationship dynamics can also assist in creating a comfortable environment for subjects, leading to more natural footage. Incorporating professional equipment can further improve your monitoring accuracy and overall footage quality.
Use Exposure Tools
Using the right exposure tools is essential when shooting in 10-bit log to maximize image quality and maintain flexibility in post-production. These tools help you accurately judge exposure, prevent highlight clipping, and retain shadow detail. Rely on waveform monitors and histograms to get objective feedback on your image’s brightness and contrast. Zebras are useful for flagging overexposed areas, ensuring you don’t clip highlights. Regularly check your scopes to adapt quickly to changing lighting conditions, especially in dynamic shoots. Remember, log footage can look flat and misleading; using these tools offers reliable, real-time data to fine-tune your exposure. Proper use of exposure tools ensures you capture the full dynamic range of your sensor with minimal noise and maximum grading potential. Additionally, understanding proper exposure techniques helps you make the most of your camera’s capabilities and achieve professional-quality results. Being familiar with exposure monitoring methods ensures consistent results across different shooting scenarios, saving time in post-production. Staying informed about the latest industry transformations can also help you adapt your workflows to new tools and standards, enhancing your overall shooting strategy. Affiliate disclosures can help you understand how to choose the right accessories for your camera setup.
Monitor With LUTS
Applying preview LUTs directly on your camera’s monitor allows you to see a more accurate representation of your footage’s color and contrast in real-time, making exposure and framing decisions much easier. Many mirrorless cameras support internal LUTs that transform flat log images into a Rec.709-like look without affecting the recorded footage, keeping files flexible for grading. If your camera lacks this feature, an external monitor with LUT support is a good alternative. Using preview LUTs helps prevent misjudging exposure and contrast, especially in tricky lighting. Remember, these LUTs are for monitoring only—they don’t bake into the files. Combining LUT preview with scopes like waveform and histogram ensures your footage maintains proper exposure, preserving maximum detail for post-production. Additionally, understanding the log format of your footage can help you better interpret your monitor’s LUTs and achieve optimal results.
Maintain Consistent Settings
Maintaining consistent camera settings is essential for achieving reliable and high-quality log footage. When your exposure and color settings are steady, your footage stays predictable, making grading easier. Lock manual exposure settings like ISO, shutter speed, and aperture to prevent automatic adjustments that can disrupt your look. Set a fixed white balance suited for the environment to maintain color consistency. Use manual focus or focus peaking to keep sharpness steady, since autofocus can struggle with flat log images. Keep your frame rate and resolution constant to avoid post-production issues. Make deliberate exposure adjustments between scenes instead of relying on auto modes. This consistency ensures your footage remains clean, with maximum dynamic range and minimal noise. Consistent settings help maintain the integrity of your footage throughout the shoot. Additionally, monitoring tools like waveform and vectorscope can assist in maintaining accurate exposure and color balance in real-time. Regularly calibrating your camera’s display settings can further improve your ability to judge exposure accurately during filming.
Using External Monitors and Preview LUTs for Accurate Visualization

External monitors with LUT support are essential tools for achieving accurate visualization of 10-bit log footage. They allow you to apply preview LUTs, which display a Rec.709 look, making it easier to assess color, contrast, and exposure during shooting instead of viewing a flat log image. Since many cameras lack preview LUT support on their built-in screens, an external monitor like the Atomos Ninja V becomes vital. These monitors support camera-specific LUTs, converting the log image for real-time monitoring with higher resolution and better color accuracy. This helps you avoid misjudging exposure and white balance. Supporting 10-bit color depth and using reliable connections like HDMI 2.0 or SDI ensures smooth, accurate previews, making external monitors and LUTs indispensable for precise visualization on set. Additionally, choosing a monitor with high color fidelity ensures that what you see is an accurate representation of your final image. To further enhance your workflow, understanding color grading principles can help you make better decisions during shooting and post-production.
Best Practices for Shooting in 10-bit Log Mode

Shooting in 10-bit log mode requires careful attention to exposure and image quality to guarantee the full benefits of the format are realized. Proper exposure ensures you retain detail in shadows and highlights, avoiding noise and clipping. Use tools like histograms, zebras, and false color to target midtones or skin tones for accurate results. Monitor exposure scopes constantly, especially with changing lighting conditions, since log footage has less latitude than RAW. Recording in 10-bit maximizes color depth and reduces banding, giving you more flexibility during grading. Choose the appropriate log profile for your camera to capture the widest dynamic range. Preview LUTs help visualize the final look without baking in color. Consistent log profiles and vigilant exposure control are key to shooting high-quality 10-bit log footage.
- Use exposure tools like histograms and false color
- Aim to expose for midtones or skin tones
- Monitor scopes continuously during shooting
- Record in 10-bit for maximum color depth
Importing and Preparing Footage for Color Grading
To guarantee your 10-bit log footage is ready for accurate color grading, start by choosing editing software that fully supports high bit depth and log formats, such as DaVinci Resolve, Premiere Pro, or Final Cut Pro. Import your footage using native codecs compatible with your camera’s log profile to preserve dynamic range and color data. Set your project or timeline to the correct color space, often Rec.709 or BT.2020, depending on your output. Apply LUTs designed for your log profile immediately after import to convert footage to a standard color space. Confirm your timeline and playback settings support 10-bit video to prevent banding or playback issues. Organize your clips by log profile and camera settings, and consider using proxies if needed, keeping original files safe for quality.
Applying LUTs and Performing Basic Color Corrections
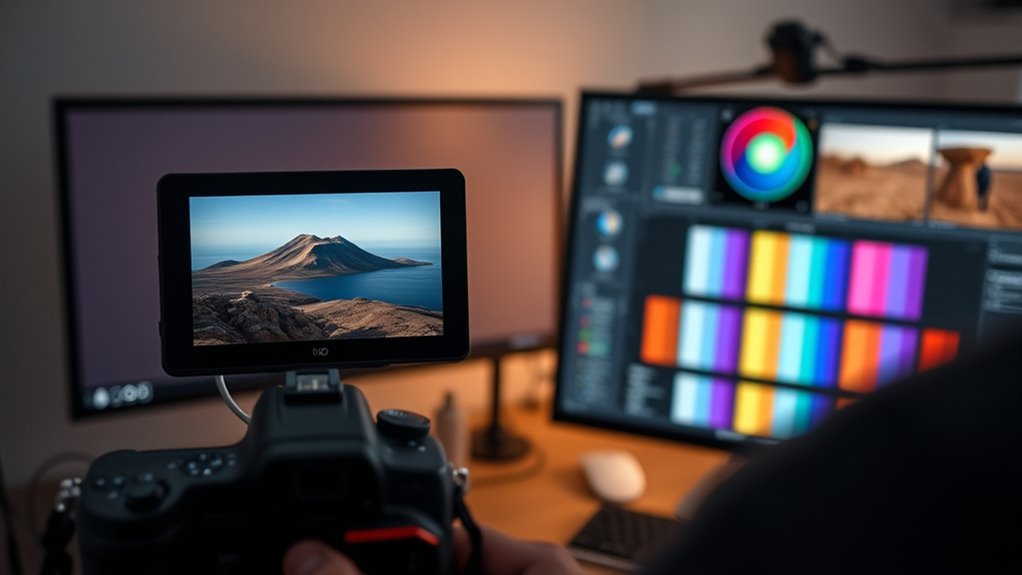
Applying LUTs and performing basic color corrections are essential steps to transform flat, log footage into a visually appealing image. You start by importing your Log footage into compatible editing software. Applying a technical LUT converts the Log image into a standard color space like Rec.709, restoring natural colors and contrast. You can then add creative LUTs for stylistic effects, adjusting their strength to prevent unnatural hues. After LUT application, refine your image by adjusting exposure, contrast, saturation, and white balance. Use curves and color wheels to balance highlights, midtones, and shadows, ensuring no clipping or crushing occurs. This process preserves image quality while preparing footage for further grading.
Transform flat log footage with LUTs and basic color corrections for a polished, natural look.
- Apply technical LUTs for base correction
- Blend creative LUTs for style
- Adjust exposure, contrast, and color
- Fine-tune highlights, midtones, shadows
Advanced Grading Techniques to Maximize Dynamic Range and Color Depth
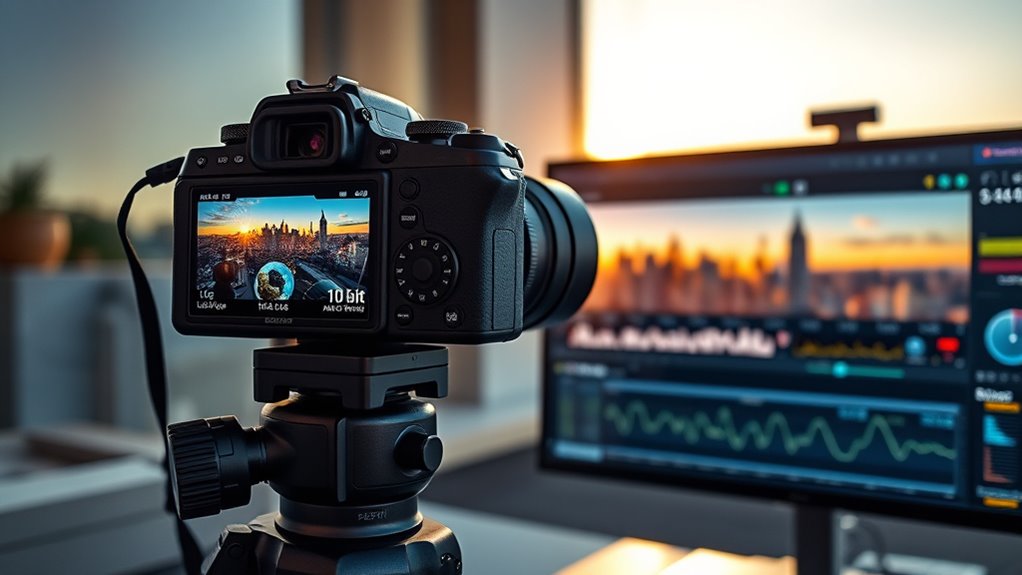
Building on your foundational color corrections, mastering advanced grading techniques allows you to unseal the full potential of your log footage’s dynamic range and color depth. Use curve adjustments to selectively enhance shadows, midtones, and highlights, revealing hidden details. Employ highlight recovery tools to restore clipped areas without introducing artifacts or color shifts. Carefully fine-tune contrast and saturation to preserve natural color while maximizing the flat log image. Utilize secondary color correction to target specific hues or luminance ranges for creative or corrective purposes. Leverage HDR workflows or software capable of processing the expanded dynamic range encoded in log footage, enabling you to push the limits of your image. These techniques give you greater control, helping you achieve a more dynamic, vibrant, and professional final look.
Tips for Ensuring Workflow Compatibility and Quality Output

Ensuring your workflow supports 10-bit log footage is essential for maintaining high quality from shooting to delivery. To do this, choose cameras with internal or external 10-bit recording capabilities. Use preview LUTs on-camera or on external monitors to visualize colors and exposure without permanently altering your footage. Carefully monitor exposure with waveform or false color tools to prevent clipping and shadow loss. Confirm your editing software supports 10-bit files and relevant color spaces, like BT.2020 or Rec.709, to avoid workflow bottlenecks. Maintain consistent color management from ingest to export by applying LUTs, converting log to standard color spaces, and transforming color profiles. These steps help preserve color fidelity and ensure professional-grade output.
Supporting 10-bit log footage ensures high-quality, professional results from shooting through post-production.
- Use cameras with 10-bit recording support
- Apply preview LUTs for accurate visualization
- Monitor exposure meticulously with tools
- Ensure editing software supports 10-bit workflows
Frequently Asked Questions
Can I Record 10-Bit Log Internally on All Mirrorless Cameras?
You can’t record 10-bit log internally on all mirrorless cameras. This feature is limited to higher-end or newer models like Nikon Z 6, Z 7, and some Sony α-series cameras. Many entry-level or budget models only support 8-bit recording internally, requiring external recorders for 10-bit footage. Always check your camera’s specifications to see if it supports internal 10-bit log, as it’s not universally available across all mirrorless models.
How Do I Choose the Right LUT for My Camera’s Log Profile?
Imagine your footage as a blank canvas, waiting to reveal its true colors. To do that, you need the right LUT that matches your camera’s log profile precisely. Check your camera’s manufacturer and log version first. Use a LUT designed specifically for that profile—like fitting a key into a lock. Test it on sample footage to verify it preserves detail, then apply it confidently for consistent, accurate colors throughout your project.
Is It Necessary to Use an External Recorder for 10-Bit Footage?
You don’t always need an external recorder for 10-bit footage. Many mirrorless cameras offer internal 10-bit recording, which simplifies your workflow and reduces gear. However, if your camera only records in 8-bit or you want higher quality and better color grading options, an external recorder becomes essential. It provides superior bit depth, cleaner HDMI output, and more flexibility, especially for professional projects requiring maximum image quality.
What Are Common Exposure Mistakes When Shooting in Log Mode?
Did you know that improper exposure can ruin 80% of your footage? When shooting in log mode, you often make mistakes like overexposing by more than 2 stops, causing highlight clipping, or underexposing, which increases noise in shadows. Ignoring exposure tools, not using false color or waveform monitors, and treating log like Rec.709 can limit your post-production flexibility. Always monitor with proper tools and expose carefully to maximize your footage’s potential.
How Does 10-Bit Log Footage Affect Post-Production Workflow Compatibility?
You’ll find that 10-bit log footage enhances post-production workflow by offering richer color detail and wider dynamic range, making color grading more flexible. However, it requires compatible editing software, powerful hardware, and proper file management. You need to use proxies during editing, relink to original files for final grading, and apply LUTs for accurate color transformation. This ensures your high-bit footage maintains quality throughout editing, grading, and delivery, especially for HDR projects.
Conclusion
Now that you know how to shoot and edit in 10-bit log on your mirrorless camera, the real challenge begins: revealing its full potential. With the right techniques, you can push your footage to stunning levels of quality and creativity. Are you ready to explore the limitless possibilities of 10-bit log? Your next masterpiece awaits — but only if you take the plunge and master these advanced skills. The future of your filmmaking starts now.

