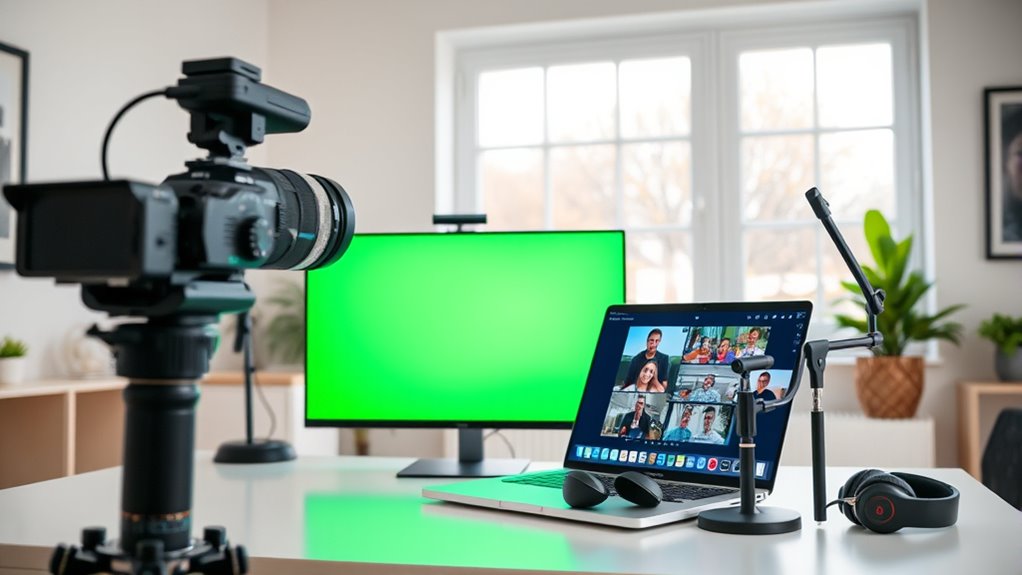
To use OBS green-screen for Zoom calls, set up a solid green background 3-6 feet behind you, evenly light it with soft, diffuse lights, and guarantee your wardrobe avoids green clothes. Add a chroma key filter in OBS, tweak settings for a clean effect, then activate the OBS Virtual Camera. Switch your Zoom camera to OBS Virtual Camera. master these basics, and you’ll discover how to achieve professional, seamless virtual backgrounds with ease.
Key Takeaways
- Set up and position a clean, evenly lit green screen 3–6 feet behind you.
- Use OBS to add your camera source, then apply the “Chroma Key” filter and adjust settings for a clean background removal.
- Select the desired virtual background in OBS or through Zoom’s virtual background options.
- Enable OBS virtual camera and select it as your camera in Zoom’s video settings.
- Test and tweak lighting, chroma key, and background before your call for optimal results.
Essential Equipment and Setup Requirements
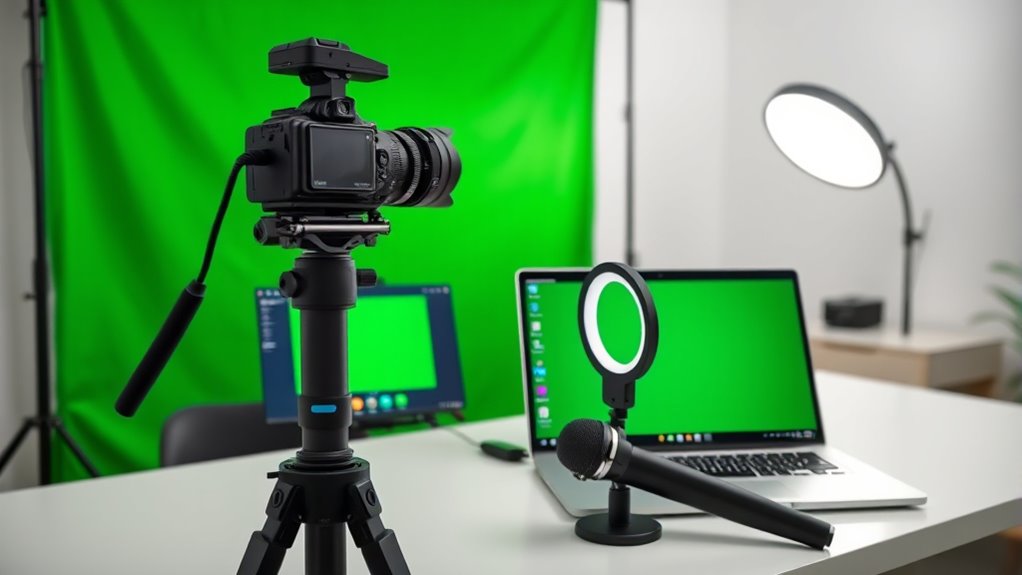
To achieve a clean green screen effect, you need the right equipment and proper setup. Start with a solid, wrinkle-free green fabric or collapsible green screen to guarantee a uniform color and smooth surface. The ideal green is RGB (0, 255, 0), which provides the best chroma key results. A larger green screen offers full-body coverage and greater framing flexibility, while portable, foldable options like Elgato are perfect for small spaces. Avoid shiny or reflective materials that cause hotspots or uneven lighting. Proper lighting is also essential; use multiple light sources to evenly illuminate the green screen and eliminate shadows. Softbox or LED panel lights help diffuse light and maintain consistency. Selecting high-quality anime movies can inspire creative backgrounds or themes for your video calls. Additionally, understanding self watering plant pots can be useful if you plan to incorporate natural elements into your background setup. Using lighting control tools can further enhance your green screen performance and improve chroma key accuracy. Being aware of AI security concerns can help you protect your digital workspace from potential vulnerabilities. With the right equipment and setup, you’ll set a solid foundation for seamless chroma keying.
How to Configure Chroma Key Filter in OBS Studio
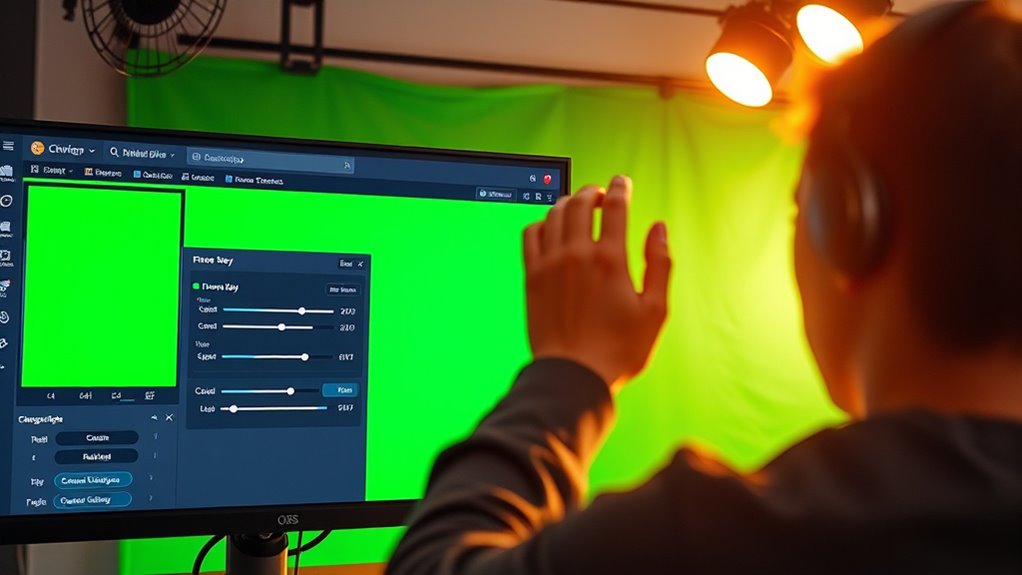
To configure the chroma key filter in OBS Studio, start by right-clicking your camera source and adding the filter from the Effects Filters menu. Once added, OBS applies automatic baseline settings, which you can manually fine-tune for the best green screen removal. Adjust parameters like similarity and smoothness to achieve a clean, natural-looking background replacement. For optimal results, consider diversifying investments to manage risks effectively in your green screen setup.
Adding the Chroma Key Filter
Adding the Chroma Key filter in OBS Studio is straightforward and automatically applies baseline settings optimized for green screen removal. To do this, right-click your webcam or camera source in the Sources pane, then select “Filters.” In the Filters window, click the “+” button under “Effect Filters” and choose “Chroma Key” from the list. Give the filter a name for easy identification. Once added, OBS automatically applies default settings that work well for most green screens. You can apply the filter to any video source, such as webcams or images, to remove the green background and enable transparency. This feature is widely used in gaming, Zoom calls, live interviews, and talk shows. Adding the filter is quick and simple, making green screen integration accessible to everyone. Proper lighting conditions and background setup are essential for achieving the best chroma key results, especially when aiming for a professional appearance in your virtual backgrounds. Additionally, understanding IRA tax implications can help you plan your withdrawals effectively to maximize your savings and minimize tax liabilities. Ensuring your background setup is consistent and well-lit will help the chroma key work more effectively and produce a cleaner virtual background.
Fine-tuning the Settings
Fine-tuning the Chroma Key filter in OBS Studio involves adjusting specific settings to achieve a natural and seamless green-screen effect. You’ll want to carefully balance the sliders to remove background without affecting the subject. Use the Similarity slider to expand or restrict the range of green hues, increasing it gradually. Smoothness softens edges for a more natural look. To help eliminate green spill, adjust Spill Reduction while selecting the correct Key Color with the color picker. Table below summarizes key adjustments:
| Setting | Purpose | Tip |
|---|---|---|
| Similarity | Remove green hues | Increase gradually |
| Smoothness | Softens edges | Adjust for smooth borders |
| Spill Reduction | Minimize green reflection on subject | Use carefully to avoid unnatural tones |
Monitoring your preview and tweaking settings as lighting or background changes is essential for optimal results. Additionally, understanding green screen techniques can help optimize your setup for better results. For improved accuracy, ensure your lighting setup is even and eliminates shadows that could interfere with chroma keying.
Lighting and Positioning Techniques for Optimal Results
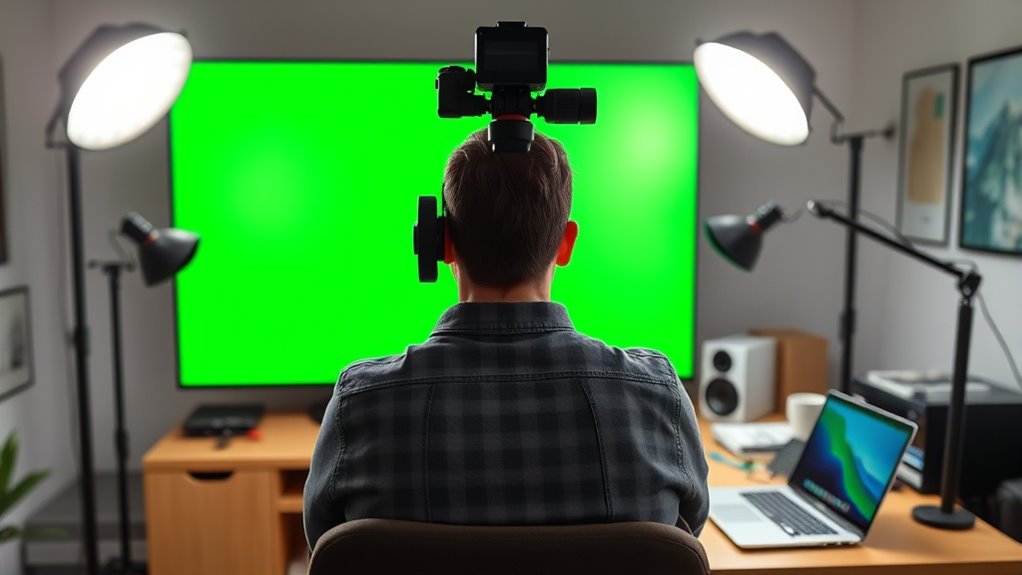
To get the best green-screen results, you need to focus on proper light placement that evenly illuminates the background and separates you from it. Minimizing shadows is essential, so use diffuse lights and position your subject at a safe distance from the screen. Also, choose wardrobe and materials that don’t reflect or blend with green to avoid issues during chroma keying. Additionally, being aware of data privacy challenges can help you understand how to protect your personal information when using online streaming tools. Incorporating lighting adjustments tailored to your setup can further enhance the chroma key effectiveness. Proper crochet styles for locs can also add a professional look to your video background, especially if you want to showcase your craft skills during calls. Moreover, using mindfulness techniques such as focused breathing can help reduce stress and improve your concentration during setup and filming. Understanding neighborhood dynamics can also assist in selecting a suitable environment for your background, ensuring it complements your professional appearance and setting.
Proper Light Placement
Proper light placement is essential for achieving a clean, evenly lit green screen that makes chroma keying easy and professional-looking. Position your lights at about 45 degrees on both sides of the screen to ensure even coverage and minimize shadows. Keep the lights outside the camera’s view to prevent shadows behind you. Place the lights at equal distances and angles from the screen to avoid hotspots or dark spots. Use soft, diffused lighting like LED panels or softboxes for consistent brightness and color temperature. Avoid placing lights too close to prevent spill and hotspots. Here’s a quick overview:
| Positioning Tip | Purpose | Example |
|---|---|---|
| 45° angles on sides | Even lighting, shadow reduction | Use softbox lights |
| Equal distance from screen | Uniform green illumination | Keep lights at same height |
| Outside camera view | No shadows behind subject | Angle lights away from lens |
| Keep distance from screen | Minimize spill and hotspots | 3-4 feet away from green screen |
Additionally, proper lighting techniques are crucial for achieving the best results with your green screen setup. Incorporating consistent color temperature in your lighting setup helps maintain a uniform background, making chroma keying more seamless. Ensuring lighting consistency across all your lights not only improves the visual quality but also simplifies the post-production editing process. Paying attention to lighting quality and adjusting your setup accordingly can significantly enhance the overall professionalism of your videos. Moreover, understanding proper light placement allows you to adapt to different filming environments and achieve optimal results.
Minimize Shadows Effectively
Maintaining a safe distance of 3 to 4 feet between you and the green screen is essential for minimizing shadows and reducing green spill. This helps prevent shadows from falling onto the screen and keeps the chroma key clean. To further improve lighting:
- Position your subject centrally within the green screen to avoid shadows outside the coverage zone.
- Use a backlight behind you to separate you from the background, reducing shadows and halo effects.
- Place a fill light opposite the key light, with diffusers, at 30–60 degrees to soften shadows on your face and body.
- Regularly monitor your setup with a camera to ensure proper lighting and positioning, as recommended by best practices in lighting and setup.
- Ensure your lighting setup minimizes green spill, which can cause color contamination and make keying more difficult. Incorporating proper lighting distance can also help control spill and improve overall chroma key quality.
- Adjusting the distance and angle of your lights based on Honda tuning principles can help optimize your setup for better results. Additionally, using high-quality lighting equipment can further enhance the effectiveness of your green screen setup.
Wardrobe and Material Tips
Choosing the right wardrobe and materials is essential for achieving a clean green screen effect. Avoid green clothing to prevent blending into the background, which causes invisibility or transparency. Instead, opt for jewel tones like blues and purples that contrast well and complement most virtual backgrounds. Solid colors work best, as complex patterns can distract and cause chroma key errors. For materials, select non-reflective, matte fabrics that absorb light and reduce green spill. Avoid shiny or thin fabrics that may create glare or transparency issues. Ensure your clothing is wrinkle-free to prevent shadows. Test your outfit under actual lighting conditions beforehand. Also, avoid accessories with green hues or reflective surfaces to keep the green screen clean and clear, ensuring a professional-looking virtual presentation. Incorporating diverse designs from the indoor gardening world can serve as inspiration for creating textured or patterned backgrounds that enhance your virtual setup. Paying attention to lighting and positioning techniques can further improve the overall chroma key effect by minimizing shadows and green spill. Additionally, choosing fabrics inspired by rustic decor can add a textured visual element that complements the farmhouse theme, making your background more engaging and authentic. Moreover, understanding how Gold IRA rollovers work can help you diversify your retirement portfolio and secure your financial future. Being aware of tableware trends and materials can inspire virtual backgrounds with elegant or casual dining scenes, adding a touch of sophistication to your setting.
Activating OBS Virtual Camera for Zoom Integration
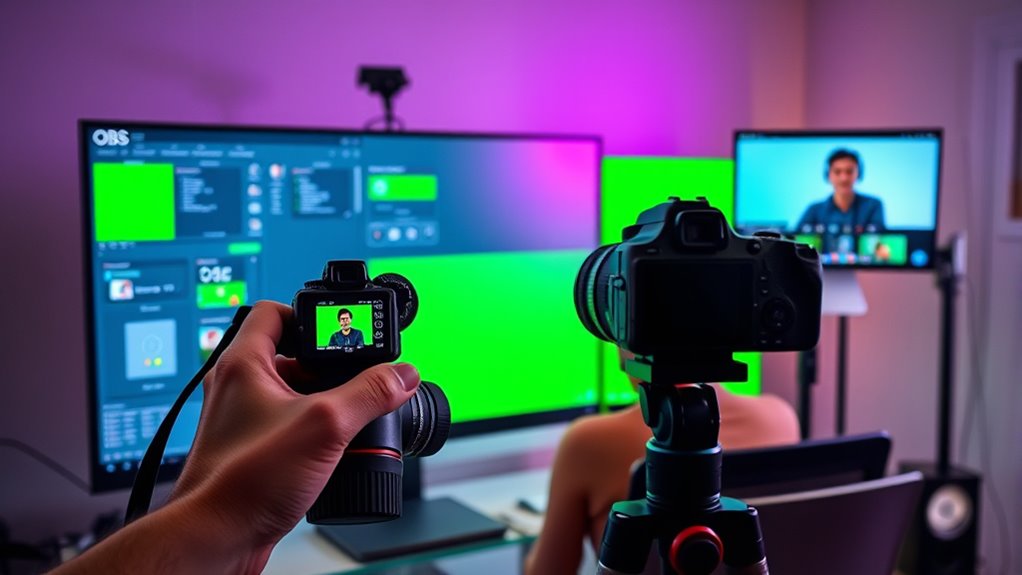
To activate the OBS Virtual Camera for Zoom, start by opening OBS Studio and locating the Controls panel. Then, follow these steps:
- Click the Start Virtual Camera button to turn on the virtual camera output.
- Check the status indicator next to the button to confirm it’s active.
- If the button isn’t visible, update OBS Studio to the latest version to guarantee compatibility.
- Ensure that your system’s video input devices are correctly configured and recognized to prevent connection issues. Additionally, verify that your hardware specifications meet the requirements for smooth streaming and virtual camera operation.
- Regularly update your software to benefit from security patches and new features that enhance virtual camera stability.
Once activated, the OBS virtual camera streams your scene as a source in other applications. To use it in Zoom, open Zoom’s Settings, go to the Video tab, and select OBS Virtual Camera from the camera dropdown. If it doesn’t appear, close and reopen Zoom to refresh device detection.
Customizing Backgrounds for a Professional Look
Creating a professional look on your Zoom calls starts with selecting the right backgrounds and preparing them properly. Use high-resolution images or videos to prevent pixelation, and choose backgrounds that match your meeting’s tone, like office settings or branded visuals. Avoid busy or distracting images that take attention away from you. Ensure your backgrounds have consistent lighting and color balance for seamless blending. For lower-end systems, opt for transparent or simple virtual backgrounds to improve performance. Here’s a quick overview:
| Aspect | Tips | Considerations |
|---|---|---|
| Resolution | Use high-res images | Prevent pixelation |
| Content | Match professional tone | Office or branding |
| Simplicity | Avoid clutter | Reduce distraction |
| Lighting | Keep consistent | Blend naturally |
| System | Use simple backgrounds | Improve performance |
Additionally, regularly monitor your production quality to ensure your virtual backgrounds remain clear and professional.
Tips for Troubleshooting and Ensuring Smooth Operation
Ensuring your green screen setup runs smoothly during Zoom calls requires proper troubleshooting and system optimization. First, test your OBS virtual camera in Zoom beforehand to confirm the background replacement works seamlessly. Second, close any unnecessary applications that may compete for system resources, preventing lag or dropped frames. Third, use OBS’s “Studio Mode” to preview and adjust scenes without affecting your live output during the call. Additionally, check for color spill by increasing the distance between you and the green screen or adjusting lighting angles. Eliminate shadows with proper lighting and avoid wearing green clothing. Keep your software updated and monitor CPU and GPU usage to prevent performance issues. These steps help maintain a professional, smooth virtual background experience during your Zoom meetings.
Best Practices for Maintaining Quality During Calls
Maintaining high-quality visuals during Zoom calls with OBS green screen setup hinges on proper lighting, camera placement, and environment management. Use soft, even lighting to prevent shadows and avoid green spill on the subject. Position at least two lights to evenly illuminate the green screen, and light the subject separately with daylight bulbs for consistent color. Keep the green screen flat, wrinkle-free, and placed 3–6 feet behind you to minimize shadows and spill. In OBS, add the Chroma Key filter and adjust settings for a clean key. Use a high-definition, focused camera to frame your head and shoulders, avoiding wide lenses. Ensure a stable internet connection, close unnecessary apps, and test your setup before calls to preserve quality and smooth operation.
Frequently Asked Questions
Can I Use a Regular Webcam for Green-Screen Effects in OBS?
Yes, you can use a regular webcam for green-screen effects in OBS. Just make certain your webcam has good resolution, ideally 720p or 1080p, and disable automatic settings like exposure and white balance for consistent results. Proper lighting and a solid green background are essential. Keep in mind that quality may vary depending on your webcam’s capabilities, but with the right setup, you can achieve decent chroma key effects.
How Do I Troubleshoot if My Virtual Camera Isn’t Recognized in Zoom?
So, your virtual camera isn’t playing nice with Zoom? That’s ironic, right? First, double-check OBS is updated and the virtual camera is enabled and running. Then, make sure Zoom has permission to access your camera and has the OBS virtual camera selected. Close other apps using the camera, restart Zoom, or even your computer if needed. Sometimes, a simple restart solves the unrecognition mystery!
What Are the Best Lighting Setups to Avoid Green Spill?
To avoid green spill, you should keep at least 3 to 4 feet between you and the green screen, increasing distance if lighting is strong. Position your main light at a 45-degree angle and use a fill light to soften shadows. Guarantee even, soft lighting across the green screen with diffusers, and avoid direct front lighting. Proper room setup and adjustable lights help minimize reflections and color bleed for a cleaner chroma key.
How Can I Add Animated Backgrounds Behind My Green Screen?
Imagine transforming your scene with dynamic visuals behind you—adding animated backgrounds in OBS is simpler than you think. First, import your animated video or GIF as a media source, then place it beneath your webcam in the sources list. Loop the animation for continuous motion, and resize it to fit perfectly. Use the OBS Virtual Camera, select it in Zoom, and watch your live calls come alive with engaging, animated backdrops.
Is It Possible to Use OBS on a Mac for Zoom Green-Screen?
Yes, you can use OBS on a Mac for Zoom green-screen effects. First, set up your camera and apply the chroma key filter in OBS. Then, enable the Virtual Camera feature in OBS, which acts as a virtual webcam. In Zoom, select OBS Virtual Camera as your video source. This way, your green screen background appears seamlessly during your Zoom calls, giving you a professional look.
Conclusion
Now that you’re armed with this green-screen secret sauce, your Zoom calls will transform into a cinematic experience. Think of OBS as your magic wand, turning simple backgrounds into mesmerizing scenes. With a little setup and some tweaking, you’ll be the star of every virtual show. So go ahead—dive in, experiment, and let your creativity shine through. Your professional, eye-catching backgrounds are just a few clicks away from stealing the spotlight.

