To set up OBS for vertical TikTok Live, start by changing your canvas resolution to 1080×1920 pixels to match the 9:16 aspect ratio. Use the Aitum Vertical plugin for seamless portrait support, and configure your output settings accordingly. Organize your sources vertically, add overlays designed for mobile screens, and make certain your virtual camera is active. Adjust your bitrate and frame rates for the best quality. Following these steps will help you create engaging vertical streams—keep exploring for more tips.
Key Takeaways
- Set the base and output resolution to 1080×1920 pixels for a 9:16 vertical aspect ratio.
- Install the Aitum Vertical Plugin and enable vertical mode in OBS.
- Use OBS Virtual Camera as a source in TikTok Live Studio, matching frame rate and resolution.
- Configure bitrate (4000-6000 kbps) and FPS (30 or 60) for smooth, high-quality streaming.
- Test the setup thoroughly, check preview on both OBS and TikTok, and lock sources for stability.
Configuring the OBS Canvas for Vertical Video
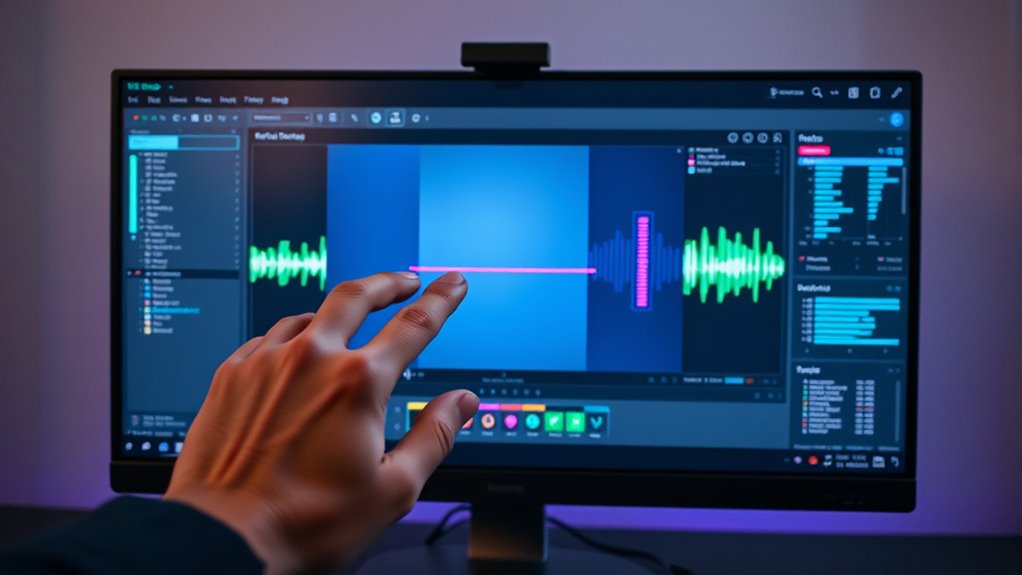
To properly configure the OBS canvas for vertical video, you need to set the base (canvas) resolution to 1080 by 1920 pixels, which creates a 9:16 aspect ratio ideal for TikTok Live. This guarantees your stream matches the vertical format preferred on mobile devices. Make sure the output resolution also matches the canvas to prevent distortion or black bars. Set the frame rate to 30 FPS for smooth playback and bandwidth efficiency, or 60 FPS if you want higher motion clarity and your connection allows. Use the Custom Streaming Server option in OBS to input TikTok’s Stream URL and Stream Key. Confirm that your format supports TikTok, ideally MP4 or MOV files, especially if you’re incorporating pre-recorded content into your scenes. Additionally, understanding projector contrast ratio can help optimize your visual presentation, ensuring bright, vivid images that match your streaming quality.
Creating and Managing OBS Profiles and Scene Collections
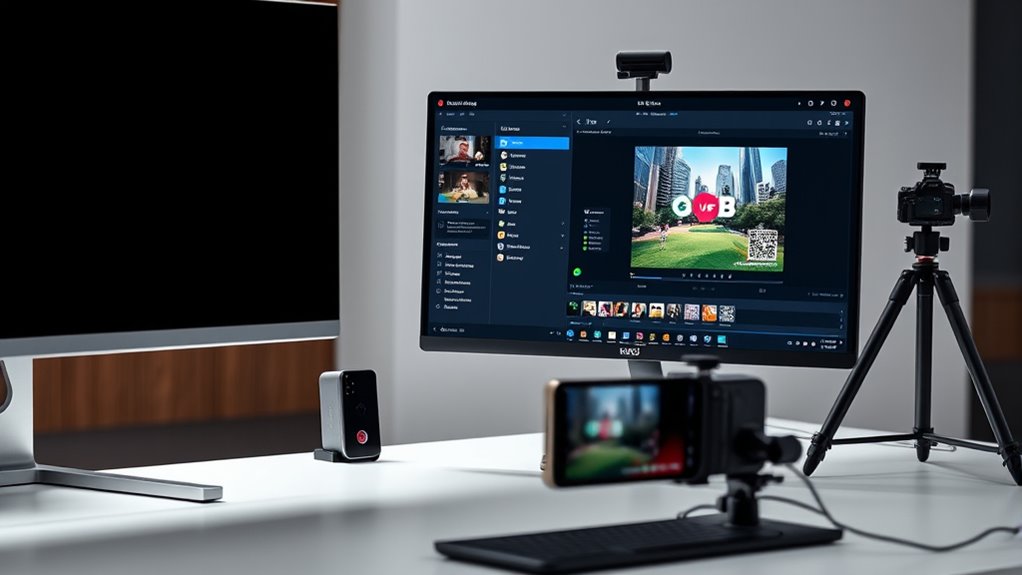
Creating and managing OBS profiles and scene collections is essential for streamlining your setup and switching between different content types or platforms efficiently. Profiles save key settings like output configuration, making it easy to adapt for various streams or recordings. proper organization not only improves your workflow but also helps prevent accidental overwrites and misconfigurations. Scene collections hold your sources and layouts, allowing quick changes without affecting profile settings. To optimize your workflow:
- Use the “Profiles” menu to create, duplicate, rename, or delete profiles tailored for each platform.
- Export profiles for backups or transferring settings between devices.
- Manage Scene Collections separately to organize different layouts for each content type.
- Rename Scene Collections to match their purpose, like “TikTok Vertical Scenes.”
- Remember that efficient management ensures a smoother transition between streaming setups and reduces setup time during live sessions.
- Incorporating optimized profiles based on your content style can further enhance your streaming efficiency and quality.
- Additionally, leveraging streamlined workflows helps maintain consistency and professionalism across your broadcasts.
This organization keeps your workspace clean and simplifies switching between setups for different platforms or stream styles.
Arranging Sources in a Vertical Layout
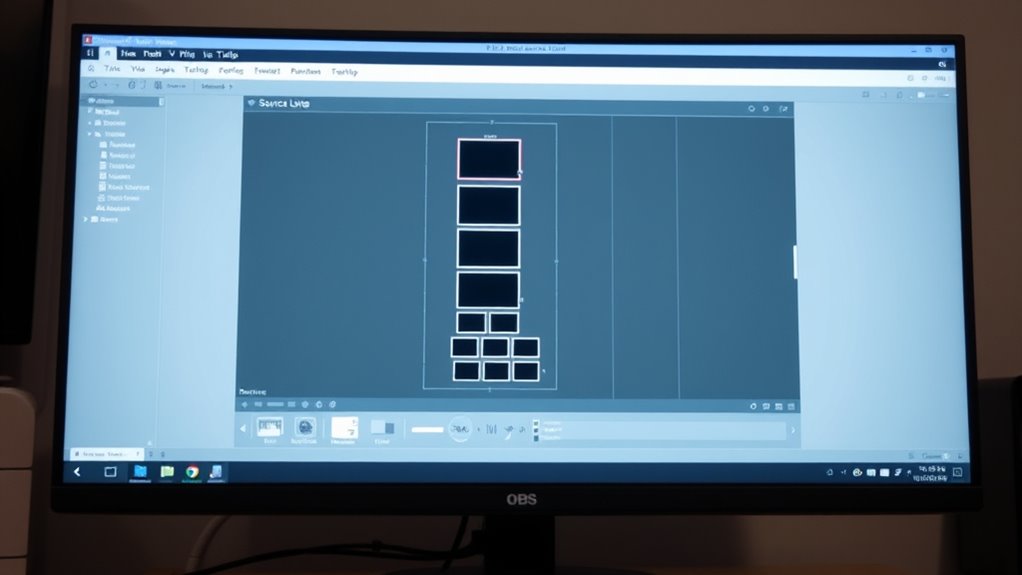
To create an engaging vertical layout, you need to carefully position your sources and manage overlay placement. Use OBS’s tools to arrange elements like chat boxes, logos, and video feeds, ensuring they’re placed for maximum viewer impact. Lock your sources once positioned to prevent accidental shifts during your TikTok Live broadcast. Additionally, consider incorporating visual harmony by balancing colors and styles to create a cohesive and inviting atmosphere. Remember that OBS’s security features help protect your stream’s layout and prevent unauthorized changes. Pay attention to relationship dynamics to ensure your setup aligns with your desired audience engagement and stream personality. Incorporating knowledge of regional culture can also inspire themes and visuals that resonate with your audience. Moreover, understanding the principles of collaborative innovation from hackathons can encourage creative layouts that foster viewer interaction and engagement.
Vertical Source Placement
Arranging sources vertically in OBS requires careful placement to align with TikTok’s 9:16 aspect ratio and guarantee a natural viewer experience. You should stack sources logically from top to bottom, emphasizing the most important content. Keep these tips in mind:
- Place main content, like gameplay, toward the center or bottom for natural eye flow.
- Position webcam or face cams near the top or upper-third to highlight your face without obstructing key visuals.
- Avoid overlapping sources unless transparency enhances the layout without clutter.
- Maintain consistent margins and spacing to keep sources balanced and visually appealing.
- Incorporating visual hierarchy ensures viewers can easily focus on the primary elements of your stream.
- Paying attention to source placement helps create a cohesive and engaging TikTok live experience.
- Consistently reviewing your layout on different devices can ensure the viewing experience remains optimal across screens, especially considering the importance of authenticity in live streaming.
Overlay Positioning Strategies
Effective overlay positioning in a vertical layout hinges on strategic use of screen space, ensuring each element enhances the viewer experience without cluttering the frame. Prioritize key components like your main webcam or gameplay footage at the center, making them the focal point. Secondary elements such as chat boxes, alerts, and stats should be smaller and placed near the edges or above and below the main content to avoid distraction. Use consistent margins and padding to prevent overlaps and keep the design clean. Group related sources for easier management and consider transparency to prevent overlays from overpowering your stream. Regularly adjust sizes and positions during tests to fit different resolutions and content changes, maintaining a balanced, professional vertical scene.
Customizing Overlays and Graphics for Portrait Streaming
Customizing overlays and graphics for portrait streaming on TikTok Live requires careful planning to maximize limited vertical space. You’ll want to organize content as stacked blocks; for example, place your webcam at the top and gameplay or media below for clarity. Expand your webcam size to maintain a personal connection, as vertical orientation offers less horizontal room. To keep your stream clean, minimize text and graphic clutter by using concise, high-contrast elements that are easy to read on mobile screens. Ensuring your content adheres to Louisiana alimony laws can also help streamline legal considerations if your stream involves contractual or promotional elements.
Optimize your TikTok Live overlays by stacking content vertically, enlarging your webcam, and using high-contrast, clutter-free graphics.
Key tips:
- Use high-contrast fonts for readability.
- Limit graphic elements to avoid clutter.
- Stack media sources vertically for flow.
- Position alerts near the top or bottom edges to prevent covering your main video.
Installing and Setting Up the Aitum Vertical Plugin
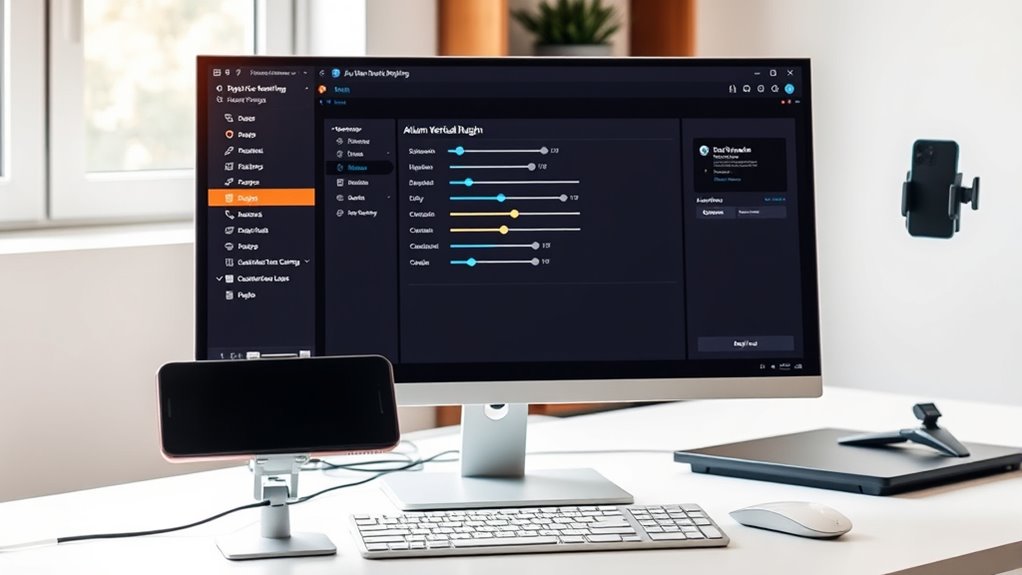
To enable vertical video support in OBS Studio for TikTok Live, you need to download and install the Aitum Vertical Plugin. First, visit the official aitum.tv website, locate the Vertical Plugin section, and click the download button. Make sure your OBS Studio version is 29 or higher for compatibility. Before installing, close OBS Studio completely. Run the installer, matching the installation folder with OBS’s directory, and follow the prompts. After installation, restart OBS, and a new vertical mode will appear. Verify the installation by checking for vertical canvas options. The plugin adds customizable vertical scenes, supporting resolutions suited for TikTok. Here’s a quick summary:
| Step | Action |
|---|---|
| 1 | Download from aitum.tv |
| 2 | Run installer and follow prompts |
| 3 | Restart OBS and confirm vertical mode |
| 4 | Verify vertical canvas options |
Proper setup ensures that your vertical video setup is optimized for TikTok Live streaming. Additionally, ensuring your software compatibility is essential for smooth operation.
Connecting OBS Virtual Camera to TikTok Live Studio
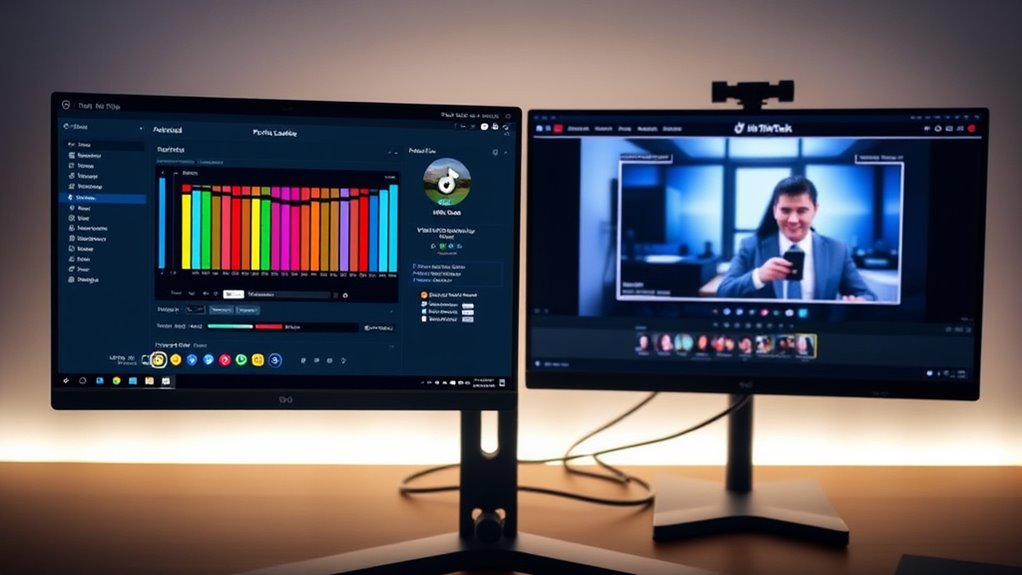
After installing the Aitum Vertical Plugin for OBS Studio, the next step is to connect your OBS setup to TikTok Live Studio using the Virtual Camera feature. First, activate the OBS Virtual Camera from OBS’s interface before opening TikTok Live Studio. Then, launch TikTok Live Studio, add a new source, and select the OBS Virtual Camera from the camera list. Make sure to set the camera to 60 FPS for smoother video. Finally, resize or stretch the video in Live Studio to match 1920×1080 resolution for proper display. To guarantee a successful connection, verify that both OBS preview and TikTok Live Studio show the same video feed. This confirmation helps you avoid sync issues during your live session.
Key points:
- Activate OBS Virtual Camera before launching TikTok.
- Select OBS Virtual Camera as a source in TikTok.
- Set camera to 60 FPS for smooth video.
- Match resolution to 1920×1080 for proper display.
Adjusting OBS Output Settings for TikTok Compatibility
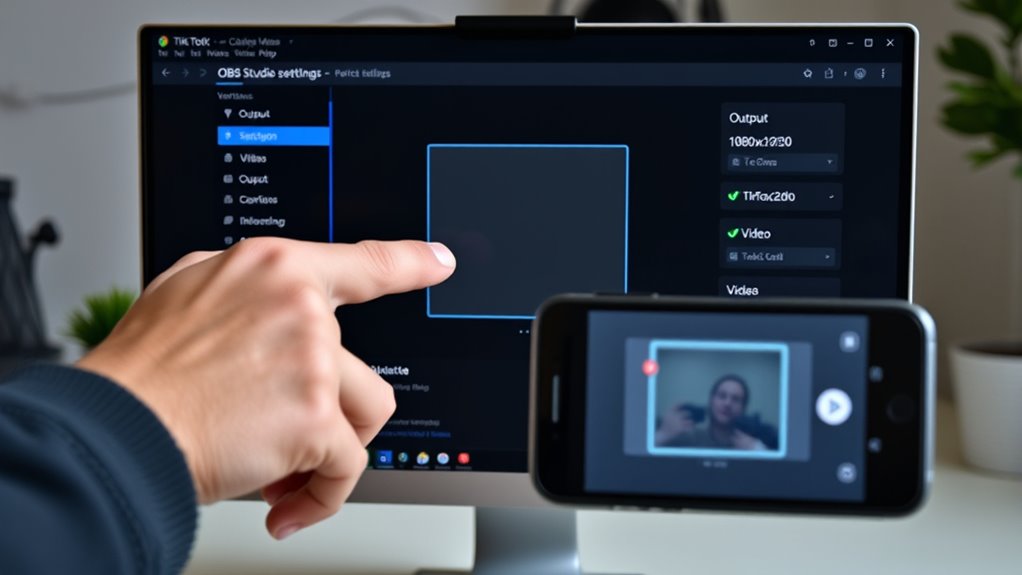
To guarantee your stream looks great on TikTok, you need to set your OBS output to the correct vertical resolution and frame rate. Adjusting the bitrate helps balance video quality and stability during your live session. Make sure these settings match TikTok’s requirements for a smooth, professional broadcast.
Set Vertical Resolution
- Match base and output resolutions at 1080×1920.
- Confirm aspect ratio is 9:16 for vertical orientation.
- Save settings before going live to prevent cropping.
- Check preview to verify proper framing and scaling.
- Ensure your resolution settings align with content creation best practices, which help maintain professional quality when streaming on TikTok.
- Additionally, verify that your streaming setup is optimized for stability and clarity, ensuring a smooth broadcast experience.
Configure Frame Rate
Adjusting the frame rate in OBS is essential for ensuring your TikTok Live stream looks smooth and professional. For ideal results, set your frame rate to 30 FPS, which balances smoothness with manageable bandwidth use. If your content involves fast motion, like gaming or action scenes, you can increase it to 60 FPS for even smoother playback. Avoid lower frame rates such as 24 FPS, as they can cause choppiness during live streams. You can easily select your desired FPS from the “Video Settings > Common FPS Values” dropdown in OBS. Keeping your frame rate consistent helps maintain stream stability and quality. Remember, higher FPS requires more bandwidth and hardware resources, so test your settings beforehand to ensure smooth streaming on TikTok. Additionally, understanding AI Security vulnerabilities can help you stay aware of potential disruptions to your streaming setup.
Adjust Bitrate Settings
Optimizing your bitrate settings in OBS is essential for delivering high-quality TikTok live streams without overloading your internet connection. A good rule of thumb is to set your video bitrate between 4000 kbps and 6000 kbps. Higher bitrates improve clarity but demand a stronger network. Since TikTok uses a 9:16 aspect ratio, adjusting bitrate ensures efficient encoding and smooth playback at 30 FPS. To get the best results, consider these points:
- Keep bitrate within 4000-6000 kbps for balance.
- Increase toward 6000 kbps if your internet is robust.
- Monitor upload speeds to prevent stream interruptions.
- Adjust bitrate during live streams if network stability fluctuates.
- Remember that Vetted streaming settings are crucial for safety and effectiveness.
- Incorporating AI-powered analytics can help optimize your streaming parameters based on real-time network performance. Additionally, understanding essential oils for streaming can enhance your overall setup and comfort during long broadcasts. Proper bitrate management guarantees a clear, stable TikTok vertical stream, especially when combined with network optimization techniques that improve overall connection stability. Utilizing proper equipment maintenance can also help prevent unexpected disruptions during your broadcasts.
Designing an Engaging Vertical Stream Layout
Creating an engaging vertical stream layout for TikTok Live requires careful element placement and design choices that maximize visual impact within a narrow frame. Start by setting your OBS resolution to 1080×1920, matching TikTok’s 9:16 aspect ratio, and adjust your canvas size accordingly. Stack key content vertically—place your webcam at the top with a larger window to foster connection, then position gameplay or other media below. Use layered scenes to manage sources dynamically and incorporate vertical-specific overlays that enhance visual hierarchy without cluttering. Design overlays with transparent PNGs to avoid obstruction and ensure branding elements like logos and lower thirds fit seamlessly. Place chat boxes and alerts unobtrusively, promoting interaction without distracting from the main content. Regularly test your layout on mobile to confirm clarity and engagement features work effectively. Additionally, consider embracing home and heritage elements in your design to create a warm and personalized atmosphere that resonates with viewers.
Troubleshooting Common Vertical Streaming Issues
If your vertical stream isn’t appearing correctly, you might face virtual camera compatibility issues or overlay alignment problems. Stream key errors can also prevent your live session from starting or cause disconnections. Addressing these common issues quickly keeps your TikTok live smooth and professional. Incorporating wall organization systems can help you create a clutter-free environment, making your streaming setup more aesthetically appealing and functional.
Virtual Camera Compatibility
Virtual camera compatibility can be a common obstacle when streaming vertically on TikTok Live Studio, especially if OBS Virtual Camera isn’t properly configured or activated. To avoid issues, verify OBS Virtual Camera is installed and active before launching TikTok. Also, close both applications and any other camera-dependent software to prevent conflicts. Here are key points to troubleshoot:
- Confirm OBS Virtual Camera is running and selected as the video source in TikTok.
- Make sure your system resources, like GPU and bandwidth, are sufficient.
- Check that OBS and TikTok are updated and compatible versions.
- Use administrative permissions for both apps to prevent device registration problems.
Addressing these factors helps establish seamless virtual camera communication, reducing streaming interruptions.
Overlay Alignment Problems
Overlay alignment issues are common when streaming vertically on TikTok Live, primarily due to the unique constraints of the 9:16 aspect ratio. Because of these limitations, overlays and graphics often need careful placement to avoid obstructing key video content or interactive elements. Adjusting the aspect ratio can help resolve alignment problems by ensuring overlays fit properly within the vertical frame. Designing custom overlays specifically for vertical video also improves alignment, making sure visuals are optimized for the 9:16 format. Before going live, test your stream to catch any overlay misalignments early. Proper testing allows you to tweak placement and size, preventing distracting overlaps or cut-offs during your broadcast. Clear planning and testing are essential for a smooth, professional-looking TikTok Live stream.
Stream Key Errors
Are stream key errors disrupting your TikTok Live on OBS? These issues often stem from input mistakes or outdated keys. First, verify you’re using a fresh stream key generated before each session, as TikTok requires new keys every time. Reusing old keys or copying with extra spaces can cause validation failures. Second, check your account’s streaming access—some accounts can’t stream without proper authorization or tools. Third, double-check that you’re entering the key correctly, avoiding accidental whitespace or typos. Fourth, confirm your OBS version is up to date (version 29 or higher) and that your profile is configured for vertical streaming. These steps help prevent stream key errors and keep your TikTok Live running smoothly.
Tips for Optimizing Performance and Stream Quality

To guarantee your TikTok Live stream looks professional and runs smoothly, enhancing OBS for performance and video quality is essential. Set your frame rate to 30 FPS for a good balance between smoothness and bandwidth, and consider 60 FPS only if your network can handle it. Use hardware encoding like NVENC or QuickSync to reduce CPU load and maintain stability. Monitor CPU and GPU usage during test streams to prevent bottlenecks. Disable unnecessary background applications to free system resources. Keep your stream key confidential and verify its accuracy before going live to avoid connection issues. Regularly update OBS and TikTok Live Studio to access new features and fixes. Performing private test streams helps troubleshoot issues and fine-tune settings for ideal performance and quality.
Frequently Asked Questions
Can I Switch Between Vertical and Horizontal Scenes During a Live Stream?
Yes, you can switch between vertical and horizontal scenes during your live stream. In OBS, you just select the scene you want to display, and the switch happens instantly. To guarantee smooth transitions, design your scenes carefully, resize elements appropriately, and practice switching beforehand. Keep in mind, abrupt changes might look jarring, so using transitions or fade effects can help maintain a professional, engaging stream for your viewers.
What Are the Best Overlay Designs for Vertical Tiktok Streams?
You want overlay designs that keep your TikTok stream clean and engaging. Opt for minimalist layouts with borders around your webcam and main content, ensuring clarity. Stack overlays vertically with your webcam at the top and gameplay below, using narrow sidebars or bottom bars. Incorporate brand colors and subtle animations, and include real-time chat and alert boxes that fit neatly without cluttering. These choices boost professionalism while maintaining viewer focus.
How Do I Troubleshoot Audio Sync Issues in Vertical OBS Streams?
Ever wonder why your audio and video fall out of sync during a stream? To troubleshoot, first check your sample rates in OBS under Settings > Audio, making sure they’re uniform across your devices. Adjust the audio buffering delay if needed. Monitor your system’s CPU and network performance, and consider using plugins or external tools for precise correction. Testing privately before going live helps you catch issues early and guarantees a smoother broadcast.
Is It Possible to Stream Multiple Vertical Scenes Simultaneously?
You wonder if you can stream multiple vertical scenes at once. While OBS natively supports only one active stream per instance, you can run multiple OBS instances, each with its own vertical scene. However, this demands significant system resources and careful setup. Keep in mind, platforms like TikTok typically restrict streaming to one live session per account. Using third-party tools might help, but they add complexity and potential TOS risks.
How Do I Ensure My Vertical Stream Meets Tiktok’S Quality Standards?
You know what they say, “Quality over quantity.” To guarantee your vertical stream meets TikTok’s standards, focus on high-resolution 1080×1920 pixels, crisp audio, and proper lighting. Keep your FPS steady at 30 for smooth playback and use a stable internet connection. Regularly monitor your stream health, update OBS, and create engaging content. When you prioritize quality, your viewers will surely notice and stay engaged.
Conclusion
Now that you’ve set up your OBS for vertical TikTok live streaming, you’re ready to captivate your audience. Think of your stream as a window—wide and inviting, yet perfectly tailored for vertical viewing. With the right layout and smooth setup, your content will stand out like a vibrant mural in a narrow alley. Embrace the challenge of vertical streaming, and turn your screen into a powerful tool for connection and creativity.

