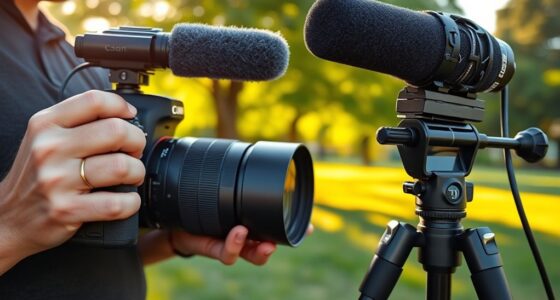
To get the best audio for interviews, start by placing your microphone close to the subject’s mouth and choose the right type—lavalier, shotgun, or handheld—based on the setting. Set your camera’s input levels carefully to avoid peaking or inaudibility, and monitor sound in real-time with headphones. Manage background noise and echoes by soundproofing the space. For more professional results, learning additional tips will help you refine your setup further.
Key Takeaways
- Always monitor audio levels with headphones during recording to catch issues like peaking or background noise immediately.
- Place microphones close to the interviewee’s mouth and choose the right type (lapel, shotgun, handheld) for optimal sound capture.
- Use external recorders for better control over audio quality, gain, and real-time monitoring, reducing the risk of distortion.
- Properly soundproof and treat the environment to minimize echoes, reflections, and unwanted background noise.
- In post-production, normalize, compress, and EQ audio to ensure clear, balanced, and professional-sounding interview recordings.
Understanding the Importance of Proper Audio Levels
Have you ever listened to an interview where the audio was so quiet you struggled to hear the speaker, or so loud that it caused distortion? That’s why understanding proper audio levels is vital. Maintaining audio level consistency ensures your audience hears every word clearly without sudden volume swings. Volume normalization helps keep audio levels even, preventing parts of your interview from sounding too soft or too harsh. When audio levels are off, viewers may turn away or struggle to focus, ruining the message you’re trying to convey. Properly managed audio levels create a seamless listening experience, making your content professional and polished. Additionally, paying attention to audio quality helps build trust and credibility with your audience. By paying attention to these details, you avoid distracting audio issues and deliver a clear, engaging interview every time.
How to Set Your Camera’s Audio Input Correctly
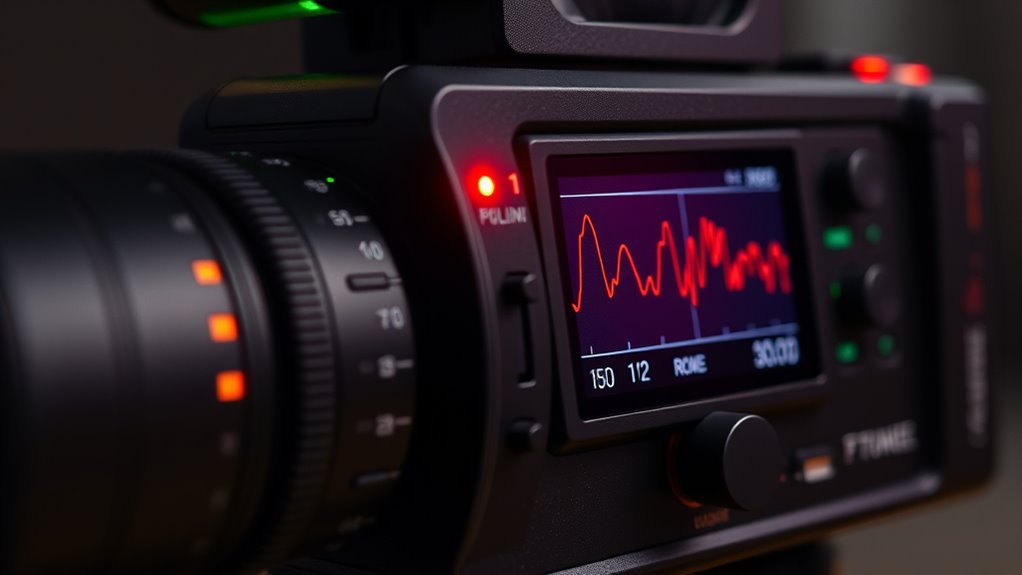
To make certain your camera captures clear and balanced audio, you need to set its audio input correctly from the start. First, access your camera’s audio settings and locate the audio input controls. Adjust the input levels so they’re neither too low nor peaking into the red zone, which causes distortion. Proper microphone placement is essential—place the mic close to your subject’s mouth to reduce background noise and guarantee a clean signal. Make sure your audio input is set to the correct source, whether built-in or external microphone. Regularly monitor audio levels using the camera’s meters during recording. Finally, test different settings beforehand to find the best balance, ensuring your audio input captures clear, professional-quality sound without clipping or noise. Environmental considerations can also influence audio quality, so choosing a quiet location helps enhance clarity.
Choosing the Right Microphone for Interview Settings
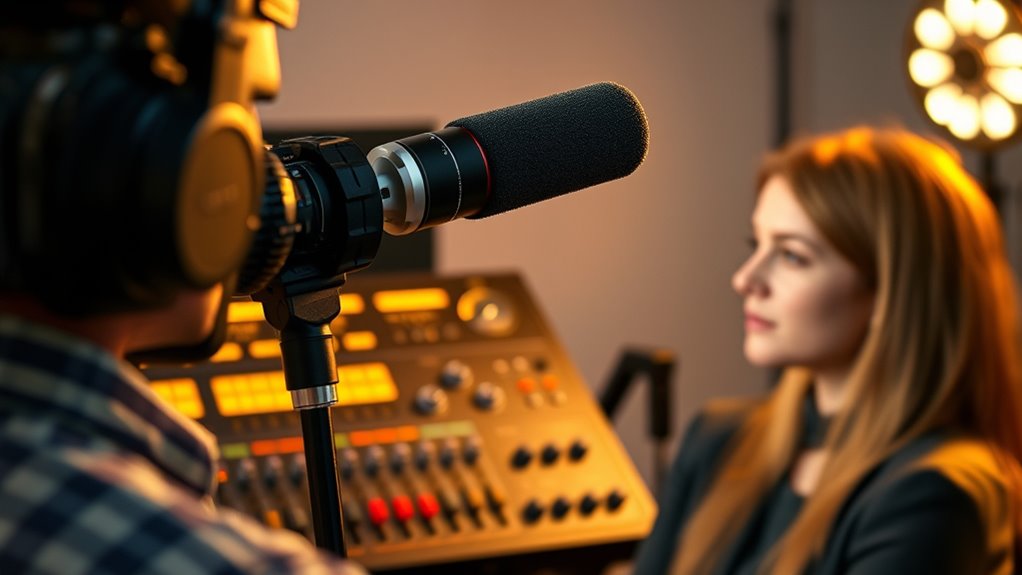
Choosing the right microphone is essential for capturing clear, professional-quality audio during interviews. Your choice depends on the microphone types available, such as lavalier, shotgun, or handheld mics, each suited for different scenarios. Lavalier microphones are discreet and ideal for close-up interviews, while shotgun mics offer directionality to focus on your subject’s voice. Wireless options give you flexibility and freedom of movement, especially in dynamic setups, reducing clutter and cable noise. Consider your environment—noisy outdoor locations may benefit from directional mics, whereas indoor settings might allow for more versatile options. Selecting the appropriate microphone type and wireless solution guarantees your audio remains crisp and consistent, making your interview recordings sound polished and professional. Additionally, understanding tiny house construction time can help you plan your project schedule effectively if you’re filming a related series.
Adjusting Gain Settings for Clear Sound Without Distortion
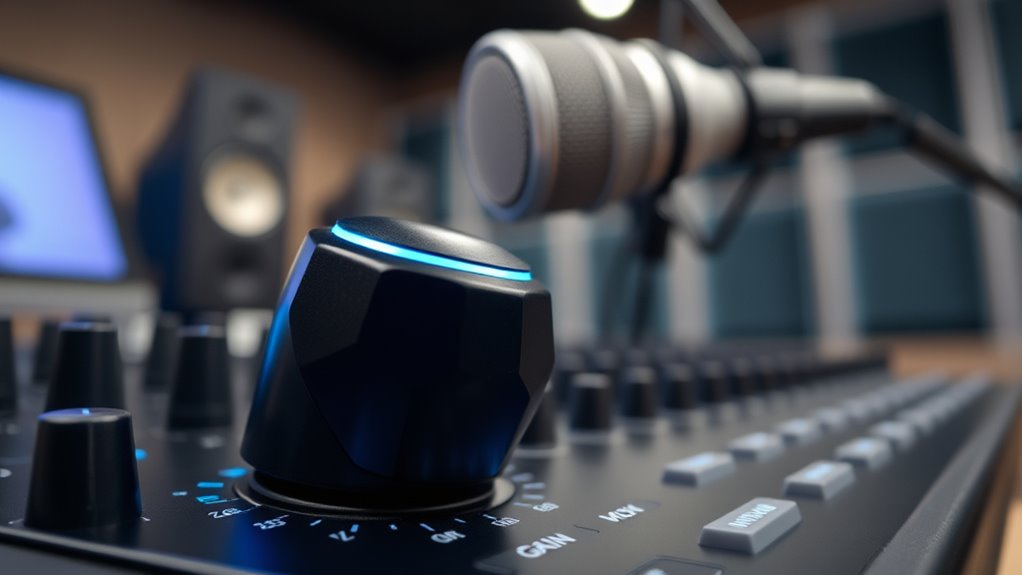
Adjusting gain settings correctly is essential for capturing clear, distortion-free audio during interviews. Proper gain calibration ensures your microphone picks up sound levels without causing audio clipping or distortion. Start by setting your gain low and gradually increase it while listening carefully. Watch for audio clipping—when the sound peaks and distorts—and back off slightly. Use headphones to monitor sound quality in real-time, ensuring your levels stay within an ideal range. Remember, too high a gain can ruin your audio, while too low results in inaudible recordings. Regularly check your audio quality to maintain optimal sound during your interview.
Proper gain calibration ensures clear, distortion-free audio during interviews.
- Test your gain settings before the interview begins
- Keep levels just below the clipping point
- Adjust gain based on the interview environment
- Use visual meters as a guide for consistent levels
Monitoring Audio in Real-Time to Prevent Issues
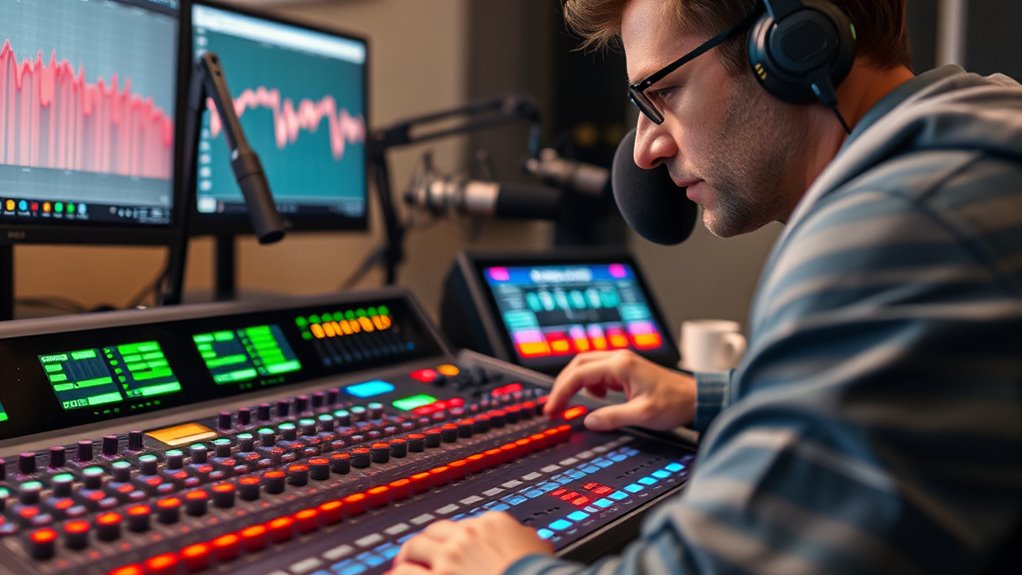
Monitoring audio in real-time is essential for catching issues before they ruin your recording. By actively using real-time audio monitoring, you can instantly identify if the audio levels are too high or too low, preventing distortion or inaudibility. Regularly checking the audio level calibration guarantees your sound stays within the ideal range, avoiding peaking or quiet segments. Use headphones to listen closely and catch unexpected noises or background interference. Adjust gain settings on the spot if necessary, maintaining consistent volume throughout the interview. This proactive approach allows you to address problems immediately, saving you from post-production headaches. Understanding the importance of audio calibration ensures your audio remains consistent and professional. Effective real-time monitoring keeps your audio clear, balanced, and professional, ensuring your interview sounds polished and engaging.
Common Mistakes That Lower Audio Quality During Interviews
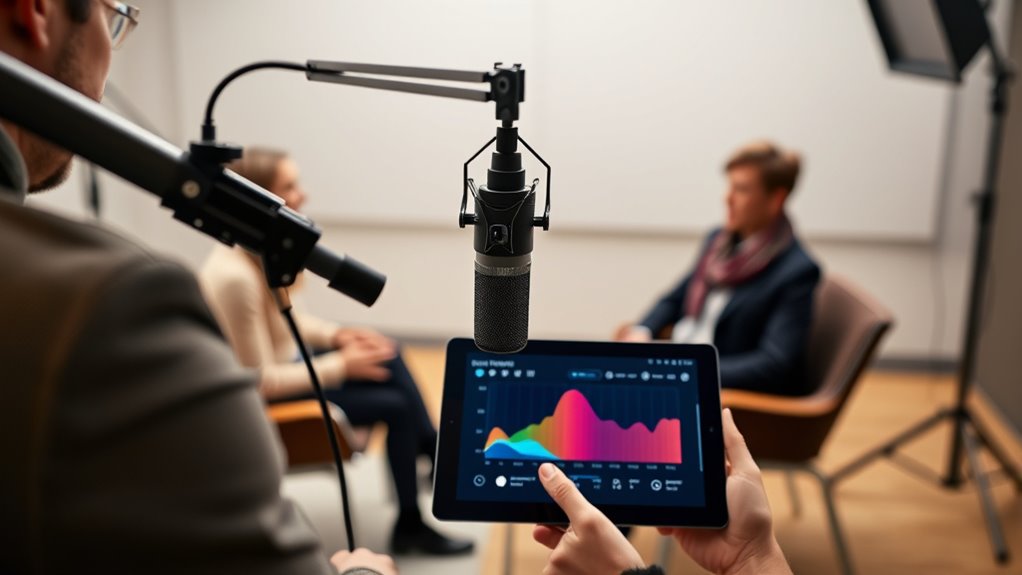
One common mistake that can lower audio quality during interviews is neglecting proper microphone placement. When you don’t position the mic correctly, you risk audio clipping or uneven sound levels. Poor placement can cause the microphone to pick up unwanted noises or miss the speaker’s voice entirely. To avoid this, ensure the mic is close enough to capture clear sound without distortion. Additionally, understanding tuning adjustments can help ensure your audio levels are optimized for clarity and consistency.
Tips for Managing Background Noise and Echoes
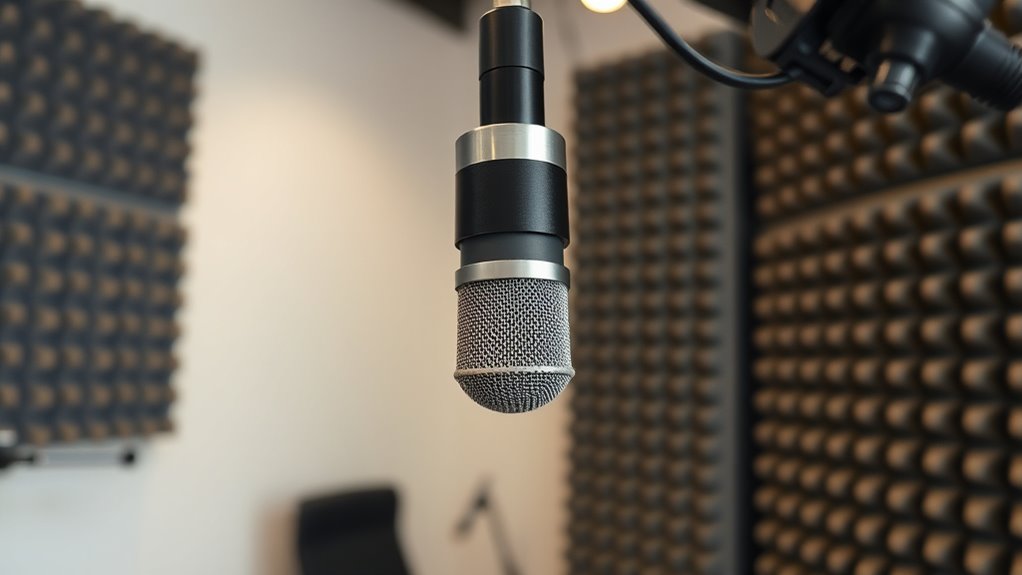
To improve your interview audio, start by choosing a quiet location free of distractions. Use sound absorbers like blankets or foam panels to reduce echoes and background noise. You can also minimize echo effects by arranging the room to prevent sound reflections and using soft furnishings. Incorporating sound-absorbing materials can further enhance audio quality by effectively reducing unwanted echoes and ambient noise.
Choose Quiet Locations
Choosing a quiet location is essential for capturing clear interview audio. A soundproof environment minimizes background noise, ensuring your voice comes through crisply. Look for spots with a quiet ambient, away from busy streets, crowds, or appliances that create echoes. Selecting an ideal space can dramatically improve your audio quality. Additionally, understanding AI in Education and its impact on data privacy can help you appreciate the importance of secure and controlled environments during recordings. Consider these tips:
- Find rooms with thick walls or soundproofing for better isolation
- Avoid areas with high foot traffic or nearby noise sources
- Use closed doors and windows to block external sounds
- Opt for smaller, enclosed spaces that reduce echoes and reverberations
Use Sound Absorbers
After selecting a quiet space, you can further improve your audio quality by using sound absorbers to manage background noise and echoes. Sound absorbers, like acoustic panels, effectively reduce unwanted sounds bouncing around your environment. Place acoustic panels on walls or behind your interview setup to absorb reverberations and minimize echoes. These materials prevent sound waves from reflecting, resulting in clearer, more focused audio. If you can’t install permanent panels, consider portable options like foam tiles or fabric-covered panels. Proper placement is key—position them where sound reflections are most prominent. Using sound absorbers creates a controlled acoustic environment, ensuring your voice comes through crisply without distractions from background noise or echoes. Additionally, reviewing audio tuning techniques can further optimize your recording quality.
Minimize Echoes Effectively
Reducing echoes in your recording space is essential for capturing clear audio. Echoes can make interviews sound distant or muddy, but applying effective soundproofing techniques and echo reduction methods can help. Start by adding soft materials like carpets, curtains, or foam panels to absorb sound waves. Use furniture strategically to break up sound reflections. Consider sealing gaps around doors and windows to prevent sound leakage. Additionally, positioning your microphone closer to the speaker reduces room reverberation. These small adjustments can appreciably improve audio clarity. Keep in mind that a combination of soundproofing techniques and echo reduction methods creates the best results. Incorporating acoustic treatment can further enhance your recording environment. With the right approach, you’ll minimize background noise and echoes, ensuring your interview recordings sound professional and polished.
Using External Recorders for Better Audio Control
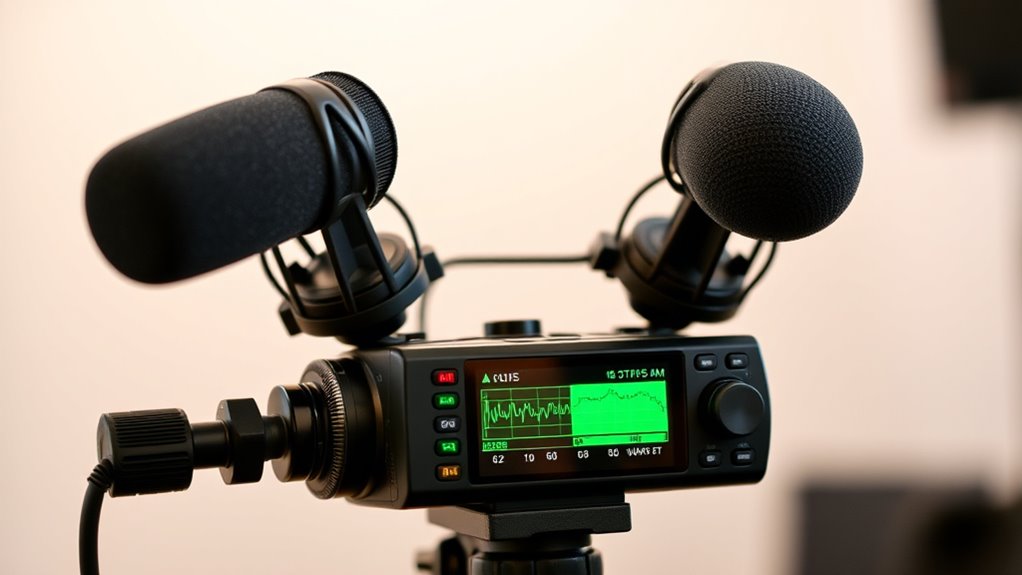
Using external recorders gives you greater control over your audio quality during interviews. They let you capture clearer sound and manage levels more precisely. With the right setup, you can improve overall sound and adapt to different environments easily. Additionally, understanding the types of headphone jacks can help you choose compatible headphones for monitoring your recordings effectively.
Enhanced Audio Quality
Have you ever noticed how the audio quality of an interview can make or break the listener’s experience? Using an external recorder considerably enhances audio clarity by providing better control over the audio signal. With a dedicated device, you can set ideal levels, reduce background noise, and avoid signal clipping. Proper microphone placement is vital; position the mic close to the interviewee’s mouth to capture clear, direct sound. An external recorder also allows you to monitor audio in real-time, ensuring consistent quality throughout your shoot. Additionally, understanding projector compatibility with gaming consoles can help when integrating multimedia elements into your projects, ensuring seamless playback and synchronization.
Flexible Sound Management
External recorders give you the flexibility to manage audio levels more precisely during interviews. With an external recorder, you can adjust gain settings on the fly, ensuring consistent sound even if your microphone placement shifts slightly. This control helps prevent clipping or distortion, especially in unpredictable environments. Using soundproofing techniques around your recording area minimizes background noise, giving you cleaner audio. When placing your microphone, position it close to the interviewee’s mouth for clear capture while avoiding unwanted sounds. External recorders also let you monitor audio in real-time, so you can make quick adjustments. Additionally, understanding audio tuning can help you optimize your sound setup for better quality. Overall, this setup empowers you to achieve professional-quality sound with better control over levels and noise, making your interviews sound polished and balanced.
Post-Production: Balancing and Enhancing Audio Levels
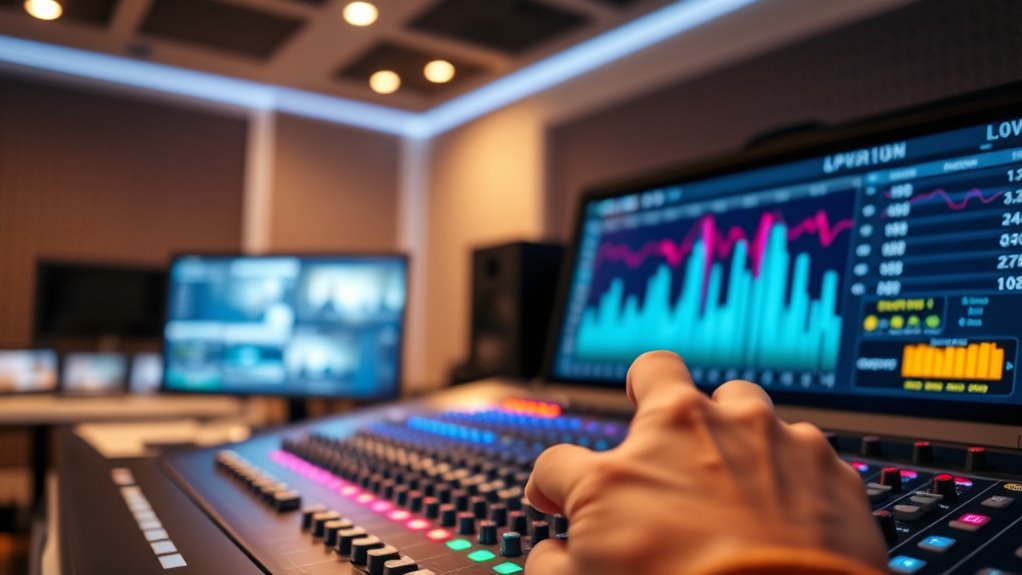
After recording your interview, the next essential step is balancing and enhancing audio levels during post-production. You want your audio to sound smooth and professional, which means applying techniques like audio compression and volume normalization. Compression reduces the dynamic range, ensuring loud parts don’t overpower softer ones, while normalization boosts overall volume to a consistent level. This helps your interview sound clear and balanced across different devices. Additionally, understanding the diverse roles that actors have played can help tailor audio to match the content’s tone and context.
Balance and enhance your interview audio with compression and normalization for a professional sound.
- Use compression to control peaks and bring softer voices forward
- Normalize audio to achieve a uniform volume level
- Remove background noise and unwanted sounds
- Fine-tune EQ to enhance clarity and warmth
Practical Tips for On-Location Audio Setup
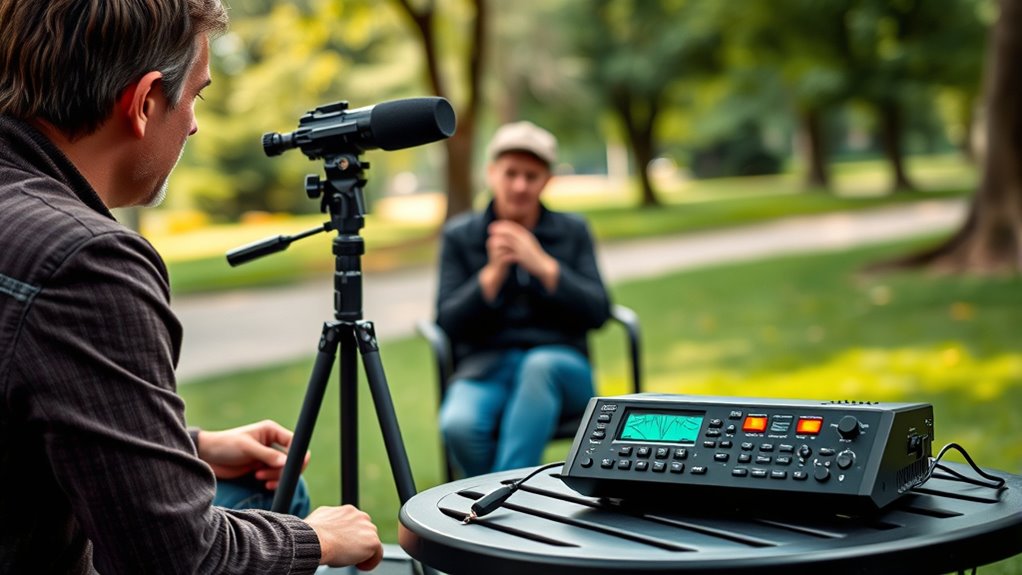
When setting up audio equipment on location, preparation is key to capturing clear sound. Start by choosing the right wireless microphones suited for your environment, ensuring they’re positioned close to your subject. Test the microphone connections beforehand to prevent technical issues. Be mindful of ambient noise; identify potential sources like traffic, wind, or crowd chatter, and plan to minimize their impact. Use windshields or dead cats on microphones if outdoors to reduce wind noise. If possible, set up your recording device away from noisy backgrounds. Always do a quick sound check with your subject speaking at the intended distance. Proper placement and awareness of ambient noise will help you achieve clean, professional audio during your interview.
Frequently Asked Questions
How Do Different Interview Environments Affect Optimal Audio Levels?
Different interview environments impact your ideal audio levels because ambient noise and room acoustics vary. In noisy settings, you need to increase your microphone gain or use directional mics to isolate speech. Poor room acoustics, like echo or reverberation, can muddy audio, so you should adjust levels carefully and consider sound treatment. Always monitor sound in real-time to ensure clear, balanced audio despite environmental challenges.
What Are the Best Indicators of Good Audio Quality During Filming?
You’ll know you have good audio quality when the audio signal strength remains steady and clear, with no distortion or clipping. An interesting fact is that 60% of viewers will stop watching if audio quality drops. Keep an eye on background noise, which should be minimal, and guarantee your levels stay consistent. Clear, balanced sound indicates you’re capturing high-quality audio during filming, engaging your audience effectively.
How Can I Troubleshoot Unexpected Audio Issues in the Field?
When unexpected audio issues pop up, start with audio signal troubleshooting by checking all connections, cables, and batteries. Make certain your equipment checks out—test microphones, audio recorders, and monitor levels on your device. Swap out cables or batteries if needed. Keep an eye on input levels to prevent distortion. By systematically troubleshooting and verifying your gear, you can quickly identify and fix most in-field audio problems, ensuring clear sound.
What Role Does Microphone Placement Play in Audio Clarity?
Did you know proper microphone placement can improve audio clarity by up to 50%? You should focus on ideal microphone positioning to guarantee clear sound and consistent audio levels. Keep the mic close to the interviewee’s mouth, but avoid popping sounds. Adjust the angle and distance for the best audio quality, which directly impacts your overall audio consistency. Good placement is key to professional-sounding interviews.
How Do I Ensure Consistent Audio Levels Across Multiple Interview Takes?
To guarantee consistent audio levels across multiple interview takes, start with proper audio calibration for each microphone and recording device. Use level matching techniques to set a baseline for volume, avoiding sudden jumps or drops. Regularly monitor audio meters during filming, making small adjustments as needed. This way, you maintain a uniform sound quality, preventing post-production editing headaches and ensuring your interview sounds professional and cohesive throughout.
Conclusion
Mastering audio levels makes all the difference in your interviews. For example, imagine capturing a heartfelt story where poor audio ruins the moment. By understanding proper setup—like choosing the right mic and monitoring levels—you guarantee your audience hears every word clearly. With these tips, you’ll avoid common pitfalls and produce professional-quality interviews that truly resonate. Remember, great audio isn’t just technical—it’s the key to telling powerful stories.


