To understand a histogram, look at its shape from left to right, with shadows on the left and highlights on the right. Check if the edges touch or extend beyond the frame to spot clip areas where detail is lost. Adjust your exposure accordingly to avoid blown highlights or crushed shadows. Recognizing common patterns helps you achieve balanced shots. Keep exploring this guide to master how different scenes influence these visual data and improve your results.
Key Takeaways
- Understand that histograms display tonal distribution from shadows (left) to highlights (right) to evaluate exposure accuracy.
- Recognize histogram edges touching extremes as potential clipping, causing loss of detail in dark or bright areas.
- Aim for a balanced histogram with no clipped highlights or shadows to ensure optimal image quality.
- Adjust exposure based on histogram position: shift right for bright scenes and left for dark scenes while avoiding clipping.
- Always cross-check histograms with the actual image to accurately interpret exposure and avoid relying solely on the shape.
Understanding the Shape of a Histogram

Understanding the shape of a histogram is essential because it reveals the distribution of the data you’re analyzing. When you look at a histogram, you can gauge how well your camera’s sensor calibration is performing, especially regarding color accuracy. A well-calibrated sensor produces a histogram with a balanced shape, indicating that colors are captured accurately across shadows, midtones, and highlights. If the histogram is skewed or heavily clustered on one side, it suggests issues with sensor calibration or exposure. Recognizing these shapes helps you make adjustments to improve color fidelity and overall image quality. By understanding the histogram’s shape, you gain insight into the camera’s performance, ensuring your photos are correctly exposed and colors are true to life. Additionally, understanding the sensor calibration process can help you troubleshoot and optimize your camera settings for the best results.
The Significance of the Histogram’s Left and Right Edges
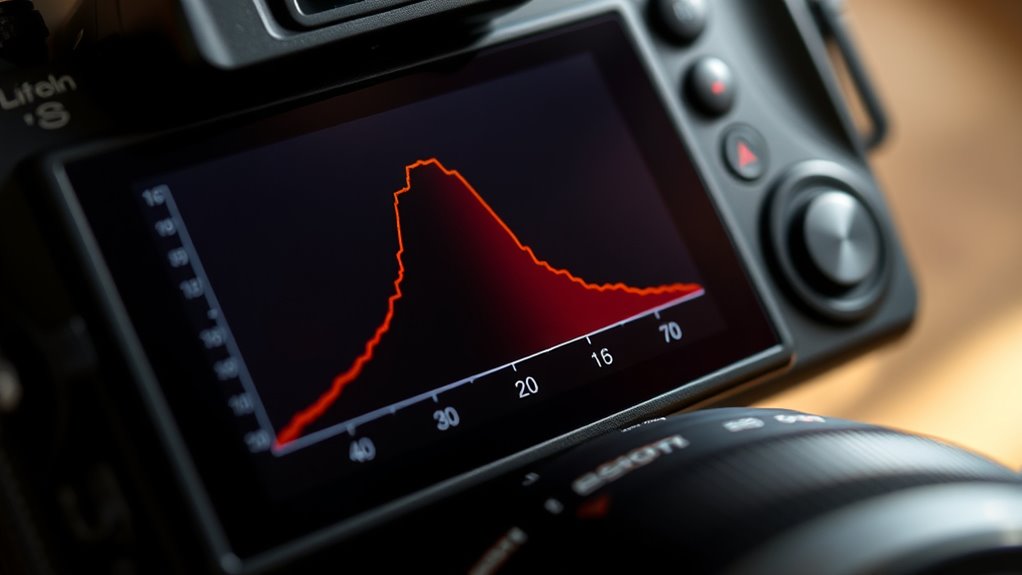
Have you ever wondered what the edges of a histogram reveal about your photo? The left edge shows your shadows, while the right edge indicates highlights. If the histogram touches or extends to these edges, it suggests your image might lack a full dynamic range, risking lost detail in shadows or highlights. This impacts tonal balance, as clipped edges mean you have pure black or pure white areas with no detail. Recognizing where the histogram sits helps you assess exposure accuracy. If the edges are pushed to the extremes, you may need to adjust your settings to preserve detail and optimize the dynamic range. Understanding these edges guarantees your photo maintains proper tonal balance, avoiding overly flat or overly contrasty images. Being familiar with histogram reading techniques ensures you can make precise adjustments for better photo quality.
Recognizing Proper Exposure Through Histograms
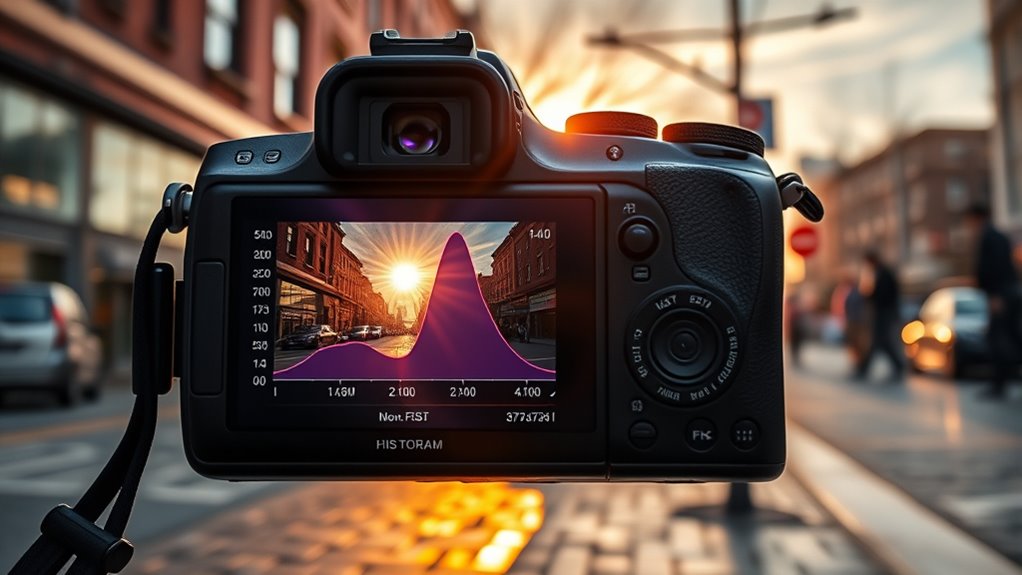
You can tell if your photo is properly exposed by checking the histogram for clipped highlights and shadow details. Look for signals that highlights are washed out or shadows are lost in darkness. Achieving a balanced histogram guarantees your image has the right overall exposure for a clear, detailed shot.
Spotting Clipped Highlights
How can you tell if your photo has clipped highlights? Check your histogram for exposure peaks touching the right edge; this indicates highlight clipping. When highlight clipping occurs, valuable detail in bright areas gets lost, creating pure white spots. To avoid this, watch for these signs:
- The histogram’s right side is pressed against the edge without a bump, signaling highlight clipping.
- Bright areas in your preview appear washed out or overly bright.
- You see “blinkies” or flashing highlights on your camera’s display, highlighting clipped regions.
- Understanding contrast ratio can help you better interpret the dynamic range and prevent clipping.
Identifying Shadow Details
Wondering if your photo has balanced shadows? To check, look at the histogram’s left side for shadow details. If the graph leans heavily to the left, shadows may be underexposed, but you can often recover shadow details through shadow recovery adjustments. A well-calibrated histogram helps you identify subtle shadow information without losing detail. If the shadows are spread out smoothly without spiking at the left edge, your exposure captures the scene’s depth nicely. Keep in mind, sometimes a slight underexposure can preserve shadow details better, giving you more flexibility in post-processing. By understanding how to interpret the histogram for shadow areas, you’ll improve your ability to recognize proper exposure and ensure your photos retain rich, detailed shadows. Understanding shadow details can also help avoid silly photography fails, like unintentional photobombs or miscommunication of poses, by ensuring the scene is captured accurately.
Balancing Overall Exposure
Once you’ve examined the shadow details in your histogram, the next step is to assess the overall exposure to guarantee your photo accurately reflects the scene. Properly balanced exposure ensures the dynamic range is captured without losing detail in highlights or shadows. Look at the tonal distribution to see if the histogram is evenly spread or skewed toward one side. To achieve this, consider these steps:
- Ensure the histogram isn’t bunched at the edges, which indicates clipping of highlights or shadows.
- Adjust your exposure so the tonal distribution remains balanced across the spectrum.
- Use exposure compensation if needed to fine-tune brightness, capturing the full dynamic range and a natural look.
Balancing exposure creates a well-rounded image with accurate details throughout the tonal range.
How to Read Histograms for Bright and Dark Scenes
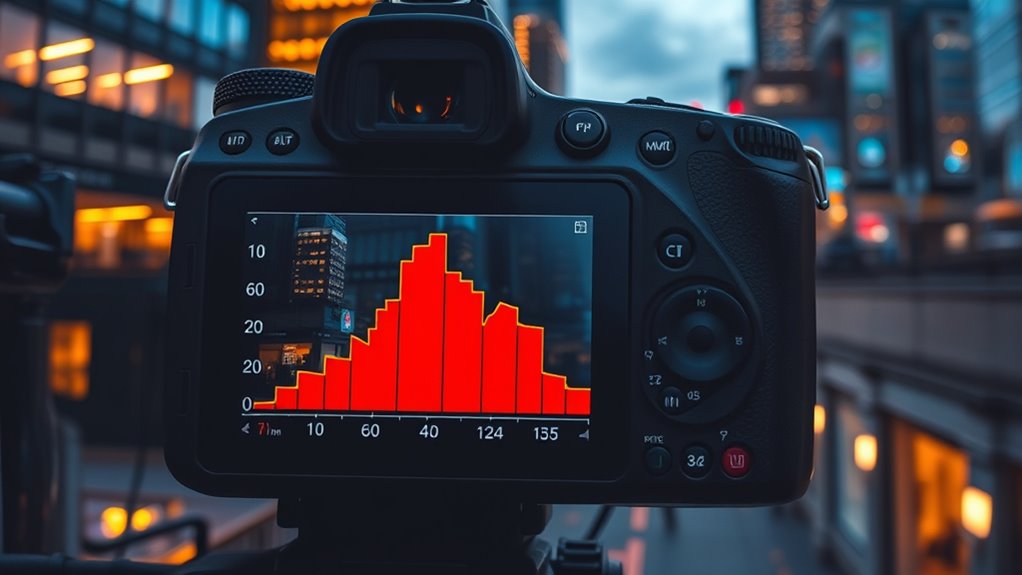
When analyzing histograms for bright or dark scenes, it’s essential to understand what the distribution of tones reveals about your image. In bright scenes, the histogram often shifts toward the right, indicating highlights, but watch for clipping, which means losing detail in bright areas. Dark scenes show histograms skewed to the left, reflecting shadows, but guarantee you don’t push the blacks too far, causing loss of shadow detail. Recognizing the scene’s contrast helps you gauge the dynamic range—the full tonal spectrum from blacks to whites. A well-balanced histogram for bright or dark scenes shows a good spread without clipping at either end, ensuring you maximize detail and scene depth. Adjust your exposure accordingly to capture the scene’s full dynamic range without sacrificing highlight or shadow detail. Regularly assessing your histogram can also improve your overall image organization and ensure consistent quality across your photography.
Common Histogram Patterns and What They Mean

Understanding common histogram patterns can help you quickly interpret the overall tonal distribution of your image. Recognizing these patterns reveals the story your photo tells about exposure and dynamic range. A well-balanced histogram often reflects proper lighting, which is essential for achieving a cozy and inviting farmhouse bedroom ambiance.
Adjusting Your Settings Based on Histogram Feedback
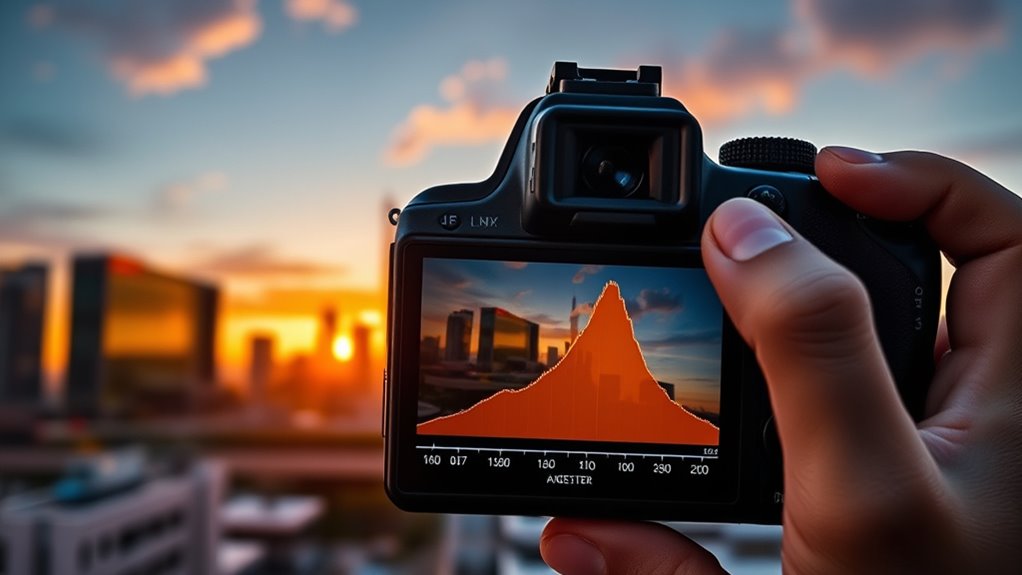
When you review your histogram, you can make quick adjustments to guarantee your exposure is correct. By preventing shadows from clipping and highlights from burning out, your images will have better detail and balance. Small tweaks based on feedback help you capture the scene as you envision it. Understanding exposure balance through your histogram is essential for achieving consistent and professional-looking photos.
Correct Exposure Levels
Adjusting your camera settings based on histogram feedback is essential for achieving proper exposure. To do this effectively, verify your camera sensor is calibrated correctly, as inaccurate readings can mislead your adjustments. Use reliable histogram software to analyze your images precisely. Here are three steps to fine-tune your exposure:
- Check for clipping on both ends of the histogram, adjusting ISO, aperture, or shutter speed accordingly.
- Use histogram software to compare your shot with previous images, ensuring consistency.
- Make small adjustments and review the histogram again, aiming for a balanced distribution with no clipped highlights or shadows.
- Remember that understanding Best Anime Movies can also help you appreciate visual storytelling techniques that influence composition and exposure decisions.
Avoid Clipping Shadows
To prevent clipping shadows, focus on interpreting the left side of your histogram carefully. When shadows are clipped, details in dark areas are lost, reducing your image’s overall dynamic range. A histogram with accurate representation helps you see if shadows are pushed too far left. If the graph touches or extends beyond the left edge, you’re risking clipped shadows. Adjust your exposure settings—like lowering ISO or increasing shutter speed—to bring shadow details within the camera’s dynamic range. Keep in mind, a well-balanced histogram reflects good histogram accuracy, showing all tonal values without clipping on either end. Monitoring this feedback allows you to maintain detail in shadows, ensuring your photo retains depth and richness without sacrificing highlight integrity. Additionally, understanding how natural language processing (NLP) can analyze your image metadata or feedback can further enhance your ability to optimize camera settings effectively.
Prevent Highlight Burnout
Highlight burnout occurs when the brightest parts of your image are overexposed, causing them to appear as solid white on the histogram. To prevent this, focus on effective highlight management to preserve detail and maintain color accuracy. Here are three steps to help you avoid highlight burnout:
- Adjust Exposure Settings: Use your camera’s exposure compensation or manual mode to prevent overexposure, especially in high-contrast scenes.
- Monitor Histogram Clipping: Keep an eye on the right side of the histogram; if it touches the edge, reduce exposure to retain highlight detail.
- Use Graduated Filters or Bracketing: These tools help balance exposure across the frame, ensuring bright areas don’t lead to highlight burnout. Additionally, understanding your camera’s headphone settings can assist in monitoring audio levels during shooting to prevent overamplification or distortion, ensuring a smoother post-processing workflow.
Implementing these techniques ensures vibrant, accurately colored images without losing highlight detail.
Mistakes to Avoid When Relying on Histograms
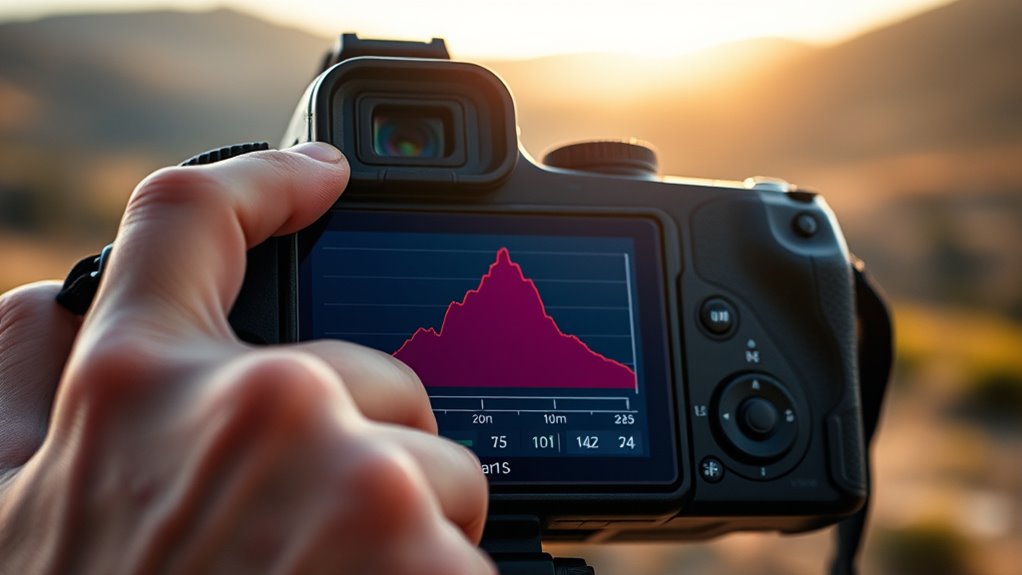
While histograms are powerful tools for visualizing data distribution, it’s easy to make mistakes that can lead to misinterpretation. One common histogram misconception is assuming the shape always indicates exposure quality, which isn’t true. A histogram skewed to the right suggests brightness, but it doesn’t guarantee proper exposure—your image could be overexposed or intentionally high-key. Conversely, a histogram clustered left might suggest underexposure but could also be a stylistic choice. Relying solely on the histogram without considering the actual scene can lead to exposure misinterpretations. Avoid assuming a perfect histogram means a perfect photo. Instead, use it as a guide, but always cross-check with the actual image and scene context to ensure accurate exposure and avoid costly mistakes. Incorporating AI-driven analytics can help interpret complex histogram data more accurately and prevent common pitfalls.
Practical Tips for Using Histograms in Photos and Videos
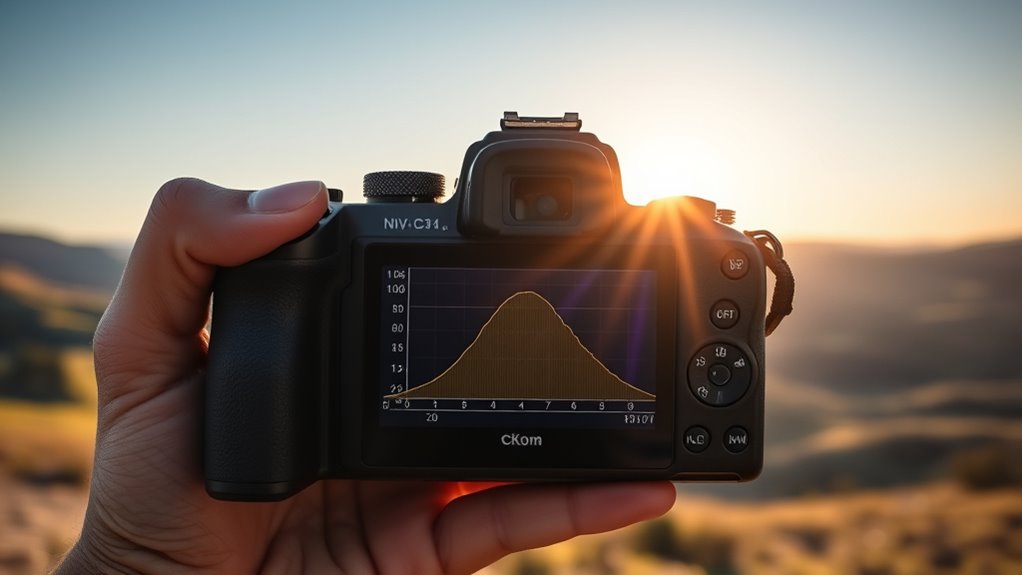
Using histograms effectively in photos and videos requires practical application beyond understanding their theory. To improve your results, focus on these tips:
- Regularly perform sensor calibration to ensure your camera’s exposure readings are accurate, making your histograms more reliable.
- Customize histograms on your camera or editing software to highlight the most important tonal ranges for your project, enhancing your control.
- Use the histogram as a real-time guide to adjust exposure settings, avoiding clipped highlights or lost shadows during shooting.
- Be aware of filter maintenance, as clean filters and well-maintained equipment can impact image clarity and exposure accuracy.
Frequently Asked Questions
How Do Histograms Differ Between RAW and JPEG Images?
When comparing histograms of raw format and JPEG images, you’ll notice raw files often show more detail in shadows and highlights, with histograms that are more spread out and true to the scene. JPEG compression tends to reduce dynamic range, leading to clipped highlights or shadows, evident in a histogram with spikes on the edges. You can better assess exposure and adjust settings when understanding these differences.
Can Histograms Be Used Effectively in Low-Light or High-Contrast Conditions?
Your histogram is your best friend in challenging lighting, like a superhero in low-light or high-contrast scenes. It helps you manage noise and maximize dynamic range by showing exactly where your exposure falls. Use it to avoid clipped highlights or crushed shadows, ensuring your photo retains detail. Even in tricky conditions, a well-read histogram guides you to ideal exposure, making your images look professional and well-balanced.
What Are Common Misconceptions About Histogram Interpretation?
Many people think histograms directly show perfect exposure, but that’s a misconception. They can be influenced by exposure bias, making images seem brighter or darker than they appear. Also, some misinterpret color data, leading to color misinterpretation. Remember, histograms are tools for guidance, not absolute truth. You should consider the overall scene, not just the histogram, to avoid errors in exposure and color accuracy.
How Does Camera Sensor Size Influence Histogram Readings?
Did you know larger camera sensors typically produce brighter images at the same exposure? Sensor size directly impacts histogram readings by affecting image brightness and dynamic range. With bigger sensors, you’ll notice histograms skewed toward highlights or shadows more easily, giving you better control over exposure. Smaller sensors may produce narrower histograms, sometimes hiding details in bright or dark areas. Understanding this helps you interpret your histogram more accurately for perfect shots.
Are There Specific Histogram Patterns for Different Photography Genres?
Yes, different photography genres often have genre-specific exposure needs that lead to distinct histogram shape variations. For example, landscape shots typically show balanced histograms, while portrait images may have more midtones. Action or sports photography might display peaks in highlights due to fast motion, and low-light or night scenes often have histograms shifted toward shadows. Recognizing these patterns helps you adjust settings for ideal exposure across genres.
Conclusion
Think of your histogram as a map guiding your exposure journey. When you understand its shape and edges, you’ll navigate tricky lighting with confidence. Remember, it’s not just about avoiding mistakes but about mastering your camera’s feedback to create stunning photos and videos. With practice, you’ll read histograms like an open book—turning every shot into a well-lit masterpiece, no matter the scene. Keep exploring, and let your histogram be your trusty compass.

