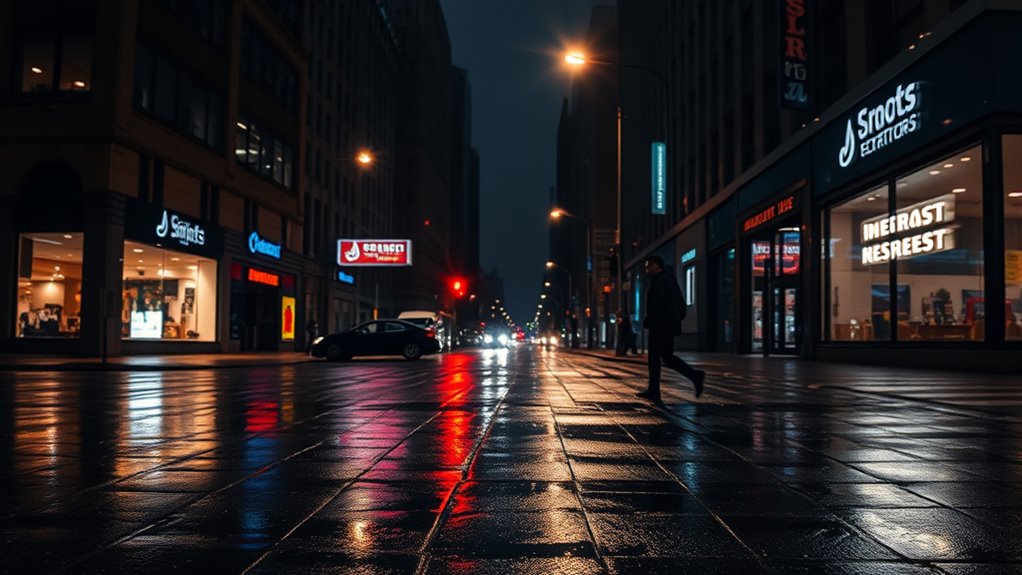
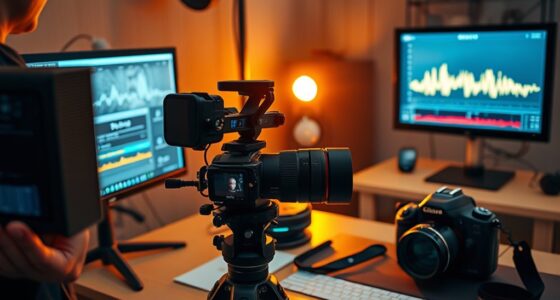
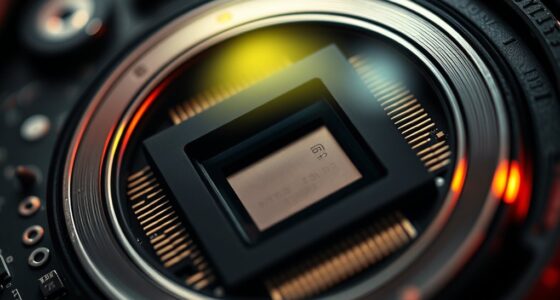
To film in low light, choose a camera with a large sensor, such as full-frame, and use lenses with wide apertures to let in more light. Adjust your settings by opening the aperture, increasing ISO carefully, and using slower shutter speeds while keeping your shots steady. Enhance lighting with reflectors, candles, or portable LEDs, and refine your footage with post-processing. Keep these tips in mind, and you’ll discover even more tricks to improve your low-light filming.
Key Takeaways
- Use full-frame cameras and wide aperture lenses to maximize light intake and reduce noise.
- Adjust ISO carefully and combine with slower shutter speeds to brighten footage without excessive grain.
- Enhance lighting with bounce, reflectors, or practical sources to illuminate scenes naturally.
- Stabilize your camera with tripods or steady hands to prevent motion blur in low light.
- Apply post-processing techniques like noise reduction and brightness adjustments to clarify footage.
Choosing the Right Camera for Low Light Situations
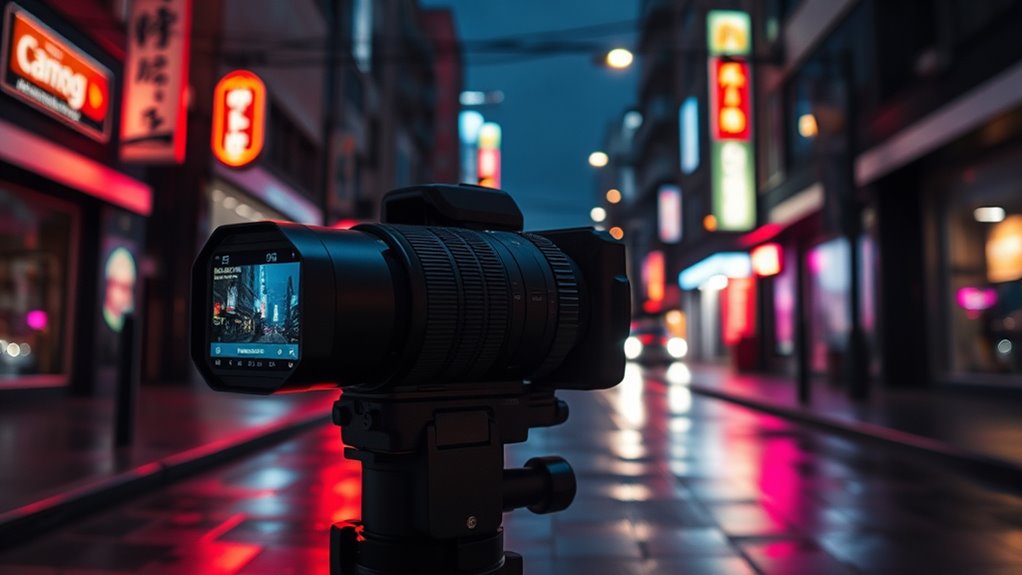
When filming in low light, selecting the right camera can make all the difference in capturing clear, high-quality footage. Focus on the sensor size, as larger sensors gather more light, improving image quality in dark conditions. Cameras with full-frame sensors are ideal because they excel in low light, reducing noise and enhancing detail. Additionally, pay attention to the lens aperture; a wider aperture (smaller f-number) allows more light to hit the sensor, making your footage brighter and sharper. Look for cameras that support fast lenses with large apertures, especially if you plan to shoot in challenging lighting. Combining a camera with a sizable sensor and a lens with a wide aperture gives you the best chance to produce clear, well-exposed videos even in the darkest environments. Contrast ratio also plays a vital role in low-light filming by helping to distinguish details in shadows and highlights, resulting in more dynamic and visually appealing footage.
Essential Settings and Techniques to Maximize Low Light Performance

Optimizing your camera settings can substantially improve low light footage. Start by adjusting your aperture control; use the widest aperture (lowest f-number) to let in maximum light. A larger sensor size also helps, as it captures more light and reduces noise. If your camera allows, increase the ISO carefully—just enough to brighten the image without introducing excessive grain. Keep your shutter speed as slow as possible while maintaining sharpness to gather more light, but avoid motion blur. Use manual focus to ensure sharpness, since autofocus can struggle in low light. Remember, combining a wide aperture with a larger sensor size maximizes light intake, giving you clearer, brighter footage even in challenging conditions. Additionally, understanding camera sensor size can help you choose equipment better suited for low-light filming.
Lighting Hacks and Additional Gear to Enhance Your Shots
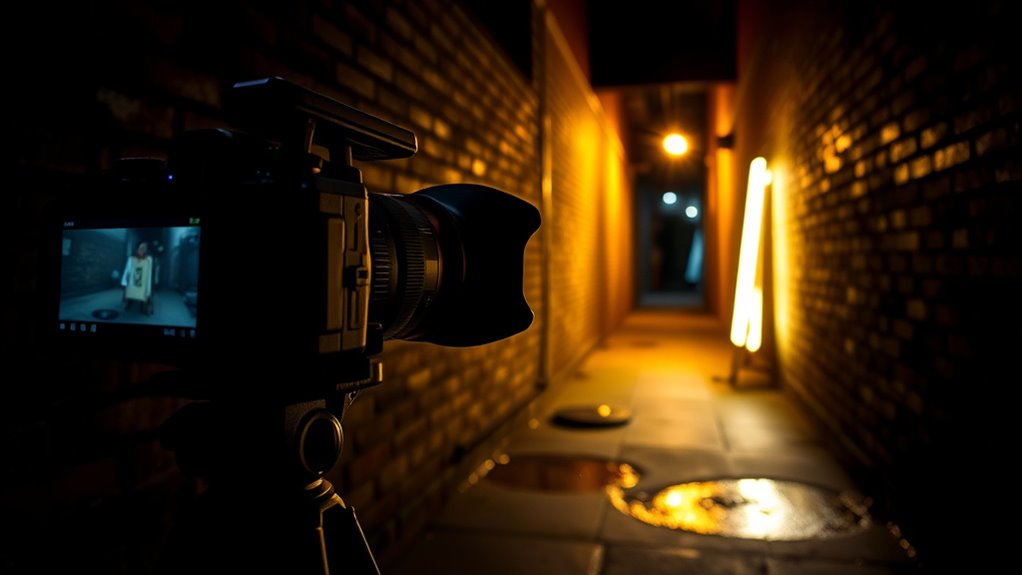
Lighting hacks and additional gear can substantially improve your low light footage without relying solely on camera settings. One effective hack is to bounce light off nearby surfaces, such as walls or ceilings, to diffuse and soften illumination. Using reflectors or portable LED panels as additional gear can provide targeted, adjustable lighting, making scenes brighter without noise. Consider employing practical lights like lamps or candles for natural, warm glow, enhancing depth and atmosphere. Clip-on or handheld lights are versatile options for filling shadows or highlighting subjects. Dimming or modifying existing lights with gels or diffusers can also help control light quality. Incorporating sustainable lighting solutions, such as energy-efficient LEDs or solar-powered lights, can further align your filmmaking with sustainable practices. These lighting hacks and gear choices are simple but powerful tools to elevate your low light shots, giving them clarity and professionalism.
Post-Processing Tips to Brighten and Clarify Low Light Footage
Post-processing offers powerful tools to enhance low light footage, making it brighter and clearer even after shooting. You can use image enhancement techniques like adjusting brightness, contrast, and shadows to reveal hidden details. Noise reduction is essential, as low light footage often contains grainy artifacts. Apply noise reduction filters carefully to smooth out unwanted grain without losing sharpness or detail. Color grading can also help improve visibility by boosting saturation and clarity. When editing, focus on balancing exposure to avoid over-brightening, which can introduce artifacts. Additionally, understanding the limitations of your camera can inform how you approach post-processing to achieve the best results. Combining these adjustments allows you to maximize your footage’s quality, revealing more detail and reducing distracting noise. With the right post-processing workflow, even poorly lit shots can be transformed into visually appealing videos.
Common Mistakes to Avoid When Shooting in Dim Conditions

While post-processing can improve low light footage, preventing common mistakes during shooting is key to achieving better results from the start. One mistake to avoid is overusing flash, which often introduces unwanted flash noise that degrades image quality. Instead, rely on natural or continuous lighting when possible. Another pitfall is shaky footage; holding your camera steady or using a tripod can remarkably improve sharpness and stability. Avoid increasing ISO too high, as it amplifies noise and can make your footage look grainy. Additionally, don’t neglect proper focus—blurred images are common in low light. Being aware of Glycolic Acid benefits and its application can also inform better skin preparation if filming involves close-up shots of skin. By being mindful of these mistakes, you’ll produce clearer, more professional-looking footage without relying heavily on post-processing fixes.
Frequently Asked Questions
How Do Different Lenses Affect Low Light Performance?
Different lenses impact low light performance mainly through lens aperture and focal length. A lens with a wider aperture (smaller f-number) lets in more light, making it easier to film in dim settings. Prime lenses often have larger apertures than zooms, boosting low light capabilities. Additionally, a shorter focal length generally performs better in low light, providing brighter images and less need for high ISO, which reduces noise.
Can Smartphone Cameras Capture Quality Low Light Footage?
Smartphone cameras can capture quite quality low-light footage, but limitations linger. You’ll notice noise and less detail due to small sensors and limited lens options. Digital stabilization helps smooth shaky shots, but it can’t fully compensate for poor lighting. To improve results, use night modes, keep your phone steady, and maximize available light. While not perfect, smartphones today can still produce impressive low-light footage with careful handling.
What Are the Best Accessories for Shooting in Dim Environments?
To improve your low-light shots, invest in accessories like a sturdy tripod for stability, preventing camera shake during long exposures. Using lens filters, especially wide-aperture or neutral density filters, helps you control light and enhance image quality. These tools make your footage clearer and sharper, even in dim environments. Combine stable tripod setup with the right filters, and you’ll notice a significant boost in your low-light filming results.
How Does Sensor Size Influence Low Light Video Quality?
Sensor size considerably impacts your low light video quality. Larger sensors have more surface area, which improves low light sensitivity by capturing more light and reducing noise. This means your footage stays clearer and brighter in dim environments. When filming in low light, choose a camera with a bigger sensor to enhance image quality and get better results without relying solely on additional lighting or high ISO settings.
Is It Better to Shoot in RAW or Compressed Formats for Low Light?
Shooting in RAW beats compressed formats by a mile, especially in low light. It captures incredible color depth and preserves details, making noise and compression artifacts less noticeable. If you want the best quality with flexibility in post-production, go RAW. Compressed formats save space but sacrifice image fidelity, causing potential quality loss in dim environments. For stunning, professional results, RAW is your best choice—don’t settle for less!
Conclusion
Mastering low light filming is like tuning into a secret world hidden in shadows. When you choose the right gear, tweak your settings, and use clever lighting hacks, you reveal stunning visuals even in the darkest scenes. Remember, every challenge in low light is an opportunity to sharpen your skills and creativity. Keep experimenting, stay patient, and soon you’ll turn dim environments into your personal canvas—proving that light isn’t just about brightness, but about how you shape it.

