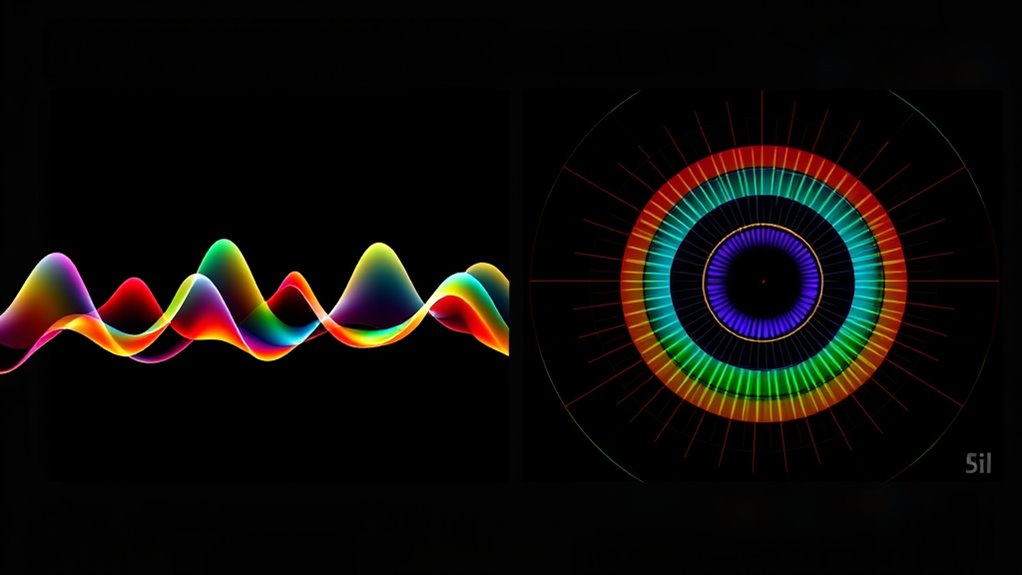
Waveforms and vectorscopes serve different but complementary roles in capturing and editing video. The waveform shows exposure and brightness levels, helping you avoid overexposure or underexposure by visualizing luminance data. The vectorscope reveals color information, including hue and saturation, ensuring accurate color balance. Understanding their distinct functions allows you to better adjust your footage during filming and post-production. Keep exploring to uncover how mastering both tools can elevate your video quality even further.
Key Takeaways
- Waveforms measure luminance/exposure levels, showing brightness from black to white; vectorscopes display hue and saturation of colors.
- Waveforms help prevent overexposure or underexposure, while vectorscopes ensure accurate color hue and saturation.
- Combining both scopes provides comprehensive image analysis for precise exposure and color correction.
- Waveforms focus on brightness levels; vectorscopes focus on color hue position and saturation strength.
- Proper use of both scopes enhances image consistency, color accuracy, and professional video quality.
Understanding the Basics of Waveforms and Vectorscopes
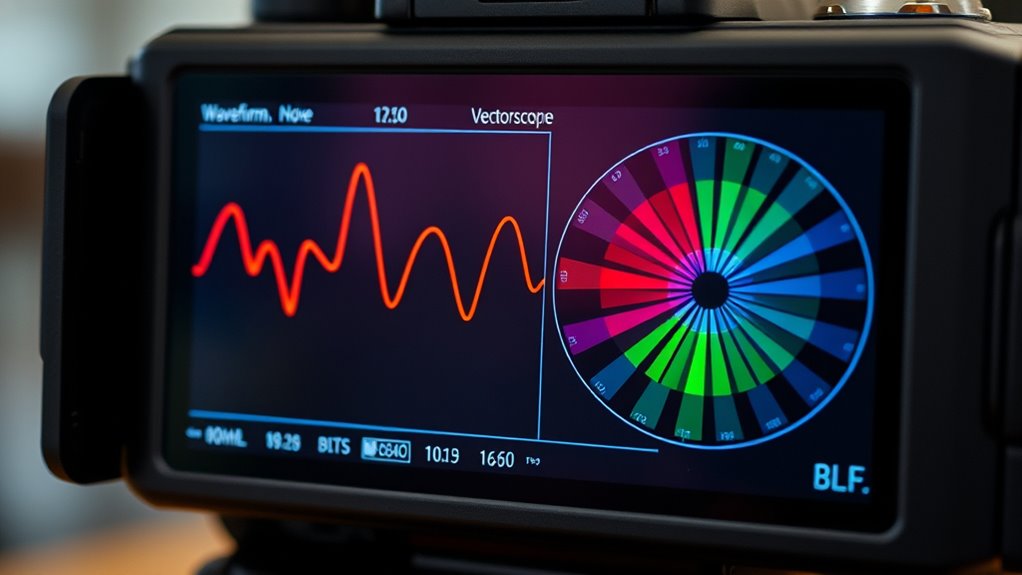
To effectively evaluate and correct your video signals, it’s important to understand the fundamentals of waveforms and vectorscopes. Waveforms display luminance and exposure levels, helping you judge brightness and contrast accurately. Vectorscopes, on the other hand, visualize color information, making them essential for precise color grading. When calibrating your camera, these tools ensure your footage maintains accurate color reproduction and correct exposure. Proper camera calibration aligns your camera’s output with standard references, reducing color shifts and exposure errors. By mastering these tools, you gain better control over your video signals, ensuring consistent, professional-quality results. Understanding waveforms and vectorscopes forms the foundation for effective image correction, especially when fine-tuning colors during post-production. Additionally, knowing how high dynamic range (HDR) influences image quality helps in achieving more realistic and vibrant visuals.
How to Read and Interpret Waveforms for Exposure and Brightness
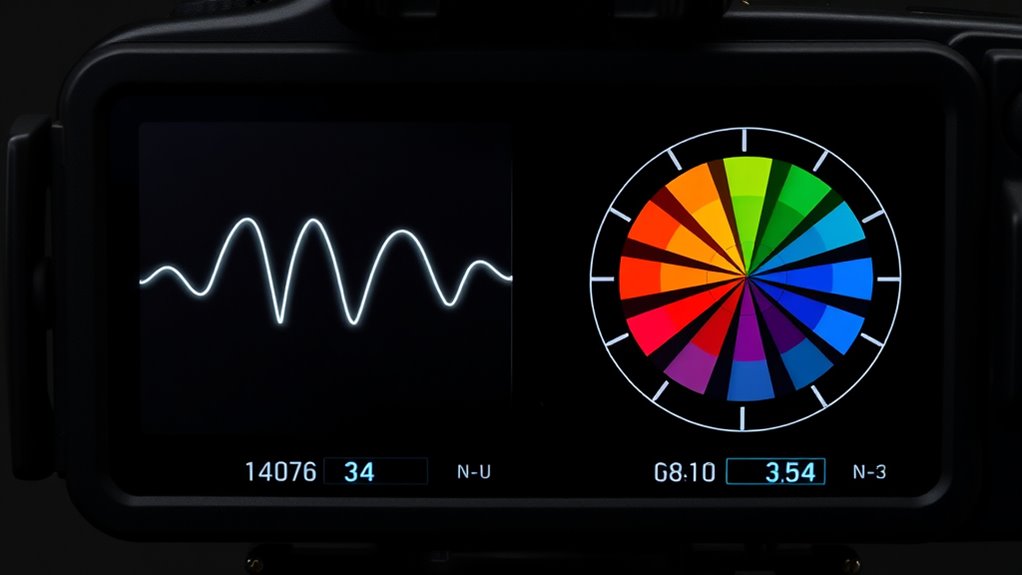
Understanding how to read and interpret waveforms is key to accurately evaluating exposure and brightness in your video footage. The waveform display shows exposure levels across your image, with the vertical axis representing brightness from black (bottom) to white (top). Proper exposure typically places most of your image within the mid-range, avoiding clipped highlights or crushed shadows. When the waveform peaks at the top, it indicates overexposure; at the bottom, underexposure. Use this information to make precise brightness adjustments, ensuring your highlights aren’t blown out and shadows retain detail. Regularly monitoring the waveform helps you maintain balanced exposure, giving your footage a natural, professional look. With practice, you’ll quickly identify areas needing correction, streamlining your workflow and improving overall image quality. Additionally, understanding best free keto diet app features can help optimize your health and fitness goals outside of video work.
Deciphering Color Information With Vectorscopes
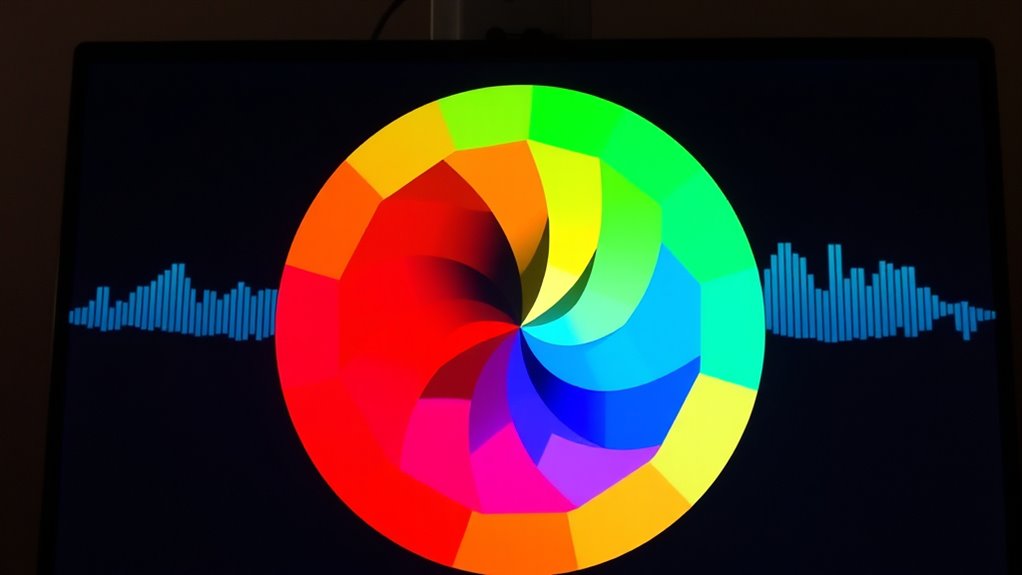
A vectorscope visually represents the color information in your footage by mapping hue and saturation onto a circular display. This tool helps you assess color saturation levels and hue accuracy, ensuring your colors look natural and balanced. The further from the center, the higher the saturation; the angle indicates the hue. For example, reds cluster around the 0° mark, greens around 120°, and blues near 240°. Use the following table as a guide:
| Hue Range | Color | Saturation Level | Description |
|---|---|---|---|
| 0° – 30° | Red | High | Vivid reds, check for clipping |
| 90° – 150° | Green | Moderate to high | Balanced greens in scene |
| 210° – 270° | Blue | Moderate | Accurate blue tones |
| 330° – 360° | Magenta | Varies | Adjust for saturation |
This helps you fine-tune your footage for accurate, vibrant colors. Additionally, understanding how to interpret these readings can improve your overall color grading process, especially when combined with color correction techniques.
Practical Applications: When to Use Each Tool in Shooting and Post-Production
Knowing when to use a waveform or vectorscope can streamline your shooting and editing process. Real-time monitoring helps you catch exposure issues instantly, while timing your color correction guarantees consistency across scenes. By understanding their practical applications, you can make informed decisions that improve your final product.
Real-time Monitoring Benefits
Real-time monitoring with waveform monitors and vectorscopes is essential during shooting and post-production, as it allows you to immediately assess exposure, color balance, and saturation. Using these tools during filming helps you make quick adjustments for proper exposure and accurate camera calibration, preventing issues that could complicate post-production. In color grading, real-time data guides you in achieving the desired look, ensuring consistent color and luminance throughout your project. These tools also enable you to identify and correct color imbalances early, saving time later. Additionally, understanding how AI-powered tools can assist in analyzing color accuracy and consistency can further enhance your workflow. By monitoring signals in real-time, you gain precise control over your footage, resulting in better image quality and more efficient workflows. Ultimately, real-time monitoring sharpens your ability to deliver professional-grade results.
Color Correction Timing
Timing your use of waveform monitors and vectorscopes is essential for effective color correction during both shooting and post-production. During shooting, use these tools to refine camera calibration, ensuring accurate color reproduction and proper exposure. Checking the waveform helps you set correct luminance levels, while the vectorscope confirms skin tones and color balance are on point. In post-production, these tools guide your color grading process, allowing you to fine-tune hues and contrast precisely. Employ the waveform to match exposure across shots, and the vectorscope to maintain consistent color palettes. Integrating these tools at the right moments ensures your footage achieves professional-looking color accuracy and consistency, eliminating guesswork and streamlining your workflow. Proper timing maximizes their benefits for polished, visually cohesive results.
Scene Consistency Checks
Scene consistency checks are crucial to guarantee your footage looks cohesive across shots and scenes. Use the waveform monitor during shooting to verify exposure levels and ensure consistent brightness, especially when adjusting camera calibration settings. Vectorscopes help maintain accurate color reproduction, making sure skin tones and key colors stay uniform throughout. In post-production, these tools become indispensable for color grading, confirming that your adjustments don’t introduce inconsistencies. When comparing shots, check the waveform to match luminance and the vectorscope to align color hues. Consistent use of these scopes ensures your entire project maintains a professional, polished look, whether you’re fine-tuning color grading or making camera calibration corrections. This process ultimately enhances visual continuity, making your footage appear seamless and well-balanced. Additionally, understanding camera calibration settings can further improve your scene consistency and overall visual quality.
Common Mistakes and Misconceptions About Waveforms and Vectorscopes
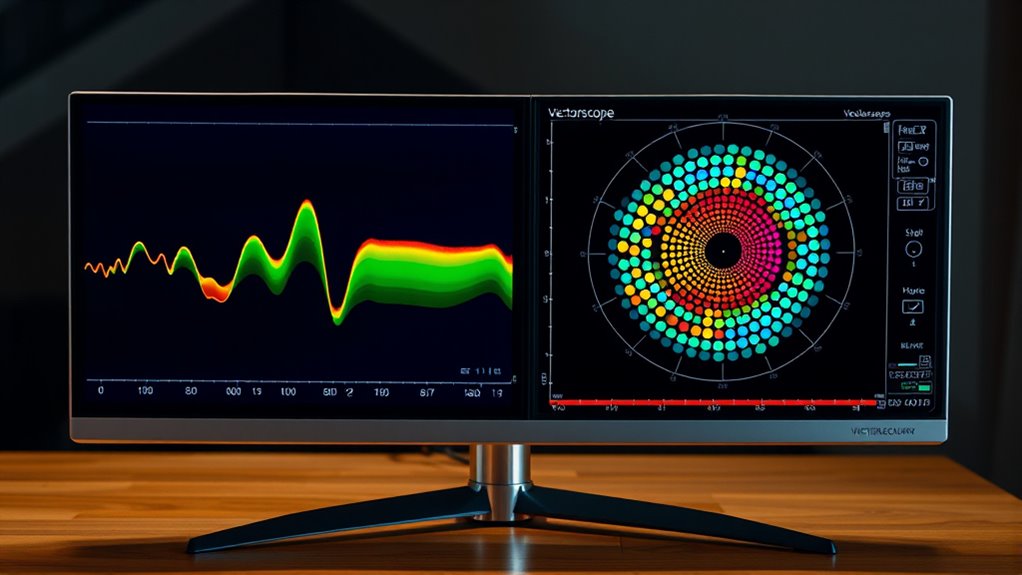
Many filmmakers and colorists mistakenly believe that waveforms and vectorscopes provide the same information or can be used interchangeably. This scope misconception often leads to misjudging color and exposure. First, remember that histogram myths suggest the waveform shows exposure levels, not color balance. Second, a common misconception is that vectorscopes display all color information, but they mainly visualize hue and saturation. Third, relying solely on one scope can cause you to overlook critical details; combine both for accuracy. Fourth, don’t assume that a well-balanced waveform guarantees correct color; it’s only part of the picture. Understanding these scope misconceptions helps you avoid errors and makes your color correction more precise. Using each tool correctly ensures a more professional, consistent final image.
Enhancing Your Workflow: Tips for Integrating These Tools Effectively
To maximize the effectiveness of your color grading, you need to integrate waveforms and vectorscopes seamlessly into your workflow. Use these tools consistently during lighting adjustments to ensure accurate exposure and color balance. Before shooting, perform proper camera calibration so that the scopes reflect true image data. During post-production, regularly monitor both tools to catch color shifts or exposure issues early. Keep your scopes visible but unobtrusive, allowing quick reference without disrupting your editing flow. Combine the insights from waveforms for brightness and contrast, with vectorscopes for hue accuracy. This integrated approach helps you make precise adjustments, saving time and improving overall image quality. Additionally, understanding how these scopes relate to concepts like color accuracy can further enhance your grading precision. By making these tools a routine part of your process, you’ll achieve more consistent and professional results.
Frequently Asked Questions
Can Waveforms and Vectorscopes Be Used for Audio Monitoring?
Waveforms and vectorscopes aren’t designed for audio monitoring or visualization. They’re primarily used for video signal analysis, helping you gauge brightness, color, and exposure. For sound monitoring, you should use audio-specific tools like VU meters, spectrum analyzers, or audio waveforms. These tools give you accurate audio visualization, ensuring your sound quality is perfect and balanced during recording or mixing.
Are There Any Camera Models That Do Not Support These Tools?
You might think every camera supports waveform and vectorscope tools, but some unsupported models lack this feature. Picture a rugged, compact camera designed for simplicity—these often skip advanced tools to keep costs low. Camera compatibility varies widely; high-end models typically include these scopes, while basic or older models may not support them. Always check your camera’s specifications to verify it offers waveform and vectorscope functionalities before relying on them.
How Do Lighting Conditions Affect Waveform and Vectorscope Readings?
Lighting variability can greatly impact your waveform and vectorscope readings, making them appear inconsistent. Bright or uneven lighting can cause overexposed or underexposed areas, skewing your data. To maintain accurate readings, you should make proper exposure adjustments, such as adjusting ISO, aperture, or shutter speed. This helps ensure your waveform and vectorscope reflect true image colors and brightness, regardless of changing lighting conditions.
Can Beginners Learn to Interpret These Tools Without Prior Training?
Nearly 70% of beginners find it challenging to interpret waveform and vectorscope readings at first. But with practical training, you can quickly develop your visual literacy, making these tools less intimidating. You don’t need prior experience—just patience and hands-on practice. These tools are designed to help you understand exposure, color, and contrast better, turning complex data into clear visual cues that improve your camera skills rapidly.
Are There Software Plugins That Simulate Waveforms and Vectorscopes?
Yes, there are software plugins that simulate waveforms and vectorscopes, making it easy for you to learn color correction and exposure without needing expensive equipment. These simulation tools are integrated into editing programs like DaVinci Resolve, Adobe Premiere, and Final Cut Pro. They provide real-time feedback, helping you understand how adjustments affect your footage. Using these plugins, you can practice and master color grading skills efficiently from your computer.
Conclusion
Think of waveforms and vectorscopes as your camera’s compass and map—guiding you through the terrain of perfect exposure and color. Mastering these tools helps you navigate your shoot with confidence, ensuring every shot is balanced and vibrant. With practice, you’ll find your workflow becomes smoother, like a well-oiled engine. Embrace these visual guides, and watch your filming and editing journey transform into an exciting adventure, leading you to stunning, professional results.

