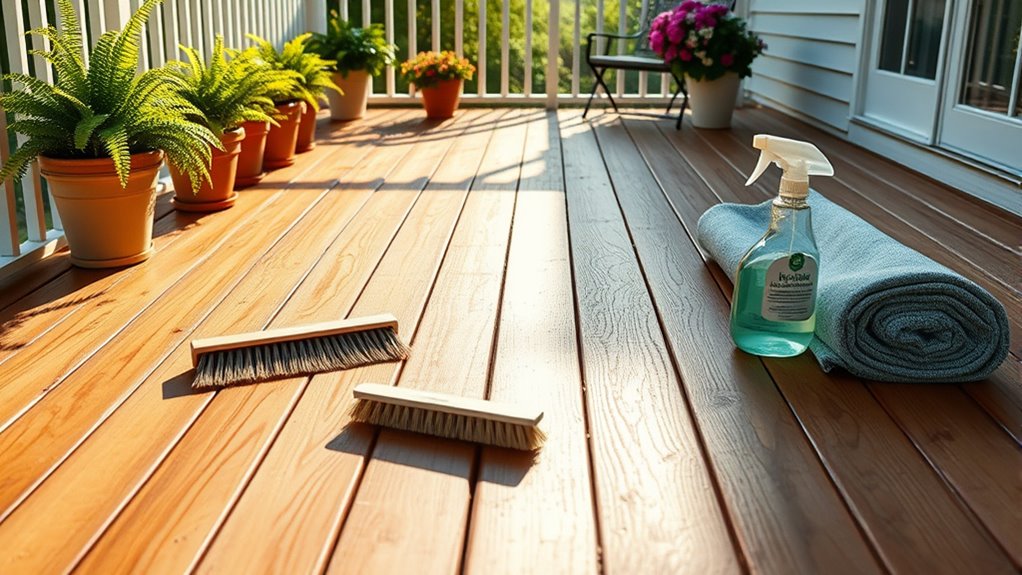
To get your deck ready for summer, start by thoroughly sweeping away dirt and debris, then use a gentle cleaning solution like oxygen bleach mixed with warm water and dish soap to remove stains and grime. Inspect for loose nails, splinters, or damage, and repair as needed. After cleaning and allowing the wood to dry completely, consider sealing or staining to protect against the summer sun. If you want detailed steps, keep exploring for all the tips.
Key Takeaways
- Clear the deck of furniture, plants, and debris, and cover nearby greenery to protect from cleaning solutions.
- Sweep thoroughly and inspect for damage or loose nails; repair any issues before cleaning.
- Use eco-friendly cleaning solutions like oxygen bleach and dish soap; avoid harsh chemicals that harm plants.
- Scrub between boards with a stiff brush and rinse completely, ensuring the deck is dry before sealing.
- Check for signs of wear or damage, then apply a suitable sealant or stain to protect and prepare for summer use.

Getting your deck ready for summer starts with a thorough cleaning and prep process. First, clear the deck of all furniture, planters, and decorative items. This gives you a clean slate to work with and ensures you can access every part of the surface. Next, protect the surrounding plants and grass by covering them with drop cloths or plastic sheets. This shields them from chemicals and water runoff during cleaning. Gather your tools now—stiff-bristled brushes, brooms, gloves, goggles, and any other protective gear you might need. Inspect the deck carefully for loose nails, splintered wood, stains, or other damage that could worsen over time. Repair any issues before you start cleaning to prevent further deterioration.
Decide on your cleaning solution. For a gentle, eco-friendly approach, mix powdered oxygen bleach with warm water and add a few drops of dish soap. This creates a mild, effective cleaning solution that won’t harm your plants. If your deck has stubborn stains or heavy grime, consider using a store-bought deck cleaner, which is formulated for tougher dirt. Avoid using liquid chlorine bleach, as it can damage your plants and pollute the environment. Ammonia-free detergents are also a good choice—they’re safe for your greenery and still effective. For light cleaning, plain water mixed with dish soap often does the trick. Incorporating proper cleaning techniques can help extend the life of your deck and improve its appearance.
Start by sweeping the deck thoroughly with a broom to remove loose dirt, leaves, and debris. For deep grime, pressure washing can be very effective, but proceed with caution—using too much pressure can damage the wood. Alternatively, scrub between the boards with a stiff brush dipped in your chosen cleaning solution. Once you’ve loosened the dirt, rinse the entire surface thoroughly with water to remove all cleaning residues. Let the deck dry completely before moving on to any finishing steps, as residual moisture can interfere with sealers or stains. Safety is paramount. Always wear goggles, gloves, and masks when working with chemicals. Cover nearby plants to prevent chemical runoff from harming them. Follow the manufacturer’s instructions carefully for all cleaning solutions. Make sure the deck is dry before walking on it to avoid slips, and be aware of local regulations concerning chemical use. After cleaning, inspect the deck again. Check for damage, loose nails, or areas where water seems to be absorbed into the wood, indicating worn sealant. Look for mildew growth and treat it promptly with a mildew remover. Secure any loose nails to prevent further damage and evaluate the wood’s overall condition to determine whether refinishing is necessary.
Finally, based on your assessment, choose an appropriate finish: clear sealers to protect the wood while maintaining its natural look, semi-transparent stains for a touch of color, or solid stains if you want maximum coverage. Oil-based stains are durable but more challenging to apply, while water-based options are easier and environmentally friendly. Proper cleaning and prep ensure your deck looks great, lasts longer, and is ready for all your summer gatherings.
Frequently Asked Questions
How Often Should I Reapply Sealant After Cleaning?
You should reapply sealant based on your deck’s sealant type and environmental exposure. For example, clear finishes need yearly reapplication, semi-transparent stains last 2-3 years, and solid colors can go 3-5 years. Check for water beading, peeling, or discoloration as signs it’s time to reseal. Regular inspections and proper prep—including cleaning and possibly pressure washing—ensure your deck stays protected and looks great for years.
Can I Use a Pressure Washer on My Wooden Deck?
Yes, you can use a pressure washer on your wooden deck, but you need to be careful. Use a pressure setting between 1500 and 2000 PSI and keep the nozzle at least 8 to 18 inches away from the surface. Move steadily in the wood grain direction, and avoid holding the nozzle too close or applying too much pressure to prevent damage like splintering or gouging.
What’S the Best Way to Remove Stubborn Stains?
When removing stubborn stains from your deck, start by identifying the stain type. Choose a suitable deck stripper like DEFY for solid stains or Restore-A-Deck for semi-transparent ones. Follow the manufacturer’s instructions carefully, applying the stripper evenly. Let it penetrate, then scrub with a stiff brush. Rinse thoroughly with water or a pressure washer, and then smooth the surface with sanding for the best results.
How Do I Prevent Mold and Mildew Growth?
To prevent mold and mildew growth, you should keep your deck well-ventilated and dry. Regularly inspect for signs of moisture buildup, and remove debris promptly. Use mold inhibitors or sealants on wood decks, and consider installing materials like PVC that resist mold. Guarantee proper drainage with deck slopes and gutters, and maintain good air circulation around your deck to keep moisture at bay.
Is It Necessary to Sand the Deck Before Sealing?
Think of your deck as a canvas—it needs a smooth surface to look its best. Sanding isn’t always necessary before sealing, especially if your deck’s surface is already smooth and in good condition. If the wood feels rough, has uneven areas, or old paint, sanding helps guarantee the sealant adheres properly and lasts longer. Use the right grit and tools for even results, and always clean thoroughly afterward.
Conclusion
Now that your deck is spotless and ready, you’re practically invincible against summer messes! With just a little effort, you’ve transformed your outdoor space into a pristine paradise that’ll impress everyone. Regular cleaning and maintenance can make your deck last for decades—like it’s built to outlive even the hottest summers! So go ahead, enjoy those sunny days, and bask in the glory of your perfectly prepped outdoor oasis. Your summer fun has never looked this good!


