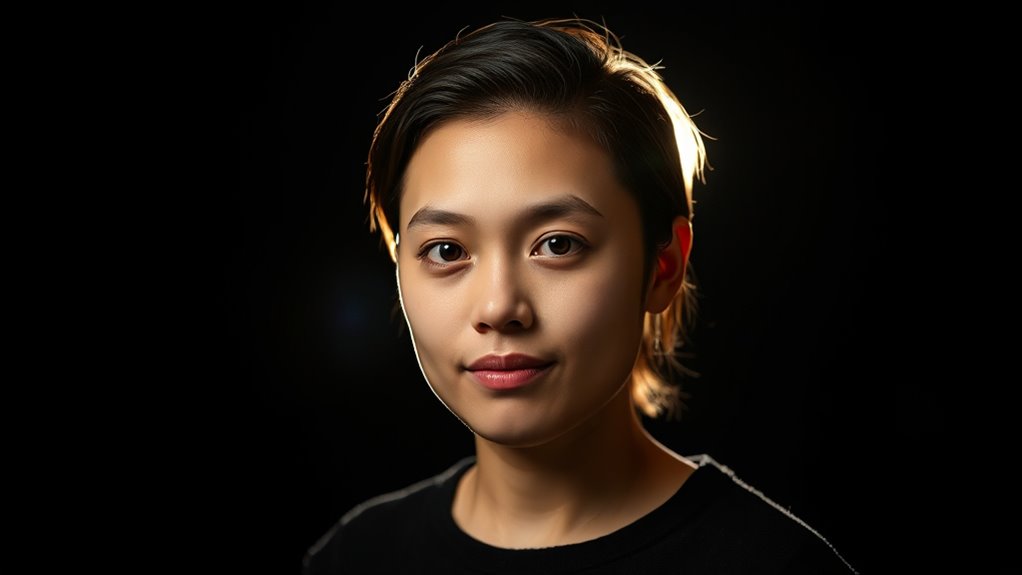
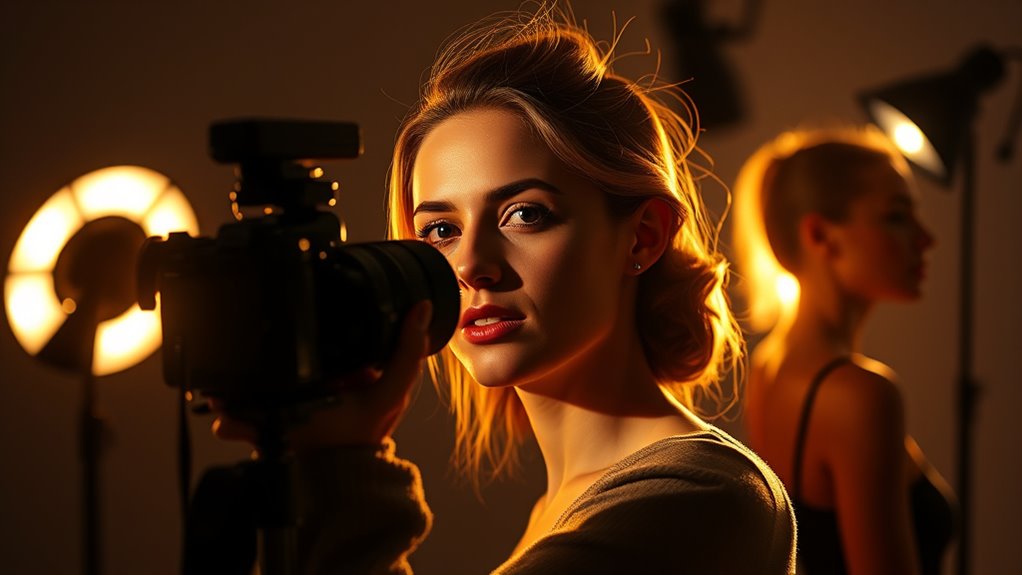
Three-point lighting involves positioning a key light at about 45° to your subject to highlight features, a fill light to soften shadows, and a backlight to create separation from the background. Proper placement and color temperature set the mood and add depth to your shots. Avoid common pitfalls like harsh shadows or flat lighting by adjusting angles and diffusing your lights. Keep exploring these techniques to really perfect your setup and get professional-looking results.
Key Takeaways
- Three-point lighting uses a key, fill, and backlight to shape and separate the subject from the background.
- Proper placement: key at 45° angle, fill opposite or near, and backlight behind to create depth.
- Adjusting light intensity and color temperature impacts mood, texture, and naturalness of the scene.
- Softening shadows with diffusers and reflectors enhances professional, balanced lighting.
- Small tweaks in position and angle can dramatically improve the visual quality and dimension.
The Fundamentals of Key, Fill, and Back Lights

Understanding the fundamentals of key, fill, and back lights is essential for creating a well-balanced and visually appealing scene. Light placement is vital; position your key light where it highlights your subject’s most important features, usually at a 45-degree angle. Fill light softens shadows created by the key light and should be placed opposite or near the key, but at a lower intensity. The backlight, placed behind the subject, separates them from the background and adds depth. Pay attention to color temperature—warm tones create intimacy, while cool tones evoke a sense of calm or professionalism. Adjusting these elements ensures your scene feels natural and balanced. Proper light placement combined with thoughtful color temperature choices transforms a flat shot into a mesmerizing visual story. Additionally, understanding lighting ratios helps in achieving the desired mood and contrast within your scene.
Common Mistakes and How to Avoid Them

One of the most common mistakes in three-point lighting is misplacing the key light, which can create unflattering shadows or an uneven look. To avoid this, use proper lighting accessories like adjustable stands and diffusers for better control. Poor shadow control often results from incorrect light angles or intensity. Here’s how to prevent this:
| Mistake | Solution | Effect |
|---|---|---|
| Placing key too close or high | Adjust position and angle | Even, natural shadows |
| Ignoring shadow control tools | Use flags or reflectors | Softens or blocks shadows |
| Overusing harsh accessories | Opt for diffusers or softboxes | Creates smooth lighting |
Focus on proper placement, quality accessories, and shadow control techniques for professional results. Additionally, understanding the lighting setup and how each component interacts can significantly improve your overall lighting quality.
Tips and Tricks for Achieving Professional Results

To achieve professional results with three-point lighting, focus on fine-tuning each light’s position, intensity, and quality. Adjust your lighting setup to create depth and dimension, avoiding flat images. Pay attention to color temperature; matching the key and fill lights ensures natural skin tones and cohesive visuals. Here are some tips:
- Position your key light at a 45-degree angle to highlight features without harsh shadows.
- Use a fill light with lower intensity to soften shadows, maintaining balanced brightness.
- Keep your backlight slightly above and behind your subject to add separation and depth.
- Incorporate sound vibrations or calming music into your setup to help maintain focus and a relaxed atmosphere during adjustments.
Experiment with the distance and angle of each light, and always check how color temperature impacts the mood. Small tweaks can make your lighting setup look polished and professional.
Frequently Asked Questions
How Do I Adjust Lighting for Different Skin Tones?
To adjust lighting for different skin tones, focus on skin tone enhancement by tweaking the key light’s intensity and distance to avoid harsh shadows or highlights. Use fill lights to balance color and prevent overexposure. For darker skin tones, add warmth or subtle fill light to bring out natural richness. For lighter skin, soften shadows and reduce brightness. Always monitor on your camera, ensuring proper color balancing for a flattering, natural look.
What’s the Best Color Temperature for Three-Point Lighting?
Think of your lighting setup as a painter choosing the perfect hue; the ideal color temperature options usually range between 3200K and 5600K. For natural, flattering skin tones, aim for around 5600K, mimicking daylight. Adjust your lighting color calibration accordingly, ensuring your scene’s warmth or coolness matches your desired mood. This way, your three-point lighting will highlight your subject perfectly, creating a balanced and professional look.
How Do I Prevent Harsh Shadows With Three-Point Lighting?
To prevent harsh shadows with three-point lighting, you should use diffusion techniques and light modifiers like softboxes or umbrellas. These tools soften the light, spreading it evenly and reducing sharp shadows. Position your fill light closer to your subject and at a lower intensity than the key light, and utilize diffusion to create a more flattering, natural look with minimal shadows. This guarantees a balanced, professional appearance in your shot.
Can Three-Point Lighting Work Outdoors or in Natural Settings?
Yes, three-point lighting can work outdoors or in natural settings, but you’ll need to adapt your approach. Imagine the sun as your key light, casting warm, natural glow, while reflectors bounce light back onto your subject. Use portable lights and diffusers to control shadows and balance the natural light. This setup helps you create professional-looking shots even in unpredictable outdoor environments, blending natural and artificial lighting seamlessly.
What’s the Ideal Distance Between Lights and Subject?
You should position your lights about 3 to 6 feet from your subject, depending on the scene and the light’s power. Follow distance guidelines to avoid harsh shadows or overly soft illumination. Keep your key light a bit closer for strong, focused light, while fill and back lights can be placed farther away for balanced, natural-looking light placement. Adjust as needed for the perfect look.
Conclusion
Now that you know the basics of three-point lighting, you’re ready to create engaging, camera-ready scenes. By balancing brightness, avoiding blunders, and blending lights seamlessly, you’ll bring your visuals to life. Practice makes perfect, so experiment enthusiastically and elevate every shot. With a little patience and a keen eye, you’ll master the magic of professional lighting. Light, lens, and love—your filmmaking future is shining brighter than ever!


