TL;DR

Get audio and creator gear delivered free with Prime
- Fast, free delivery on millions of items
- Prime Video, Amazon Music and more included
- Member-only deals all year
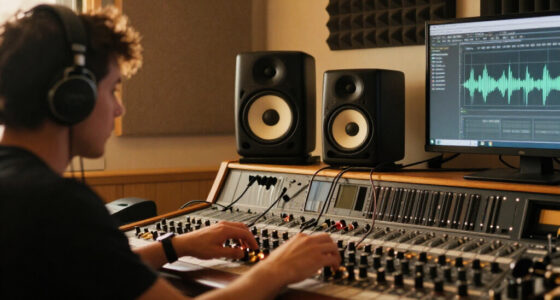
Studio monitor speakers are designed to reproduce audio with a relatively even frequency response, helping you hear mix details without the deliberate bass or treble emphasis common in some consumer speakers. Your room, placement, listening level, and cross-checks on headphones or everyday speakers all affect how reliably your mixes translate.
A mix can sound polished at your desk and strangely boomy in the car. Studio monitor speakers help you hear the decisions behind that surprise: the kick that crowds the bass, the vocal that sinks under guitars, or the reverb that smears a chorus. They are built to reveal a recording, rather than automatically sweeten it.
That does not mean a pair of monitors tells the whole story. Your bedroom walls, desk, listening distance, and volume all shape the sound reaching your ears. In this guide, you’ll learn what monitors do, how to choose a type that fits your space, and how to set them up so your mixes have a better chance of travelling well.
You’ll also see why placement can matter as much as price, when a subwoofer helps, and how to use headphones and familiar speakers as practical cross-checks. Think of the process like tuning a camera: a good lens helps, but lighting and the way you frame the shot still matter.
Studio monitors aim for relatively even playback that helps you judge mix details; they cannot guarantee a mix will sound the same everywhere.
Nearfield models often suit small rooms, while midfield monitors need more listening distance and room space.
Start with an approximately equilateral speaker triangle, tweeters near ear height, and symmetrical placement.
Active monitors include amplification; check cable connections and input levels on both speakers.
Use a subwoofer when low bass matters to your work, then set it up and check it carefully.
Cross-check mixes on headphones or everyday speakers, and keep listening volume comfortable.
What studio monitor speakers help you hear
Studio monitor speakers are speakers designed for relatively even frequency response and low distortion, helping listeners judge how audio may sound on different playback systems. They aim to make mix details easier to assess instead of giving every song a flattering bass boost or sparkling treble lift. That makes them useful for recording, mixing, broadcast, video, and some gaming work.
Imagine you are mixing a singer over a soft acoustic guitar. On speakers with a strong bass bump, you might turn down the low end of the guitar because the whole track already sounds thick. A more neutral monitor can help you hear whether the muddiness actually comes from the guitar, the vocal, or both. It acts like a clear window into the recording, though no speaker removes the influence of the room around it.
Consumer speakers often tune their sound for enjoyment; a Bluetooth speaker might add punch to a kick drum, while another system pushes bright details forward. Neither approach makes those speakers bad. It simply means a mix judged only through one coloured playback system could leave you surprised when it reaches earbuds or a car stereo. Accuracy supports a decision; it does not guarantee a perfect translation.
For a practical check, play a familiar recording you know well. Listen for the vocal’s position, the bass line’s shape, and the space around the drums. Then play your own mix at a comfortable volume. If familiar tracks all sound unusually boomy or thin, your speakers, room, or placement may be contributing to what you hear.
Products Worth Considering

Bose SoundLink Flex Bluetooth Speaker (2nd Gen) – Portable Outdoor Speaker with Hi‑Fi Audio, Waterproof and Dustproof, USB‑C, Up to 12 Hours

Bose QuietComfort Ultra Headphones (2nd Gen), Wireless Bluetooth Noise-Cancelling Over-Ear Headphones, Black

Bose QuietComfort Wireless Noise-Cancelling Over-Ear Headphones, Black
As an affiliate, we earn on qualifying purchases.
Pick monitors that fit your room and working distance
Choose studio monitor speakers by matching their listening distance, bass capability, and physical size to your room, rather than by woofer size alone. Nearfield monitors are intended for relatively short distances and suit many desks and small project rooms. Midfield monitors are made for greater listening distances and generally need more space and appropriate room acoustics.
For example, if you produce music at a desk in a spare bedroom, nearfield monitors placed around arm’s length away may make more sense than large speakers that overpower the space. A bigger woofer does not automatically provide a better fit: the room can exaggerate low frequencies, leaving you turning down bass that is already too strong at your chair. In a larger, treated room, a midfield system may give you a more suitable listening experience.
Drivers also affect the design. Many monitors pair a woofer, which handles low and mid frequencies, with a tweeter for high frequencies. Some models use additional drivers or coaxial designs, where drivers share an axis. Each design brings tradeoffs, and driver size alone cannot tell you sound quality or how low the speaker reaches.
Before buying, check the manufacturer’s frequency range, maximum sound pressure level, connections, and placement guidance. Those numbers help you compare options, but manufacturers may use different measurement methods. If a reviewer publishes independent measurements, compare those too. A compact pair with well-documented performance may suit your desk better than impressive-looking specifications on a speaker you cannot place sensibly.
Set up your monitors so stereo and bass make sense
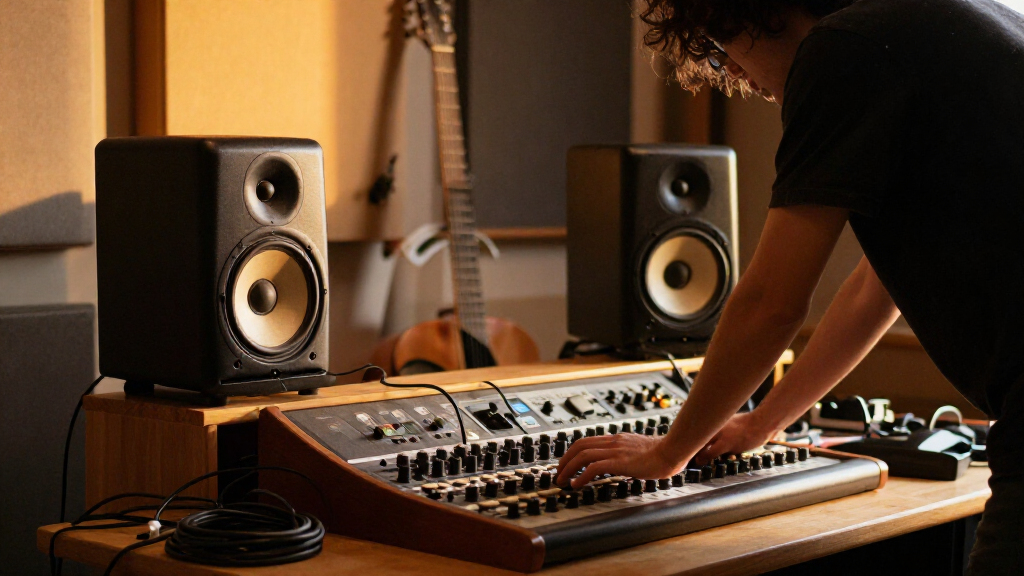
To position studio monitor speakers, start with both speakers and your head forming an approximately equilateral triangle. Keep the pair symmetrical, place the tweeters near ear height, and aim the speakers toward your listening position as the manufacturer recommends. This gives you a repeatable starting point for judging stereo placement and balance.
- Choose a central listening spot. Sit where you do most of your work, then place the speakers the same distance to your left and right.
- Measure the triangle. If the monitors are about 1.2 metres apart, begin roughly 1.2 metres from each speaker.
- Match height and angle. Bring the tweeters close to ear level and use a familiar track with a centered vocal to check the image.
- Refine wall distance. Follow the speaker manual, since nearby walls can change bass response and some models include settings for boundary placement.
A desk can reflect sound toward your ears and blur details, much like an echo in a tiled kitchen. A low monitor stand, small adjustment to the speaker angle, or moving the listening position may help. Try one change at a time and listen to a familiar track; if the center image stops wandering when you move your head slightly, that’s a useful sign.
Low frequencies can also behave unevenly across a room. One bass note may swell near a wall while another seems to disappear at your chair. Basic acoustic treatment can reduce some room problems, but careful setup comes first. A measurement microphone or software can help identify response irregularities at your listening position; it cannot turn an unsuitable room into a perfect one.
Choose active speakers and connections that suit your setup
Active studio monitor speakers have built-in amplification, while passive monitors need an external amplifier. Active models are common in modern studios because the speaker and its amplifier are designed to work together, and you do not need to choose an amp separately. Passive systems can still make sense if you already own suitable amplification or want a particular setup.
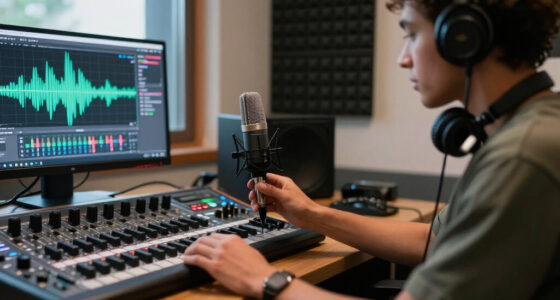
For a small home studio, active monitors can reduce guesswork: connect the output of an audio interface to each speaker, set levels carefully, and keep the wiring straightforward. Common connections include balanced XLR and quarter-inch TRS; some speakers also provide RCA, digital inputs, or wireless options. Use the cable type that matches both the interface or mixer output and the monitor input.
Many monitors include a level control, input sensitivity setting, or small EQ switches for room placement. These controls are handy when a speaker must sit close to a wall or on a desk. Some newer models add digital signal processing and room correction profiles made with a measurement microphone. They can make setup more convenient, but they cannot fully correct serious placement or room problems.
Before connecting everything, turn levels down and check the input settings on both speakers. If the left and right sides use different gain settings, a centered vocal may pull to one side even when the mix is balanced. Wireless features can reduce cable clutter in some situations, but wired connections remain common in studios because they fit familiar interface workflows and are easy to verify.
Use a subwoofer only when your work needs the lowest bass
A subwoofer can extend the bass response of studio monitor speakers, but you do not need one for every mix. It can help when your work depends on very low frequencies, such as electronic music, film sound, or bass-heavy production. The tradeoff is that a poorly integrated sub can make low-frequency decisions less reliable instead of more revealing.
Suppose you produce dance tracks in a small bedroom. A subwoofer might reveal a deep synth note that your compact monitors barely reproduce. But if the sub sits in a spot where the room strongly boosts that note, you could cut too much bass from the mix. At another chair position, the same note might fade away. The sub is showing you the combined effect of speaker placement and room acoustics, not just the mix.
Start by checking whether your monitors already cover the bass range you need. If you add a sub, follow its setup instructions for crossover, level, phase, and placement. Then play familiar music and check whether the transition between monitor and sub sounds smooth. You can also compare results on headphones or another system that reproduces deep bass clearly.
A subwoofer is most helpful when you can set it up and check your decisions thoughtfully. If room space or setup time is limited, headphones may offer a more practical second opinion. Neither method removes the need to test a finished mix across familiar playback systems; each gives you another view of the low end.
Make mixes travel by checking more than one playback system
Studio monitor speakers help you make mix decisions, but checking on other playback systems shows whether those decisions travel. Use monitors as your main reference, then listen on headphones, earbuds, a car stereo, or ordinary consumer speakers. Each system puts the sound in a different setting, much like checking a photo on a laptop and a phone before sharing it.
Try a short routine: play a familiar reference track, work on your mix at a comfortable and consistent level, and take a break before making final changes. Then listen to the export on a second system. If the vocal vanishes on earbuds, or the kick overwhelms your car, write down the problem and return to the monitors to make one targeted adjustment. Avoid making a string of random changes during the first listen.
Volume matters. Long sessions at high levels can tire your ears and contribute to hearing damage. At a sensible level, you can listen for longer without relying on sheer loudness to reveal every detail. When you notice yourself repeatedly turning the speakers up, take a break rather than treating volume as a substitute for a clear decision.
A monitor does not need to make music sound spectacular to be useful for work. A more neutral balance can feel less exciting if you expect a boosted bass line, but that plain presentation can help you spot competing instruments. For casual music listening, preference comes first: you may enjoy a richer, warmer speaker. The same pair can do both jobs, as long as you know what it tends to emphasize.
Frequently Asked Questions
Can you mix music without studio monitors?
Yes. Headphones can be useful, especially if your room is untreated or noisy. Check your mix on familiar speakers or earbuds too, since headphones and monitors present sound differently.
Are studio monitor speakers good for casual music listening?
Yes. They can sound clear and balanced, though some pairs may seem less bass-heavy than consumer speakers tuned for enjoyment. Whether that suits you depends on your listening preference.
Do studio monitors need a separate amplifier?
Active monitors have built-in amplification, so they do not need a separate power amplifier. Passive monitors require an external amplifier matched to the speakers.
What cables should you use with studio monitors?
XLR and quarter-inch TRS are common balanced connections. Check the outputs on your interface or mixer and the inputs on the monitors before choosing cables; some models also accept RCA or digital connections.
Should you put studio monitors close to a wall?
Follow the speaker manufacturer’s placement guidance. Nearby walls can change bass response, and some monitors include settings for boundary placement. If the bass sounds uneven, try adjusting distance and listening position before making mix changes.
Does room correction fix a bad listening room?
Room correction can help address some response irregularities at your listening position. It does not replace good placement or acoustic treatment, and it cannot fix every room problem.
Conclusion
Start with monitors that fit your room, put them in a measured and symmetrical position, and use familiar recordings to learn what your setup tells you. Then check your mix on another playback system before you call it finished.
Your speakers are a window, not the whole landscape. Set the window square, keep your ears rested, and let the mix meet the real world before it leaves your desk.