To paint a room like a pro, start by cleaning and preparing the space, covering furniture with drop cloths. Choose the right paint and tools for your surfaces, and apply primer to guarantee a smooth finish. Use quality brushes and rollers, work in manageable sections, and maintain a wet edge. Finish by inspecting your work and cleaning tools thoroughly. Keep these tips in mind, and you’ll discover the secrets to a flawless look.
Key Takeaways
- Prepare the room thoroughly by cleaning surfaces, protecting furniture, and taping edges for clean lines.
- Choose the appropriate paint and tools based on room function and surface texture for a professional finish.
- Prime surfaces to ensure even color, hide imperfections, and improve paint adhesion.
- Use quality brushes and rollers, applying paint with smooth, consistent strokes and maintaining a wet edge.
- Finish with careful touch-ups, proper cleaning of tools, and gentle removal of painter’s tape for a flawless look.
Preparing the Room and Gathering Supplies
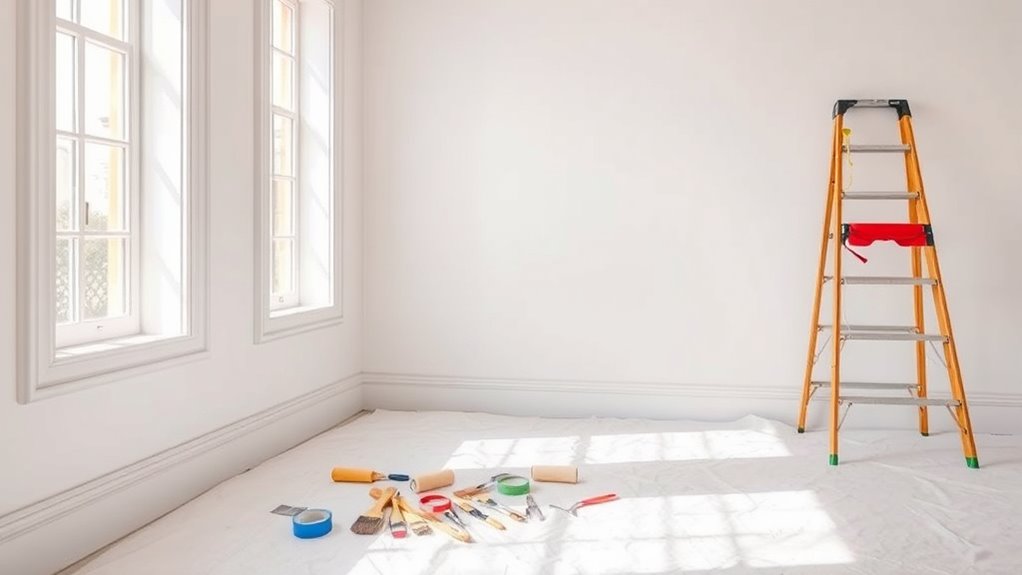
Before you begin painting, it is essential to prepare the room and gather all necessary supplies. Clear furniture and cover remaining items with drop cloths to protect them from splatters. Make certain you have a variety of brushes for different tasks, as proper brush techniques help achieve smooth lines and even coverage. Choose your paint finishes—matte, eggshell, or satin—based on the room’s purpose and desired look. Gather roller covers, painter’s tape, a paint tray, and ladders if needed. Ventilate the room to minimize fumes and allow paint to dry properly. Organize your supplies within easy reach, so you don’t waste time searching. Proper preparation sets the foundation for a professional-looking paint job and helps you work efficiently. Additionally, understanding paint technology can help you select the best paints for durability and appearance.
Choosing the Right Paint and Tools
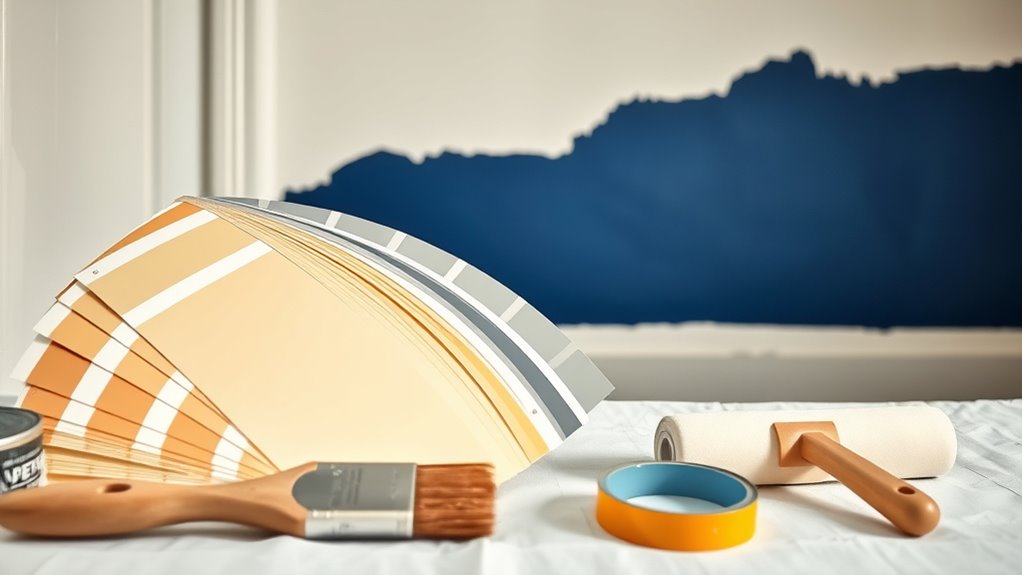
Selecting the right paint and tools is key to achieving a professional finish. First, choose a paint sheen suited to your room’s purpose—matte for ceilings, eggshell or satin for walls, and semi-gloss or gloss for trim. Next, consider brush types: angled brushes work well for corners, while flat brushes cover large areas smoothly. For rollers, opt for nap length based on surface texture—short for smooth walls, longer for textured surfaces. Additionally, using appropriate tools can help prevent streaks and ensure an even coat. Selecting the correct paint quality can also significantly impact the durability and appearance of your finished project. Being aware of painting techniques can further enhance your results and give your space a polished look. Proper surface preparation and understanding coating durability are also essential for a long-lasting paint job. Employing the right surface preparation methods can make a noticeable difference in the final outcome.
Prepping Surfaces for a Flawless Finish
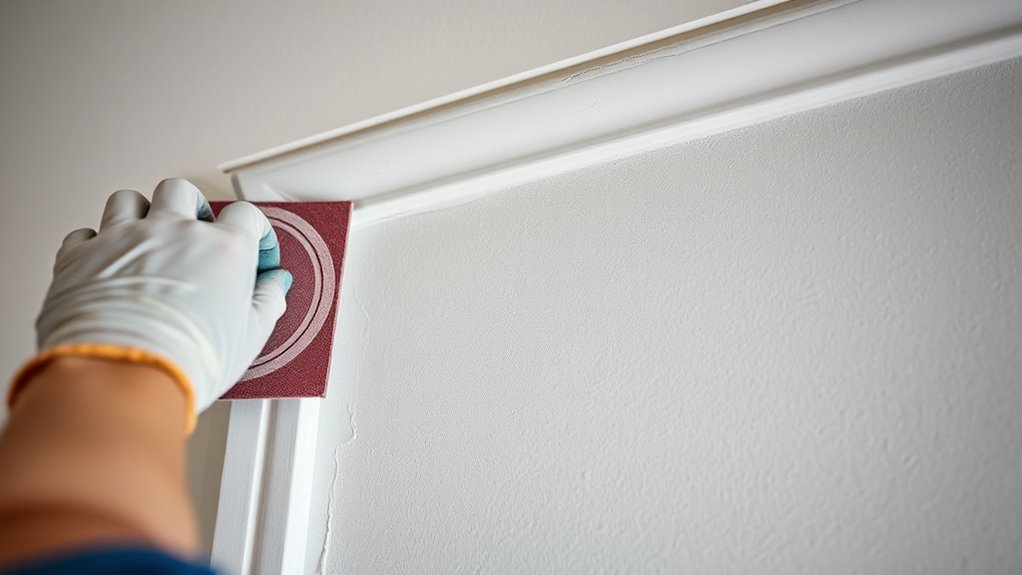
To achieve a flawless finish, you need to properly prep your surfaces before applying any paint. Start by cleaning the walls thoroughly to remove dirt and grease. Fill holes and imperfections with spackle, then sand smooth for an even surface. Next, consider primer application; a good primer helps hide stains, creates a uniform base, and improves paint adhesion. When choosing your paint sheen, think about the room’s function—matte for hiding flaws in ceilings, satin or eggshell for living areas, and semi-gloss for kitchens and bathrooms. Also, tape off edges and cover furniture to protect them from splatters. Proper surface prep ensures your paint adheres well and your finish looks professional. Skipping these steps can lead to drips, uneven coverage, or visible flaws.
Applying Paint Like a Professional

Once your surfaces are properly prepped, it’s time to bring out your tools and start applying the paint like a pro. Use quality brushes and follow proper brush techniques—load the brush lightly, avoid overloading, and use smooth, even strokes. This helps prevent drips and streaks. Before you begin, make sure your paint is well-mixed; stir thoroughly to blend pigments and avoid uneven color application. When applying paint, work in manageable sections, maintaining a wet edge to ensure seamless coverage. Use long, consistent strokes to create a smooth finish, and don’t press too hard. Incorporating brush techniques can further enhance your results and ensure a polished appearance. Regularly inspecting your work as you go can help catch and correct any uneven spots early, leading to a more professional-looking finish. Additionally, practicing proper painting safety measures, such as ventilating the area and wearing protective gear, can ensure a safe and successful painting project. Developing steady hand control is essential for achieving precise lines and a flawless surface. Remember that developing these skills takes time and patience, much like fostering a digital-friendly environment at home.
Finishing Touches and Cleanup

After you’ve applied the final coat of paint, it’s time to focus on finishing touches and cleanup to make sure your work looks polished. Start by inspecting your walls for missed spots or uneven areas, and use your brush techniques to touch them up carefully. Clean your brushes and rollers thoroughly to preserve their quality for future projects, and consider paint storage options—like airtight containers—to keep leftover paint fresh. Remove painter’s tape gently to avoid damaging your edges. Clear away drop cloths and tools, and wipe down surfaces to remove dust or splatters. Additionally, understanding paint types and finishes can help you select the best products for your specific needs and achieve a more durable, attractive result. Paying attention to toilet flushing mechanisms can also prevent issues in your plumbing system later on. To further enhance your painting project, consider the importance of proper ventilation to improve drying times and reduce fumes. Proper clean-up techniques will not only leave your space looking professional but also extend the lifespan of your tools. Incorporating yarn weight and stitch type knowledge can help you plan your painting process more effectively, especially when estimating drying times for different wall textures.
Frequently Asked Questions
How Do I Fix Peeling or Bubbling Paint Before Repainting?
To fix peeling or bubbling paint, start with proper paint prep by scraping off loose paint. Then, sand the affected surface thoroughly to smooth out uneven areas and create a good bonding surface. Wipe away dust with a damp cloth before applying primer. This process guarantees your new coat adheres well and looks smooth, preventing future peeling or bubbling, and sets the stage for a professional-looking finish.
What’S the Best Way to Prevent Paint From Smudging on Trim?
Did you know that improper brush techniques can cause 60% of trim smudges? To prevent this, use a high-quality, angled brush for cleaner lines. Apply painter’s tape along the edges for added protection, and press lightly to avoid excess paint. Always work in steady, controlled strokes, and remove tape before paint dries. These protective measures guarantee your trim stays sharp and smudge-free, giving your room a professional finish.
How Can I Achieve Sharp, Clean Edges Without Tape?
To achieve sharp, clean edges without tape, use precise brush techniques and edge tools. First, load your brush lightly and wipe off excess paint. Carefully paint along the trim or edge, using a steady hand and minimal pressure. You can also use edge tools or angled brushes to create crisp lines. Work slowly, keeping a damp cloth handy to correct any mistakes immediately, ensuring professional-looking results.
What Techniques Help Hide Wall Imperfections Effectively?
Ever wondered how to hide wall imperfections effortlessly? You can use texture techniques like sponge, rag, or brush strokes to disguise flaws, adding visual interest. Applying a high-quality primer helps smooth out minor imperfections and creates a better surface for paint. These methods work together to give your walls a flawless look, making imperfections less noticeable. Ready to transform your space? Just focus on texture techniques and primer applications for professional results.
How Should I Store Leftover Paint for Future Touch-Ups?
When it comes to paint storage, you want to keep your leftover containers airtight to prevent drying out. Transfer any remaining paint into smaller, sealed containers to avoid contamination and make future touch-ups easier. Label each container with the color and date. Store your leftover containers upright in a cool, dry place, away from direct sunlight. Proper paint storage guarantees your leftover paint stays fresh and ready for quick repairs later.
Conclusion
Now that you know the secrets to painting a room like a pro, you’re ready to transform your space with confidence. Think of it as crafting a masterpiece—each brushstroke adding character and charm. With patience and the right techniques, your walls will look flawless and inviting. So roll up your sleeves, enjoy the process, and remember: a little effort goes a long way, turning your room into a stunning showcase that’s uniquely yours.

