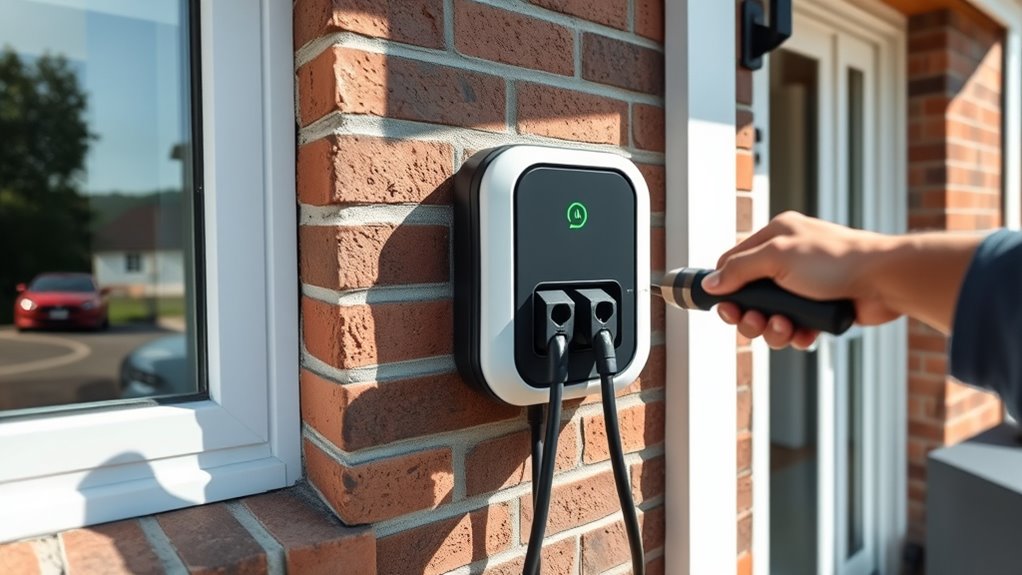
Installing a home EV charging station is straightforward when you understand your options. Most homeowners choose a Level 2 charger, which offers faster charging on a dedicated 240V circuit. You’ll need to verify your electrical system can support it and hire a licensed electrician for proper setup, safety, and compliance. Local incentives may help reduce costs, and regular maintenance keeps everything running smoothly. If you keep exploring, you’ll discover all the essentials for a seamless installation.
Key Takeaways
- Choose a compatible Level 2 charger with essential features like scheduling and smart monitoring.
- Ensure your home’s electrical system can support a dedicated 240V circuit, possibly requiring panel upgrades.
- Hire a licensed electrician to properly install the charger, following safety standards and local regulations.
- Check for available incentives, rebates, or tax credits to offset installation costs.
- Regularly inspect and update the charger for safety, performance, and compatibility with your evolving home system.

Installing an EV charging station at home is a smart way to guarantee your electric vehicle is always ready to go. When choosing the right charger, you’ll find three main types: Level 1, Level 2, and DC Fast Charging. For home use, Level 2 chargers are the most popular because they balance speed and convenience. They operate on 240V circuits, which considerably cut down charging time compared to Level 1 chargers that run on standard 120V outlets. Before purchasing, double-check that the charger is compatible with your vehicle’s plug type, whether it’s J1772 or Tesla-specific. Also, look for features like scheduling, remote monitoring, and smart charging to make your charging experience more efficient and convenient. Safety certifications such as UL or ETL are essential, ensuring the charger meets safety standards and reduces risks.
Installing a Level 2 charger ensures faster, safer home EV charging with smart features and proper safety certifications.
Installing a Level 2 charger involves some key preparation. Your home’s electrical infrastructure must support a dedicated 240V circuit; this often means upgrading your existing electrical panel. Choosing the right location is important—ideally, the charger should be installed near your parking spot in a safe, accessible spot. Proper grounding is necessary for safety and functionality, so make sure your setup adheres to electrical codes. Checking local regulations and permit requirements is a necessary step, as some jurisdictions have specific rules for home electrical upgrades. Hiring a licensed electrician is highly recommended, especially if you’re unfamiliar with electrical work, to guarantee proper wiring and compliance with safety standards. Additionally, understanding aura energy fields can provide insights into the overall environment and safety considerations for your installation space.
The installation process involves careful planning. Start by reading the manufacturer’s instructions thoroughly. Gather all necessary tools and materials, including wire strippers and electrical tape. Your electrician will wire the charger to your electrical panel, making sure all connections are secure and correct. Once installed, testing the charger is essential to confirm its proper operation. Conduct a final inspection to identify any potential issues or safety concerns before using the station regularly. Safety considerations should never be be overlooked: proper grounding, avoiding circuit overloads, and installing the charger in a weather-protected area if outdoors are important steps. Regular inspection and maintenance help prevent damage and keep your charger functioning smoothly. Familiarize yourself with emergency procedures in case of electrical issues.
Costs vary depending on the charger’s features and installation complexity, with prices ranging from a few hundred to over a thousand dollars. Many governments offer incentives, rebates, or tax credits to offset these expenses, making the investment more affordable. Over the long term, charging at home saves money on fuel costs and reduces your carbon footprint. As technology advances, consider upgrading to faster chargers or integrating your station with your smart home system for added convenience. Regular maintenance, software updates, and troubleshooting will keep your EV charging station dependable and efficient for years to come, making your electric vehicle ownership seamless and more enjoyable.
Frequently Asked Questions
How Much Does It Cost to Install a Home EV Charging Station?
You’re wondering about the cost to install a home EV charging station. Typically, expect to spend between $799 and $1,999, excluding the charger itself. Costs vary based on factors like electrical upgrades, permit fees, and installation complexity. Level 2 chargers are most common, costing $500 to $2,000, with additional expenses for professional installation and any necessary electrical work. Always plan for these variables to budget effectively.
Can I Install a Charger Myself or Need a Professional?
You might wonder if you can install an EV charger yourself. For example, a homeowner with electrical experience successfully installed a Level 2 charger, but only after verifying their system’s capacity and following local codes. However, without proper knowledge, you risk safety issues or code violations. If you’re unsure or unfamiliar with electrical work, hiring a professional guarantees safe, compliant installation, saving you potential trouble later.
What Permits Are Required for Residential EV Charger Installation?
For your residential EV charger installation, you’ll generally need an electrical permit from your local municipality or utility company. This guarantees your setup meets safety standards like the NEC and local building codes. Some areas might require submitting plans and undergoing inspections. Costs vary by location. Check with your local authorities or a licensed electrician to confirm specific permit requirements, as rules can differ widely depending on where you live.
How Long Does Installation Typically Take?
Imagine waiting forever—well, installing your EV charger usually takes just 2-3 hours for a standard setup. But if your home needs major upgrades or complex wiring, it could stretch out longer. Factors like outdoor work, permit delays, or installing multiple chargers can also add hours. Still, with an experienced installer, you’ll get back to charging your EV quickly, turning that wait into a distant memory.
Are There Government Incentives for Installing a Home EV Charger?
Yes, you can benefit from government incentives for installing a home EV charger. The federal government offers a tax credit covering 30% of hardware and installation costs, up to $1,000, through the Inflation Reduction Act until 2032. Some states, like New Jersey, provide additional grants and rebates. These incentives help reduce your upfront costs, making it more affordable to upgrade your home with an EV charging station.
Conclusion
Now that you know how to install a home EV charging station, aren’t you excited to enjoy the convenience and savings it offers? With a little preparation and some basic knowledge, you’ll be charging your car right at home in no time. Think about how much easier your daily routine will become—no more trips to public chargers. So, why wait? Take the first step toward a more sustainable, hassle-free driving experience today!


