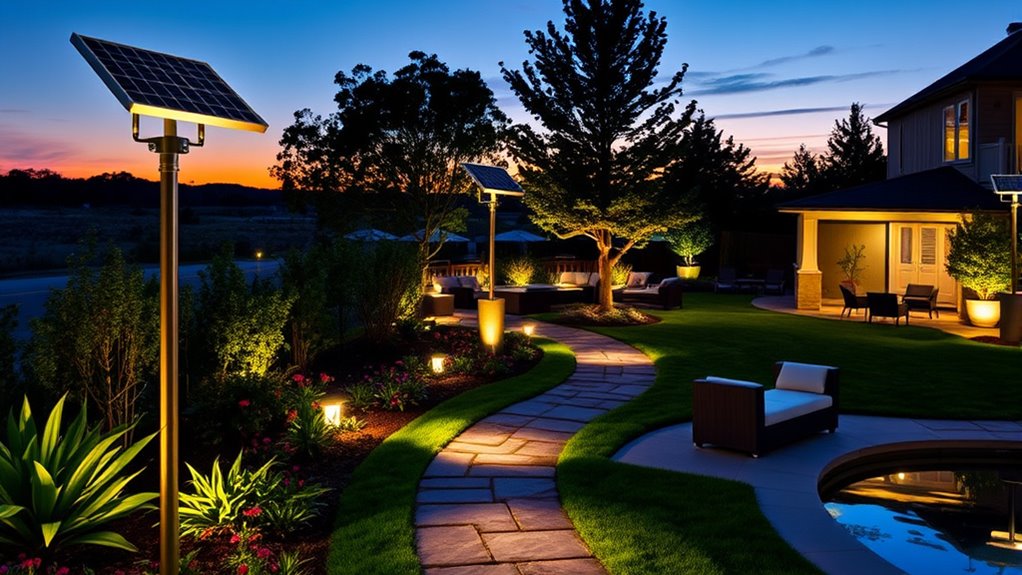
To set up a solar-powered outdoor lighting system, start by evaluating your space, noting sun exposure and shadow patterns. Choose high-quality solar fixtures, panels, and durable mounting hardware. Position panels for maximum sunlight, follow proper wiring procedures, and secure fixtures firmly. Use waterproof connectors and weatherproof materials to protect your setup. Carefully check and test everything to guarantee reliable operation. With these steps, you’ll create an efficient, eco-friendly lighting solution—discover more tips as you continue to prepare your system.
Key Takeaways
- Assess your outdoor space to determine lighting needs and optimal solar panel placement for maximum sun exposure.
- Select high-quality, weatherproof LED fixtures, solar panels, and durable mounting hardware suitable for outdoor conditions.
- Plan and design the layout, positioning solar panels at appropriate angles and fixtures to cover pathways and landscape features.
- Follow manufacturer instructions for wiring, ensuring correct polarity, waterproof connections, and secure mounting.
- Conduct final checks, weatherproof all components, and test the system to ensure proper operation and durability.
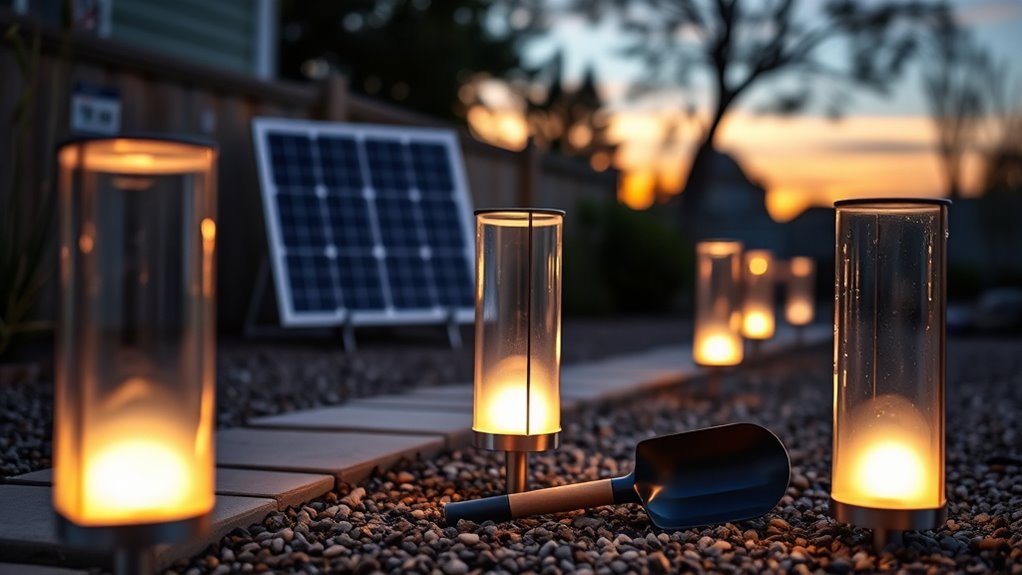
Setting up solar-powered outdoor lighting begins with careful planning and layout. You need to assess your outdoor space thoroughly to identify where lighting will be most effective, both for security and aesthetic appeal. Walk around your area at different times of the day to observe sun exposure and shadow patterns. Decide on the number and type of solar lights based on the size of your space and your specific lighting needs. For example, pathway lights might be ideal for walkways, while accent lights can highlight landscape features. Calculating the total power consumption of all lights helps guarantee your solar panels and batteries can supply enough energy, especially during cloudy days or winter months. Keep in mind that positioning your solar panels most effectively is vital; they should be placed where they’ll receive maximum sunlight exposure without being shaded by trees, structures, or other obstacles throughout the day.
Design your layout to cover essential areas like pathways, entrances, and key landscape features, ensuring the lighting angles provide sufficient brightness and coverage. Once you’ve decided on the layout, select high-quality LED fixtures specifically designed for outdoor solar use. These fixtures typically come with built-in LED drivers, which improve efficiency and lifespan. Choose solar panels with adequate wattage for your geographic location, considering seasonal variations in sunlight. Durable mounting brackets and poles are necessary to withstand outdoor conditions, so pick sturdy materials that can support the fixtures and panels securely. Waterproof connectors and cables are essential to protect electrical connections from moisture, rain, and other environmental elements. Prepare your tools—drills, bolts, nuts, and a multimeter—to facilitate safe assembly and installation, especially for testing voltage and verifying panel functionality.
Select high-quality LED fixtures, durable mounting hardware, and waterproof cables for reliable outdoor solar lighting installation.
Connecting the fixtures to the solar panels involves adhering to manufacturer’s wiring diagrams, ensuring correct polarity and secure fittings. Adjust the elevation angles of your solar panels based on solar exposure charts; this maximizes power generation. Firmly fasten mounting bolts and nuts to prevent movement or damage caused by wind or weather. Carefully pull and route cables through mounting poles or arms, avoiding pinching or damaging the wiring. During daylight hours, test the solar panels with a multimeter to confirm they’re producing power before completing the installation. When selecting spots for mounting, prioritize locations with full sun exposure, avoiding shaded areas to maximize charging. Mark precise positions using measurement tools, then drill mounting holes in walls, poles, or other surfaces. Secure fixtures and panels vertically, facing the panels toward the equator for maximum sun exposure, using at least six bolts for stability.
Finally, connect the cables from your solar panels to your fixtures using waterproof connectors to prevent moisture ingress. Ensure all electrical connections are tight, insulated, and organized along poles or walls to reduce stress and improve appearance. Conduct a circuit test to verify overall electrical integrity and that everything functions correctly. Properly sealing the fixture housings and panels with weatherproof materials completes the setup, providing reliable, energy-efficient outdoor lighting that enhances your space’s beauty and safety. Additionally, understanding the cost factors involved in outdoor solar lighting installation can help you budget effectively for your project.
Frequently Asked Questions
How Long Do Solar Outdoor Lights Typically Last?
Solar outdoor lights usually last between 2 and 15 years, depending on quality and maintenance. You’ll get a shorter lifespan if the components are low-quality or if environmental conditions are harsh. Regular cleaning, proper storage, and battery replacements can extend their life. Keep an eye on the batteries, as they typically need replacing after 300 to 600 charges, and make sure your solar panels stay clean for maximum efficiency.
Can Solar Lights Work During Cloudy Days?
Yes, solar lights can work during cloudy days, but their efficiency drops considerably. You’ll notice they produce less light because the solar panels gather less energy in diffused sunlight. Thicker clouds reduce energy capture more than thin clouds, and performance depends on panel size and orientation. To keep them working longer, make sure your panels are large, properly angled, and your battery capacity is sufficient to store extra energy.
What Maintenance Is Required for Solar Outdoor Lighting?
Did you know that dirt and debris can cut your solar panel’s efficiency by up to 30%? To keep your outdoor lights shining bright, you should regularly clean the panels with a soft cloth and mild soap, trim nearby vegetation, and clear snow or ice in winter. Check batteries and wiring periodically, inspect for damage, and adjust the panels’ angle seasonally. Proper maintenance guarantees your solar lights stay reliable and bright year-round.
How Do I Choose the Right Location for Installation?
To choose the right location, you need to find an area that gets plenty of sunlight throughout the day, ideally during late morning to late afternoon. Make sure the spot faces south and isn’t blocked by trees or structures. Consider seasonal sunlight changes and avoid shady areas. Measure and mark your spots carefully, ensuring the lights will be stable and effective in illuminating pathways, features, or safety zones.
Are There Any Safety Concerns With Solar Outdoor Lights?
You should know that solar outdoor lights are generally very safe. They operate at low voltage, reducing shock risks, and their wireless design minimizes tripping hazards. Just make sure to secure fixtures properly, follow manufacturer instructions, and regularly inspect for stability. Avoid handling them carelessly during installation, and verify they are positioned to prevent obstructions. With proper setup, you’ll enjoy safe, eco-friendly lighting that enhances your outdoor space.
Conclusion
Now that you’ve set up your solar-powered outdoor lighting, you’ll enjoy eco-friendly illumination without ever worrying about electricity bills. Ironically, after all the effort to harness the sun’s energy, you might find yourself admiring the glow during a cloudy night or pondering how much energy those tiny panels truly produce. Still, it’s a small price to pay for sustainable lighting — just don’t be surprised if you start questioning whether the sun really cooperates every day.

