
Using room tone helps you smoothly blend audio clips by providing a natural background sound that matches your environment. It reduces the need for complex effects or plugins, saving you time and effort. Room tone also minimizes artifacts and keeps progressions seamless, maintaining a consistent, professional sound. You’ll find it easier to keep your audio natural and cohesive without over-processing. If you want to discover more ways to improve your edits effortlessly, keep going.
Key Takeaways
- Room tone provides a natural ambient sound that seamlessly blends audio, reducing the need for complex editing or effects.
- Using room tone maintains audio consistency across cuts, minimizing the effort to fix discrepancies with fancy tools.
- It simplifies the editing process by acting as a sonic glue, decreasing time spent masking or smoothing transitions.
- Relying on room tone preserves original sound quality and ambiance, avoiding artifacts often introduced by advanced plugins.
- It encourages better recording practices and creative sound design, leading to more cohesive and professional audio with fewer edits.
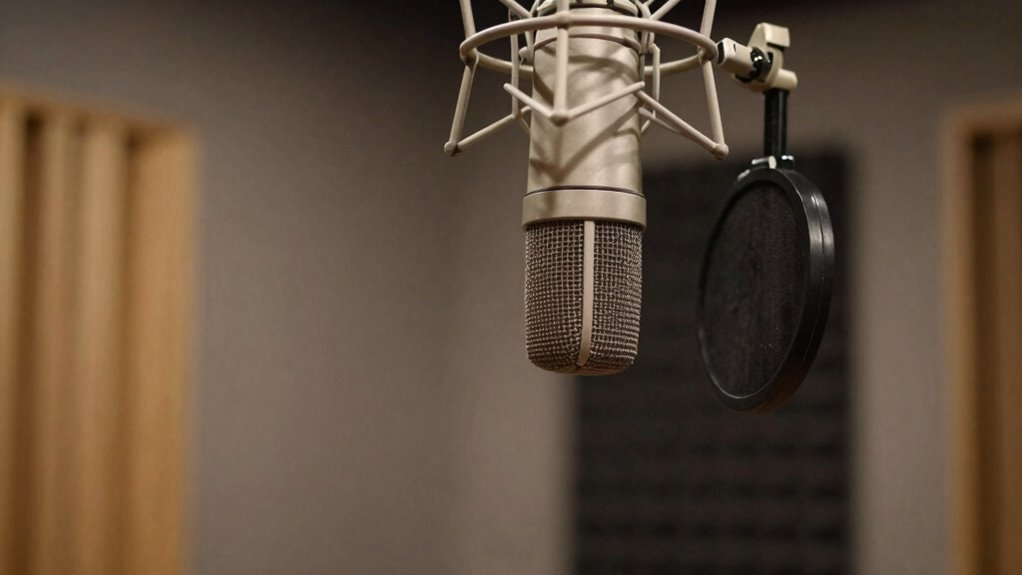
When editing audio for a project, it’s easy to overlook the importance of room tone, but neglecting it can lead to noticeable inconsistencies and awkward sound shifts. Room tone is the ambient sound captured in a space when no one is speaking, and it plays a crucial role in maintaining audio consistency. You might be tempted to rely on fancy editing tools or plugins to clean up or fix audio issues, but nothing replaces the subtle power of room tone. It’s a simple, effective way to ensure your edits blend seamlessly, saving you time and effort in the process.
Room tone is essential for seamless, consistent audio editing and a natural sound.
Using room tone correctly enhances editing efficiency because it provides a natural backdrop that you can insert between cuts or over sections where audio might sound abrupt or disjointed. Instead of trying to mask these transitions with complex effects or EQ adjustments, you can simply layer the original ambient sound, making the edit feel more organic. This approach minimizes the need for repeated adjustments and reduces the risk of creating unnatural audio artifacts. As a result, your workflow becomes smoother, and you spend less time battling inconsistencies. Additionally, understanding the importance of ambient sound can help you better manage your audio environment during recording, leading to fewer issues in post-production. Recognizing the role of cultural artifacts like masks can also inspire creative approaches to sound design, enriching your project’s atmosphere.
Moreover, when you incorporate room tone into your editing process, you reduce the likelihood of noticeable audio discrepancies that can distract your audience. Fancy tools may promise to fix issues quickly, but they often require careful tweaking and can sometimes introduce new problems. Room tone, on the other hand, is a straightforward solution that preserves the original ambiance of your recording. It helps you maintain audio consistency across different clips, ensuring that even with multiple takes or varied environments, your project sounds cohesive. Incorporating an understanding of Twin Flame vs Soul Tie concepts can deepen your awareness of emotional nuances, which can indirectly influence your audio storytelling choices.
You’ll find that relying on room tone also simplifies the editing process, especially in dialogue-heavy projects. Instead of over-processing individual clips, you can match sections more naturally by inserting the room tone, which acts as a sonic glue. This makes your edits less detectable and more fluid, giving your audience a better listening experience. Plus, it’s a technique that’s accessible to everyone, regardless of your experience level with advanced editing software. Recognizing the importance of audio environment is key to mastering seamless edits.
In short, while fancy tools have their place, they shouldn’t replace the fundamental practice of using room tone. It’s a simple, effective way to improve audio consistency and boost editing efficiency, letting your project sound more professional without unnecessary complications. By paying attention to ambient sound, you keep your workflow straightforward and your audience engaged, proving that sometimes, the simplest solutions are the most powerful.
As an affiliate, we earn on qualifying purchases.
Frequently Asked Questions
How Do I Record Effective Room Tone?
To record effective room tone, find a quiet spot with consistent ambient noise. Keep your microphone in the same position as during filming to capture authentic ambient noise. Record at least 30 seconds to a minute, avoiding sudden sounds or interruptions. This guarantees your room tone accurately reflects the environment, making it easy to blend in during editing and saving you from lengthy fixes later.
Can Room Tone Replace ADR?
Room tone can’t fully replace ADR because silent ambiance and acoustic consistency are different tools. While room tone helps maintain natural sound and smooth shift, ADR allows you to re-record dialogue in a controlled environment, fixing issues that room tone alone can’t address. You use room tone to preserve authenticity, but for clarity and precise matching, ADR becomes necessary. Both work together to guarantee seamless, immersive audio in your project.
How Long Should Room Tone Recordings Be?
You should record room tone for about 30 seconds to a minute, making certain it captures consistent ambient noise. This helps maintain audio continuity in your project. Focus on proper microphone placement to avoid unwanted sounds and get a clear, representative sample of the ambient noise. Longer recordings aren’t necessary unless the room’s noise fluctuates; keep it concise for best results. Properly recorded room tone simplifies editing and guarantees seamless sound shifts.
Is Room Tone Necessary for All Projects?
Think of room tone as the silent conductor of your audio orchestra; it guides the seamless flow of sound. You should include room tone in your project, especially if it’s voice-heavy, to match ambient noise levels and guarantee smooth shifts during editing. Using soundproofing techniques can help, but room tone acts as a safety net, making edits less noticeable and saving you time, even when ambient noise varies.
What Equipment Is Best for Capturing Room Tone?
You should use a high-quality shotgun or condenser microphone for capturing room tone, as they excel at picking up ambient noise. Place the microphone at a consistent distance from the source, ideally where your actors or scene happen, to get an authentic ambient noise sample. Proper microphone placement guarantees you capture clean, natural room tone, which helps seamlessly blend edits and saves you time in post-production.
Conclusion
You might think fancy editing tools are essential, but room tone proves otherwise. It’s often overlooked, yet it saves you countless hours by seamlessly blending audio and fixing noise issues instantly. Some say it’s just background sound, but in reality, room tone’s consistent presence offers a truth: simplicity can be more powerful than complexity. Trust in its subtle magic—you’ll find your edits smoother, quicker, and more natural, proving that sometimes, the simplest tools are the most effective.